#proportions
Text
#jason todd#red hood#batman#batfamily#batfam#batboys#batbros#batkids#batsiblings#batman family#dc comics#tumblr polls#poll#fandom polls#poll game#proportions#cmyk#tw swearing
2K notes
·
View notes
Text
How to draw: The position of the Fingers in Hand Poses Correctly (FINGERS WORK TOGETHER)
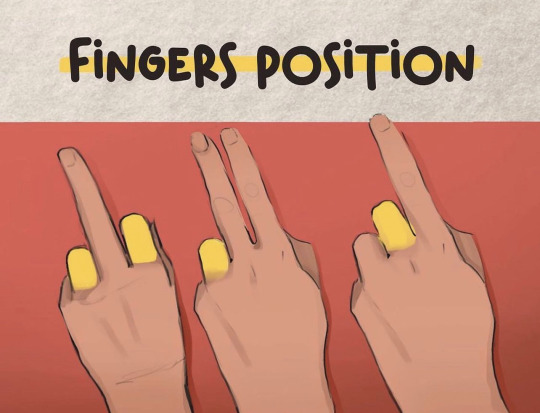

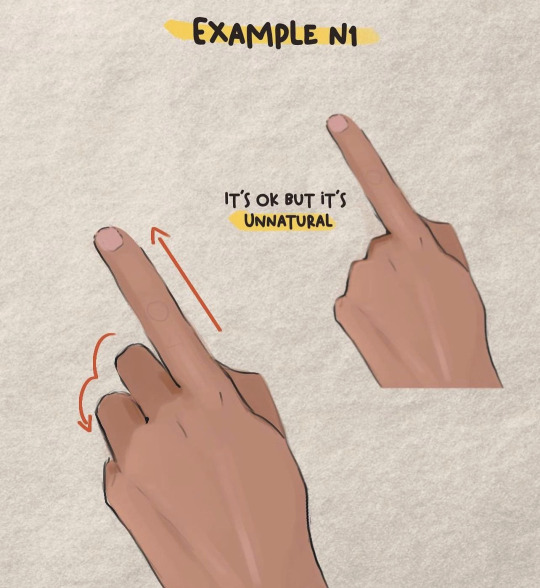
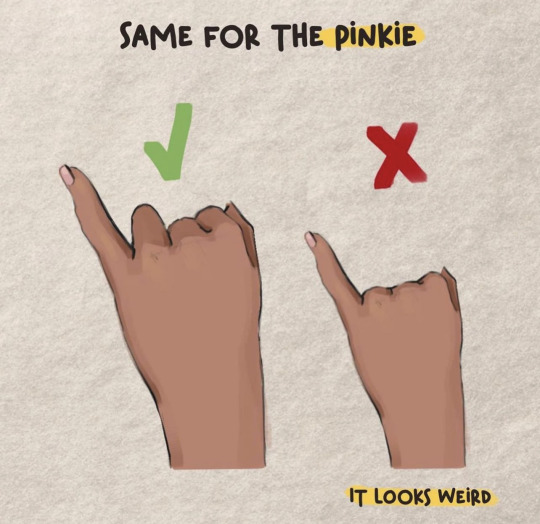

Credit: Valentart_
#random tip#random tips#hand#hands#finger#fingers#anatomy#human anatomy#pose#pose ref#pose reference#pose references#proportions#proportion#art tutorial#drawing tip#art tip#art tips#art tutorials#drawing#drawing tips#drawing tutorial#drawing tutorials#art#posing
1K notes
·
View notes
Note
That post you've made recently where you compared Mario's canon shape with your own was very interesting! :o Can you share more on that?
Why certainly! 😁

The most notable way in which mine strays from the official model is that his chest has a heavier build and his shoulder line is more pronounced, making his upper body less round and a bit more square-shaped by default.^^
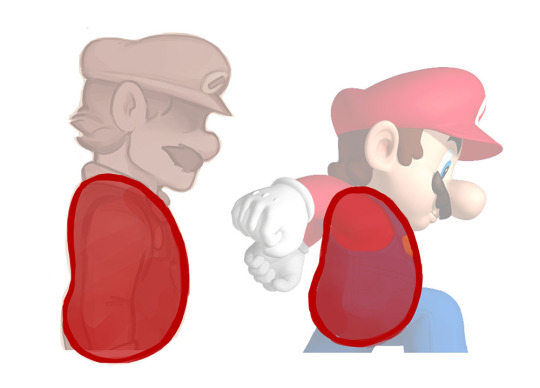
In terms of overall silhouette, I do try to keep his proportions as close as possible to his canon self while adding a bit of my own twist to it; which results in a different facial structure but an otherwise pretty similar profile. :)

My version of Peach follows the same principle, arguably even more faithfully so than Mario! 🤭 The same way she is visibly thinner and more delicate than her companion in canon, so is she in my art. :3

Keeping a close eye on their standard models helps me be more consistent in the way I draw them while leaving just enough room for artistic liberties, which is very useful for me! 🤗🎨
232 notes
·
View notes
Text
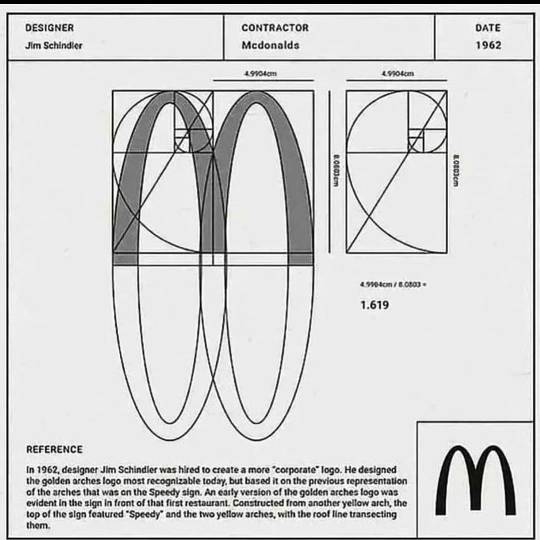
Grids & proportion behind McDonald's logo ☆
Need a professional logo for your business? PM us for details!
#mcdonalds#happy meal#fast food#crispy#chicken#french fries#diet coke#logo design#grids#proportions#project#geometry#business#artists on tumblr#entrepreneur#branding#creative
83 notes
·
View notes
Text
#hohoho CABIN#PROPORTIONS#I'm not opening commissions this summer but I sure am having fun making polls#It'll be funny if any of these options gets significantly larger than the others but also it will be pretty if they're even-ish :)
157 notes
·
View notes
Text
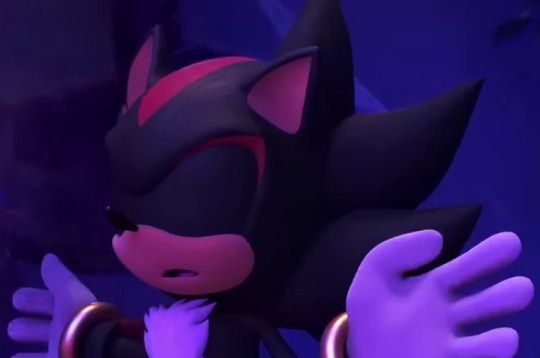
Neotenic characters with huge head when they lie on teir back.

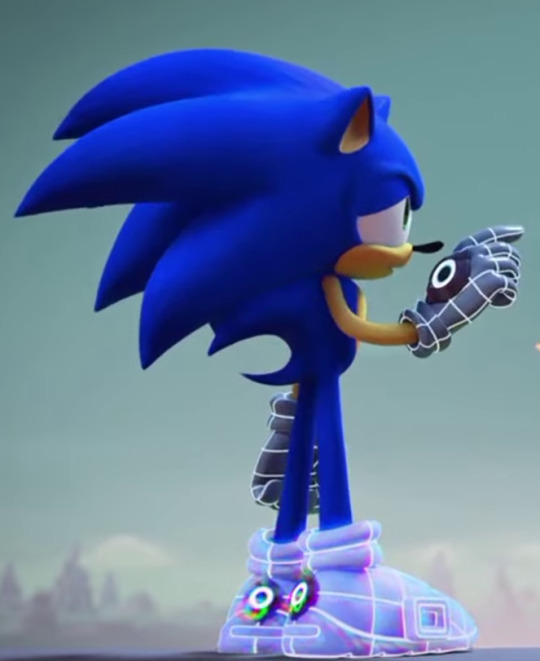
When standing the round shape of their head goes far back, is quite difficult to not make them look awkward when supine (not true only for Sonic characters)...

in 2D it can... somewhat work, in 3D however is harder... to not forget sonic and his friends also have large foot.
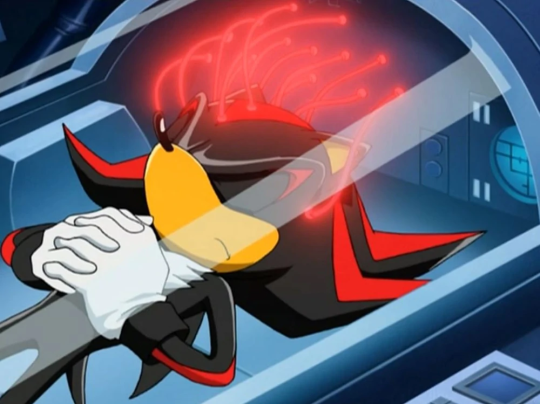


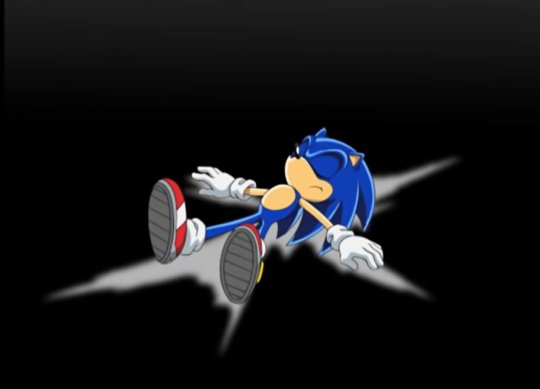
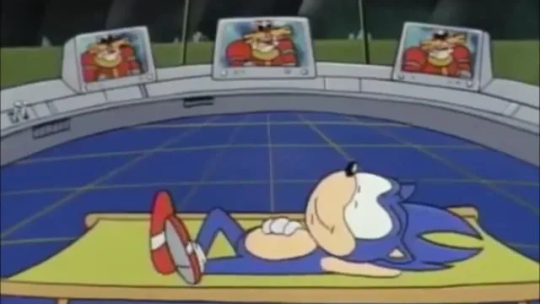
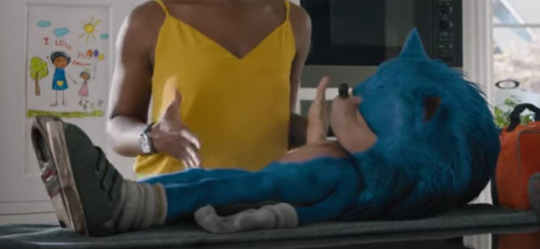
you can ignore that quills are stiff and make behave them like hair when necessary, still cheating with the cranium is tricky. Even those who don't know how to draw know wery well the consistence of the cranium and if you make it soft, everybody would think something is off.
Something to consider (and this is the reason why my characters tend to have smaller heads... even children).
#sonic the hedgehog#shadow the hedgehog#sonic#shadow#sonic prime#character design#big heads#proportions#neoteny#neotenic
47 notes
·
View notes
Text

Thanks for the ask, @strrwbrrryjam ! i'm flattered that you think I do a good job of that, because I'm still learning! (and I also struggle heavily with proportions. I have to resize my heads and arms so, so much...)
I'm afraid I don't have any secrets. I think the answer is to just practice, over and over again. But specifically, this is what I try to focus on as I'm learning:
references
quick practices - 30 second to 5 minute studies that help with getting a full scope of the shape and energy of the body, not meant to be perfect
studies - deep dives into certain anatomical structures (videos linked below)
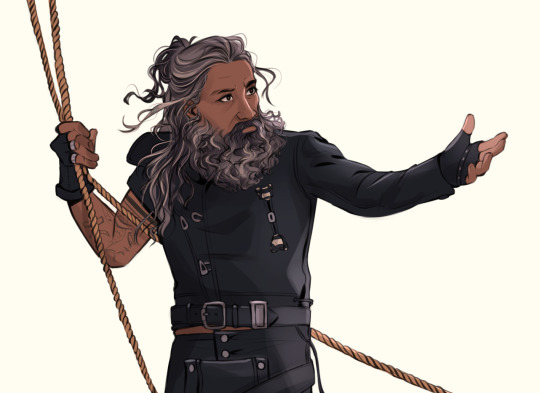
Below the cut is how I use references go from this to this:

References:
Use a bunch of references! Pictures you take, stock images, from shows--practice real people. Even if your style is heavily stylized, it all starts from an understanding of anatomy.
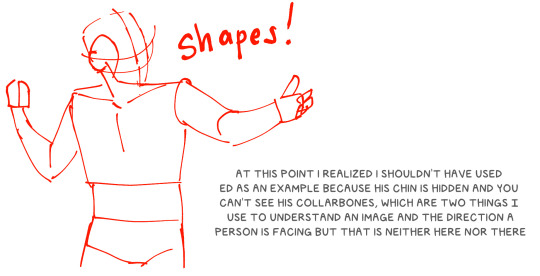
How I Use a Reference When I Struggle With Proportions:
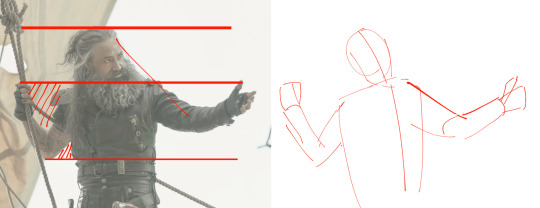
The first step I take while looking at a reference is to just draw a very loose sketch with a line of action that goes then entire length of the piece, and I try to section it out. I find if I don't think about the body as a whole, and just start drawing a head, the head will be way bigger than the rest of the image. So my first step is just really boxy and basic, just to get all appendages on paper. My first pass could look like this:

Okay, not bad. But the right arm is going way too far down--the forearm is really long. The head is too big for the style I want, and the left arm is at a 90 degree angle, unlike the picture. But, I have the general scope of everything on the page, so it's easier to adjust and look at the full picture!
Then, I try to focus on landmarks. I look at where certain body parts fall in the reference. For instance, Blackbeard's right elbow doesn't reach his belt, so his elbow shouldn't be near his waist. I can tell that his left arm is closer to being straight than at a right angle, and I can see that his head isn't as big on his shoulders as I have. I can also look at the negative space and see that the gaps between his right arm need to be smaller. So my next pass might look like this:
(I don't usually draw on the reference image, and I just "draw" the lines in my mind, but the for sake of things...)
Now it's looking a bit closer!
The next is the harder part. It's making things shapes, and is closer to the lineart stage. I try to follow curves, separate the chest from the torso, get the angle of the shoulders and head, etc. I have some video links at the end that explain this step much more in def.
You may notice that the head angle is a bit different than the image, and the shoulders are a bit lower. Sometimes, following a reference image completely either doesn't fit your style or, in some cases, the more accurate drawing following a reference can actually look "wrong" (anatomically) when drawn. Figure out what works best for you, and for the message you're trying to get across in the piece!
[sliiiight flashing in timelapse]
And here is the final timelapse, with a little refining and polishing of the anatomy. Not everything is completely accurate to the reference image, but I've created a believable image in the likeness.
I hope this helped! This was a quick and dirty post of something I'm still learning. Here are some youtube tutorial artists, resources, and books that I use to learn!
Youtube:
-ModerndayJames has lots of videos on creating shapes and understanding anatomy, and placing people in perspective. He has a lot of free videos, and then some cheap ones on gumroad that go more into it.
-Proko has lots of videos on anatomy!
Practice Resources:
-Pose Maniacs - figures in different poses. You can move the camera around to see different angles.
-QuickPoses has images for figure drawing and quick gesture drawing! You can even have different timers.
Books:
Morpho Series. There used to be the one on "Fat and Skin Folds" that was a free PDF download that was on tumblr for a while, but I don't believe the books are that expensive.
Taco's Books, published by Lezhin. This is heavily anime styled, but talks a lot about anatomy, and is a great resource!
#art tutorial#asks#mytutoirals#myart#proportions#turns out you can't add videos to asks and if you try it makes the post uneditable#so i couldn't answer your ask directly. hope you see it sorry!#anatomy tutorials
52 notes
·
View notes
Text

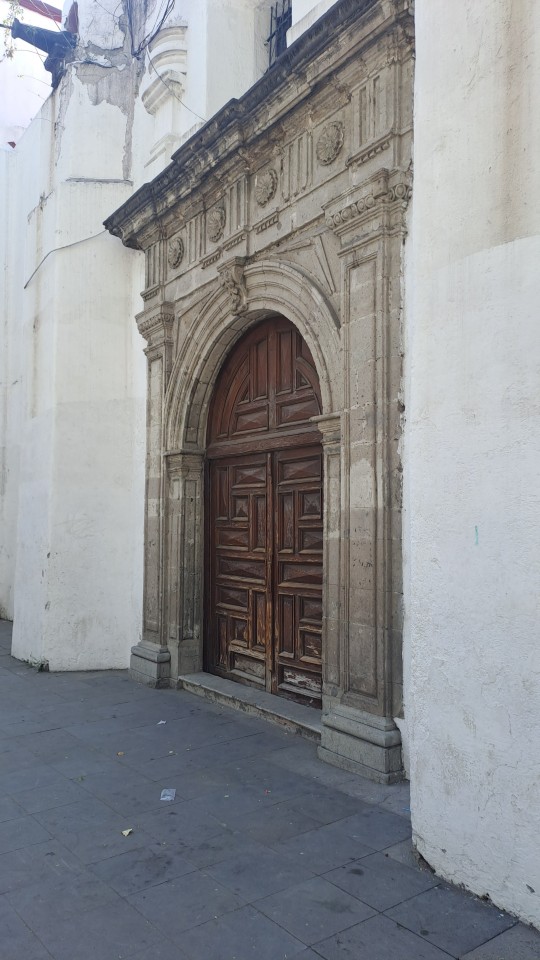

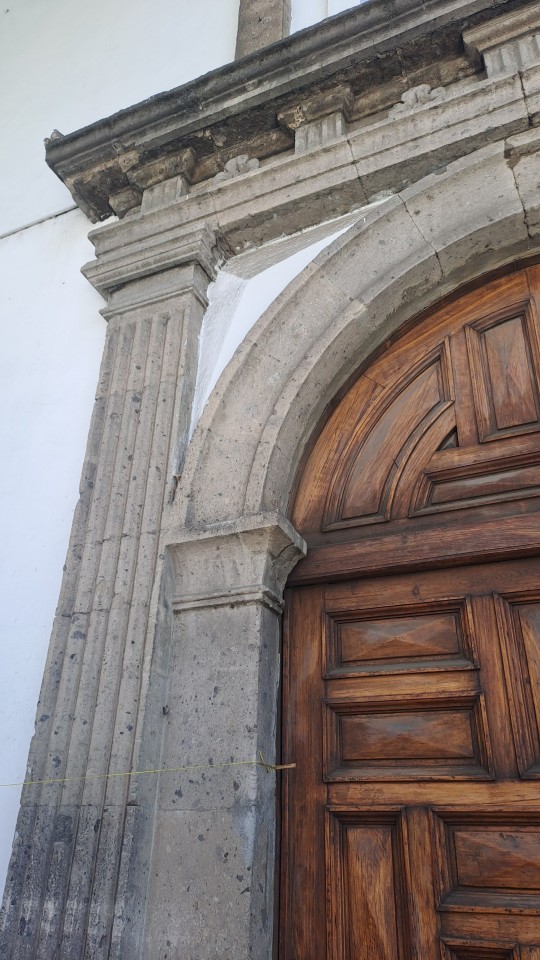
ARQUITECTURA NEOCLASICA
#spaces#art#architecture#moldings#colors#construction details#symmetry#proportions#decoracion#reliefs
22 notes
·
View notes
Note
What are your thoughts on the kibbe body type system? Any tips for a soft dramatic?
I think it's fairly baseless and outdated, honestly. The whole concept does really sound like what it is – a mansplanation of women's body types and features. Personally, I believe the best way to understand your features is to determine the following traits for your personal body type, proportion, and facial structure:
Body shape (a fairly useful calculator is HERE). Some more information on the different body types can be found HERE. There are some caveats here that relate to bone structure (for example, I'm a "flat-chested hourglass" essentially – the bone structure is the same as an hourglass, but my fat/muscle distribution is different than the traditional hourglass, which is classified as by having a larger bust)
Determining your proportions (longer torso and shorter legs, shorter torso/legs, balanced proportions, etc.)
Understanding where your frame is widest (e.g. broad shoulders/hips. wide ribcage) vs. where you hold the most/least fat or muscle on your body (Knowing where you gain/lose weight first can also help you answer this question)
Figure out your face shape (I think this calculator offers a good jumping-off point, but I would read some articles about the subject to confirm your particular face shape. I got my face shape (triangle) on the second try, lol) and which features are most prominent/subdued on your face (e.g. big head/small head, big/small eyes – close together/farther apart, thin or thick lips, nose size/shape, brow shape/thickness, plumpness of cheeks/jawline definition)
Then, determine which clothes/accessories/hairstyles flatter your body type and face shape/size to "balance" your head-to-toe look. E.g. if you have a pear-shaped body with slender, long arms and a square-shaped face, consider wearing a loose cami with bootcut jeans with a large pendant necklace and a bouncy, layered lob to balance/flatter all of your proportions.
Hope this helps xx
#body shape#kibbe body types#body types#proportions#styling tips#fashion advice#wardrobe design#hairstyle ideas#face shape#personal style#glow up tips#glow up era#glow up#femme fatale#dark femininity#it girl#dark feminine energy#high value woman#the feminine urge#high value mindset#female excellence#female power#queen energy#dream girl#dress up#girl advice#girl blogging#girl tips#femmefatalevibe#q/a
70 notes
·
View notes
Text
Let's give the Batman logo a makeover
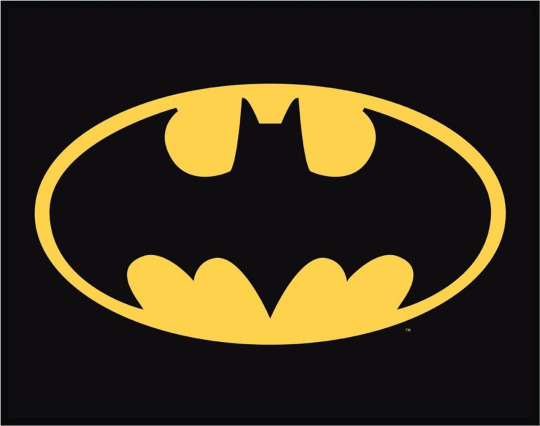
If this goes well I might do the rest of the fam (and other characters) too
#bruce wayne#dick grayson#jason todd#tim drake#damian wayne#duke thomas#stephanie brown#cassandra cain#barbara gordon#kate kane#alfred pennyworth#selina kyle#batman#batfamily#batfam#batboys#batbros#batgirls#batkids#batsiblings#batman family#dc comics#tumblr polls#polls#fandom polls#poll game#proportions#cmyk
2K notes
·
View notes
Photo
Some my doodle. (And I'm again say sorry for my bad english T-T)
#spooky month#spooky month kevin#streber x kevin#fnf#fnf monster#tabaluga#i hate#proportions#I hate proportions
231 notes
·
View notes
Text

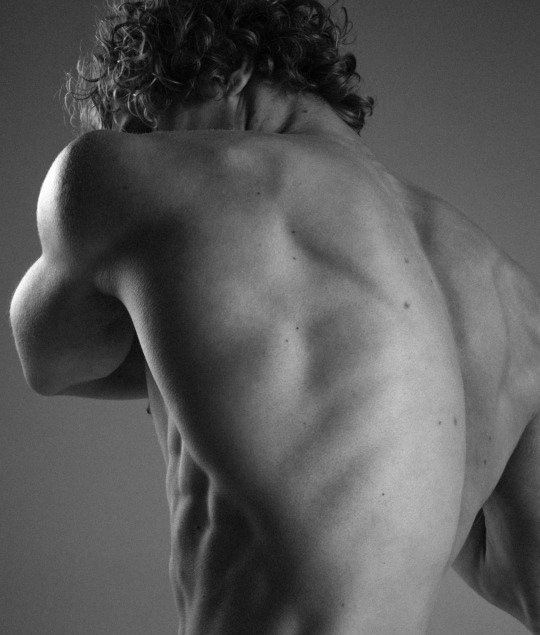


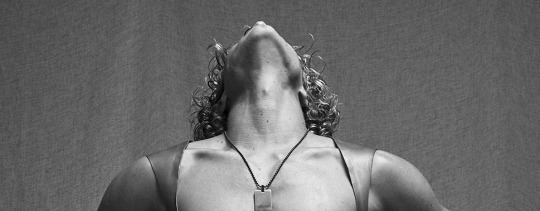


#homoerotism#homoerotic#aesthetics#owen lindberg#body aesthetics#musculature#body study#anathomy#proportions#male proportions#Lestat#lestat de lioncourt
149 notes
·
View notes
Text
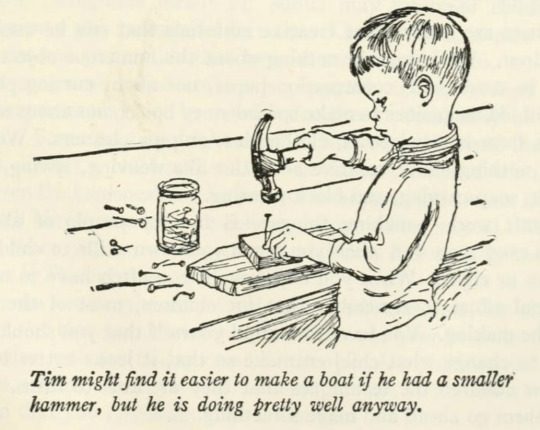
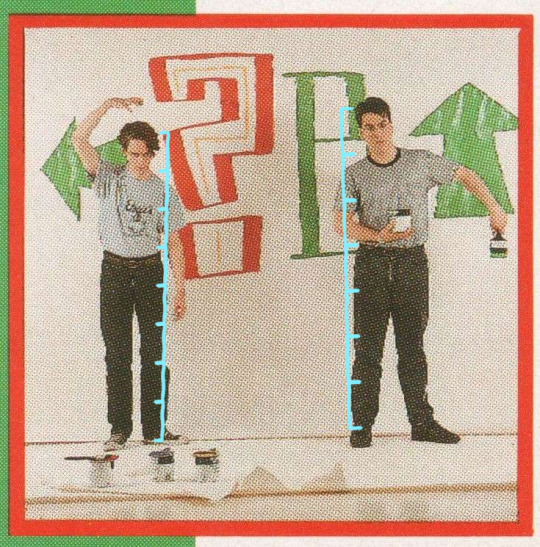
Tim might find it easier to make a boat if he had a smaller hammer, but he is doing pretty well anyway.
20 notes
·
View notes
Text

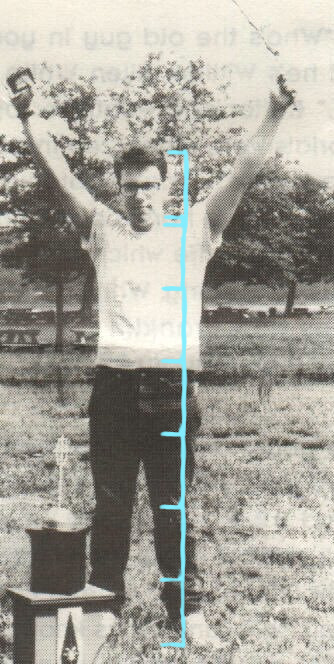

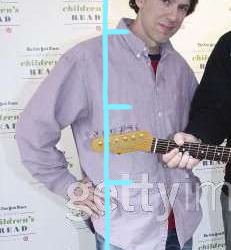
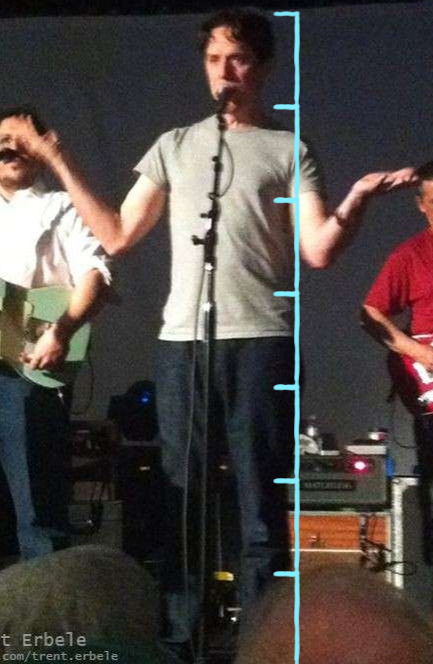

Let this be a lesson to you all: at one point in college you will spend Friday morning doing proportion work on your blorbos.
11 notes
·
View notes
Text


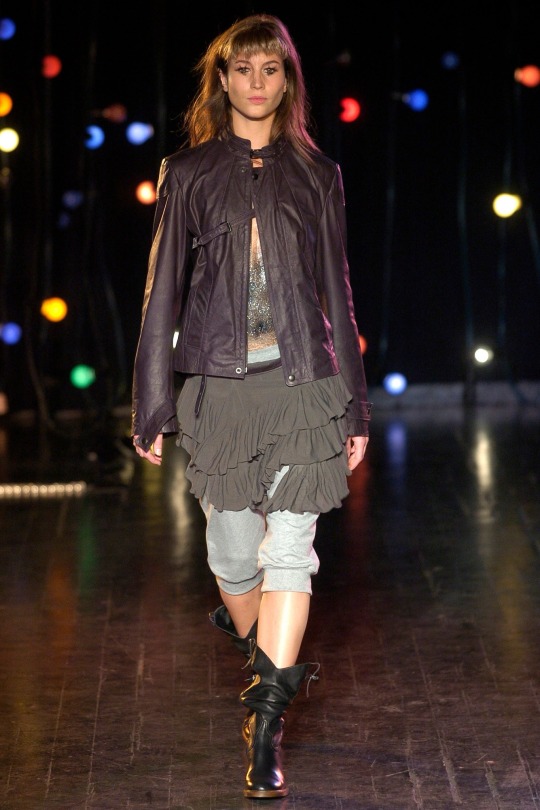

A.F. Vandevorst Spring 2005
#hedi slimane#ann demeulemeester#rick owens#runway#alexander mcqueen#fashion#undercover#proportions#kris van assche#af vandevorst#bernhard willhelm
8 notes
·
View notes
Photo

Trying to get better angles of the last 3 Recoms as reference for drawings of them I’m working on and make sure their proportions are accurate. I had to do a double take on the Ikran taming scenes because I saw this.
...Looks like we found ourselves the dark horse in the Cake Olympics.
#stop smuggling cantaloupes Mansk#you're already carrying too much#your poor back#cat orc death squad#recombinant#avatar recoms#recom mansk#avatar mansk#mansk#homeboy packing victoria sponges#james camerons avatar#JC Avatar#avatar na'vi#avatar the way of water#the way of water#private mansk#proportions#i salute you#fanart reference#character reference#avatar movies
90 notes
·
View notes
Last Seen Blogs
cookslikebob-drinkslikelinda
CookslikeBob. DrinkslikeLinda

myphotoprintonlinegifts-blog
Untitled

leftconnoisseurhologram-blog
Untitled

justbetterhomecare-blog
Just Better Care

askplayertale
you've been busy, huh?