#homemade fashion
Text
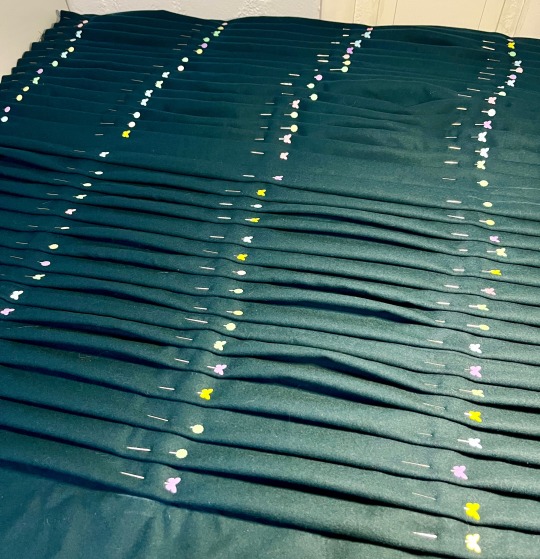
Thought I would try to get through some sewing block issues by doing a simple project and decided to make a long pleated wool skirt. I wouldn’t even need a pattern! And I even had this great spruce green wool twill fabric I got for $20 at a thrift store!
Of course when I started I did not realize that I should hand baste all 31 pleats… 😭 It is a simple project but NOT a fast one.
#sewists of tumblr#sewing wip#sewing#sewing project#homemade clothes#homemade fashion#diy sewing#sewist#sewblr
20 notes
·
View notes
Text


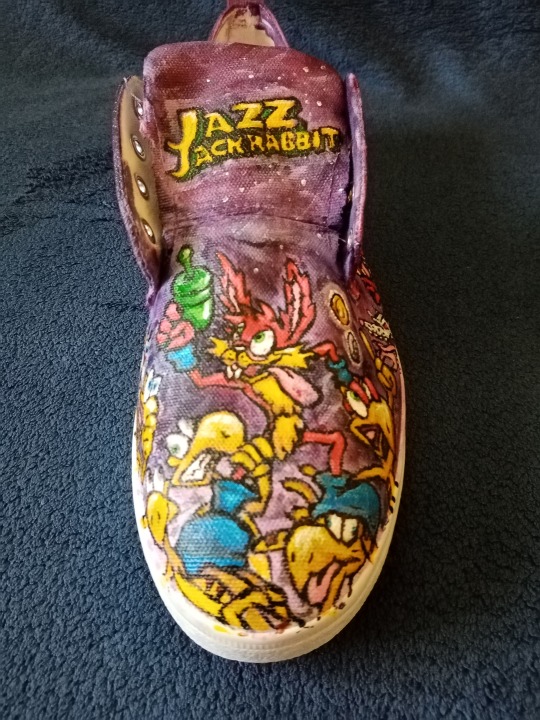

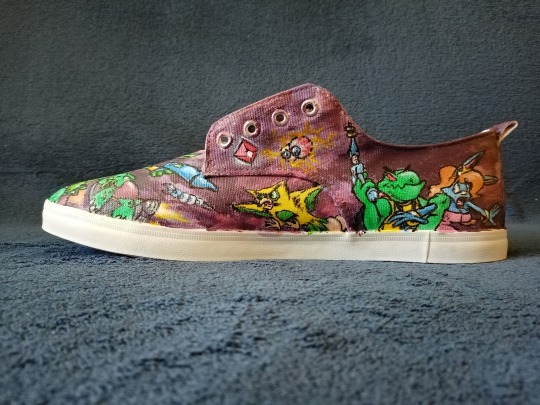
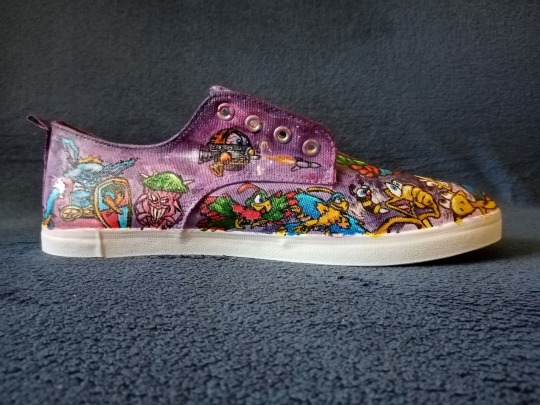
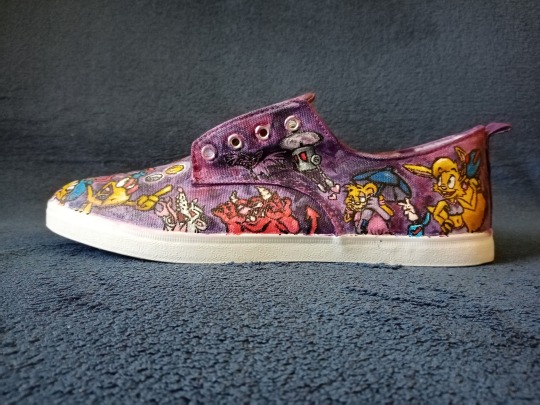


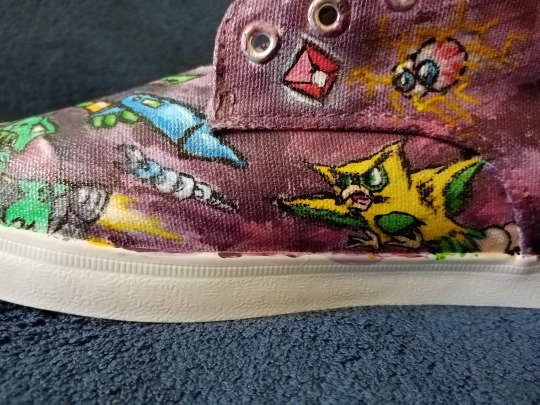

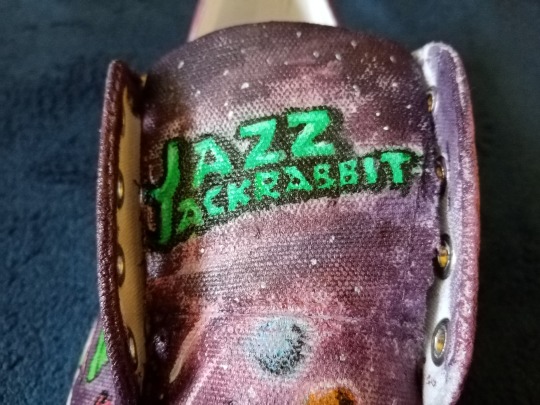

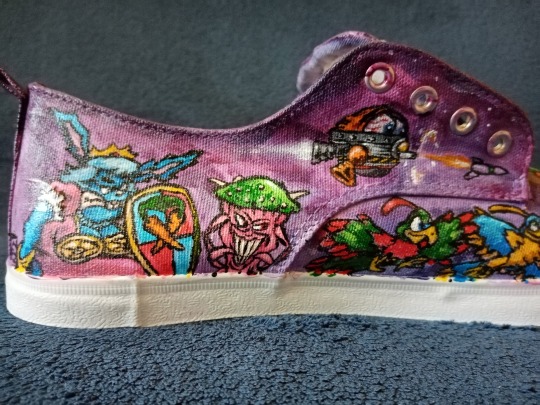

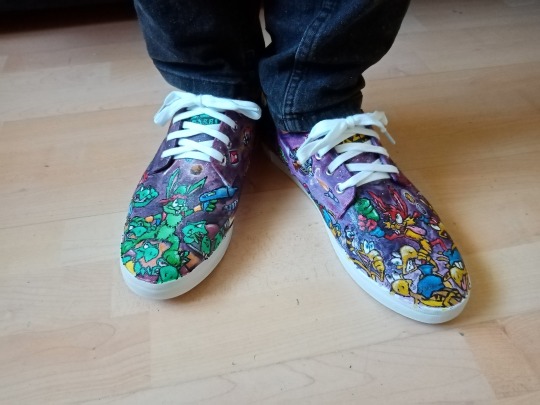
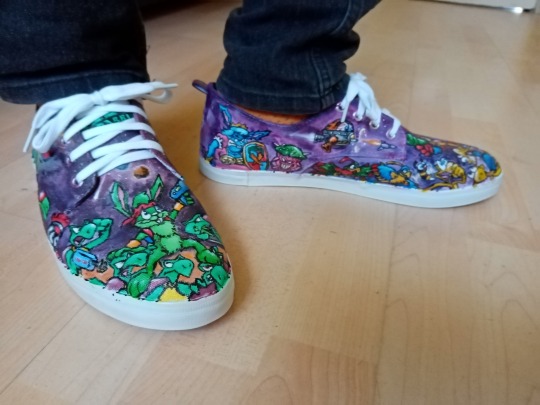


Jazz Jackrabbit sneakers that I painted to wear to conventions and stuff! Acrylics, glossed.
I'm open to take commissions for shoes with fanart like this, DM me if you'd like to negotiate!
#jazz jackrabbit#jazz jackrabbit 2#epic games#fanart#shoes#sneakers#painted shoes#homemade fashion#homemade merch#jj
16 notes
·
View notes
Text
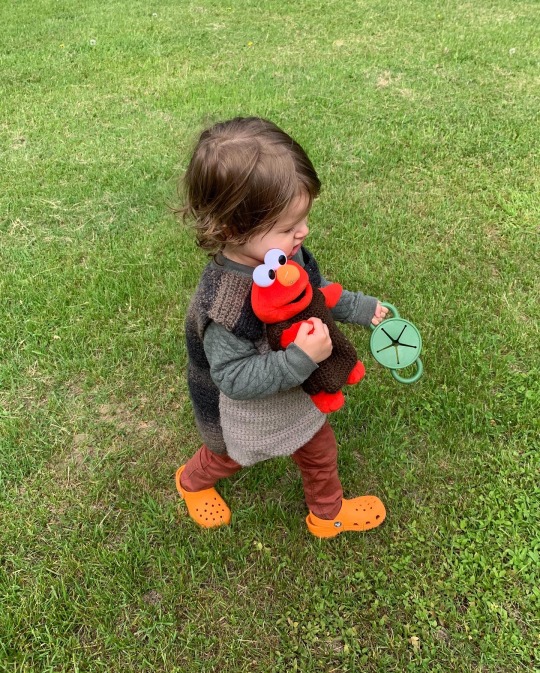
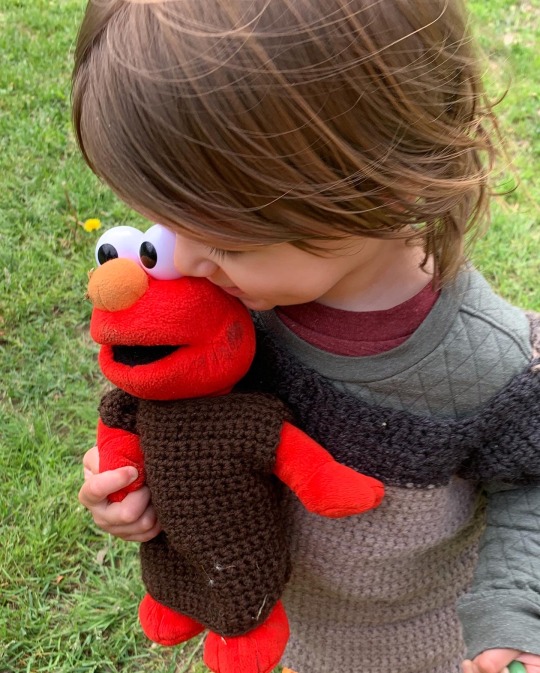

it’s been a low-energy day, but I did make Elmo a tunic so he could match my son.
#attire#crochet#tunic#crocheting#crochet fun#handmade#homemade#elmo#wholesome#parenting#raising children#making#crafts#fiber art#rural#rural fashion#homemade fashion#crochet fashion#crocheter#crochet sweater#sweater#toddler fashion#toddler life#crocs#sesame street
46 notes
·
View notes
Text
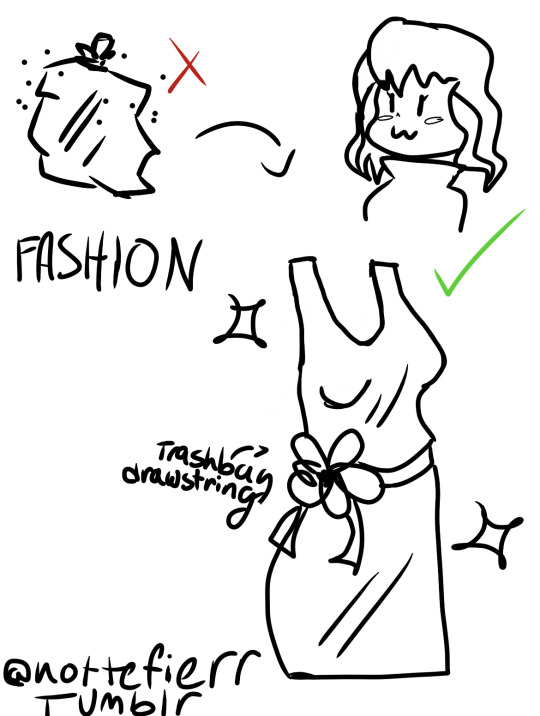
go ahead
try it with your
✨oc✨
#came up with something random#random fashion suggestions#yep#its called fashion look it up#homemade fashion#STRAIGHT OUTTA THE KITCHEN#omg yes#seriously i wanna see what you guys can come up with#you can literally make a dress out of anything lmao#if you put your mind to it#nottes art#nottefierr#randomrants
5 notes
·
View notes
Text
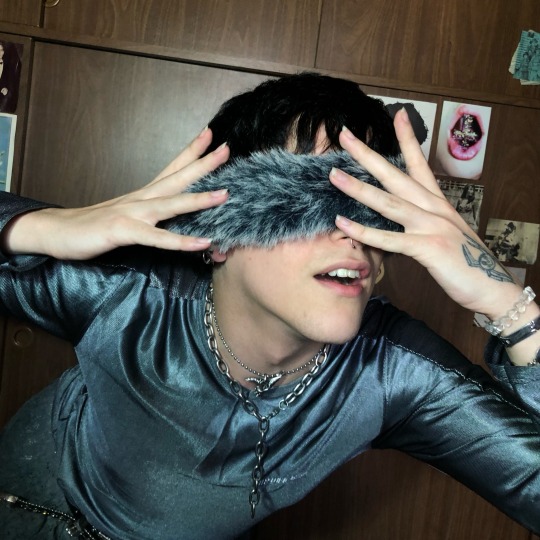
Did not realize just how goth this jacket was going to be but I'm so so so happy that it is
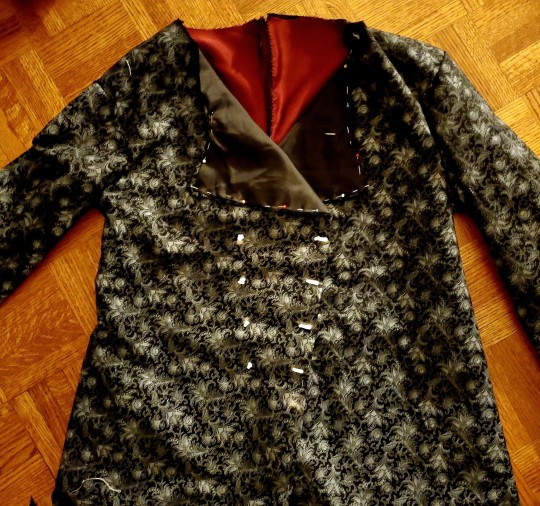
#first time drafting a pattern for myself from thorton gentlemens guide to pattern cutting from the 1890s#sewblr#historical sewing#gothic fashion#homemade fashion
3 notes
·
View notes
Text
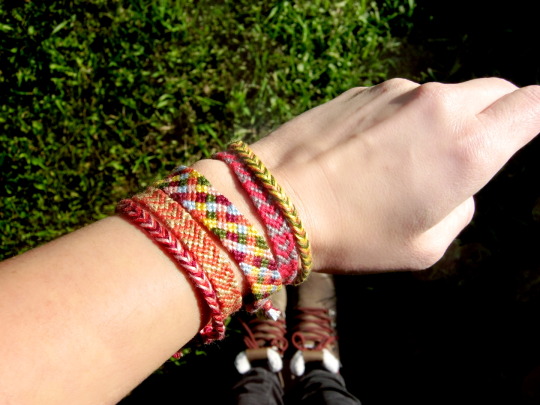
A few Brazilian bracelets
Good afternoon,

I've had a few different creative hobbies since my childhood, and I do remember fondly making small accessories, such as bracelets. It is to my surprise, as an adult, that I have discovered that Brazilian bracelets, also called friendship bracelets, are, in fact, macramé. The techniques can also include braiding.
Furthermore, it is told to make a wish when you have a new bracelet; and, if you ever lose your bracelet, your wish will come true. Let's hope that this superstition will compensate for the loss of your bracelet.
These few bracelets are part of my boho accessories, and are easy to wear.
Have a wonderful day!
0 notes
Text
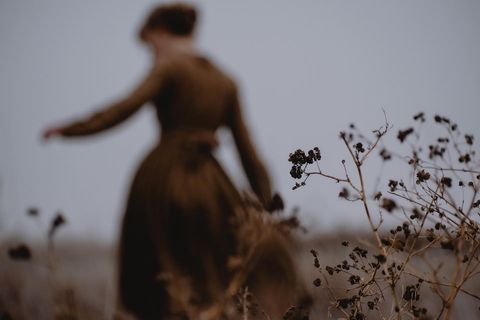
by quietwilderness
#people#nature#insta#autumn#vintage#vintage fashion#vintage dress#dress#homemade dress#homemade fashion#fashion photoshoot#nature walk
1 note
·
View note
Text
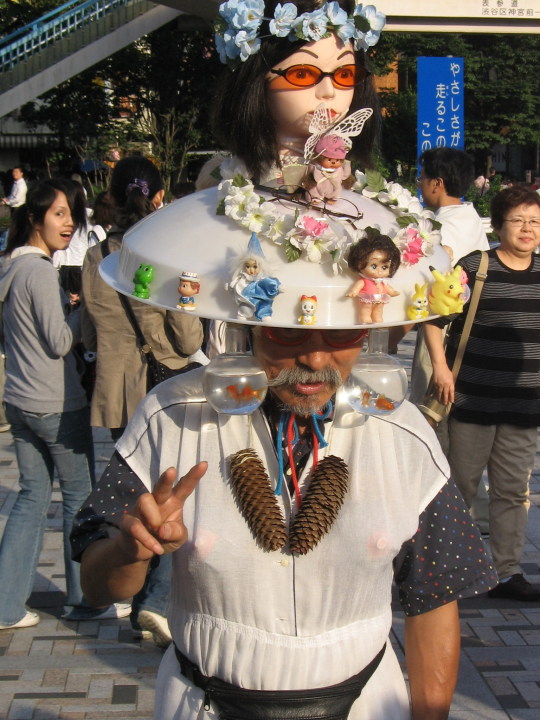
꧁★꧂
#harajuku#harajuku fashion#hat#mannequin head#goldfish#fish bowl#flower crown#sunglasses#monchichi#doraemon#toys#figure#clown#doll#fairy#pikachu#homemade#diy#art#fashion#flickr#oldweb#old web#2008
130 notes
·
View notes
Text
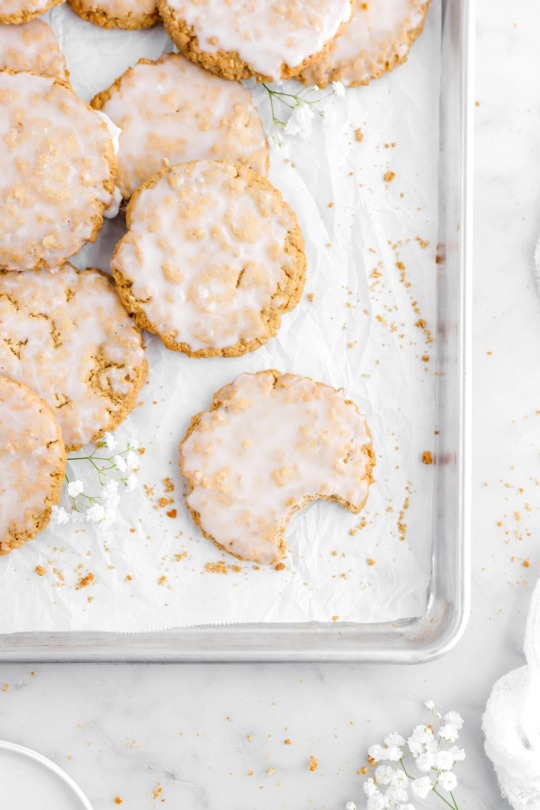
Better Than Store-Bought Old Fashioned Iced Oatmeal Cookies
258 notes
·
View notes
Text


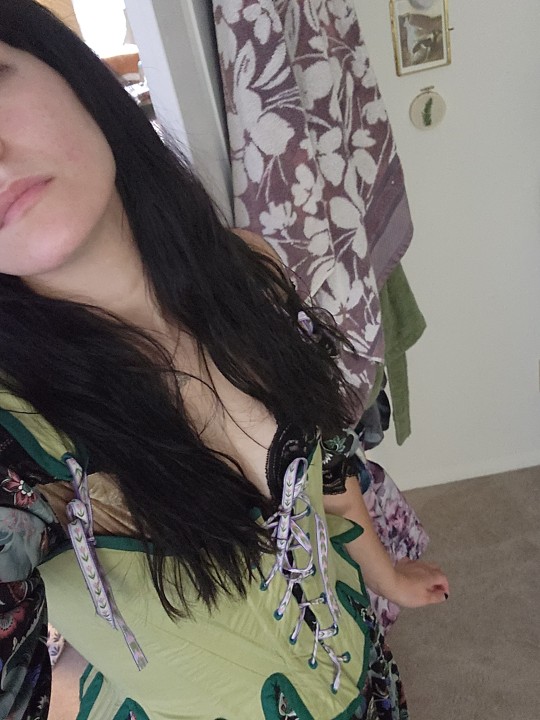
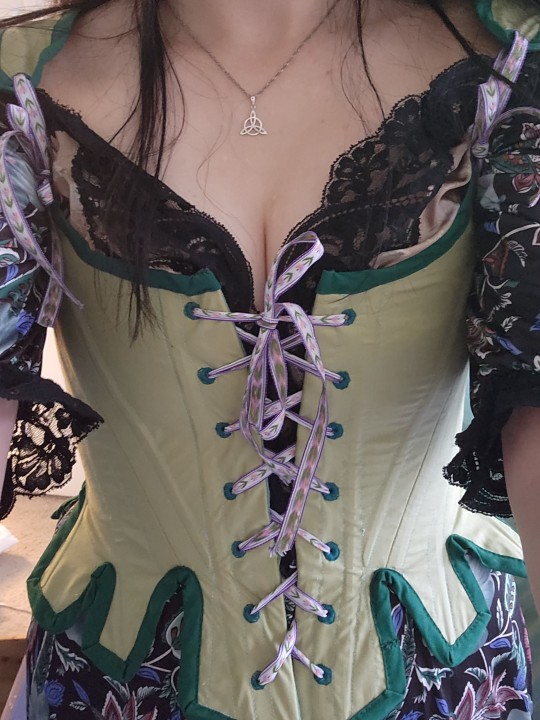


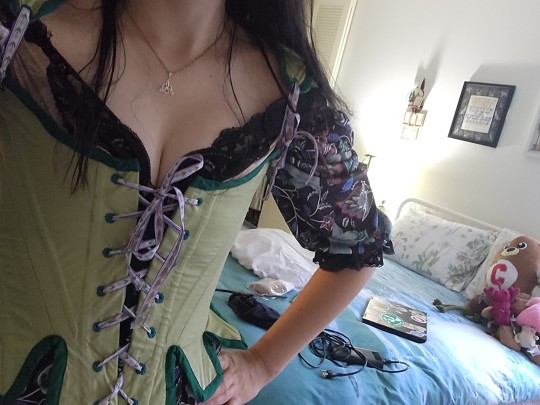
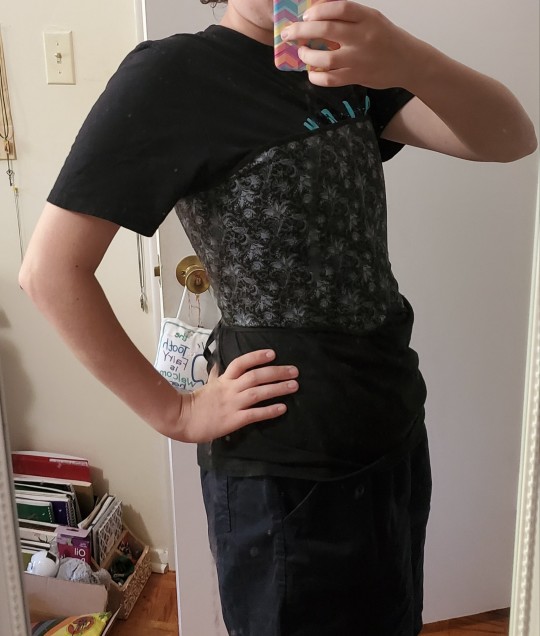
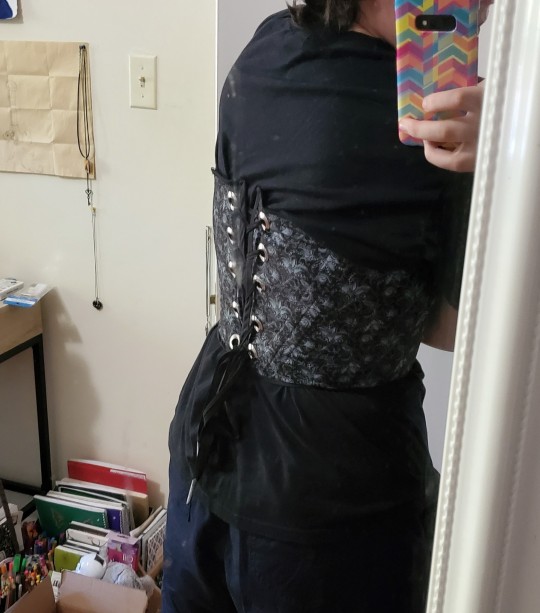
Someone please tell me this outfit will make me the hottest she/they at the Renaissance Faire I am feeling highly insecure 🥲
#me#my face#renaissance faire#renaissance fair#homemade#sewing#vintage#70s#renaissance#medieval#renaissance revival#fashion#style#selfie#selfies#arts and crafts#art#stays#corset#thrifted#okay to rb#okay to reblog#vampire#brunette#girl#cute
160 notes
·
View notes
Text
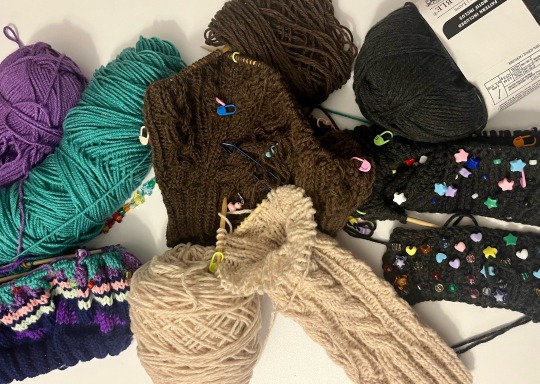
every project i’ve started in the past week…….. i’m at the point where i have to bargain with my adhd to finish two projects before i can cast on a new one 😩
#art blog#fiber art#knitting#knitting with adhd#adhd knitter#cabled knitting#cable knits#knitting with beads#bead knitting#fiber artist#homemade fashion#diy fashion#hand knitted#knitwear#knittersgonnaknit
15 notes
·
View notes
Text
Fun fact! I sew!
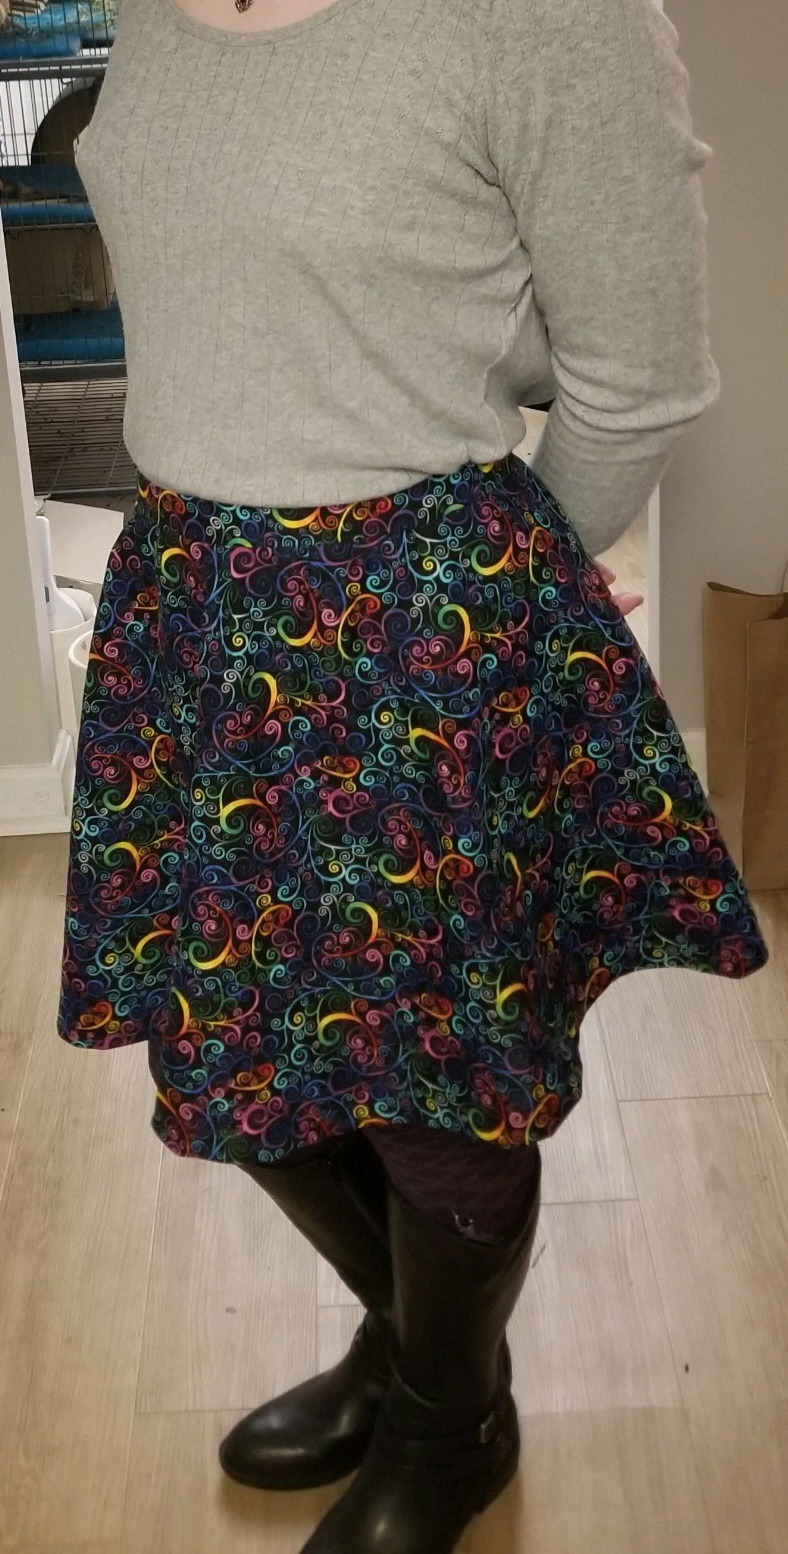
I made this skirt! It's a cotton half-circle skirt - with a pocket.
Pictured: my wife
#sewing#clothes#Homemade clothing#Transgender#transfem#trans woman#I love to make skirts for my trans wife <3#Fashion#Trans fashion#Things I sewed
41 notes
·
View notes

Text
Mwahahahaha!!
I made a thing!!!
1 note
·
View note
Text
Some little bows before anything else
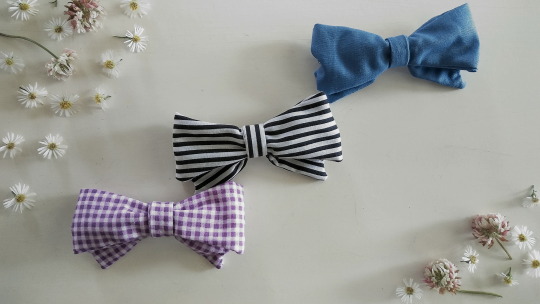
This blog has first and foremost an ecological and self-sufficient mission; so, without further ado, here is a project to use small scraps of fabric.
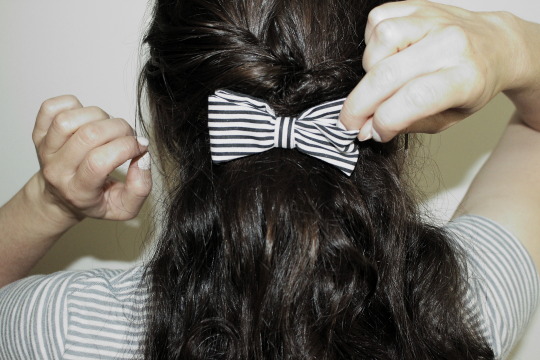
These accessories are not part of any specific collection; but, since I’ve decided to grow my hair longer, I’ve felt a sudden and great need for hair accessories!
As a base, I’ve used the bow pattern from Six Sisters’ Stuff, but I doubt the result is accurate, as it did not print exactly at 100%. This said, I think I like them better this way; they look like they are the right size for my head. I feared they would be too big, but they’re small enough to be a subtle addition to an outfit, and less childish than a huge bow might look. (After all, not everybody is Sia; an enormous head bow doesn’t look as good on me.)


I hope that this humble project will inspire you, and will introduce you to a creative idea based on small leftovers from previous projects.
Have a wonderful week!
#bows#accessories#sewing#fashion#Reduce Reuse Recycle#Zero waste#Homemade fashion#Hand sewing#Handmade#jennifersblog
1 note
·
View note
Text
How to Make a Printing Screen from Home
I wanted to share a quick cute little tutorial for how I made my own screen for making patches (and other things that don't require exact measurements). Cute lil how-to under the cut >:)
Disclaimer: I have absolutely no idea what I'm doing at any given moment. There could be a better tutorial out there for you. I'm just guessing for a lot of the things I do and this is no exception. With that out of the way:
THE SUPPLIES YOU DEFINITELY ABSOLUTELY NEED:
a small/medium canvas (depending on what you have and how big your design will be)
paintbrushes
a tight-woven sheer fabric (preferably not stretchy and STRONG)
a fine-tip pen
water-resistant gloss of some kind (mod podge works, but make sure it's a waterproof kind if you want to make more than one print)
paint that won't come off in the wash (acrylic/spray paint work)
good strong tape
a good sturdy card-like thingy
an easy/cool design for your print :)
THE SUPPLIES THAT ARE RECCOMENDED BUT NOT NECESSARY (aka things I like to use):
a good canvas fabric/thick cotton for printing on
fabric paint (will stay on the fabric best duh)
a 1/2in, 1/3in, and fine tip paintbrush for details (depending on your design)
some company for fun :)
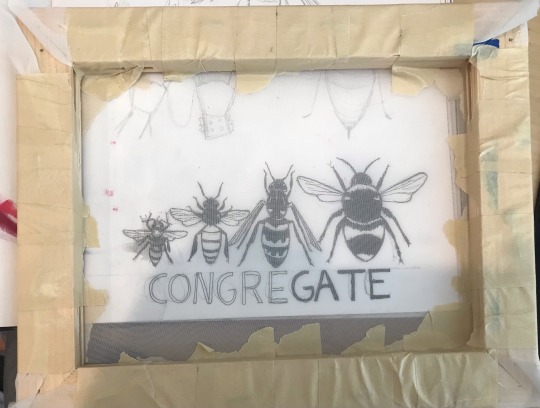
Alright, so first you'll want to figure out the design you want to print out and get a good sketch over it. I'm a detail freak so I like sketching out my design then going over it in a black pen. The ideal is hard contrast and clear and discernable lines/fill-in spots, like pictured below:
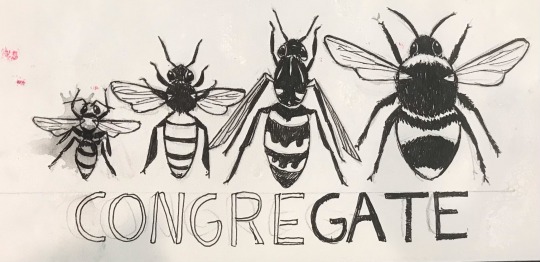
(Note how I emphasized which spots were to have thicker lines, which parts of the stripes were to be printed, etc. I tried to think a lot about which portions I wanted to show up on the finished design and how they would look on the fabric as a whole.)
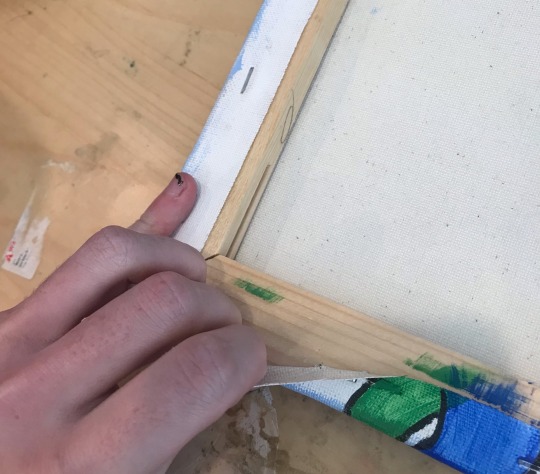
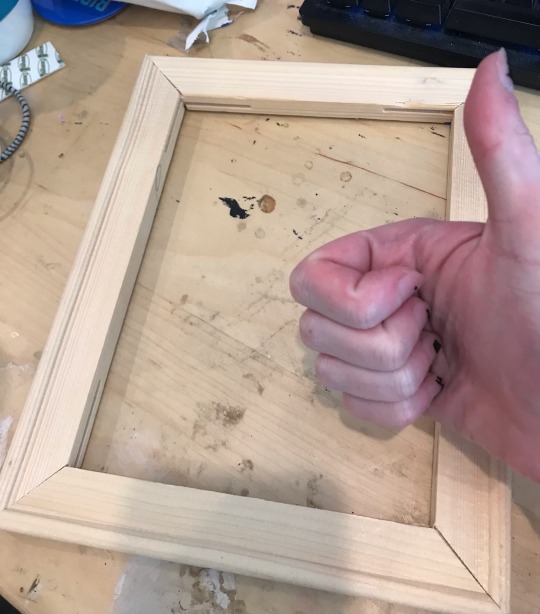
So you've got your design. Great! Next step is a fun one: Grab a canvas you are willing to part with (this one was a painting I made when I was 16. I hate it), and rip all the fabric off of that fucker!! If you pull off some staples in the process, don't worry. Just make sure you can retain the shape of the frame, since that's the part you'll need to keep. You don't need to take off every single bit of the fabric, but as previously stated, I'm a freak, so I did. You'll come out with something like this:
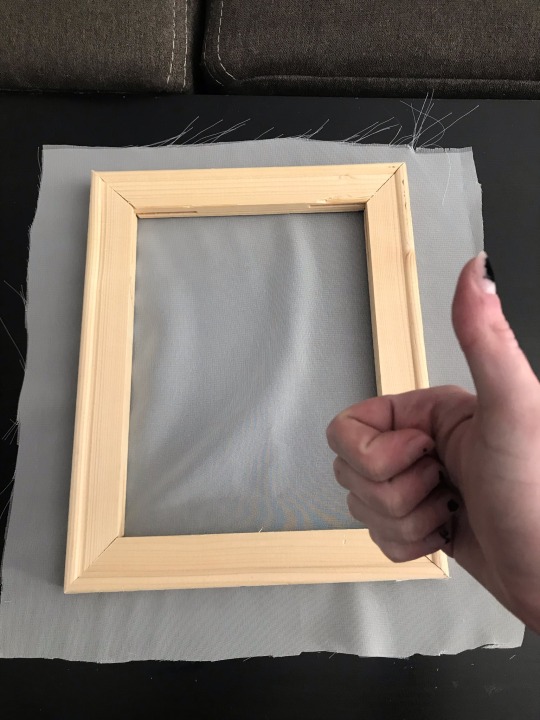
For the next steps you'll need a good pair of scissors as well as your pen and your sheer fabric. You're going to want to set the frame on your fabric and cut about an inch and a half around it so there's extra to wrap around the frame and tape down. You can draw a guideline for where to cut if you want, but once again, I'm a freak:
Now lay the front of the canvas frame (the part without staples on it) face down on the fabric and grab your tape! Now we're going to tape down each end of the frame so the sheer lays taut on the frame. I like to put one or two strips of tape on the ends parallel to each other and pull them tight, then do the same with the other side, then continue adding tape until the whole outside of the frame is covered. See below:
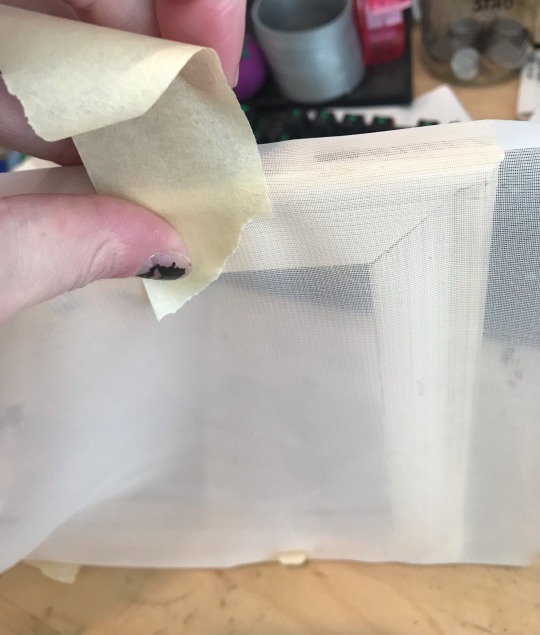
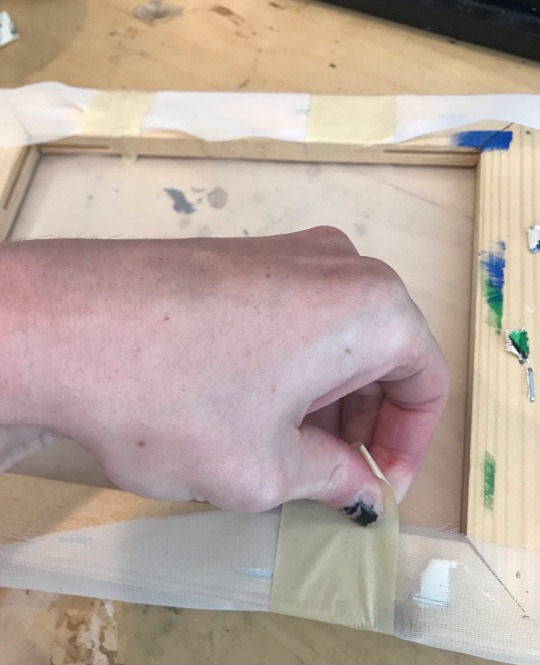
(Note: your goal in this step is to stretch the sheer as tight as it can comfortably go so there are no wrinkles or depressions in the fabric.)
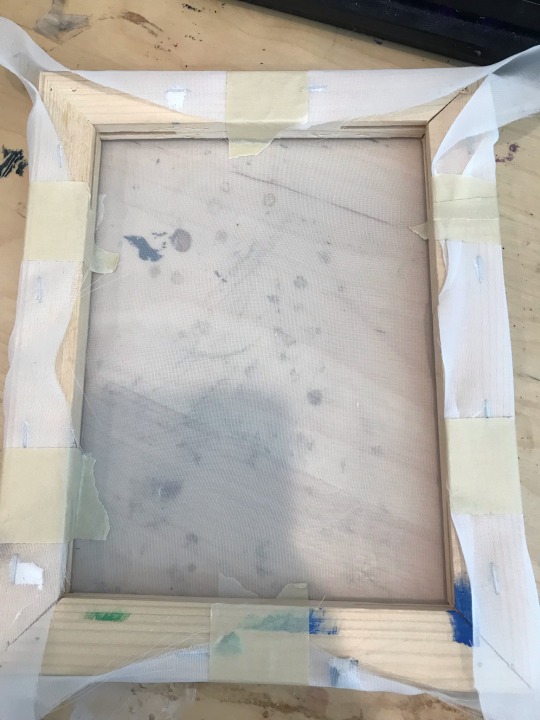
So now you have you're frame. Fuck yes!!! Go ahead and grab the design you came up with as well as your pen (you can use a pencil too, but the pen shows up much better through the fabric so I definitely prefer it), and put the frame front side down onto the sketch.
If you're worried about keeping the frame steady, feel free to tape the frame down and go ahead and trace over the design with your pen. Make sure to fill in all the dark parts enough that you can differentiate them from the light parts.
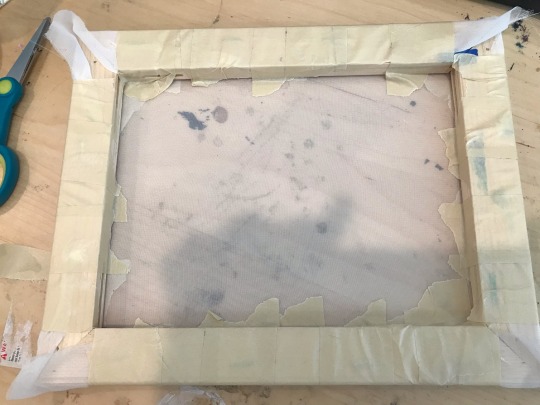
Once you have your sketch copied to the frame, now you can grab your gloss!!! Hurry!!! You're almost done!!!!
With this step I like to start big and go into the details once all the larger portions of the sheer are covered. Pretty much you're going to paint over every part that isn't the black of the pen with your waterproof gloss. This ensures that once you start printing, the only parts that are going to bleed through the fabric will be the black parts that weren't painted over with gloss/varnish/mod podge/whatever you used as long as it's waterproof!!! Take all the time you need, it's not a race. Once you're done and the gloss has dried, your screen is going to look something like this when put up to a light:
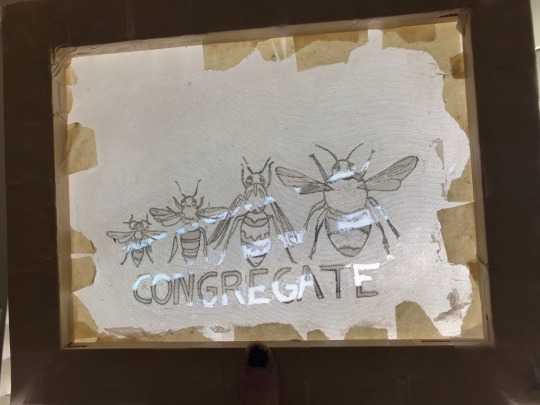
Now that this step is over with, congratulations - you have just made a mesh screen!!! Keep reading to learn how to use it lol
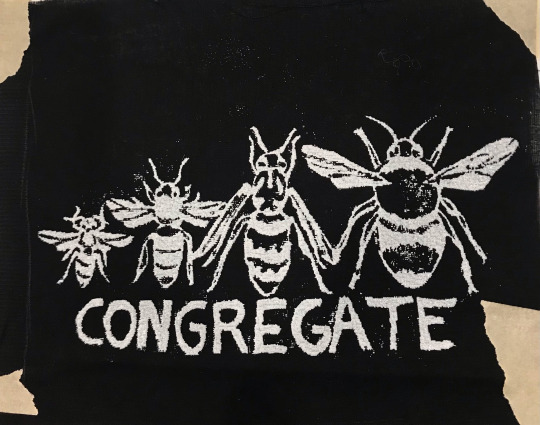
So for the patches that I make I just went with black and white paint, and black and white fabric to keep it traditional, but you can use any colors of paint and fabric you want, truly! The world is your oyster! I do not care! That being said, we're keeping it simple today.
Grab your screen, a piece of fabric that can cover the design and leave at least an inch of space around it, and a surface you won't mid getting paint on on accident. You'll also want to grab that card-like thingy for this as well. It can really be anything that can provide a sturdy, even pressure across the screen consistently. Go ahead and pick up that fabric paint too, I guess. We'll probably need that.
At this point, this is what your workspace might look like:

Next up you are going to center your design onto your piece of fabric-

-and grab your fabric paint. put a thin little stripe over the top (start slow and add more - as you can see I added a little too much and kinda fucked up my design) then grab your card thingy. Make sure you have even pressure on it and swipe it down at a medium speed so you're dragging the paint down the screen:

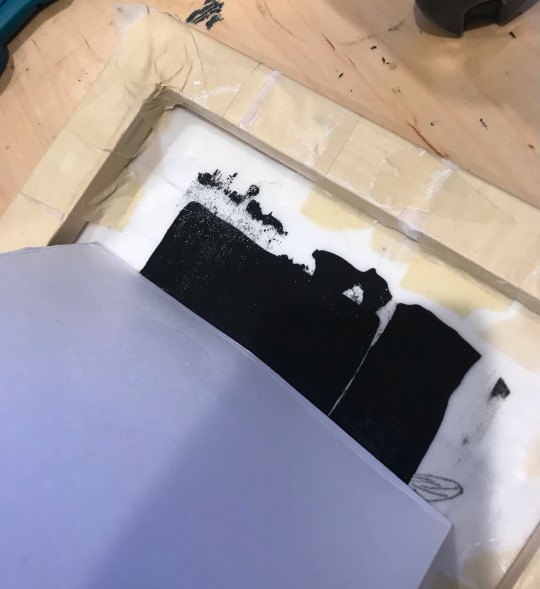

Once you've got everything covered I like to go over it a few more times for even coverage. Then you pull it up from the screen (which you might want to rinse off so no paint sticks to it!!!), wait for that bitch to dry, and you're done!! Congratulations, you have your very own fun silly patch! Go sew it on something! Or not! I do really do not care!!!!!!

#blog post#cant-shake-it#patches#homemade#punk#punk diy#punk patches#tutorial#how to#screen printing#diy#fashion#if i get hate for this im prepared bc i ride life on the seat of my pants#there are no rules and i am so inefficient
142 notes
·
View notes
Last Seen Blogs
sswaggerrth1
Swagger


fragiletreasures-blog
The Fragile
flawless-one
Stay Classy
fat-tenn300lbs2
love fat men and fat teen