#hellomuller
Text

TRIALS OF X Vol. 12 is out now, and marks the final collection in the ‘anthology’ style X collections that began with DAWN OF X and continued with REIGN OF X. 42 Books designed over 4 years.
What a ride!
#design#hellomuller#comics#graphic design#typography#logo#logo design#graphics#branding#logos#x men#x men comics#marvel#wolverine#cyclops#storm#jean grey
127 notes
·
View notes
Text
Data Pages and comics
Sometimes in comics you need to give the reader a lot of information in a short amount of time. The dreaded exposition.
Classical comic thinking is to do one of two things: a dialogue heavy page where one character is relaying the information to another (or the reader). This is usually done poorly:
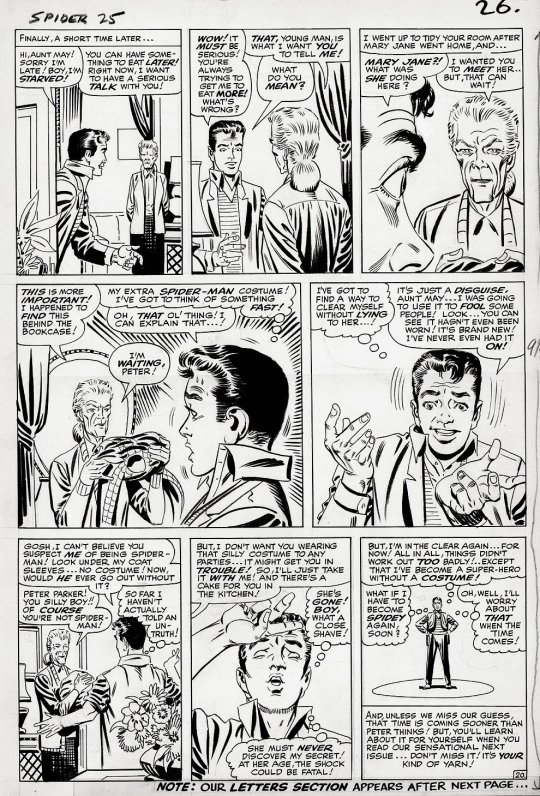
But sometimes it can be done (subjectively) well:
The problem, though, is the As You Know trope. You have two characters, who know this information (or should know the info), but they are explaining it to each other as if they don't know. This is all for the reader's benefit. It's clunky and feels like Silver or Bronze Age comic writing.

Sorry Scrooge…
The other way is through captions.

Not all comics work well with narrative captions. Especially if captions are being used for internal character thoughts (I'm looking at you every-Wolverine-comic-ever).
A modern solution has been data pages. You've seen these a lot in works by Jonathan Hickman, like his creator work:
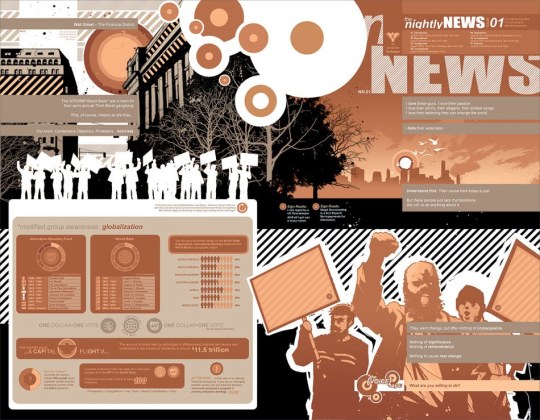
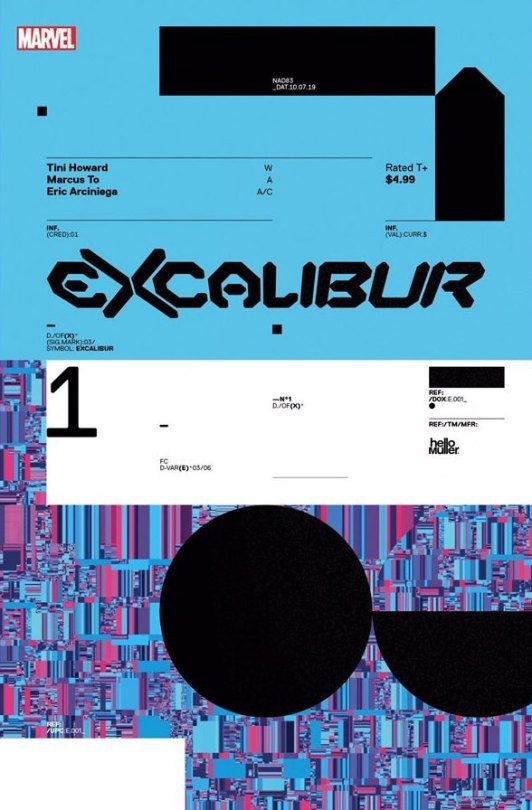
And in the X-Men, predominately by designer Tom Muller (@hellomuller and @hellomullerltd).
But they've popped up in manga like Gunnm/Battle Angel Alita:
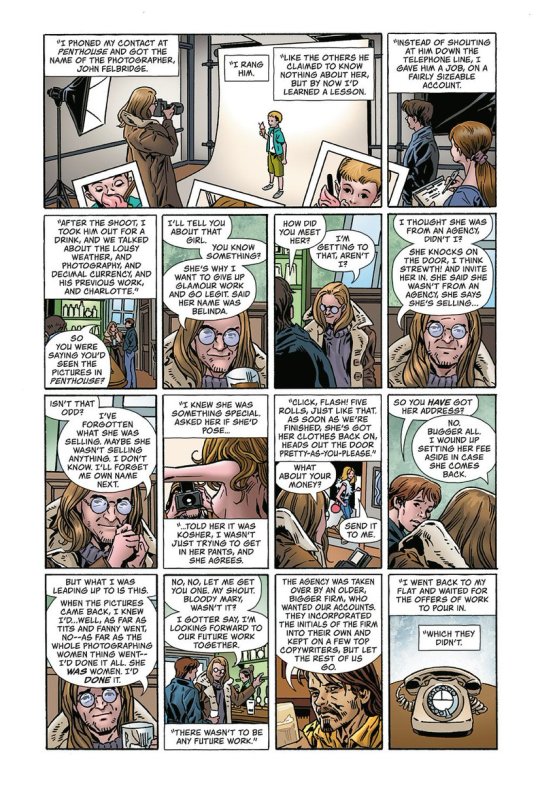
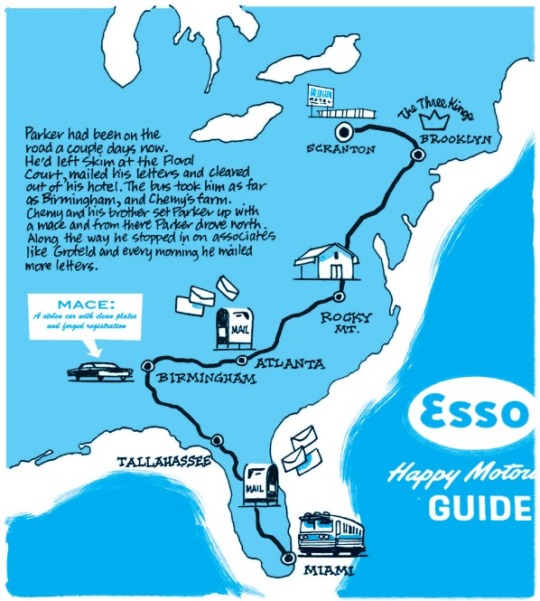
And Darwyn Cooke's Parker books (which even includes prose from the books that have been adapted):

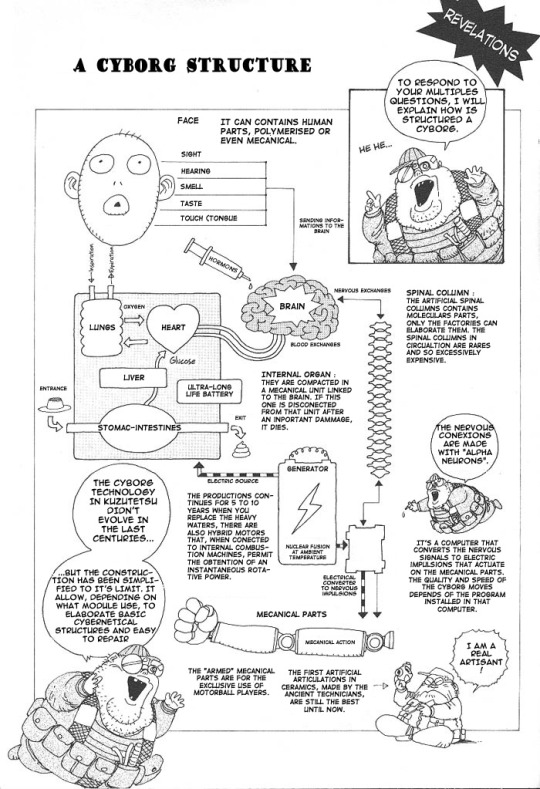
As well as classic comic books like Fantastic Four

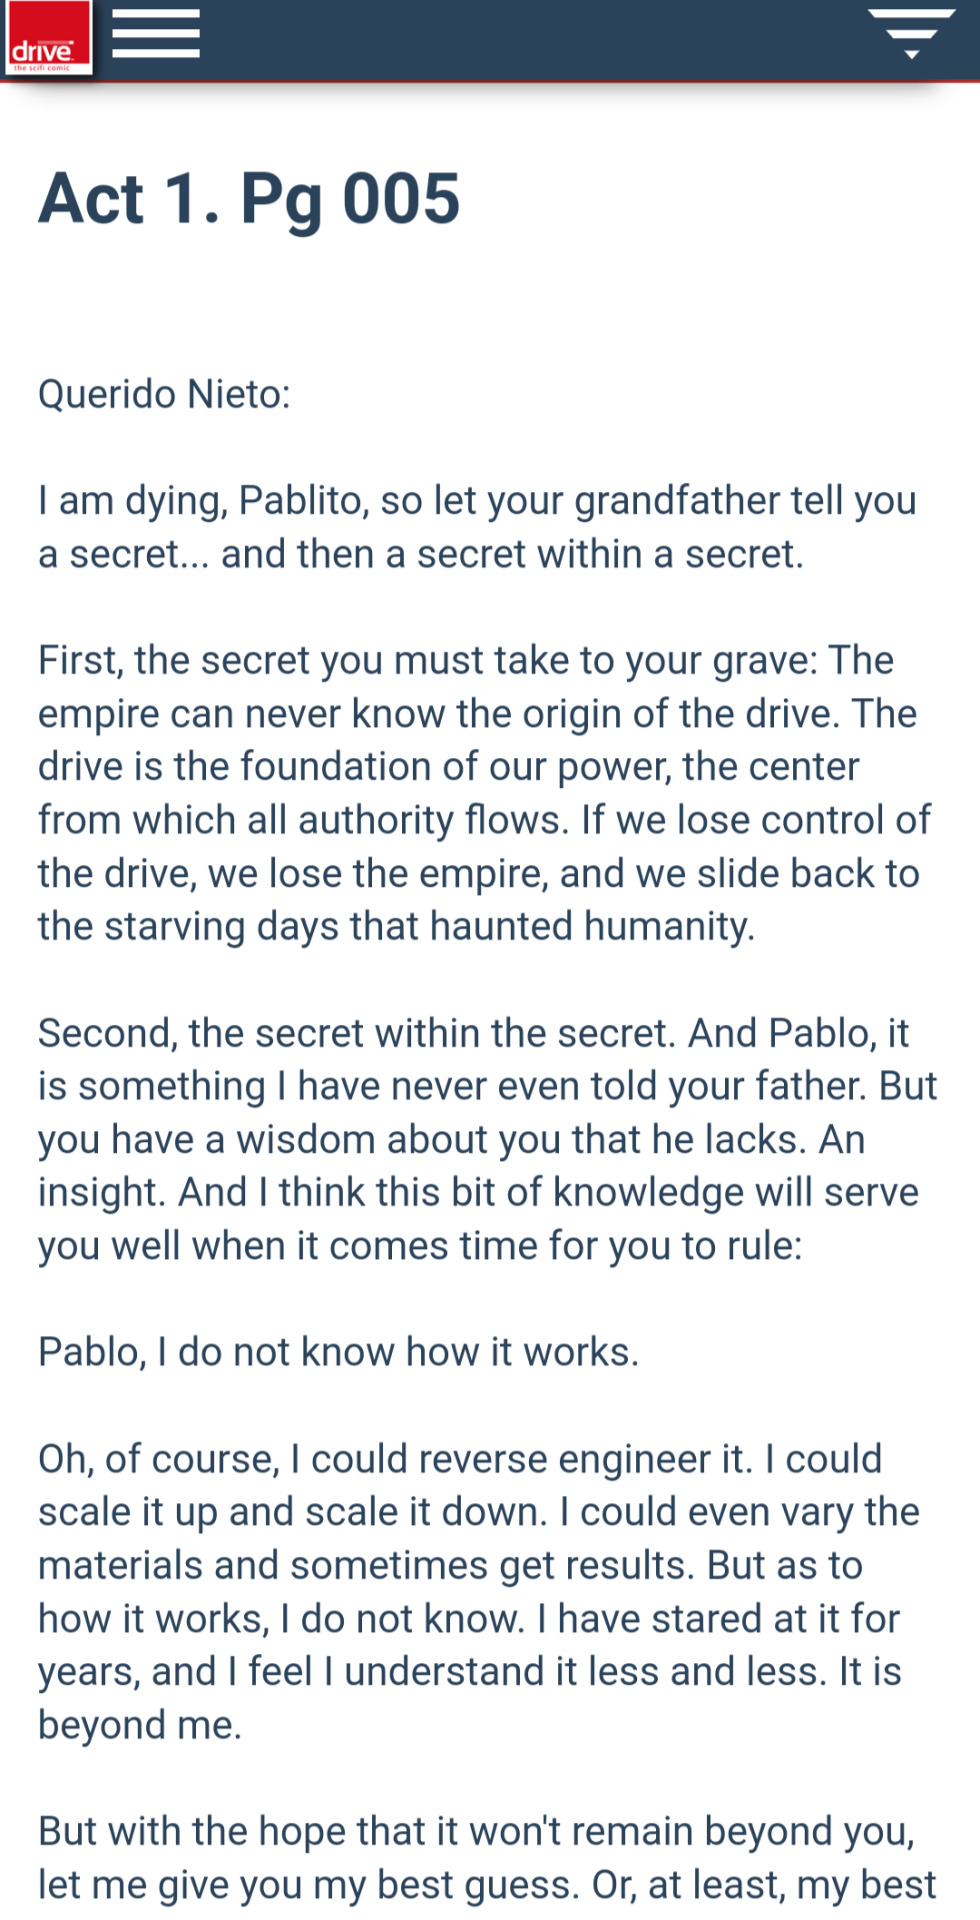
And even webcomics such as Drive by Dave Kellet. He even includes the text in a blog post to be more readable on mobile devices.

These all convey information that the author feels the reader should know. Some are done as a document, others as illustrative piece, but they are all giving the reader information.
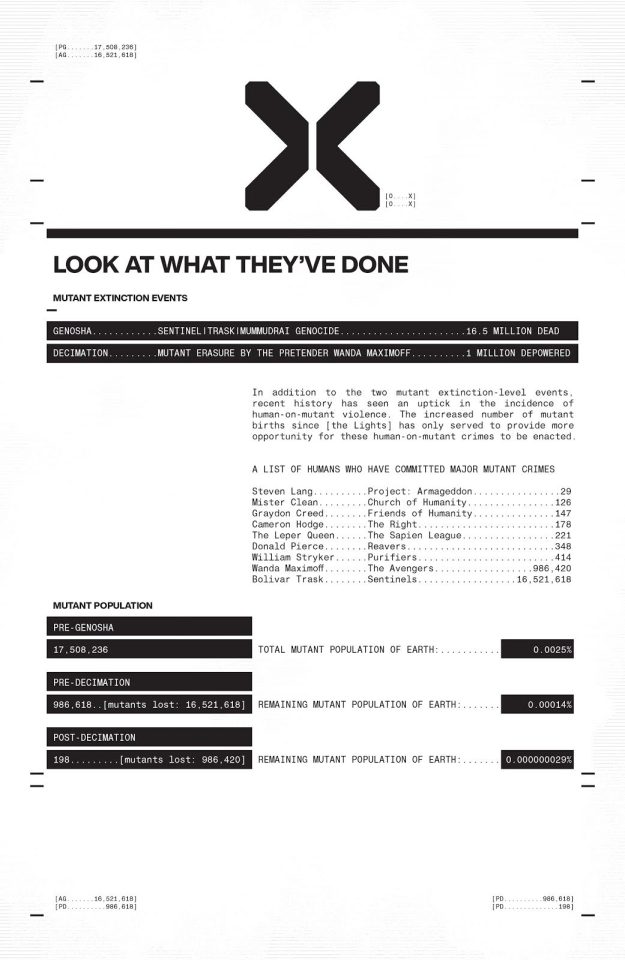
What makes the Hickman/Muller data pages interesting (particularly in X-Men) is that they are not outside the realm of the story; they are part of it. These pages are documents pulled from the canon of the story. A file from Nick Fury's database, or an historical archive. Dave Kellet even does this with his Enciclopedia Xenobiologica entries about races, places, and technology in his webcomic.


Unlike classic data pages, such as the Baxter Building cutaway, modern datapages are also placed within the reading of the story, not as an extra or appendix. Strip Panel Naked over on Youtube explains Hickman and Muller's approach in detail (spoilers by the way for X-men!)

So consider this as a solution to an exposition heavy sequence. Do a diagram showing your characters' heist plan. Create a schematic of a starship so your readers know where the characters are. Have a legal pad with a lawyer's notes about your character's story. And, if this is in a web or mobile comic, offer the text in a blog post (in fact it's a good practice to offer text of your dialogue).
This is just one solution to exposition. What's some other ones you've see work?
9 notes
·
View notes
Text
A Step-by-Step Guide for Building Your First Mule Application

No matter if you are an experienced developer or new to integration, this blog will guide you through creating your first Mule application step by step.
But before delving into the step, let us first understand the basics!
What is MuleSoft?
MuleSoft is a popular and powerful platform that provides a seamless way to integrate various systems and applications within an enterprise.
What is MuleSoft used for?
MuleSoft Anypoint Platform streamlines API discovery and building, allowing for faster application development and delivery. Moreover, the one unified platform allows you to design, implement, secure, and scale APIs and integrations across many protocols, as well as test them in a variety of ways.
How to Create Your First Mule Application Step by Step?
Understanding Mule ESB
Before diving into the creation of a Mule application, it is essential to understand what Mule ESB is. Mule, as an integration platform, allows you to connect applications, data, and devices both in the cloud and on-premises. Further, it is a lightweight Java-based ESB and integration platform that can handle many integration scenarios.
Setting Up Your Development Environment
The first step in creating a Mule application is setting up your development environment. You will need:
Java Development Kit (JDK)
Mule is a Java-based platform, so you need to have the JDK installed on your machine.
Anypoint Studio
This is MuleSoft integrated development environment (IDE). And it simplifies the process of developing, testing, and deploying Mule applications.
Downloading and Installing Anypoint Studio:
Visit the MuleSoft website and download the latest version of Anypoint Studio.
Follow the installation instructions based on your operating system (Windows, macOS, Linux).
Launch Anypoint Studio and configure the workspace.
Creating Your First Mule Project
Upon launching Anypoint Studio, you will have to define your workspace. This workspace is where your Anypoint Studio project files will be stored on your computer. Moreover, after setting up Anypoint Studio, you are ready to create your first Mule project:
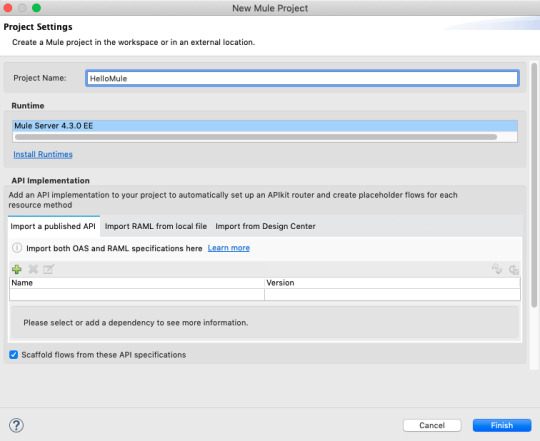
3.1. Create a New Project:
In Anypoint Studio, go to File > New > Mule Project.
In the Project Name field, enter the value HelloMule and, select a Mule runtime version, and then click Finish.
3.2. Designing the Flow:
Mule applications are built around flows. A flow is a sequence of message-processing events.
Use the drag-and-drop interface in Anypoint Studio to add components to your flow.
3.3. Adding Components:
The HTTP module should be pre-installed in your Mule Palette. If it is not present, you can add it by selecting Add Modules. Then, simply drag and drop the HTTP module from the right side to the left side in the Mule Palette. In addition, this process is how you incorporate new modules or connectors into your Mule Project.
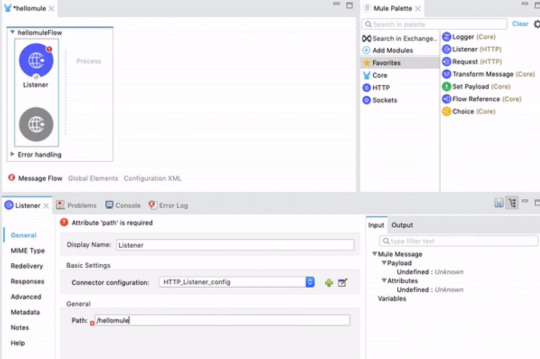
The path you set is where your system will run your flow when it gets an HTTP request.
3.4. Configuring Components:
Next, add the Set Payload connector to your flow in the Process section. Further, look for the Set Payload connector in the Core module of your Mule Palette. After that, turn off the “fx” button and enter the text "Hello Mule."
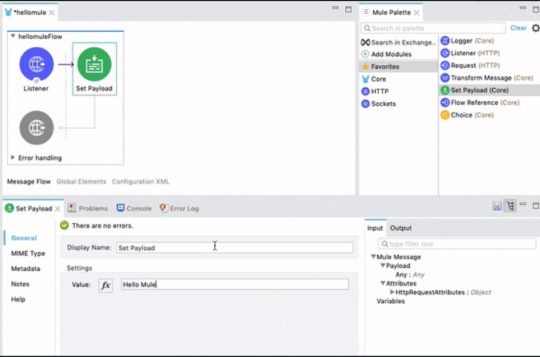
Now go to File > Save��to save your project.
Testing Your Application
Once your basic flow is set up:
4.1. Run the Project:
Click on the Run button in Anypoint Studio to start your application.
Ensure there are no errors in the console and that the application starts successfully.
4.2. Testing the Flow:
Use a tool like Postman to send a request to your HTTP Listener URL.
Check the console in Anypoint Studio to see if the Logger component outputs the expected message.
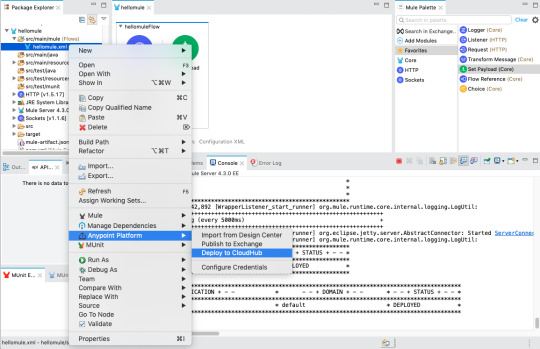
Deploying Your Application
After testing and ensuring everything works as expected:
Export Your Application:
In Anypoint Studio, right-click on your project and select Export.
Choose to export as a Mule Deployable Archive (.jar file).
Deploying on CloudHub or a Local Server:
MuleSoft Best Practices
Version Control
Use version control systems like Git to handle your source code.
Error Handling
Implement proper error handling in your flows.
Testing
Write unit tests for your flows using MUnit, MuleSoft testing framework.
Next Steps
Explore More Components
MuleSoft offers a wide range of connectors and components. Experiment with them to extend the functionality of your application.
Learn DataWeave
DataWeave is MuleSoft expression language for data transformation.
Conclusion
Creating your first Mule application might seem daunting, but with Anypoint Studio, it becomes an intuitive and straightforward process. By following these steps, you will be well on your way to developing robust integrations using MuleSoft powerful platform.
0 notes
Text
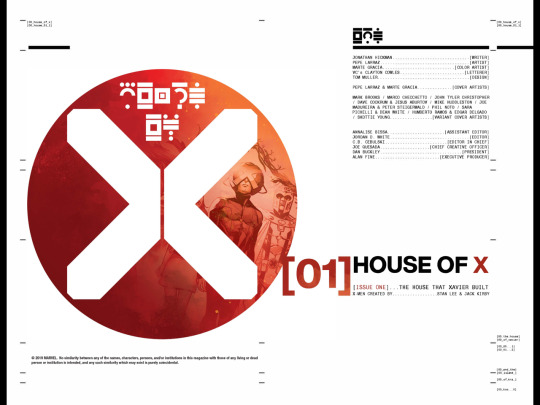


HOUSE OF X #1
Designs by @hellomuller and @pronea
Marvel Comics
8 notes
·
View notes
Photo

So… Jason my art guy has finally pulled some originals out of my sweaty fingers from the first story arc of Wolverine. He said we’ll do an art drop early next week… unless I get cold feet 😓😥😢#BabySteps @sequenceart #essentialsequential #Repost @benjamin.percy with @get_repost ・・・ Hey, bub. Wolverine Volume 1 (which collects issues 1-5) is now available at comics shops everywhere. Look at this beautiful trade design by @hellomuller #marvelcomics #wolverine https://www.instagram.com/p/CHvyjBggSZy/?igshid=ghsph27o2od0
7 notes
·
View notes
Photo

HelloMuller / Blade Runner 2049 / Interlinked / Poster / 2017 https://ift.tt/2SVdEYj
69 notes
·
View notes
Text
Blue In Green: Comic Book Review
Blue In Green: Comic Book Review
Creative team: @therightram,
@an_anandrk, @adityab
@JohnJPearson, @hellomuller
and published through @ImageComics
"The thrum of life and movement simmers on every page"
Blue In Green: Comic Book Review
Creative Team: Ram V, Anand RK, John Pearson, Aditya Bidikar, Tom Muller
Publisher: Image Comics
Blue and Green Should Never Be Seen
Erik Dieter is a struggling musician, returning home to attend his mother’s funeral. Upon his return, he finds a photo of an unidentified 60s jazz musician, and the subsequent hunt for his identity becomes an obsession. Slowly, Erik…

View On WordPress
#2020#60s music#abstract#aditya bidikar#anand rk#best of 2020#blue in green#blue in green comic#Comic Review#comic reviewers#Comics#image#Image comics#indie comics#jazz#jazz musician#john pearson#ncbd#ram v#surrealism#These Savage Shores#tom muller#valks#valks squad
1 note
·
View note
Text
Future-forward work that makes an impact on the cultural landscape turning design and brand storytelling into compelling identities that inspire a global audience.
Welcome to helloMuller. Let’s work together.
https://www.hellomuller.com
#design#hellomuller#comics#image comics#graphic design#typography#logo#cover art#logo design#graphics#branding#business#marketing#visual identity#visual art
26 notes
·
View notes
Photo

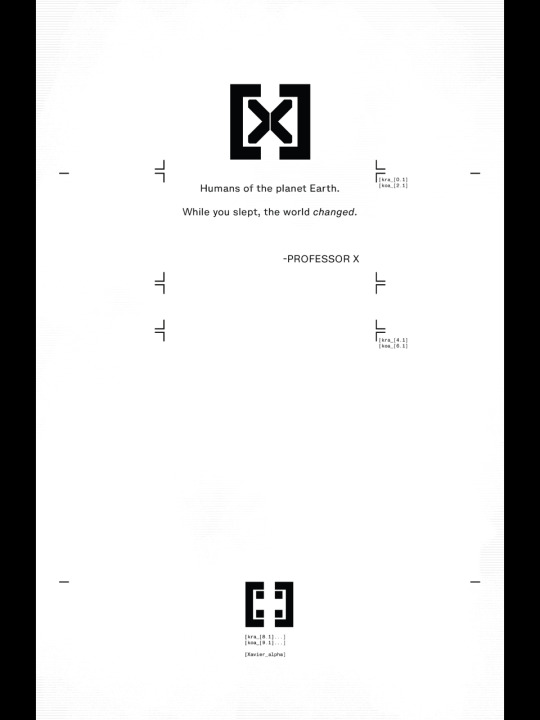
ReDaCTed
ReDaCTed is a paranoia-drenched blackout-poetry-based-narrative I have conceptualised using the form of a government document. It will be told daily in 30 parts.
Informed and inspired by the concept of perspectives as explored in The Conversation (directed by Francis Ford Coppola) and Not Waving but Drowning (by Stevie Smith), as well as by Year Zero (@nineinchnails), Death of the Author (by Roland Barthes), Zero (by @aleskot and @hellomuller), the Freedom of Information Act, and The X-Files.
#blackout#blackout poetry#blackout poem#concept art#makeblackoutpoetry#blackoutpoetry#poetrycommunity#Shape Poetry#poetry portal#shape poem#writers#amwriting#writers community#Writers Corner#writers on tumblr#Nine Inch Nails#NIN#Art is Resistance#year zero#another version of the truth#ReDaCTed#x-files#death of the author#FOIA#dystopia#conspiracy#conspiracy theory#covid19#coronavirus#coronapocalypse
4 notes
·
View notes


Text
7 top tips for going into business
Design experts share their business pearls of intelligence.
If you’ve been feeling stuck in a creative rut, it may be worth having a moment to take stock of your career and decide where you want to go next. Maybe you’ve been freelancing for a few years, or even just a matter of months and you want something more concrete to get your teeth into. Or maybe you’ve been working in-house, or full…
View On WordPress
0 notes
Photo

The latest News About Movies & TV Shows! https://t.co/0L3EAEFfZk Thanks to @hellomuller @Doctor_Hue #furiosa #wonderwoman1984
0 notes
Photo

@hellomuller Can we get a book of your collected work already? Or at least a graphic novel designed from cover to cover in collaboration with an illustrator. #hereshoping #design #hellomuller #material #imagecomics #aleskot #graphicnovel #comics #loveyourwork (at Oslo, Norway) https://www.instagram.com/p/BtCFTkqlcSb/?utm_source=ig_tumblr_share&igshid=1q1npb2h4luee
0 notes
Last Seen Blogs

h4kka
(ง ಠ_ಠ)ง

imjusta-weirdo
MicaLz

legionnaire69love
ShowMe Everything

tenhaychotre
Sans titre

dreamsb0u
skeleton enjoyer