#paint dot net
Text
Okay, you guys can stfu, i got the true art program teirlist
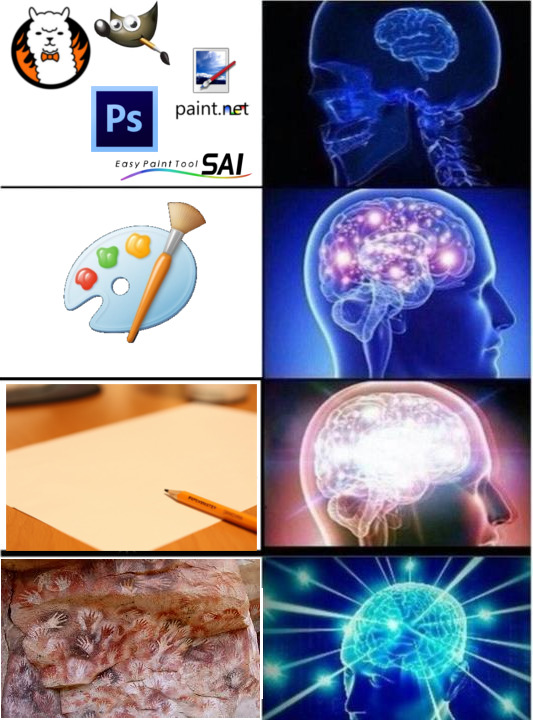
#meme#shitpost#OC#YCV oc#art programs#fire alpaca#gimp#paint dot net#paint tool sai#mspaint#photoshop
6 notes
·
View notes
Text
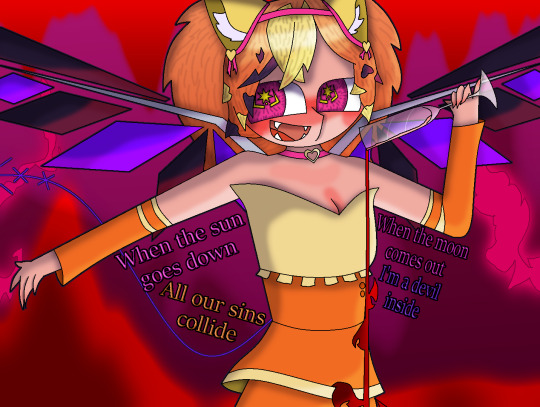
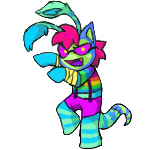
Sadie Eidola (OC)
Is that blood or wine in the glass? Your choice!
I'd tell you more about her, but a lot of that extra would spoil things for an rp I'm in with some people who follow me >:P
Those cat ears are actually just part of a headband, she's not an actual catgirl. Her wings and tail are cybernetic. Her mom made them for her! Or got them commissioned for her, I haven't decided yet…
Lyrics from "We don't sleep at night" by Cash Cash
Time taken: ~6 hours I think?
Program used: Paint dot Net
#artists of tumblr#dragonshy draws#artists on tumblr#digital art#digital drawing#paint dot net#oc art#oc artwork#art#oc drawing#my oc art#oc
6 notes
·
View notes
Text
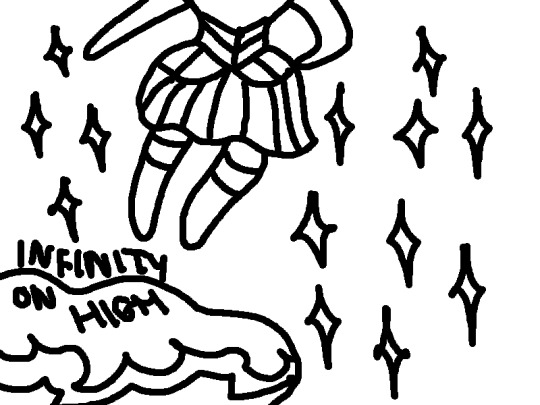
Paint.net basic + fave effects tutorial
@mrmalcolmslist asked me to do a basic pdn tutorial & show how i did the effects on this Luthien edit, thank you so much bestie!
For those who aren’t familiar with it, paint.net is a pretty basic photo software that can be downloaded free HERE. The features are simple and it doesn’t have the capabilities of a fancier editor like photoshop, but it works quite well and is easy to use, and you can do a lot with it once you learn some!

This is the basic pdn program layout. The top bar has the menus for File, Edit, View, Image, Layers, Adjustments, and Effects, along with options for new, copy/paste, etc.
The top left box has your tools.

Rectangle select: allows you to select a rectangular area of the image. You can do a free draw, select according to ratio, or size.
Move selected pixels: Exactly as it says
Lasso and Ellipse select: more select tools for different shapes, cannot do by size or ratio.
Magic wand: allows you to select a pixel from the image and selects the others around it/same colour/shade as it, adjustable by tolerance. Useful for taking out backgrounds an such.
Paint bucket: fills in an area with a colour by tolerance.
Paintbrush/eraser/pencil: Self explanatory.
Colour picker: Selects the colour from an area of the image, adjustable by number of pixels.
Clone stamp: You can select an area of the image with your paint brush and paint with it, moving the “clone” area as you do so.
Recolour: Recolours an area of the image with your paintbrush, adjustable by tolerance.
Text: wordses!
Line/Curve/Shapes: Pretty simple, there are various options for shapes and lines and filling them in.
Here’s the colour palette! You can select all your basic colours and adjust them as needed, and even save colours that you lose a lot onto your bar!

Layer options: Add layer, delete, duplicate, merge down, move up, move down, properties.

This allows you to adjust blend mode and opacity, super useful! Don’t think I need to go into all the details of the different modes right now, but they’re very easy to experiment with and find which ones work best.
Going back to the top bar, here are the image options! Do pretty much what they say xD
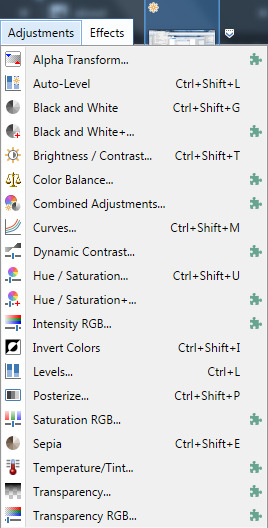
Here’s our adjustments menu! As you can see, a TON of these are plugins I got and don’t use as much. The important ones are b+w, brightness/contrast, curves, hue/saturation, invert, levels, and sepia.

Here’s the effects menu, with a BUNCH more menus! Most of these are more rarely used, but I’ll go into the most useful ones later.
PART TWO: TIPS/TRICKS/EFFECTS
1: brightness/contrast adjusting---- this is something i use a TON, as you might have noticed from my edits. There’s no one size fits all here, just play around until you get the look you want!
examples of high contrast edits: [x] [x] [x] [x]
2: a “blend” layer--- this is something i do once i’ve done constrast work and colouring, to make the images match better and balance. DUPLICATE your adjusted image layer, then invert the colours on the top layer and set the inverted layer to 20-40 opacity! this makes everything blend better, especially if you’re doing a moodboard or something that you want more faded colours.
examples of high blend edits: [x] [x] [x] [x]
3: texturing--- this has a ton of options and can require quite a bit of experimenting, but it looks gorgeous!
some textures i’ve done in the past are taking another “texture” image, such as parchment, folded paper, or woven cloth, and putting it in a layer above the edit image, and adjusting the opacity and blend modes til i like it! there’s no right or wrong options here, it entirely depends on the texture and the rest of the edit, as well as the look that you’re going for. examples of this: [x] [x]
another, more complicated texture you can try out is using the paintbucket and fill in a NEW LAYER of your edit with a fill mode, such as these vertical lines.

Then, depending on which colour you want to use, shift + magic wand either the black or white lines out of the texture. Now you have this series of black/white lines going over your image, and you need to adjust the blend mode! Overlay or multiply works best in my experience, but experiment and find what looks best, along with the opacity. You may need to adjust the colours on the original edit as well, for example, on my luthien edit i had to make the “edit” layer MUCH darker to balance the brightening my blend mode used to blend the texture.
And then.......you’re gonna have to do it again with different lines on different layers with different blends. I’m so sorry.
Here’s a close-up of the texture on my Luthien edit:

As you can see, there’s more than one layer of lines going on, though it looks like only one layer of dark lines at first, there’s more textures blending on top of that.
Examples of this: [x] [x]
4. Some other fave tools of mine are sharpen, glow, and noise, I use these (especially sharpen and noise) a lot! Pretty straightforward, adjust to your needs.
5. Your basic colouring is gonna be hue/saturation/recolour, all of which are pretty easy to use. You can also add a new layer and do colouring or gradients there, then blend/adjust opacity as needed!
Also it’s bedtime and i am about to pass out from sleep-deprivation, so this is kind of a disaster....hope it helps though!
I’m always willing to answer any editing questions within my (very small) knowledge, so feel free to send asks/dms if you have questions about pdn!
6 notes
·
View notes
Photo

A King can Have Her Cake and Eat it, too
For @justapinchzine
Team 4
Recipe: Cake Pops
Character: Brunnhilde | Valkyrie
Realism/Painterly version fanart
#MCU#marvel fanart#marvel cinematic universe#thor ragnarok#thor love and thunder#Valkyrie#Brunnhilde#Cake Pops#painterly#Digital Artist#Digital Art#digital painting#artists on Tumblr#clip studio paint#Clip Studio Paint EX#Clip Studio#CLIPSTUDIO#CSP#paint dot net#PDN#amadness2method
8 notes
·
View notes
Photo
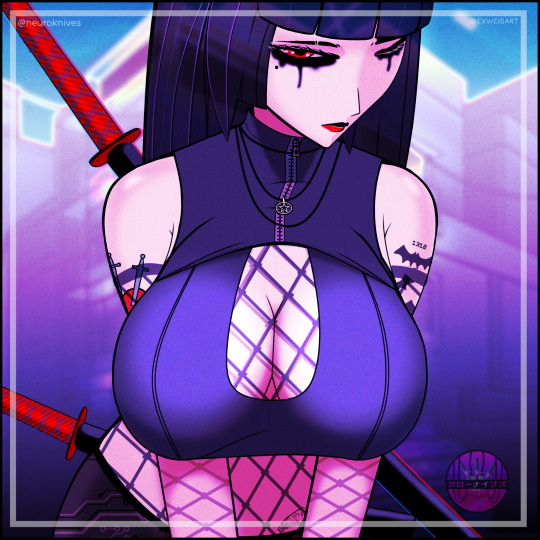
Haven’t posted any art on here in a minute. Here’s my latest.
As always, if you want to help me out, you can go to patreon.com/exweis :)
#original character#myOC#reika#cyberpunk#art#digitalart#autodesk sketchbook#paint dot net#vampire#VampireGirl#cyberpunk girl
0 notes
Text
Giveaway winner!
Congrats to our 220k giveaway winner! Check your email shortly!
Stay tuned for a contest next. Get your photoshops and your procreates or whatever ready.
#or your canva or paint dot nets or whatever idk#it's gonna be a mascot time#who has their best worst uncle blasp ideas on hand#you're gonna need em
50 notes
·
View notes
Text


in which two meals are had, and goro's sexuality is brought up
#my art#comic#persona 5#p5 spoilers#akira kurusu#joker p5#goro akechi#sae niijima#this is one of the dumbest comics from my sketchbook.i think im really funny#first time using paint dot net for the low quality/ms paint aesthetic.#if i used my main program id get too perfectionistic soooooo welcome to the era of shitty comics (fond)#also these are some of the worst kikis ive ever drawn.im so so so sorry joker persona5 i can draw him so much better LOL i prommy#comics
752 notes
·
View notes
Text

silly lil outfit swap thing ^_^
#splatoon#agent 8#pikmin#pom pikmin#the background i made by messing around in paint dot net lol#just ignore that i forgot to draw the helmet lol
50 notes
·
View notes
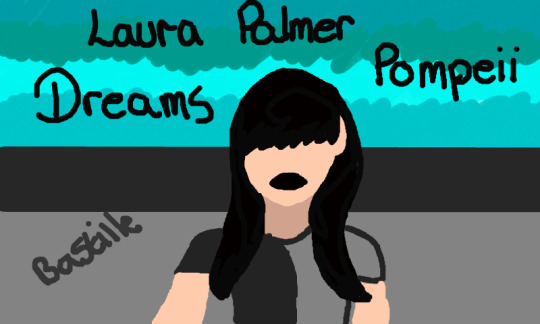
Text
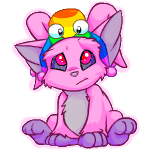
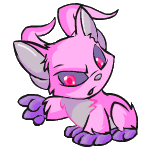
oh you know
#neotag#neopets#moderneo#moderneopets#original art from the website and then colored over on paint dot net#doodles
34 notes
·
View notes
Note
Rose on the bridge of the starship Enterprise? (Star Trek)
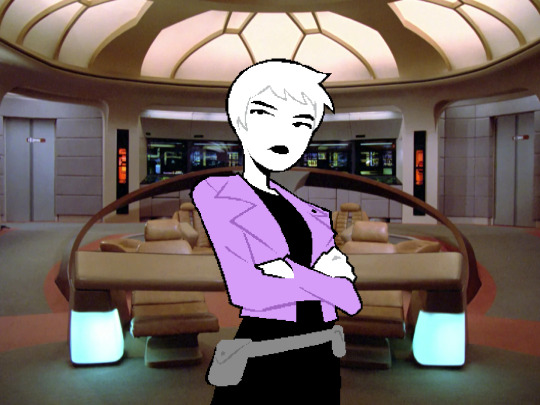
Rose shouldn't be a crewman aboard the Starship Enterprise, but she sure does look the part!
@hs2-rips for the original sprite, sprite edit & recolor by me. Background is from https://memory-alpha.fandom.com/wiki/Bridge
#I wonder what she is seeing off in the distance; headcanon in the replies or tags if you want; idk Star Trek lore#I also found out that including links in post can reduce visibility so while the underline is cool; i'd like my posts to show up#also thank you for the request! this is fun :3 let's put Rose is more silly situations!#I used paint dot net nearest neighbor scaling to upscale the sprite without it being blurry btw for anyone who wants some editing tips#sorry if the left shoulder is a bit eh; I drew it on with a mouse & just kinda threw this together#making hs edits is fun; I see the appeal now :)#rosewheresheshouldntbe#homestuck#rose lalonde#star trek#originals
7 notes
·
View notes
Text
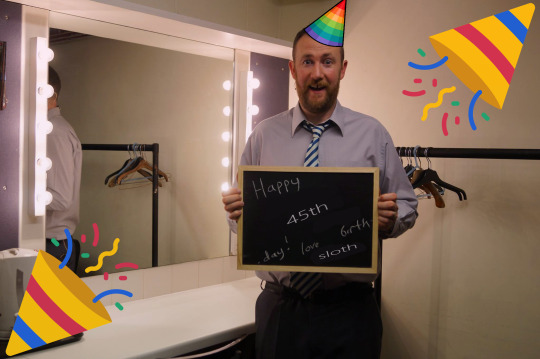
#alex horne#me as soon as it hits midnight and it's suddenly alex horne's birthday#10 minute paint dot net moment#happy birthday alex horne#ive got something for later but thats for in the morning
21 notes
·
View notes
Text
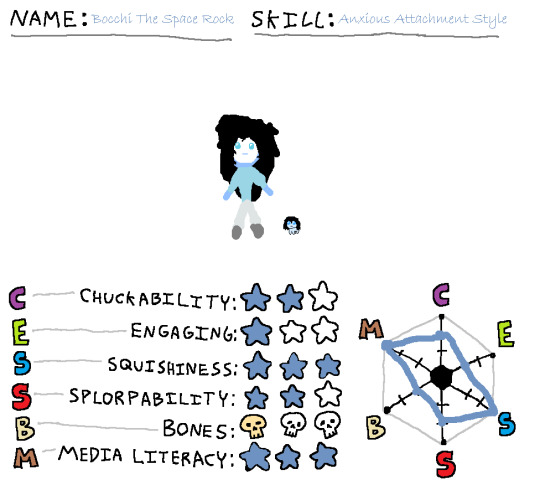
I cannot draw well but i tried to fill out the @littleguysdaily little guy chart with one of my OCs
54 notes
·
View notes
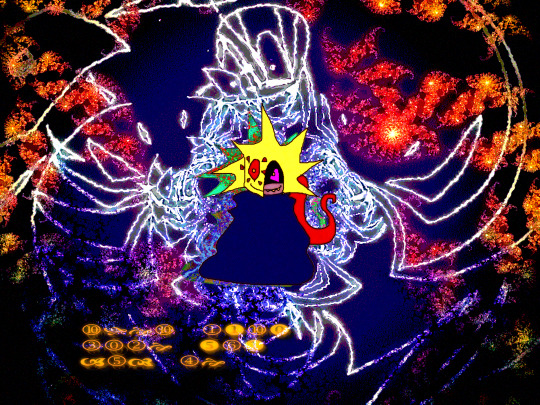
Text
on a related note to the previous post, here's one of the dumbest images i think i've ever made

5 notes
·
View notes
Last Seen Blogs

meigo1980
Untitled
mollyponkevitch
The Ecliptic
nextdemonking
Balance Is Power
god-of-nations
Like a lion
laliespositodaily
Lali Espósito