graveys-art-blog
Message to all artists: draw your ocs more
main @gravellymistaken! I sometimes post gore/monsters/light horror related content as well as other mature themes (Not nsfw!) I try my best to tag it!
open to questions about ocs and art any day
798 posts
Don't wanna be here? Send us removal request.
Last Seen Blogs

ender-reader
Ender's corner
tinyglowingsharks
WHAT HATH GOD WROUGHT

magazine-race-agent
Untitled
onlyincomics
only in comics
Text
Helloo i want to talk abt the development process about this so heres my rambling below vv
I've been itching to play with blender and tweening for years, but it was just too intimidating to try out. my biggest recommendation is to start small with what you're trying to do and slowly build up from there. ergo: small ass attempts to see if this was even POSSIBLE for me to wrap my head around so made my first test

Very silly headbop animation akin to an edgy animation meme circa 2016. Very fun to do. The whole processes was done through shapekeys in this tab here.
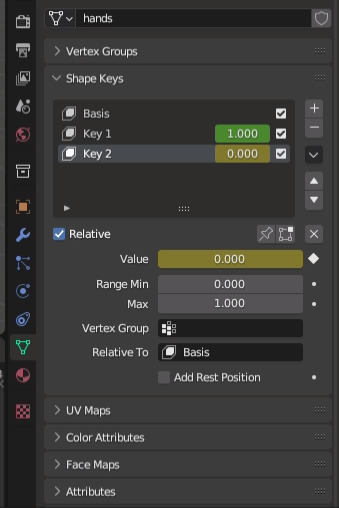
It basically creates a "set" position for your object and then when you manipulate it, like say moving it up, it'll create process that moves the image to and from that position with the "Value" setting. Then you can create keyframes in your animation for the process to complete at a certain point in the animation timeline. And the reason why the "hands" are so much choppier is because you can change the tweening type from smoother transitions to flipping through the frames as they're set. Sorry if this is incomprehensible it took me so many tutorials to understand.
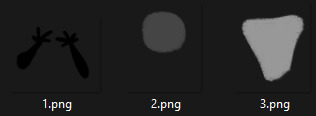
Drew all the files in CSP in separate layers before exporting them on individual pngs. same process throughout development. (with the exception of the details on the boarder.)
SO. i could at LEAST do the basics of tweening, and exporting objects in a coherent way. Now to try a thumbnail drawing for the BIG drawing above, because just because I could make smth jank doesnt mean i could do a whole coherent set.

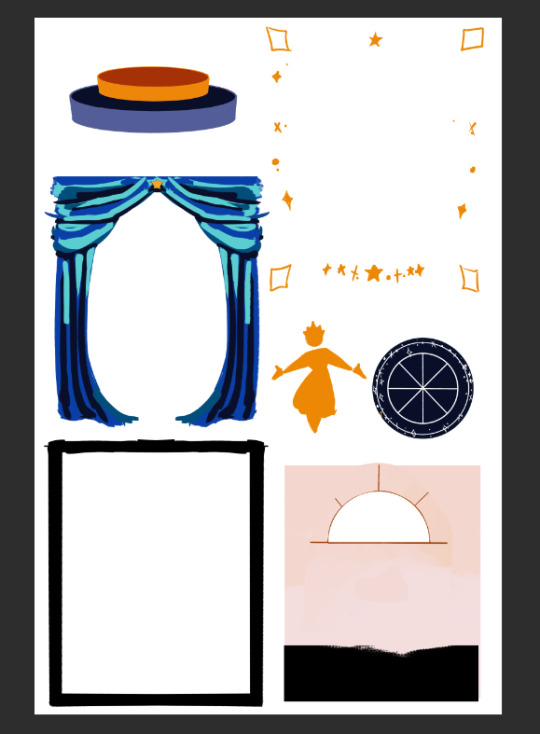
Test 2! Very rough idea of the big image below. Once again everything here was made via csp, and exported. This was when my friend suggested using the grease pencil in blender which i DID end up using in the final product for a part of the drawing. Still messing with the basics here but it was fun to make the stars glow and play with the lighting settings. The shadow resolution is so high here but my computer could handle it bc of how little parts there were.
I did also try to export the files as one big PNG and chop them up but I couldn't figure it out.
So i went with exporting everything as different PNGS. Which did create an issue with importing? Nothing was exactly to "scale" but it was an easy enough fix.

So with that all handled there was enough confidence to go onto ACTUALLY creating the drawing fully. This part will have more artsy wips than not bc I actually had to Draw. and make so many layers.
So my first instinct was to block out the shapes and color code by how things would be layered. The lighter a shape the closer itd be to the camera via layering

Which is something i picked up from my 3d model of vitor

matchies!
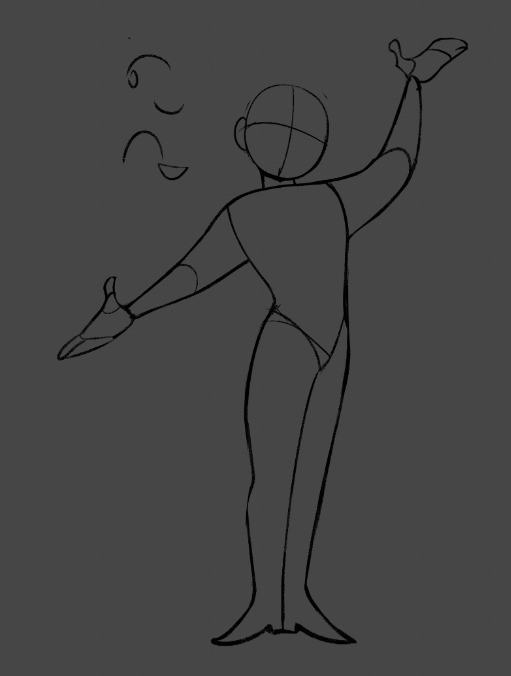
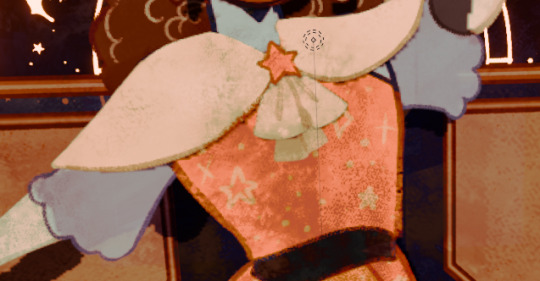
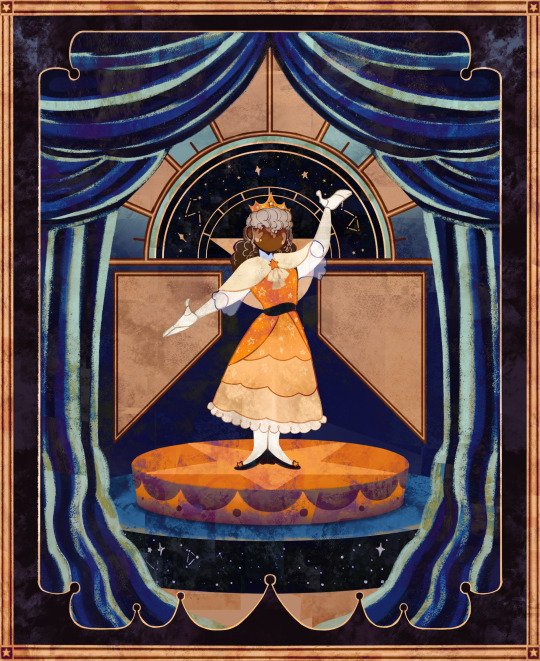
And heres me ultimately settling on a pose and starting to build up the "paper" doll that is Eri
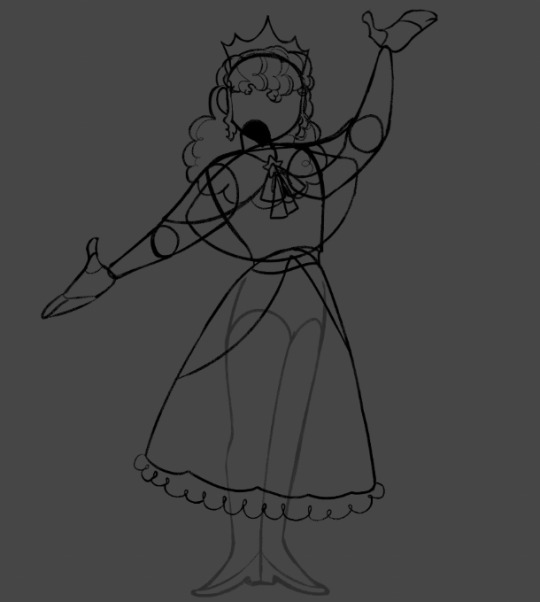
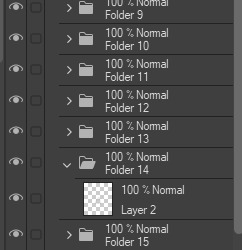
^ The layers were just for the lineart of eri. btw. my puter loves me.
Building up the stage + figuring out colors and the ground. eri did infact have a face considered but i thought they looked cooler without one.

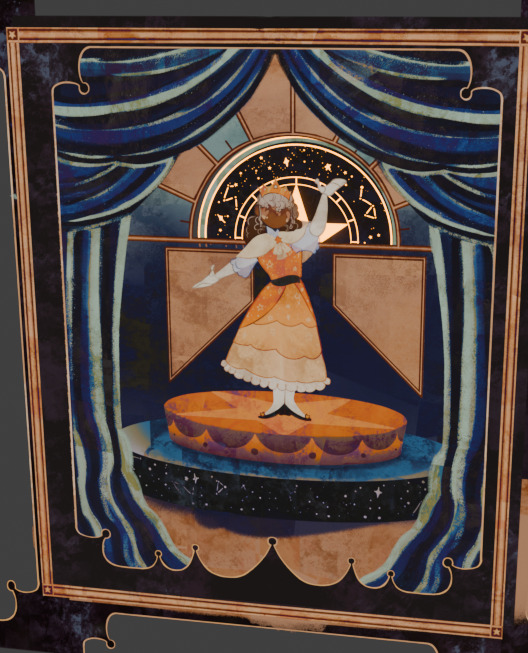
Complete image without the texturing

Then you have the finished image in the first post :3! Here they are broken up into many many MANY pieces.

Then the stage. Kept Eri and the Stage in separate folders for ease of uploading!

I don't have many progress shots of me building up this all IN blender but I can open its finished file. heres the build without shadows on

Upward shot (with and withouth the border because uh.,? grease pencil is. strange. in blender. i think it follows your view no matter the angle?)
You can see Eri's layering here (as well as clipping issues)
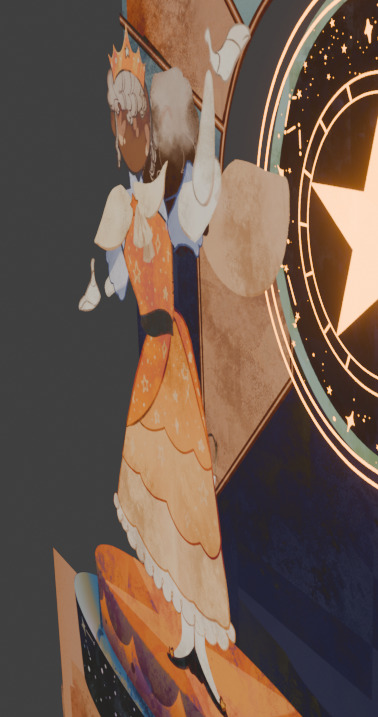
Side view of everything (with shadows/camera/lighting objects on!)
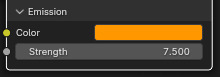
The reason why the star is glowing is bc it has emission on in the shading view! I dont get nodes at ALL and im too scared to try but it looks cool!
I remember trying to add translucence to Eri's sleeves
But it got lost in the shading process
oh whale.
But ultimately the set up went well! Took a long while to get the animations sorted out (esp bc i switched em up like. half way thru and had to redo/change it up). It was fun to try and get timing right! I believe i wanted to add a squash n stretch effect to Eri's hair, but it looked a bit strange. Would like to try it again at some point.
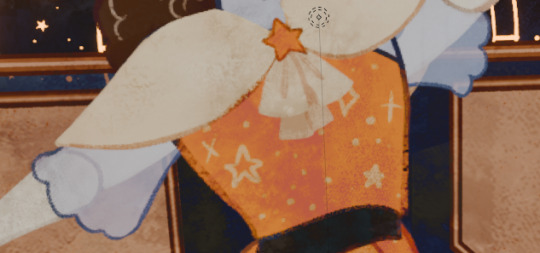
ANYYWAYY with the GREASE pencil effect
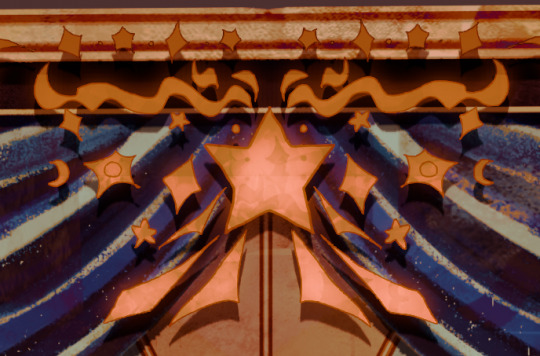
This bit took. a minute. for me to figure out. Getting the symmetry effect to work as well as using a lineart/fill brush. Among MANY tutorials this one was my best friend . Really recommend it if you're interesting in 2d blender stuff.
The effects used was Glow, Shadow, and Rim! Rim being the thing that gave it it's texture. Which. isnt what its typically used for? but it worked anyway!

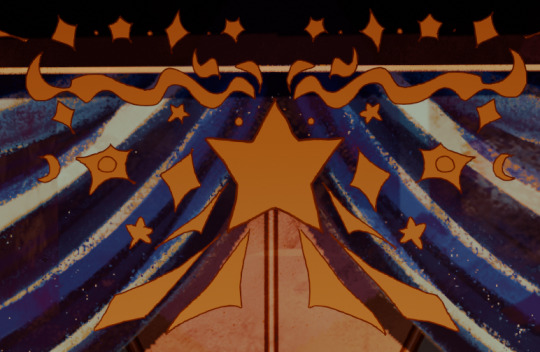
but heres it without that stuff. strange.
For the Modifiers I used Mirror (symmetry tool) and Noise (which is what gave its shake effect in the video!)
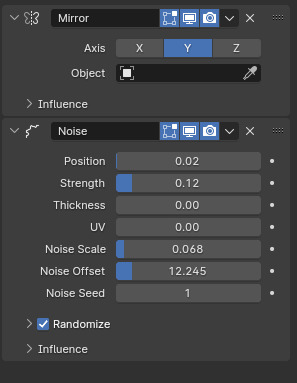

yeag. If you turn up the position slider it uhhh

does that! Very careful balance between clipping layers and such.
This was pretty much it though! Or at least what comes to mind. It was very taxing but very rewarding. I think i got this done in like... 2.5..? or 3.5 days. From the start of the eri color blocking to this. Faster than my other drawings but lord. so many tutorials. rant over
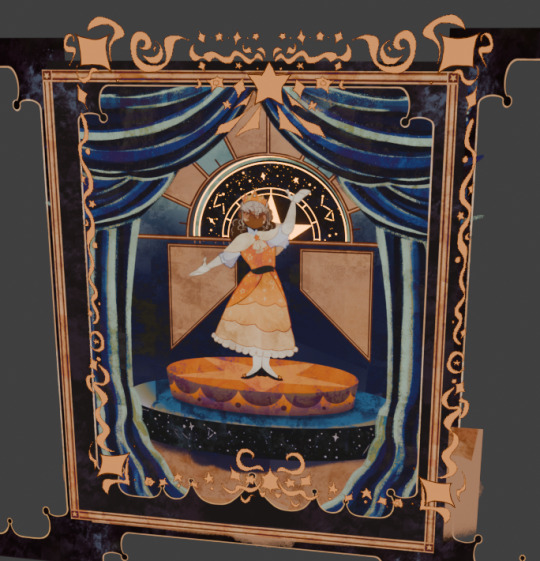
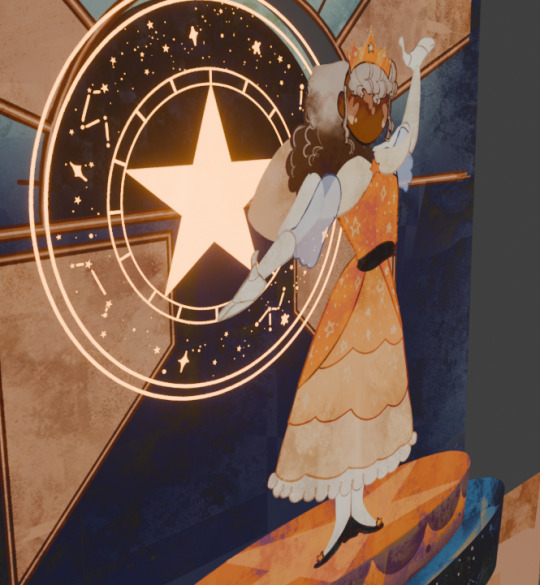
Birthday gift for my friend @spiritumantophila for their @thewizardprincessau! (Image ver below!)

Blender render vs the CPS file where I drew everything in separate layers! I referenced alleesaur's 2.5d art method and I recommend checking out her stuff!
#long post#blender#if i sound confusing my bad im talking to my family as i write this#if u have any questions feel free to ask my uneducated ass!
29 notes
·
View notes
Text

Pixel art is hard
13 notes
·
View notes
Text
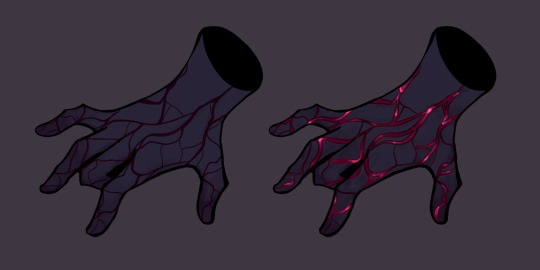
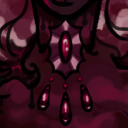
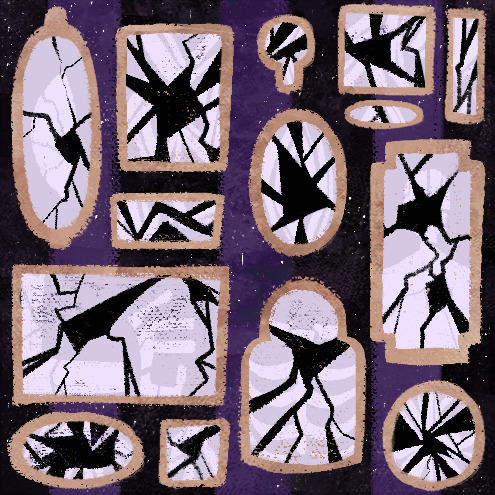
Did i ever posted this? Dont remember. but I like to imagine that the exhaustion of magic can lead to physical injuries in the body, and since uri's magic relates to their blood: her exertion appears in their veins
#in my head it meant that their skin splits along their veins and bleeds open but the visual is up to interpretation#i miss thinking about their magic uri was such a freak#body horror#doodlin#my ocs#uricyto#dnd#sotm dnd
9 notes
·
View notes
Text

more nettie from @thewizardprincessau btw. if you even care *casts 1 million spells on you*
6 notes
·
View notes
Text

wizlock weed wsaturday
#uricyto#my art#doolin#sotm dnd#dnd#my ocs#i#dont know if i need to tag this#[uri vc] dude. are we talking character sheets
6 notes
·
View notes
Text

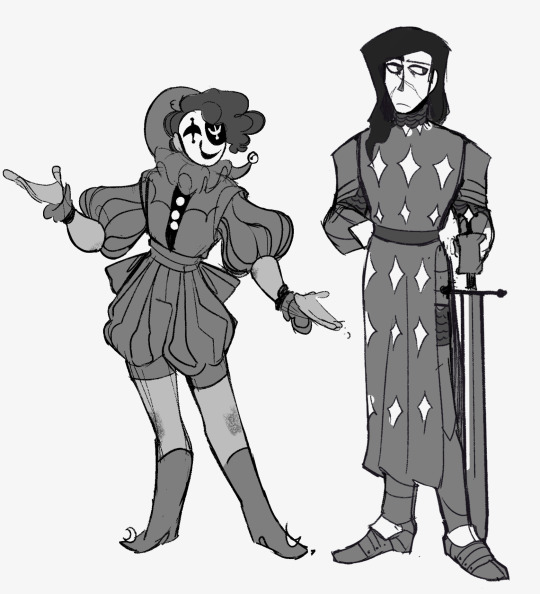
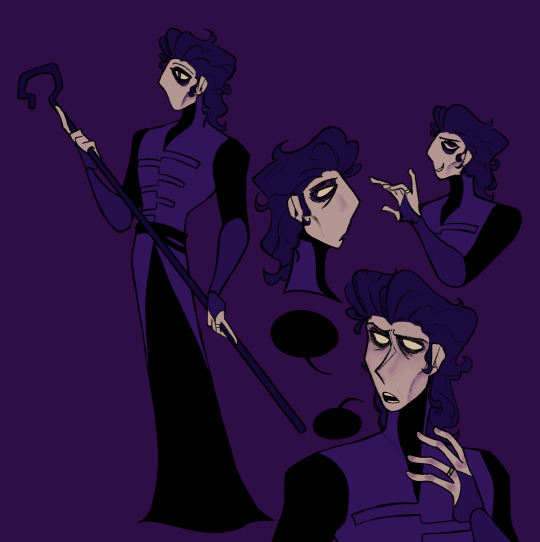
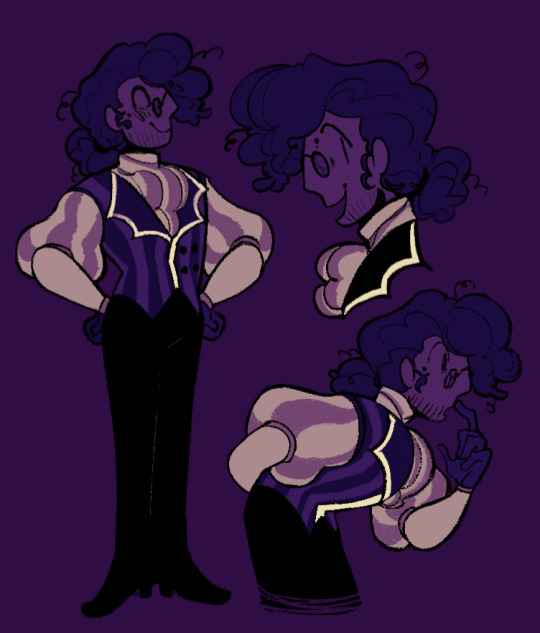
Full-body ref for @thewizardprincessau Vitor, Twpitor if you will. Bonus comics that don't make sense to anyone but me below

(They're talking about trying to make a person happy, twp vitor is LITERALLY the only normal one there.)

^ I'm not providing context for this one it was purely for the bit
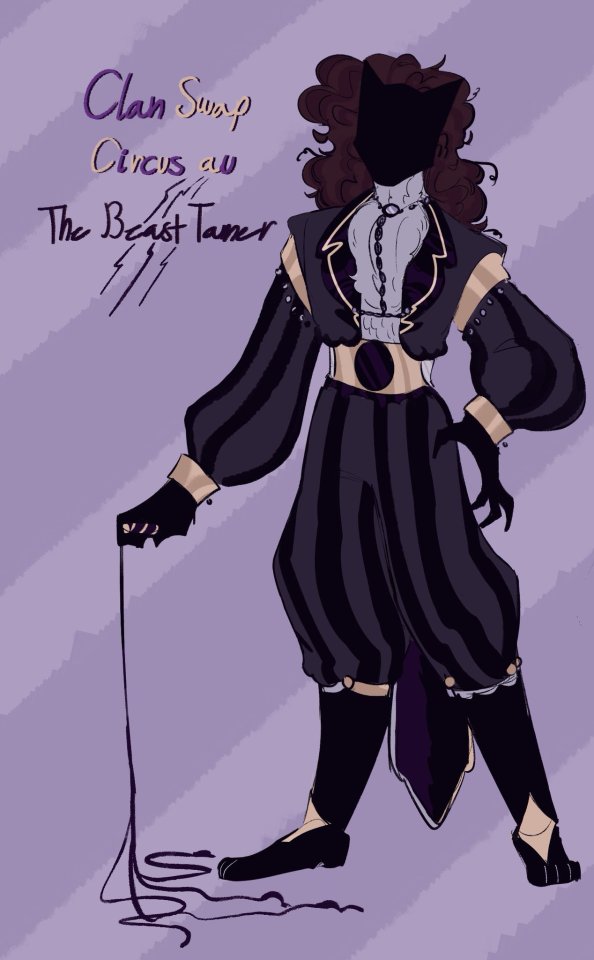
#doodlin#my ocs#jester#my art#vitor#twp au#pdm vtm#theres a few details im still iffy on but this is the general vibe#clan swap au
9 notes
·
View notes
Text
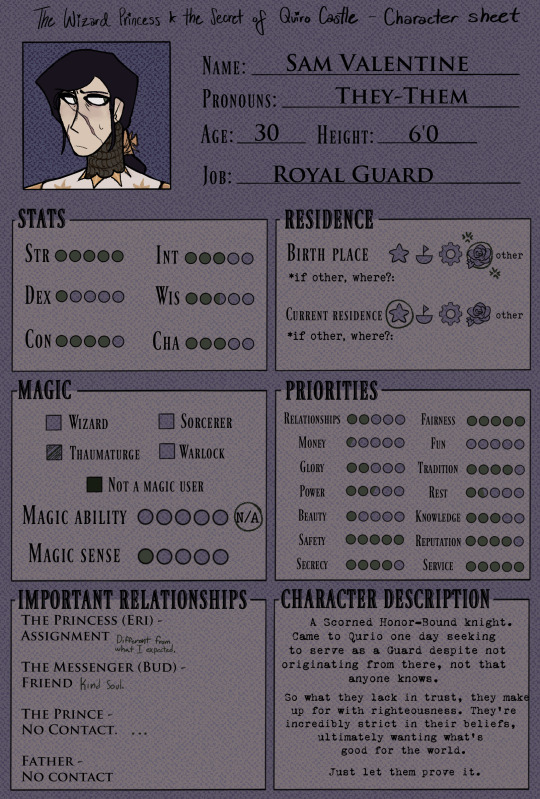

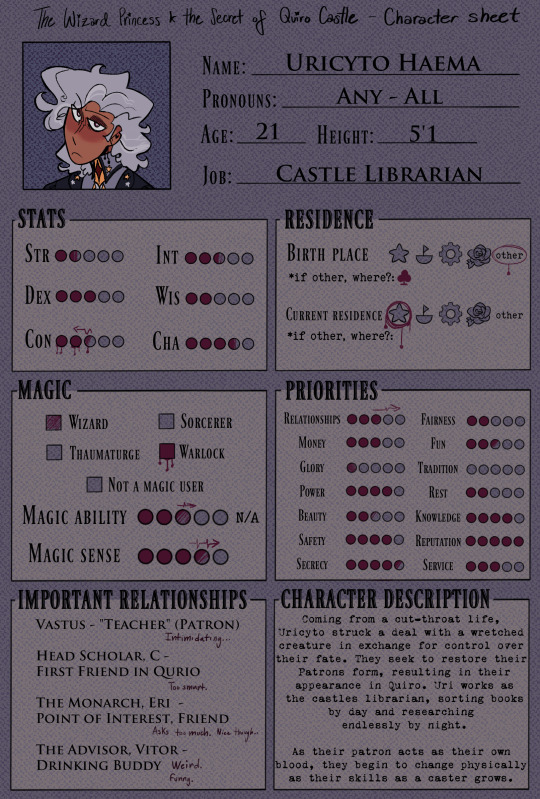
Character sheets for my friends @thewizardprincessau! I had a lot of fun filling these in!
Concept art ^^
#doodlin#my ocs#sam#uricyto#vitor#holes dnd#sotm dnd#pdm vtm#twp au#feel free 2 ask about them theyre all in my fucking MIND#uri's sheet is technically off timeline bc this is her when she appears in the kingdom of Quiro after the main events of the story#she fucking missed it
16 notes
·
View notes
Text
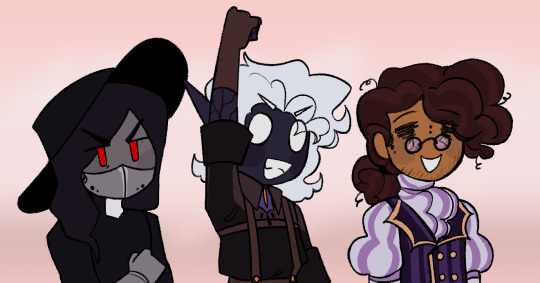
The triple baka trio
10 notes
·
View notes
Text
Birthday gift for my friend @spiritumantophila for their @thewizardprincessau! (Image ver below!)
Blender render vs the CPS file where I drew everything in separate layers! I referenced alleesaur's 2.5d art method and I recommend checking out her stuff!
#art#my art#digital art#not my oc#twp#doodlin#blender#i will be posting more stuff relating to twp soon. prommy#twp au#also might rb this later to show off the files and like. blender shit#idk!
29 notes
·
View notes
Text

Spotify covers for my creative playists
10 notes
·
View notes
Text
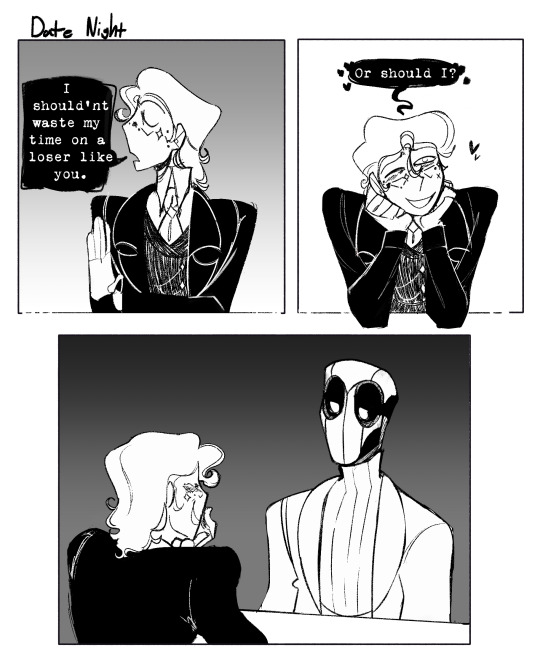
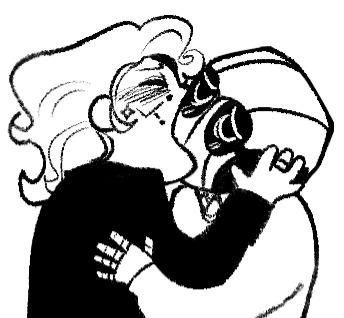
Toxic old man yaoi forever (astar/vastus belongs to @ rororolker)
14 notes
·
View notes
Text
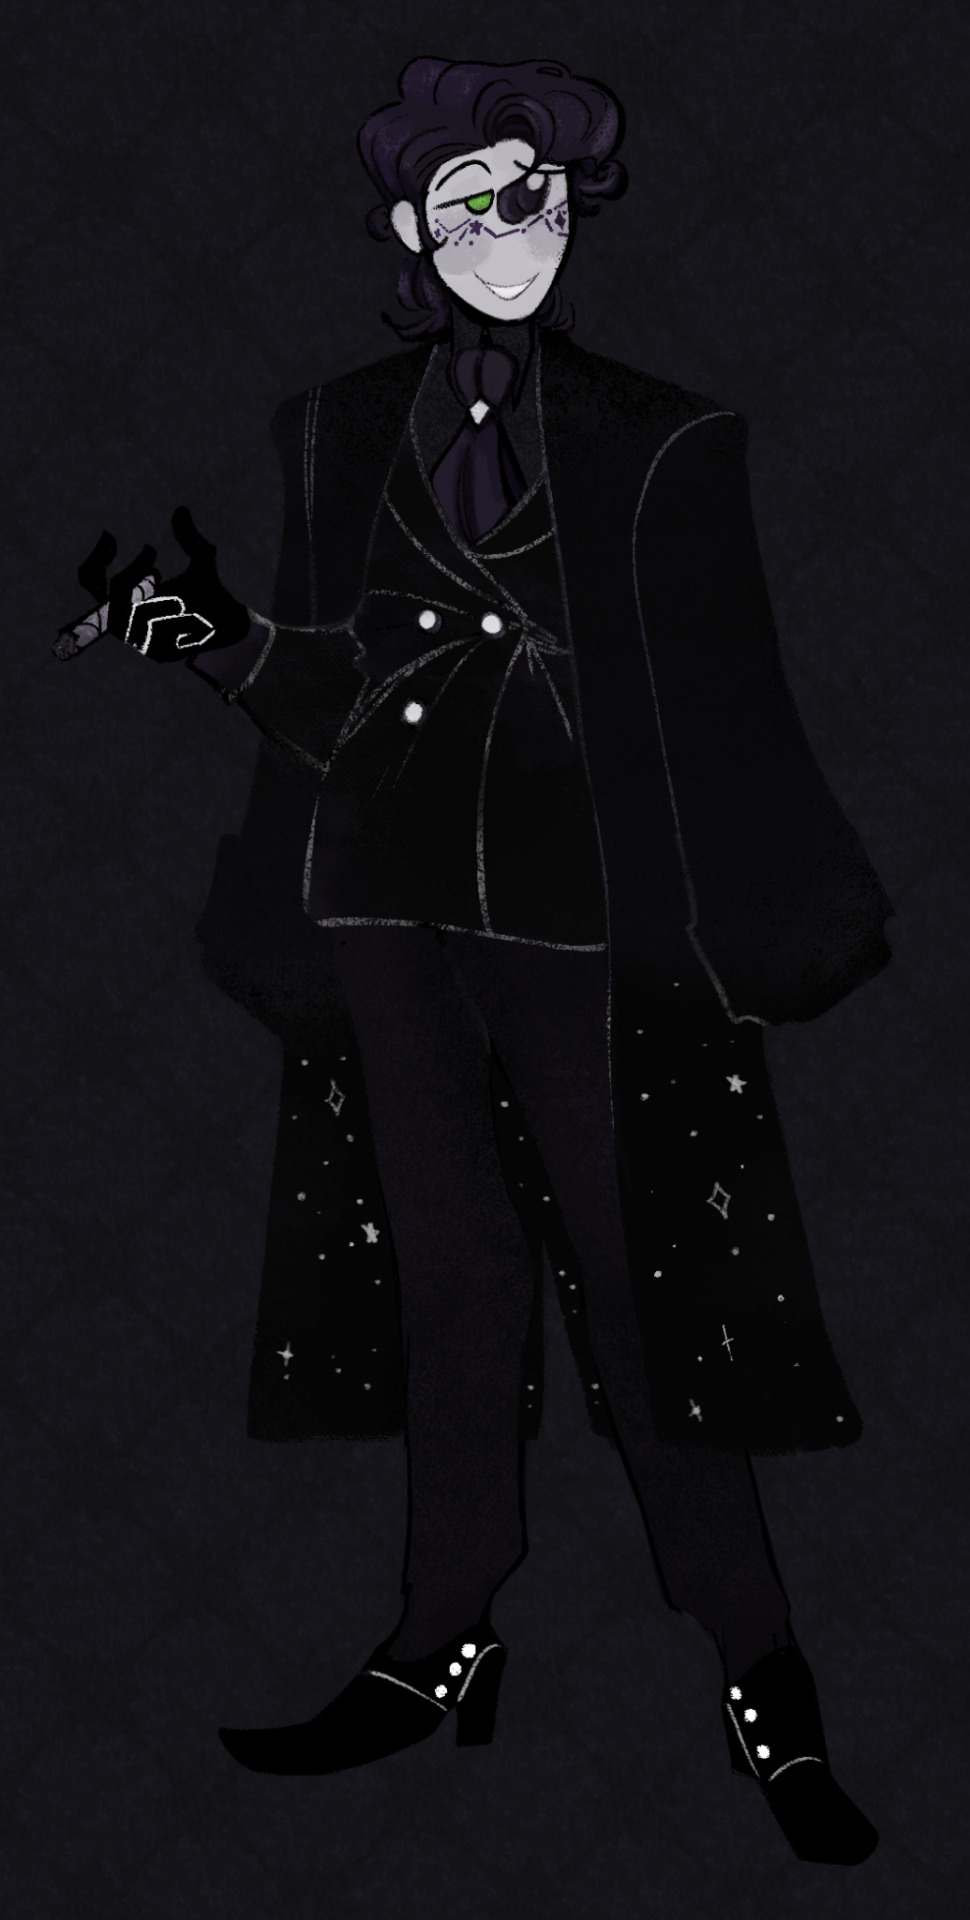
Dressed to impress (belongs to @ rororolker)
12 notes
·
View notes
Text

Anniversary art for the previous campaign I was in ^_^ happened awhile ago now but I love the camp lots and lots still (ocs credits vv)
Left to right
@ packedlunchmeat
@ nilovalentine
@ spiritumantophila
@ rororolker
@ jodiexists
14 notes
·
View notes
Text
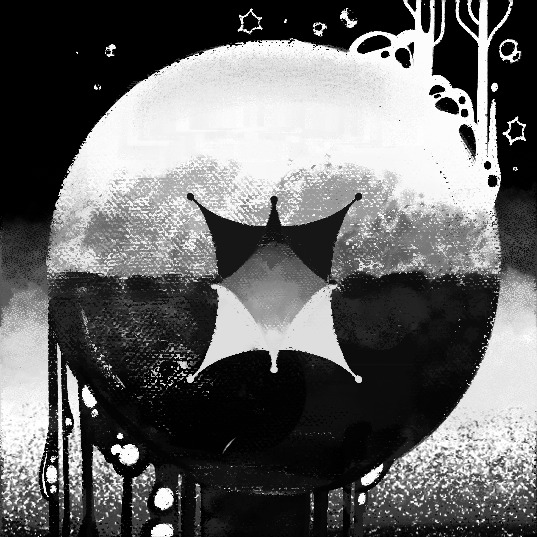
Guys who are purple and happen to have blood on their hands
#art#digital art#my art#oc#oc art#doodlin#my ocs#dnd#ttrpg#these are very simple but i think these are my favorite pieces outta my recent batch of art#its cute!#i mostly wanted to focus on stylizing noses simply#sotm dnd#vtm dnd#vastus#vitor#(oh my fucking god they both start with v too. oh no. oh god)#shared oc
12 notes
·
View notes
Text
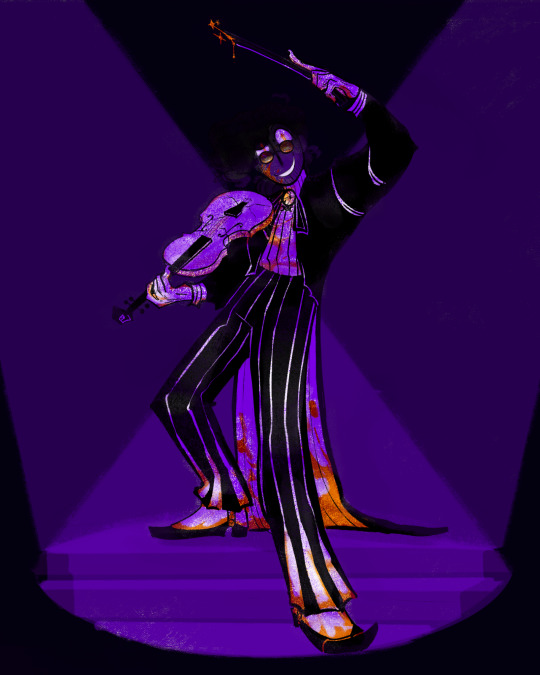
The violinist makes an entrance!
#doodlin#my ocs#vitor#OTHER OTHER AU OF HIM where hes an antagonist encounter for the campaign uri was in#hes#normal (lie!)#kinda hate this piece now but it was fun to draw#pdm vtm#sotm dnd
21 notes
·
View notes
Text

ye old Sam redesign
15 notes
·
View notes
Text
had a carnie moment my bad
6 notes
·
View notes