#roswell new mexico malex
Text
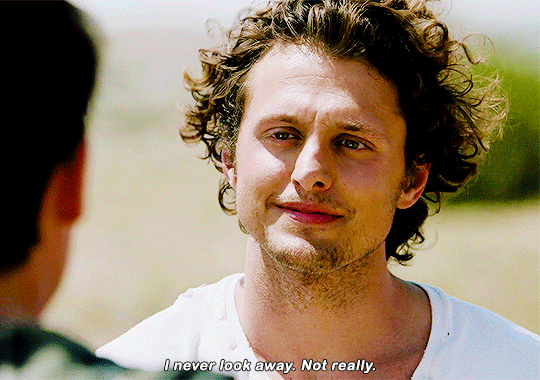


235 FAVORITE SHIPS OF ALL TIME (ranked by my followers)
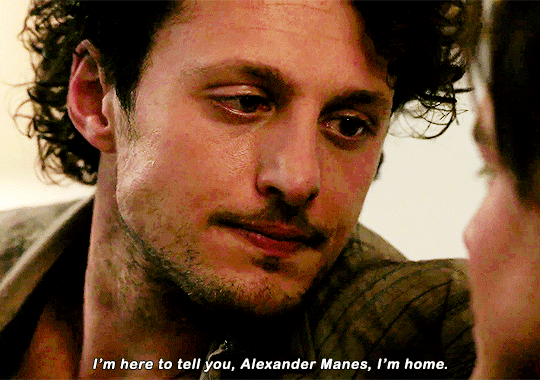
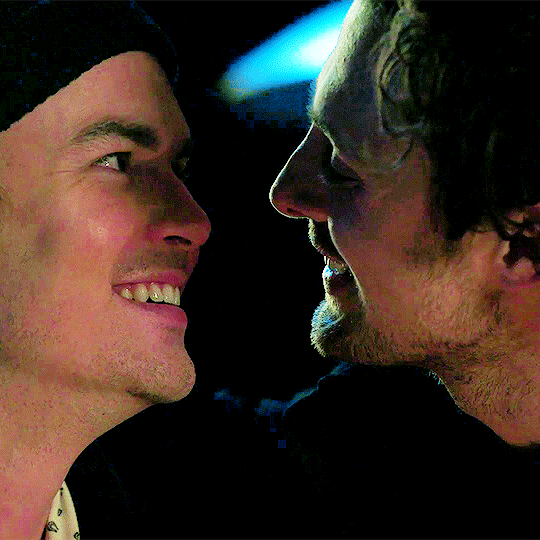
65. michael guerin and alex manes - roswell new mexico
#malex#rnmedit#roswelledit#malexedit#dailylgbtq#michael guerin#alex manes#roswell new mexico#otp: i never look away#**#235ships#mine: roswell new mexico#mine: michael and alex#1x02#1x12#1x09#2x05#1x13#4x13#3x03#3x10#3x08
404 notes
·
View notes
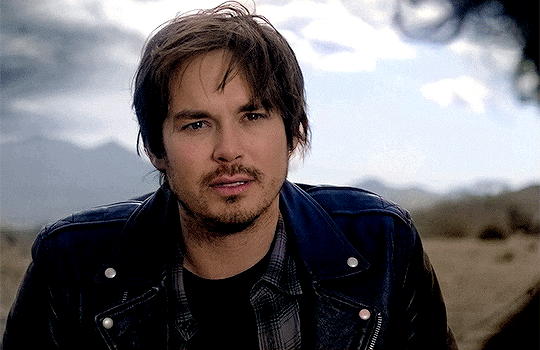
Text
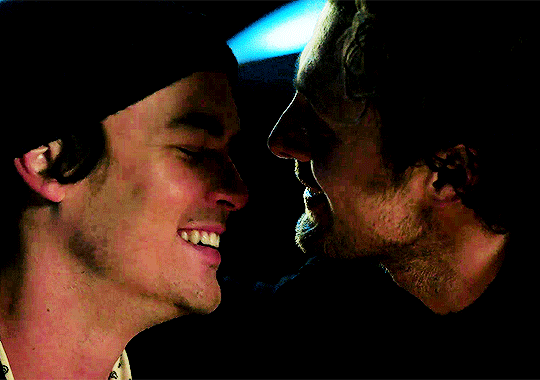
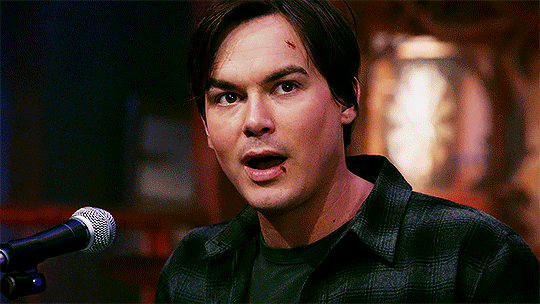
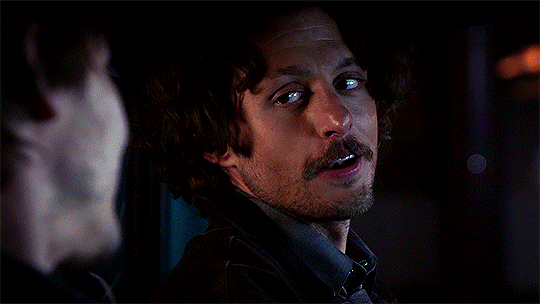
All hands on deck, shippers.
Tumblr’s Total Ship Show: MALEX featuring Tyler Blackburn and Michael Vlamis from The CW’s Roswell, New Mexico launches 11/22/22.
6K notes
·
View notes
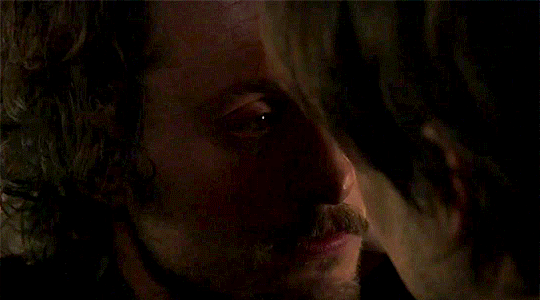
Text


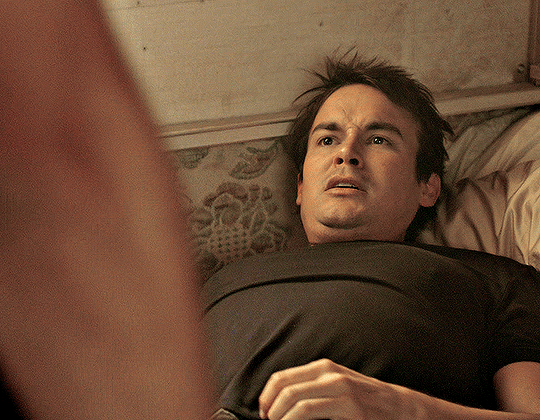
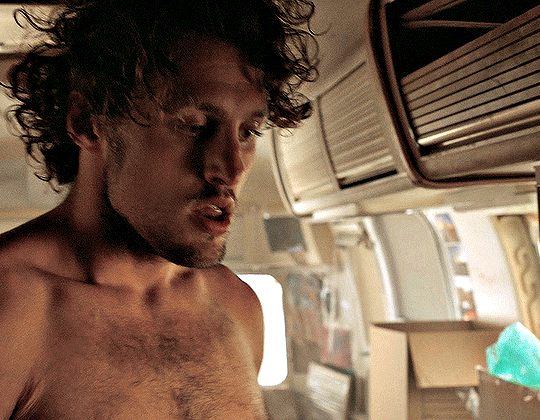
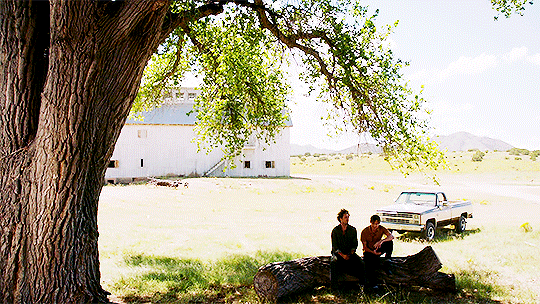
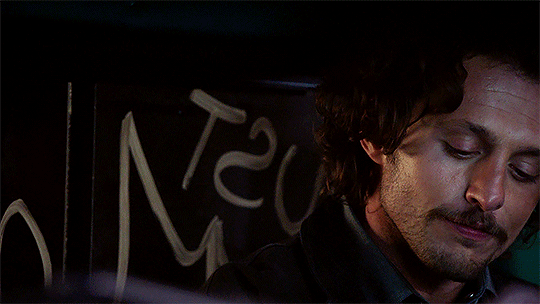
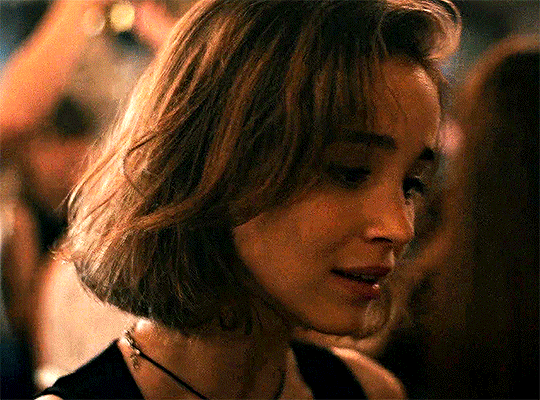
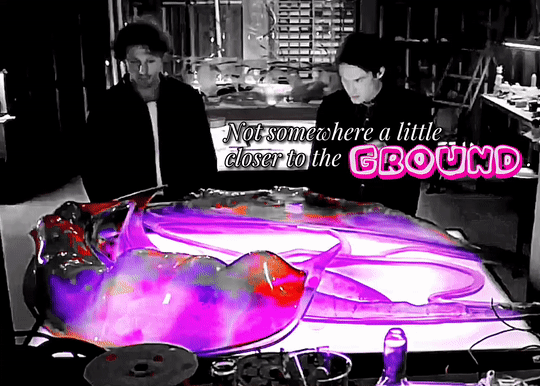
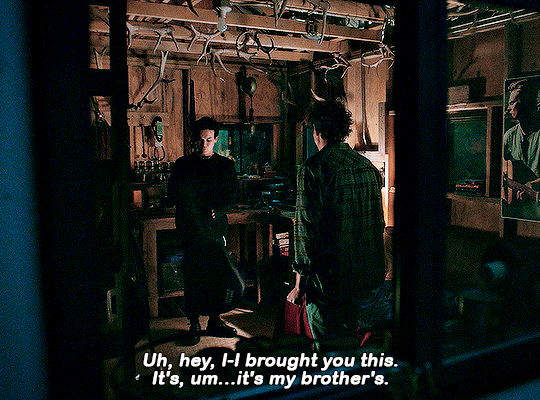
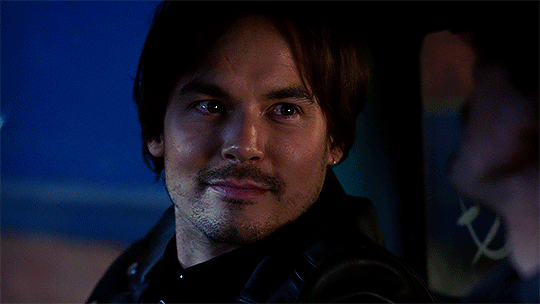
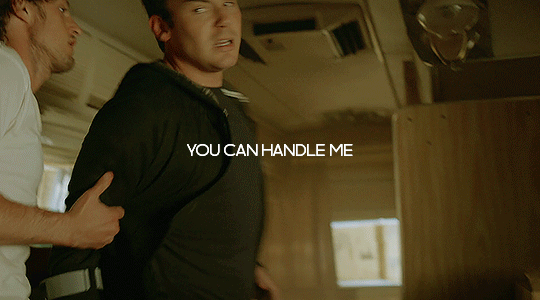
ROSWELL NEW MEXICO - 1.02 "So Much for the Afterglow"
#malexedit#michaelguerinedit#alexmanesedit#roswellnewmexicoedit#roswellnmedit#roswellnmsource#cwladsdaily#cinematv#smallscreensource#userbbelcher#chewieblog#dailytvfilmgifs#lgbtedit#malex#michael guerin#alex manes#rnm#roswell new mexico#rnm 1x02#bisexualalienss*#redoing old sets hehe#god remember when gay sex was allowed on the cw#long post
480 notes
·
View notes
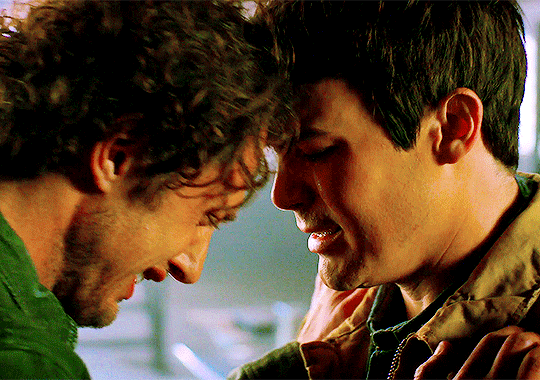
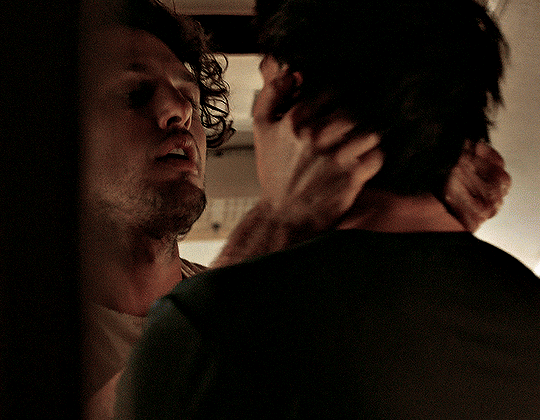
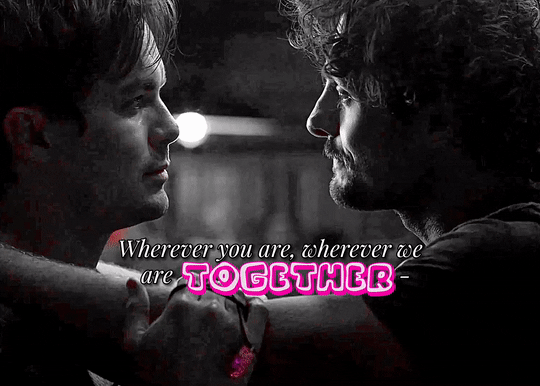
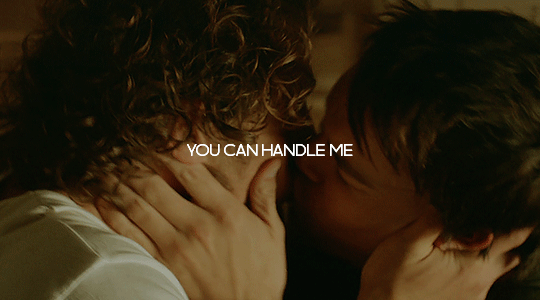
Photo
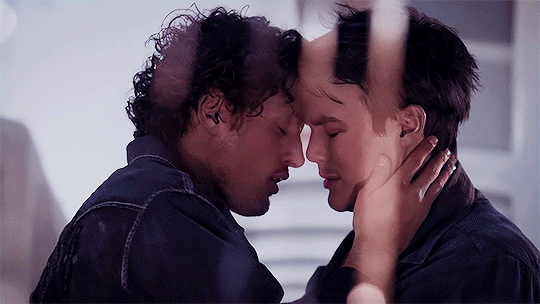


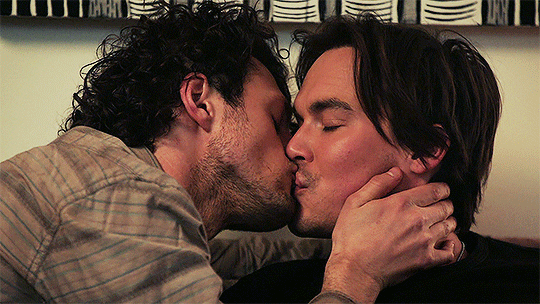
And you're my survival, you're my livin' proof
My love is alive and not dead
@wlwgif‘s pride week - day 4 - dynamic: Malex - Roswell New Mexico
#pmcw#roswelledit#roswellnmedit#rnmedit#malexedit#malex#roswell new mexico#michael guerin#i love (1) actual disaster#alex manes#actual cinnamon roll#protect him at all costs#michael x alex#otp: home can be a person#*mygifs#rcontent tw
695 notes
·
View notes
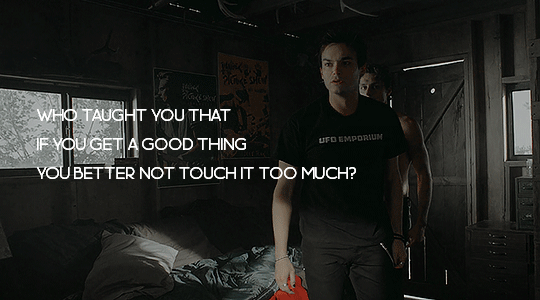
Text
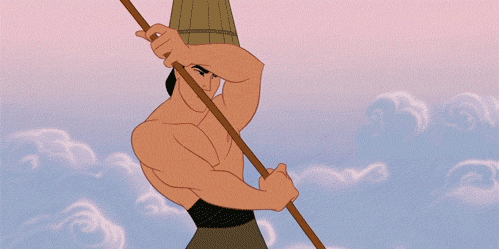
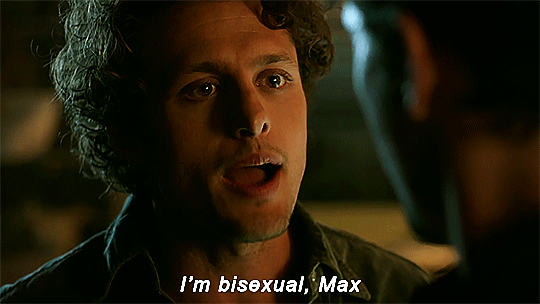
as a bisexual, here’s a short list of my favorite canon bisexual characters;
1. Rosa Diaz

2. Alex Claremont-Diaz
3. Nick Nelson

4. Jesper Fahey

5. Li Shang (maybe this one isn’t fully canon but it is to me)
6. Michael Guerin
7. Ava Silva (this gif has me SCREAMING by the way)
8. Loki Laufeyson
9. Angela Montenegro
10. The Doctor!!! (they are probably pansexual but that’s under the bi umbrella so I’m counting it 🫶🏻)

#bisexual#doctor who#red white and royal blue#loki series#warrior nun#avatrice#heartstopper#nick nelson#bones tv#angela montenegro#alex claremont diaz#roswell new mexico#malex#michael guerin#six of crows#shadow and bone#jesper fahey#b99#brooklyn nine nine#rosa diaz#fourteenth doctor#mobius x loki
414 notes
·
View notes
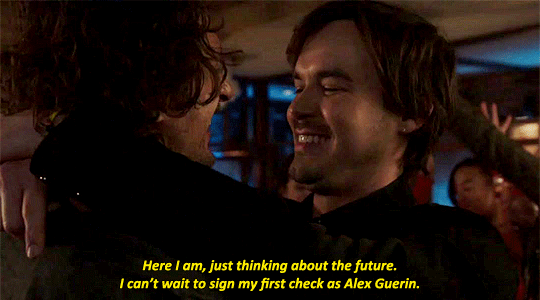
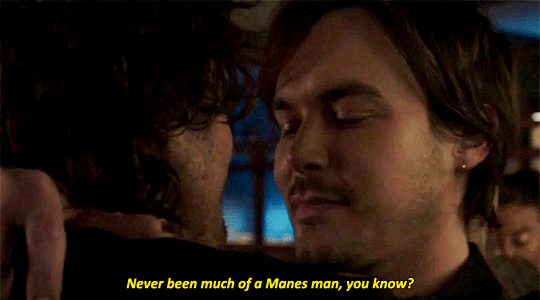
Text
"I married my highschool sweetheart"
109 notes
·
View notes
Text

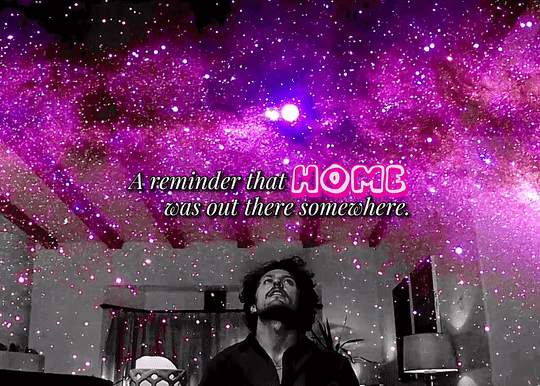
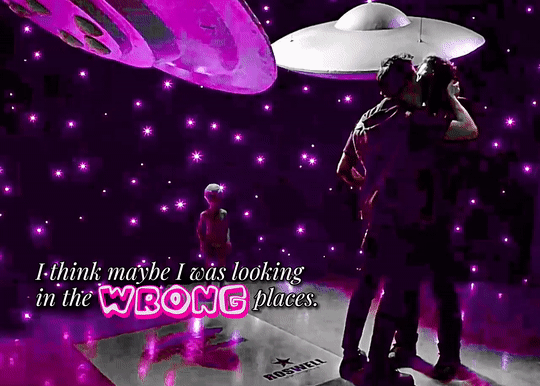
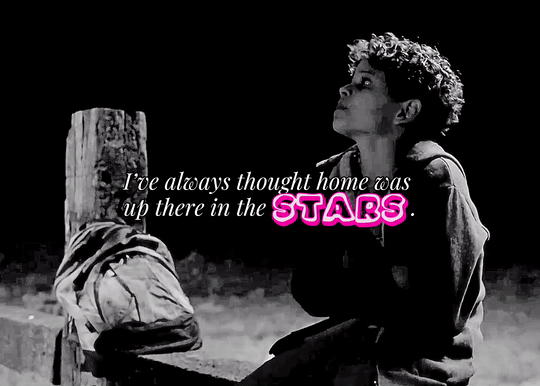

— THAT’S HOME
excerpt from @angrycowboy’s epic all the stars aligned, written for @rnmbigbang
152 notes
·
View notes
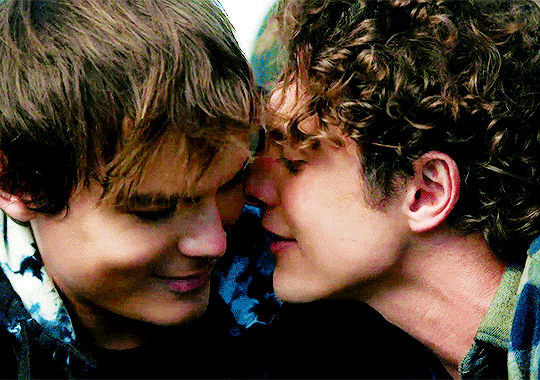
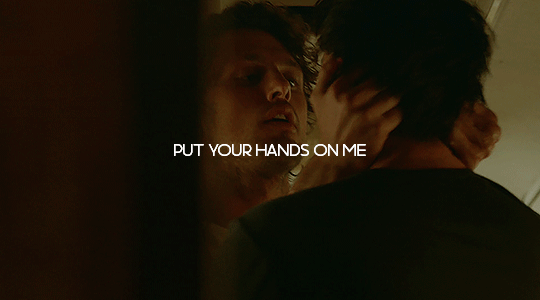
Photo


Know what I just realized? Hmm?
#roswell nm#roswell new mexico#roswellnmedit#roswell#roswellnewmexicoedit#michael guerin#alex manes#malex#malexedit#mystuff#1k
2K notes
·
View notes
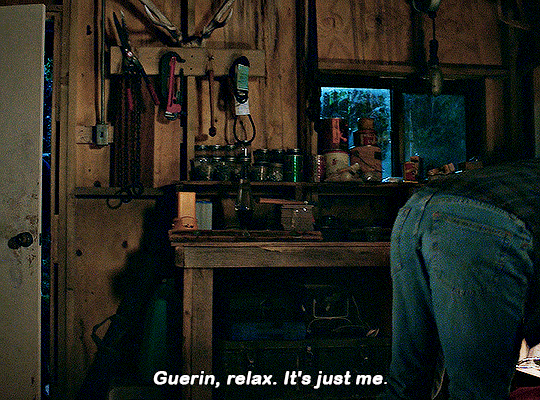
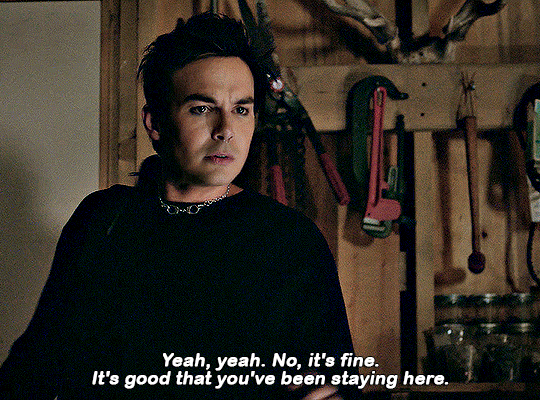
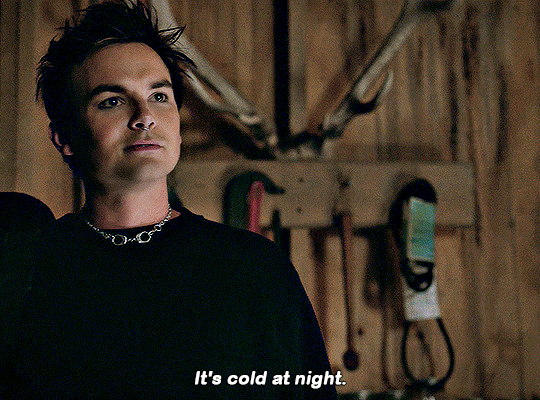
Text
Using Neural Filters to colour correct
i’ve had a couple of people ask about how i’ve coloured the pocket dimension scenes so i thought i’d just do a run-through tutorial kind of thing to show it, rather than going through it with everyone separately.
so this is a tutorial for how i made this:
from this:
follow along under the cut:
so just some things to point out before we move on which are essential and could get in the way of this working for you:
you will need adobe photoshop cc - v.22 or above. any versions older than this won’t work. you can find what version you currently have by opening photoshop, clicking ‘help’ on the top toolbar, and selecting ‘about photoshop’. my current version is 23.2.2.
you should know how to make a gif from frames, use timeline and work with the gif as a smart object. if you don’t know what i mean, i’ve tried to explain it briefly below.
using neural filters is resource heavy so expect photoshop to be slow in processing/exporting/saving anything you use them on. it might be worth having other programs closed while you use it if your computer has a lower or mid-range spec.
and so...
1. make your gif
to do this, import your frames, crop, set frame speed etc however you normally would. if you usually make gifs with the animation bar set to ‘frame animation’, you will need to change this so that you can create a smart object. you will need to press the button with the video timeline symbol on your animation bar:
then you should select all your layers (not frames as you shouldn’t see them anymore) and right-click > convert to smart object:

you should leave your animation in timeline mode, but the purpose of the smart object is so you can add smart filters. this is especially good for things like sharpening, any effects you want to add, and of course... neural filters.
2. brighten the image and convert to black and white
contrary to what we’re trying to achieve here, you should change the image to black and white and brighten it up so that you have as smooth and plain a base for the filters to apply to.
i do this by adding a black and white adjustment layer, and clicking ‘auto’ on the properties tab:

you should then add a ‘levels’ adjustment layer and drag the right tab along until it meets the beginning of the histogram. you should also move the left tab along a little bit for some contrast - how far depends on how you want your gif to look:

following this, select the smart object and two adjustment layers > right-click > convert to smart object. you don’t have to do this but i find it helps and it reduces the number of layers you have to work with.

my gif now looks like this:

3. adding the neural filter
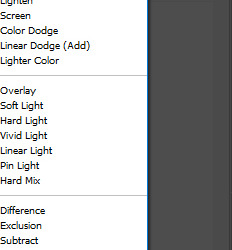
now your image is about to change in a huge way. click on filter on the top toolbar and select ‘neural filters’:

from here, you will see this screen and a bunch of current filters and beta filters on the right-hand side. you may have to download them to get them to work. for this, we’re using ‘colorize’ so at least make sure you have that one downloaded and ready to use:

when you turn the ‘colorize’ filter on, after processing (this can take a few seconds), your image now looks like this:

(note: this gif is an exception in how well it turned out first time - the filter has applied evenly minus a couple of issues i’ll go over below. how successful it will be depends on how much movement is in the clip, or how many colours it will need to find, and it sometimes gets confused with dark and light tones. you’ll find most of the time that the gifs will have patches that aren’t coloured, or will have incorrect colour correction that you’ll need to go in frame-by-frame and patch in by hand. the filter does do a lot of heavy lifting though.)
you can then play around with the saturation (i usually reduce it to -10) and the colours similarly to how you would in ‘colour balance’, however it has a more all-over even tone:

the last thing you need to do is select ‘smart filter’ on this drop-down menu:
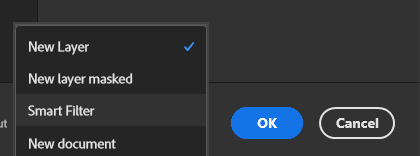
if you don’t change it to smart filter, the filter will only apply to the frame you can currently see and won’t apply to the whole animation.
my gif now looks like this:

this might be enough for you in which case great news! you get to stop here, apply whatever sharpening and colouring you want, and save as normal!
however, i’m a perfectionist to a fault so i need to do a few more things first...
(note: it’s always worth doing the next step even if you’re happy with the finished product here, just in case you missed a spot)
4. check the filter has applied throughout the whole gif
you’ll see that you now have a much more even base to work from and colour your gif as normal, however neural filters aren’t perfect and do leave funny little glitches throughout your gif sometimes. in order to check this, i usually scrub through to see if there are any issues. in this gif, i spotted two.
in these two areas - on the moving gif - i can see the colouring flickering. the filter hasn’t applied the right colour on every frame, or simply hasn’t coloured it at all:
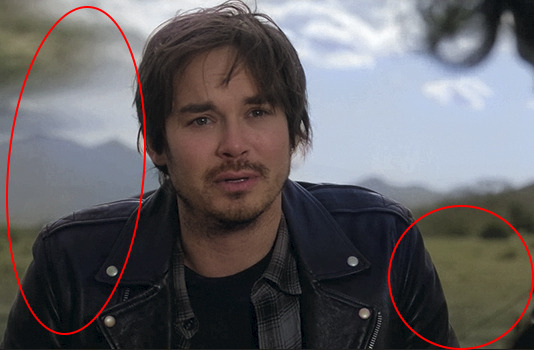
this gif isn’t the worst offender for this, but if you look closely you’ll see it. so...
5. make a new layer and fill in the flickering areas
press the ‘new layer’ button:

and now use the ink dropper tool to pick up the colour you want to use, and paint over the area where the colour is flickering - e.g. i used the dropper to pick up the colour from the desert in the background and painted over that area. i also picked up some of the colour from the sky and coloured over the flickering by the storm. i used these brush settings:

when you’ve painted on the colour you want, and as much as you want, set the layer to ‘color’. i also change the opacity to 80% to let some of what’s underneath still come through a little bit, but do what’s best for you and your gif:
my gif now looks like this, with less noticeable flickering:
7. brighten, colour and sharpen however you normally do
idk if you have an existing psd or just experiment with adjustment layers, but your gif is now ready to start colouring however you normally would. the neural filter is basically acting as a reset to give you a blank canvas in which to gif as normal. for this gif i started with a ‘hue and saturation’ adjustment layer to change the green background to a more dirt/sand colour as it’s meant to be the desert, and then just played around with my usual combination of adjustments until i came up with the final product! i then sharpen using filter > sharpen > smart sharpen and it should be done.
8. export (save for web)
you all know how to do this by now, but be aware that these will load slowly. gifs aren’t the fastest things to save on a good day but with the neural filter applied, they’re particularly slow. this is why i said to do work on the gifs one at a time - don’t have photoshop doing more than it needs to do or it might slow down to a halt.
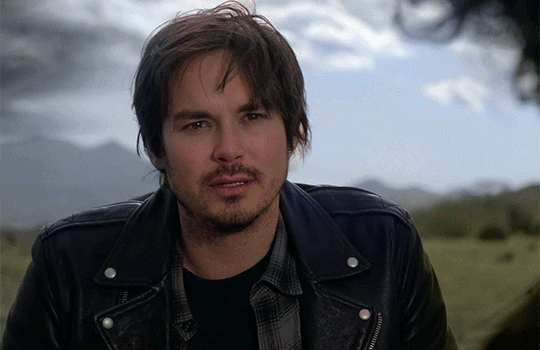
so after all that, this is the final version of my gif:
tips and tricks
avoid making gifs of moments with a lot of movement - this could be the subject of the gif moving, the background, the wind blowing something around etc. while normal colouring can tolerate these changes, the filter isn’t yet clever enough to work it out and it makes the gifs unsalvageable because you can’t paint over the flickering accurately enough - e.g.:

(p.s. if anyone knows how to get the filter to work on this specific scene you have to tell me lmao it’s been driving me mad...)
try and keep the gifs short - i haven’t made one above 55 frames, i think. that is still quite a lot but it is a challenge to ensure the filter can cope with it. shorter gifs would probably mean a cleaner result.
you have to set the gif to black and white first - the colorize filter is designed to bring black and white photos/videos to life. i tried it over the blue filter directly and it was successful but i had more consistent luck when starting in black and white.
make sure you brighten the gif significantly before applying the filter - it really helps to give a cleaner canvas for the filter to apply to, but it’s not essential if you really don’t want to.
if you have any questions, don’t hesitate to ASK. i’m by no means an expert and this is just what i’ve observed from using this feature and the workarounds i’ve found working for me so far, but happy to try and help where i can and happy to take suggestions too! <3
#malex#roswell new mexico#gif tutorial#photoshop tutorial#ps help#allresources#completeresources#itsphotoshop#*laurengifs#*tutorial#this is so long#but i hope it's helpful#i think needing the newer versions of ps is probably what's going to get in the way most but just in case it doesn't... ta-daaa#1k
2K notes
·
View notes
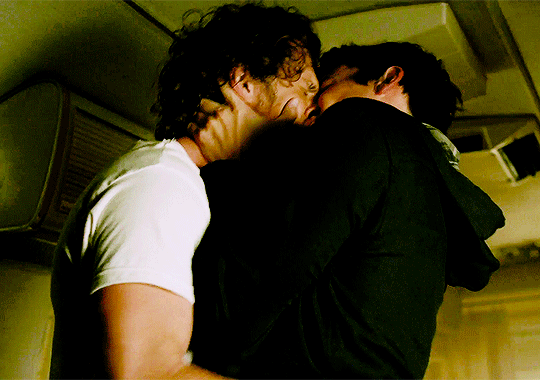
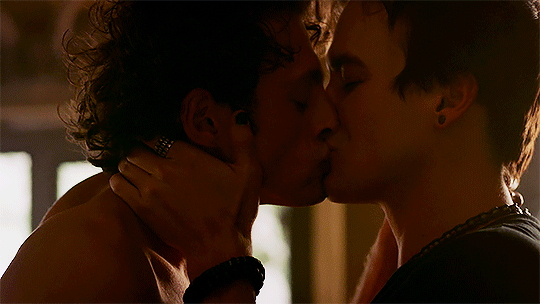
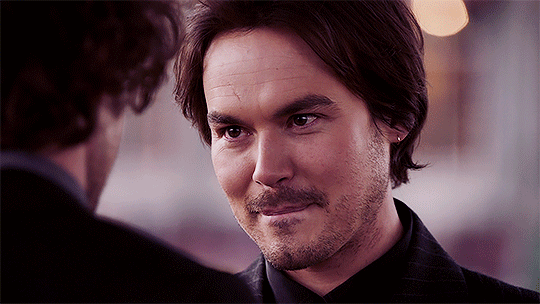
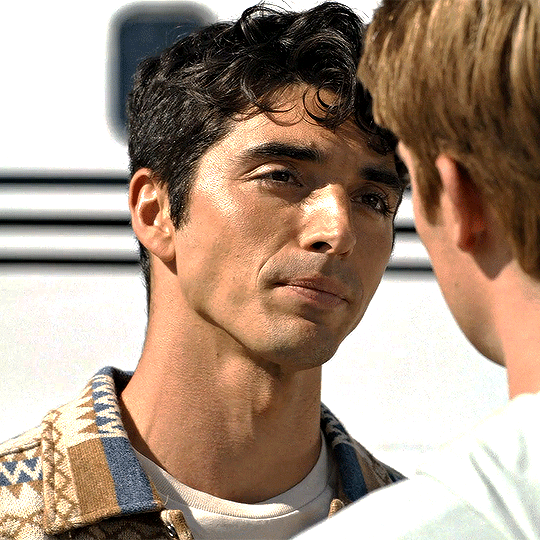
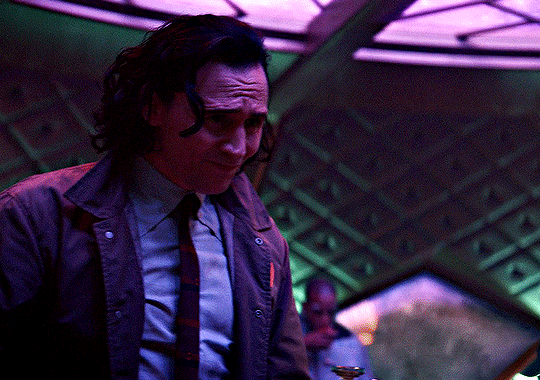
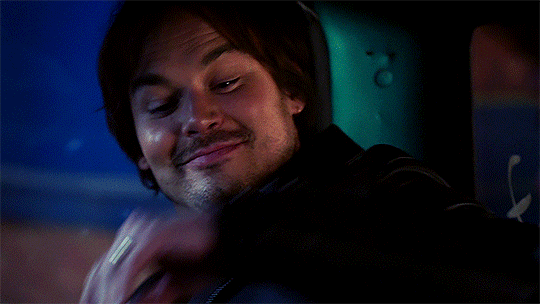
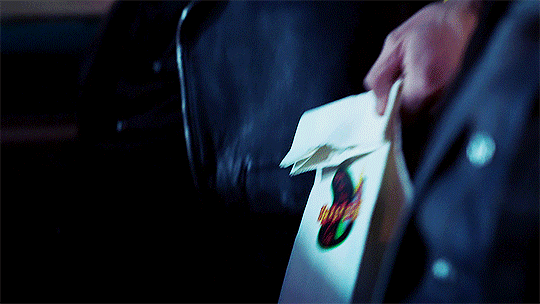
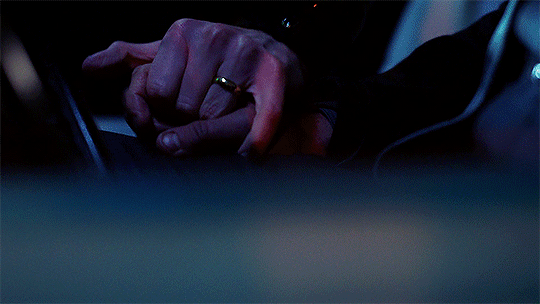
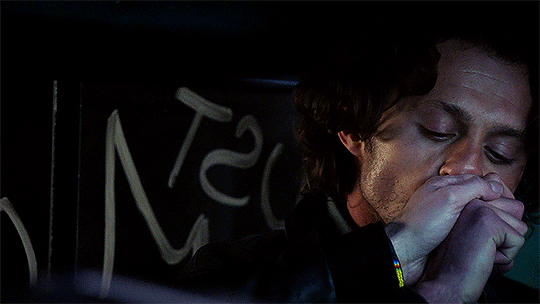
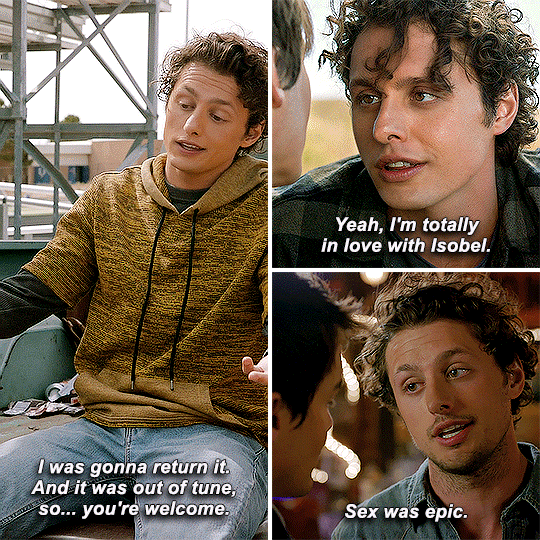
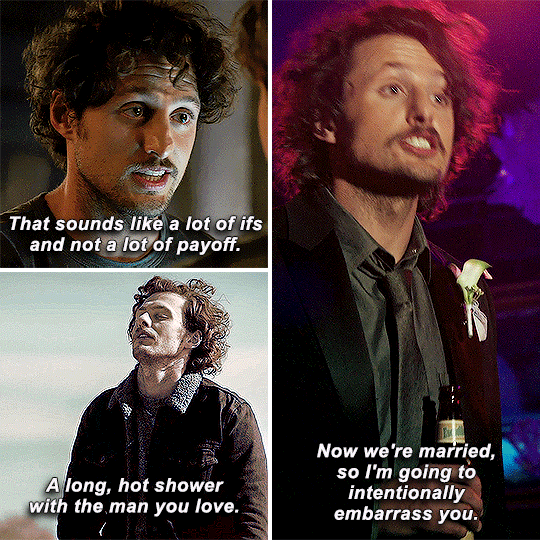
Photo


#malex#malexedit#rnmedit#roswell new mexico#rnm 4x13#michael guerin#alex manes#alex guerin#myedits#myrnmedits#rnm
2K notes
·
View notes
Text


MICHAEL GUERIN AND ALEX MANES
ROSWELL NEW MEXICO SEASON 3 & 4
#malex#rnmedit#roswelledit#malexedit#daniblondy#dailylgbtq#dailylgbtedit#michael guerin#alex manes#roswell new mexico#**#request#mine: roswell new mexico#mine: michael and alex#3x10#3x13#4x13#4x11#3x08
203 notes
·
View notes
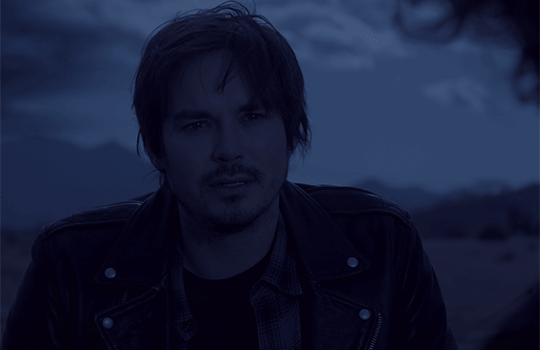
Text
Total Ship Show: Malex
Climb aboard, prepare your canons (and fanons), and set your heading for Michael Vlamis and Tyler Blackburn as they dive into the ship between their characters on The CW's Roswell, New Mexico.
⚓ Anchored by @chero, and featuring questions and ship posts from: @malex-crack, @quiet-echoes-in-the-dark , @orchardsinsnow, @olga-artwork, @i-am-a-mess24-7, @nostalgiaisabitchhuh
#total ship show#tss#malex#tyler blackburn#michael vlamis#roswell new mexico#the cw#vlambase#roswedding new malexico#malexy forever#roswell nm
5K notes
·
View notes
Text


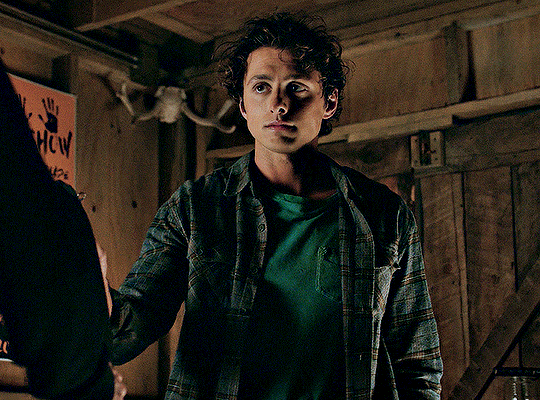

ROSWELL, NEW MEXICO ☆ 1.06 "Smells Like Teen Spirit"
#malexedit#michaelguerinedit#alexmanesedit#roswellnewmexicoedit#roswellnmedit#rnmedit#roswellnmsource#cinematv#smallscreensource#userbbelcher#chewieblog#dailytvfilmgifs#filmandtv#dailytvedit#malex#michael guerin#alex manes#rnm#roswell new mexico#rnm 1x06#bisexualaliens*#remake of an old set#i think this looks 100x better hehe#long post
106 notes
·
View notes
Text


Every Alex Manes Scene (242/242)
#roswelledit#roswellnmedit#rnmedit#alexmanesedit#everyalexmanes#malex#malexedit#roswell new mexico#michael guerin#i love (1) actual disaster#alex manes#actual cinnamon roll#protect him at all costs#michael x alex#otp: home can be a person#rnm413#*mygifs
287 notes
·
View notes
Text


#roswell nm#roswell new mexico#rnmedit#alex manes#michael guerin#alexmanesedit#michaelguerinedit#malex#malexedit#i really do just come back to post gifs inspired by emily's posts#i miss gifing s1
259 notes
·
View notes
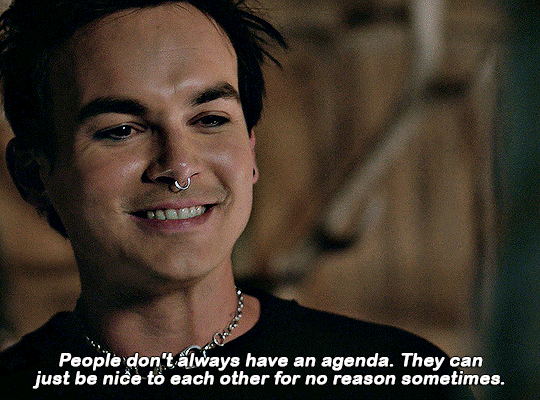
Photo

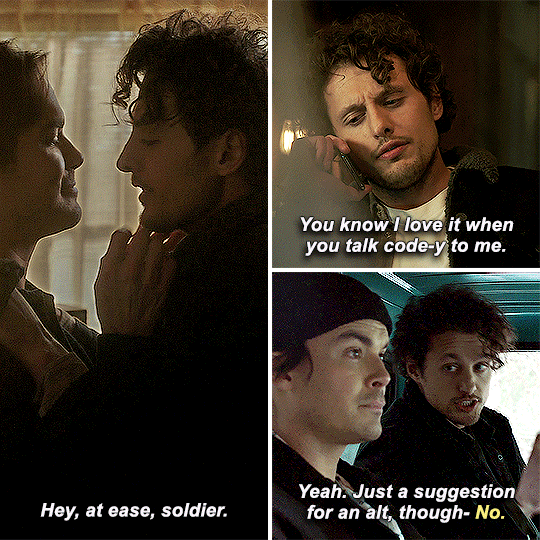
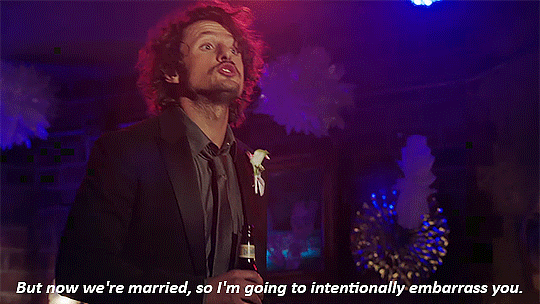
michael guerin but it’s the ‘I just wanna annoy one man for the rest of my life’ text post
1K notes
·
View notes
Last Seen Blogs
utopiaafrica
Untitled

bombak423
Sin título

armageddonmoon
Random Fandom Blog
mollherz
augenblick*[maːl]

amir7797-blog
amir