#Buttons
Note
I saw this post and it just gave off Red Flags vibes with Buttons and Val LOL https://www.tumblr.com/fullyarmoredbattlesturgeon/749210657538359296?source=share
[clickable link]
There was an accident with the wine
11 casualties
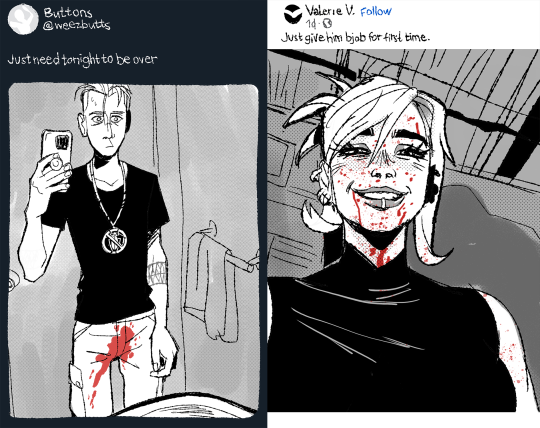
#this is at least the second time Buttons got his period in the GTA universe#what has he NOT been thru yet#thank you for the meme recommendation! impeccable!#meme#shitpost#GTA Online#Buttons#Val#Wafflii#OC#blood#galoodle#sorry I don't have the energy or time for proper drawings
1K notes
·
View notes
Text


...not sure what this is
#blinkies#neocities#web graphics#blog resources#old internet#old web#web resources#gifs#carrd graphics#animated gif#stamps#buttons#dividers#southern gothic#ethel cain#aphex twin#hieronymus bosch#liminal#weirdcore#eerie#eerie aesthetic#eyestrain
96 notes
·
View notes
Text
i was so delighted by these buttons that i had to use my wizard magicks to manifest them for my id lanyard and chicken purse
77 notes
·
View notes
Text
I have become unstoppable
#tadc#the amazing digital circus#tadc caine#puzzlevision movie#smg4 puzzlevision#mr.puzzlevision#my art#mr.puzzles#caine#buttons#HEHEHE Oof the glossy paper is hard to turn into a button#but itsss the one paper that CAN hold color compared to regular paper
49 notes
·
View notes
Text
Another button puppet and it’s Mona!!!
After the first set I knew I wanted to make a Nanalan puppet and she turned out so cute!
#nanalan#needle felted#needle felting#felted wool#fiber crafts#wool art#puppets#puppet#puppetry#handmade#buttons#Mona#fiber artist#artists on tumblr#my art#wool#felting#wool felting#kidcore#2000s childhood#2000s cartoons#kids tv#nostalgic#nostalgia
20 notes
·
View notes
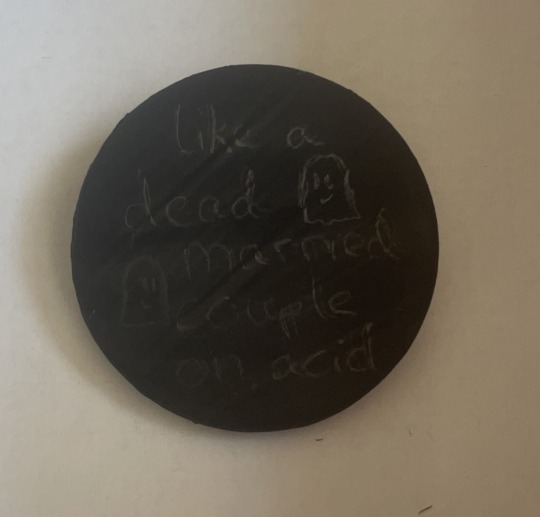
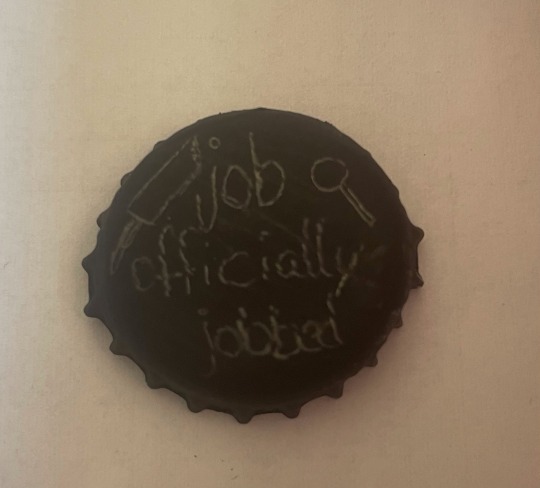
Text
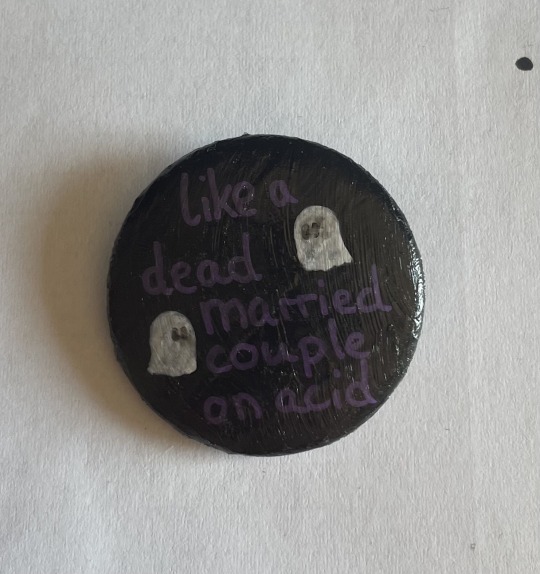
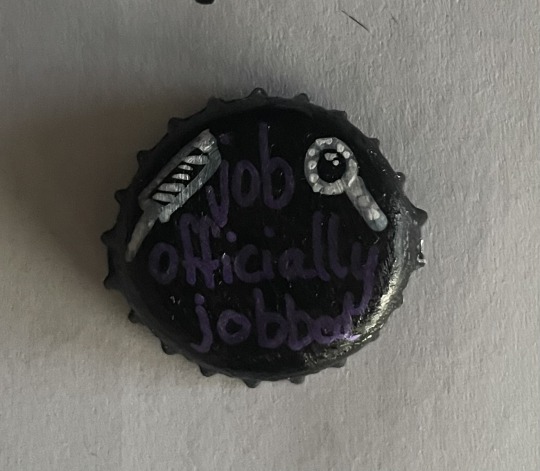
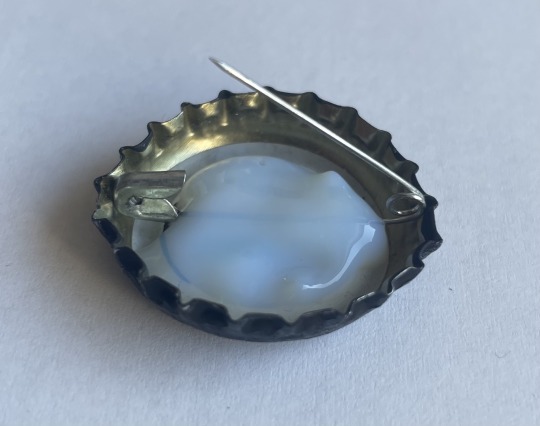
button tutorial (bc some people on this post said they also want a button like the one i made)
there‘s two options:
option 1: you already have a button lying around that you don‘t use anymore and are willing to sacrifice for this
option 2: you don‘t have a button. in that case you can use a bottle cap (like from a soda or beer bottle) and a safety pin. you can follow the same steps and then glue the safety pin to the back. i used the same fabric glue as i used for the button itself but if you want to speed everything up i would recommend hot glue bc the fabric glue needs a few hours to dry.
*i added a picture of how i placed the safety pin at the end
1. the first thing i do is putting a layer of acrylic paint on it. acrylic paint bc it ‚sticks’ well on even materials and usually covers very well (maybe not white or yellow but you probably get what i mean). i would also recommend using a big brush to get the layer as smooth as possible bc it makes drawing things on top easier. the coat of paint needs to dry completely before you can do the next step, i usually wait a few hours to make sure it‘s fully dry but it doesn‘t actually take THAT long for acrylic paint to dry
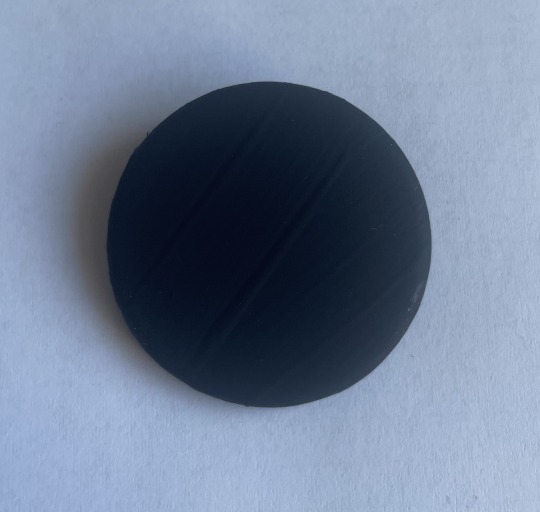
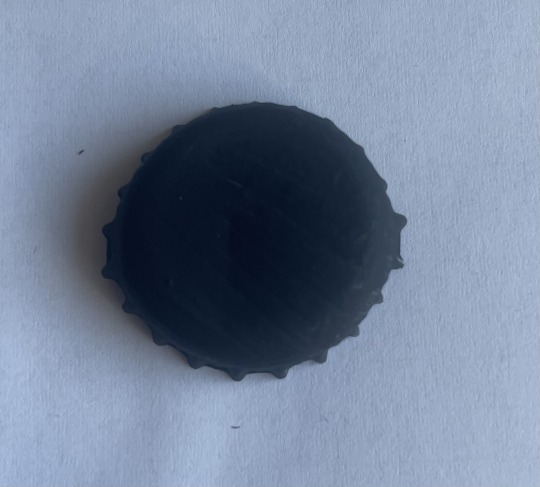
2. when the paint is dry i sketch on the design with a soft pencil that is not too sharp, i used a 4b but honestly the softer the better. also don’t put too much pressure even if you use a very soft pencil bc if you press too hard you will just scratch the paint off again (happened to me, it‘s not fun) (you can also skip this step but i like putting a rough sketch on first)
3. i use acrylic marker to properly draw on the design but you can also use regular acrylic paint and a very thin brush or other thin markers, they just need to draw on the paint and cover it properly, whatever you have. also let this dry properly, i usually let it lie for a few hours to make sure i don‘t mess anything up bc it‘s not properly dry yet.
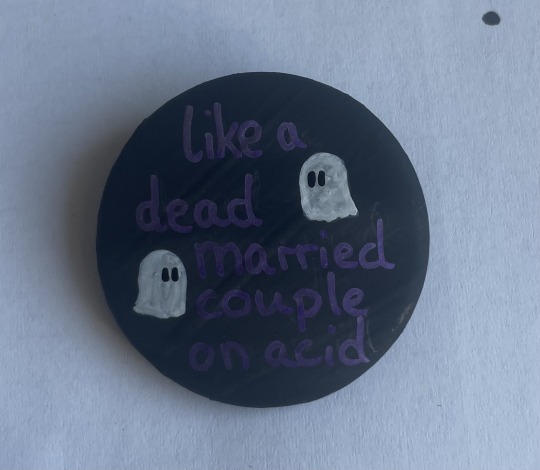
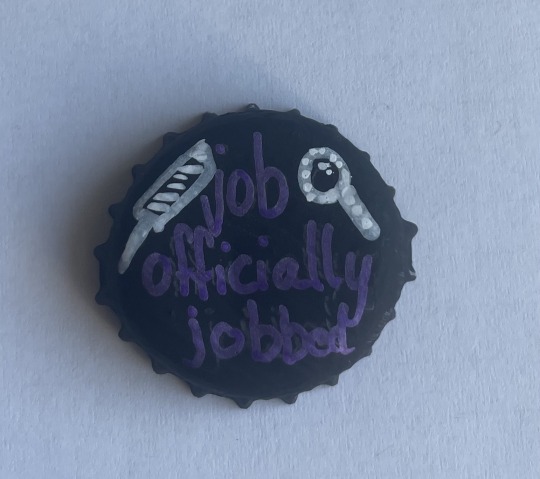
4. to seal it off against rain and scratches and stuff i put waterproof glue on it. i personally use fabric glue but i think any glue that‘s transparent (at least once it‘s dry) and not dissolvable by water should work. i just put a bit on it and spread it out with a tissue, then let it dry. you can also use the glue to get some texture on the buttons, but it shouldn’t be too thick bc then the light might reflect on it too much making the design harder to see (i‘m gonna put another button as an example for that at the bottom). you can also skip this step but i would recommend it so the paint can‘t be damaged, especially when the paint isn‘t waterproof itself
* for option 2: i left the safety pin open bc it made it easier to position and to make sure that no glue gets into the moving parts (that‘s important bc otherwise you won‘t be able to open and close it). just put enough in so the bottom of the safety pin is covered completely and then let it sit till it‘s dry.
here‘s some other buttons i made :) the left has some texture on it like i mentioned above
that‘s all, the concept is pretty easy overall and i hope i explained it in an understandable way. if you have any questions feel free to just ask me and i‘ll try to help :)
#dead boy detectives#art#buttons#diy#good omens#bc the other buttons are good omens i guess#i hope this is helpful#i love making buttons and i‘m glad to share my knowledge with anyone else who wants to make their own buttons on a low budget too
18 notes
·
View notes
Text


Transparent pins taken from the Arquives' button collection!
#my posts#lgbt#trans#transgender#f slur#buttons#yayyyy these were really fun to make#i made these for my website but feel free to take these!
31K notes
·
View notes


Note
I downloaded New Vegas partially because of Buttons, partially because I love the show and want to get to know the games. I’ve never died so many times in the first ten minutes of a game. I accidentally stole a guy’s milk and now he won’t stop following me and shooting me 😭. Anyway, love your content!! Thanks for introducing me to Fallout!
#you took the role playing game seriously and are playing the role of someone who can't mind their own business lol#I never finished NV and I don't think I'm going back to it before Fallout 2#but I really want to especially for the DLC-s#I know they're fantastic#Thanks for the kind words!#Fallout 3#OC#Buttons#galoodle
759 notes
·
View notes
Text
8K notes
·
View notes
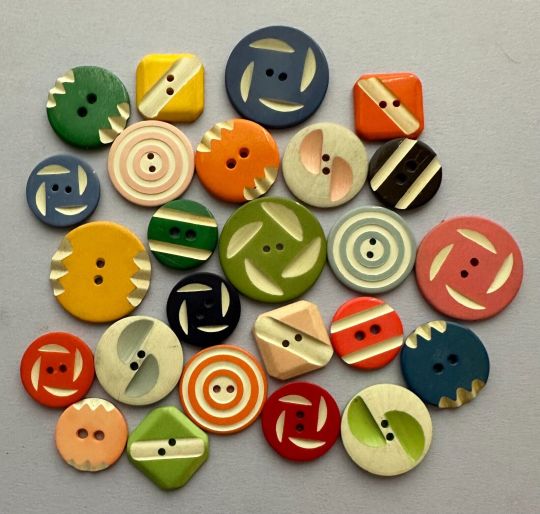
Text


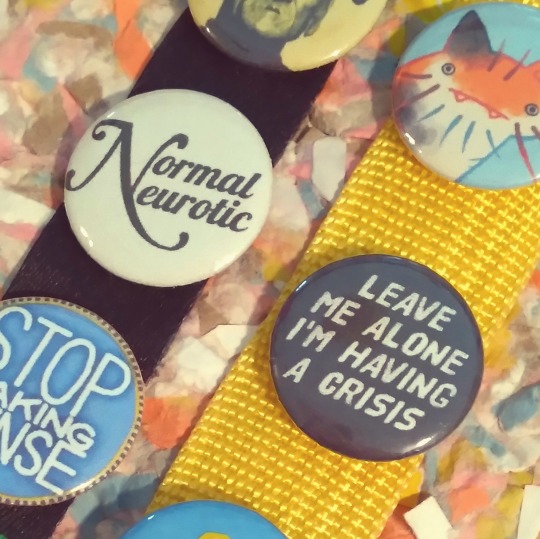
eclectic array from the button museum.
11K notes
·
View notes
Text
Cowboy Bebop graphics


weirdly hard to find these
#blinkies#neocities#web graphics#old internet#webcore#animated gif#carrd graphics#stamps#animated stamps#gifs#flashing gif#gifset#88x31 buttons#buttons#pixels#cowboy bebop#jupiter jazz#edward wong hau pepelu tivrusky iv#faye valentine#spike spiegel#jet black#ein#see you space cowboy
23 notes
·
View notes
Text

Apparently it’s #IzzyIsThriving day, so excuse me while I pause my mental health break to throw a tipsy doodle of a crew cuddle pile at you guys
#our flag means death#our flag means death s2#izzy hands#fang#jim jimenez#roach#archie#oluwande#buttons#wee john feeney#frenchie#lucius spriggs#black pete#cliopadra blabbers on#my art#izzy is thriving
11K notes
·
View notes
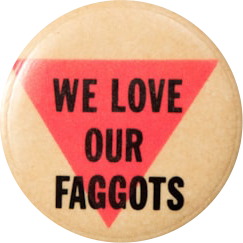
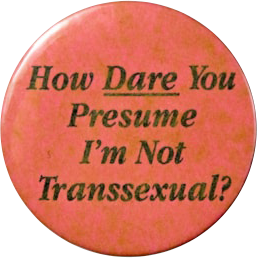
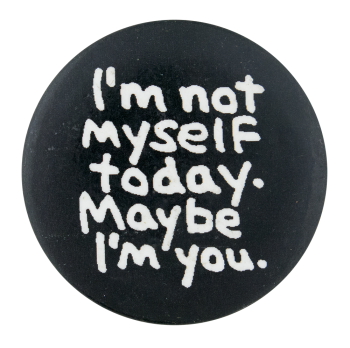
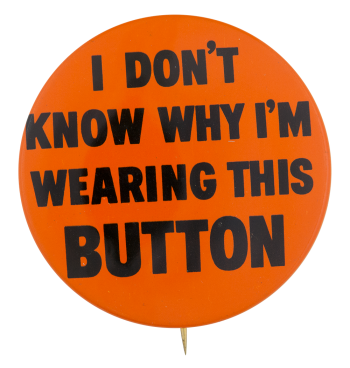
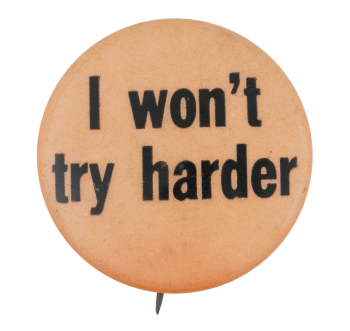
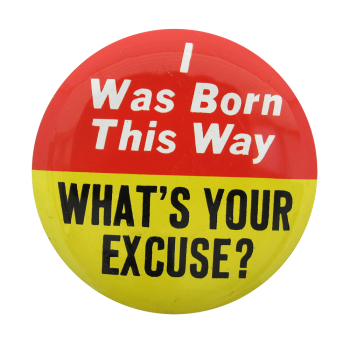
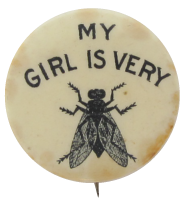
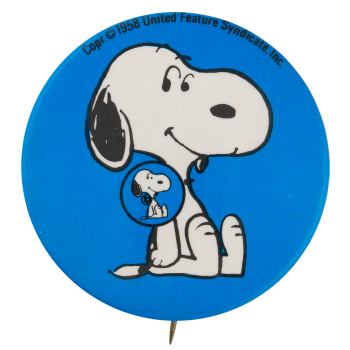
Photo

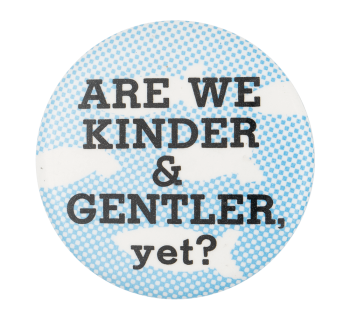
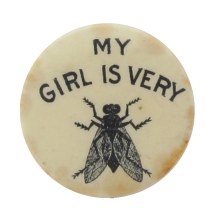
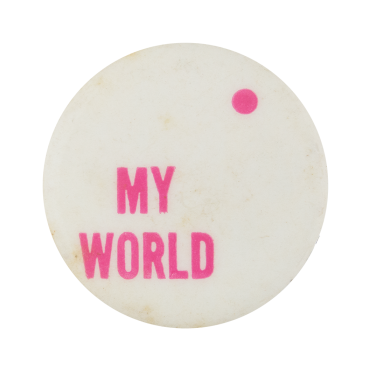
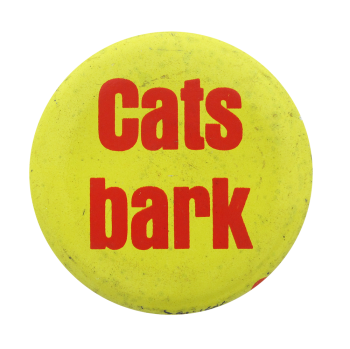

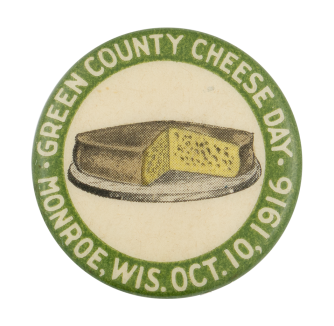

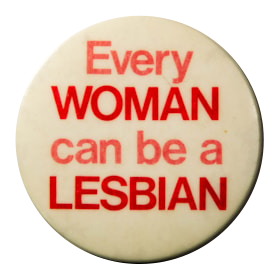
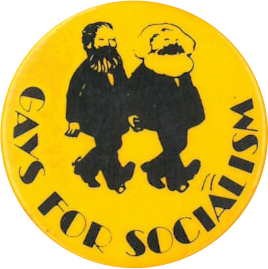
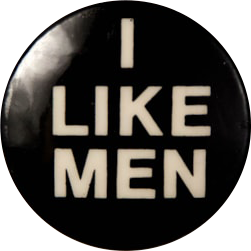
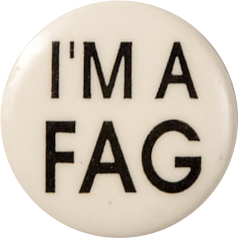
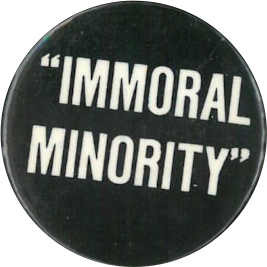
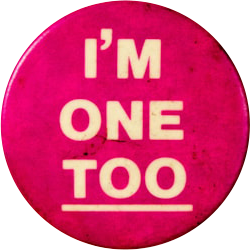
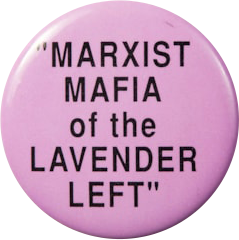
Vintage pinback button PNGs, part 3.
(1. 2. 3. 4. 5. 6. 7. 8. 9.)
#pngs#png#transparent#moodboard#artboard#imageboard#sticker#stickers#pins#pinback buttons#buttons#polyvore#shoplook
24K notes
·
View notes
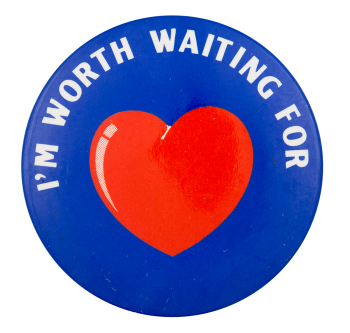
Text
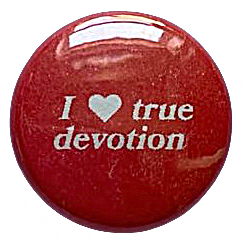
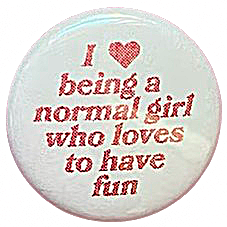
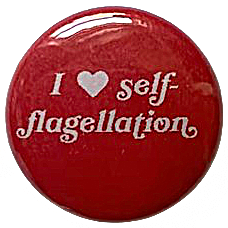
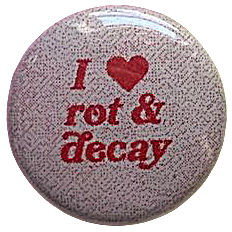
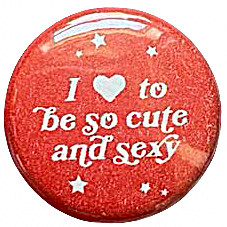

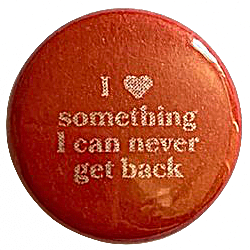
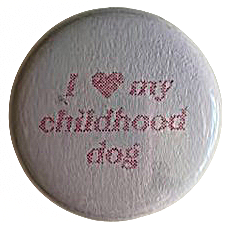
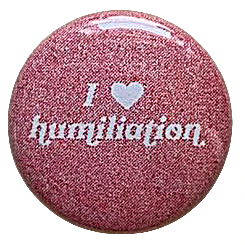
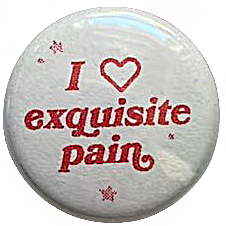
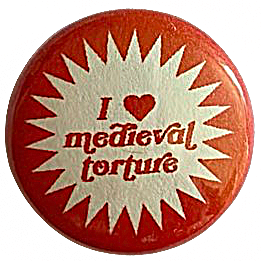
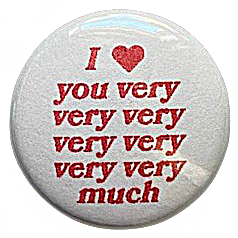


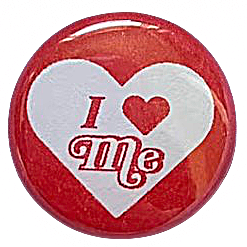
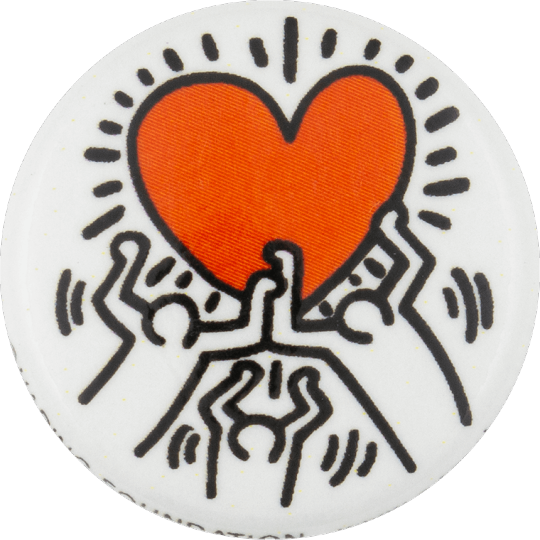
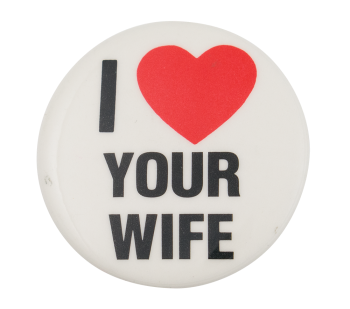
i ❤️ ... (button sets, part 1) by Claire Thompson
#claire thompson#clairethompson#transparent by me#buttons#pins#objects#trinkets#pngs#transparent pngs#devotion#fun#self flagellation#rot#decay#cute#love#medieval torture#fashion
4K notes
·
View notes
Last Seen Blogs
mckryse
Bonjour, princesse ♕
brendan-kemp
Womb To Tomb, Sweatheart.


princess-east
Smol Cat

universallydestinypatrol-blog
Untitled