#punk patch
Text
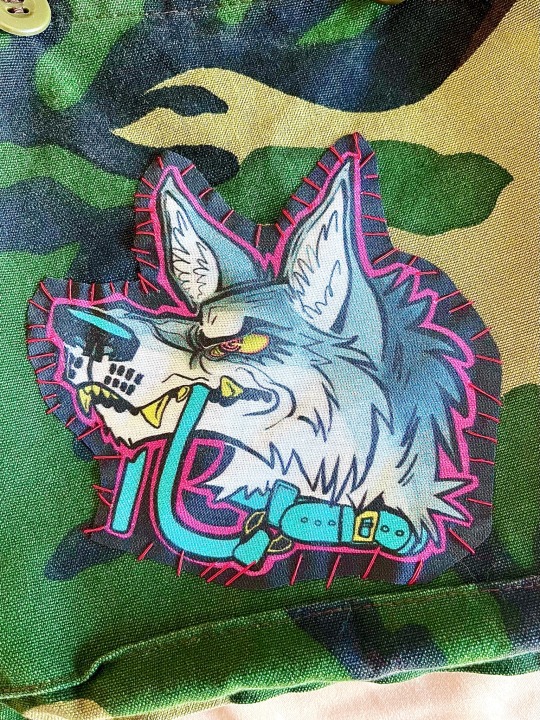
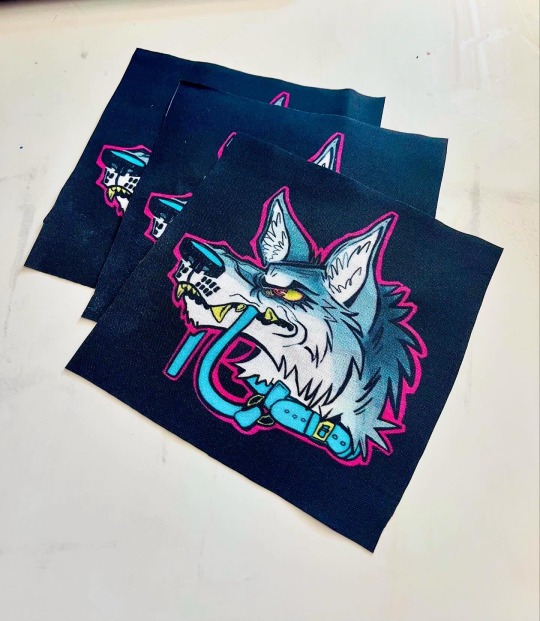
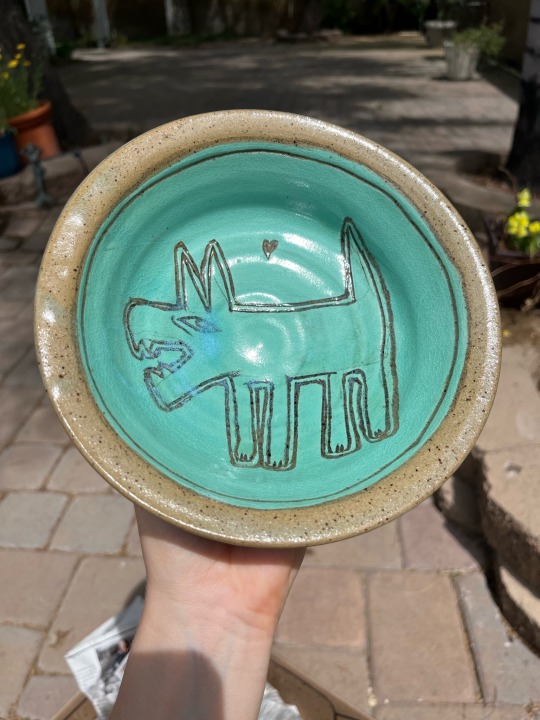
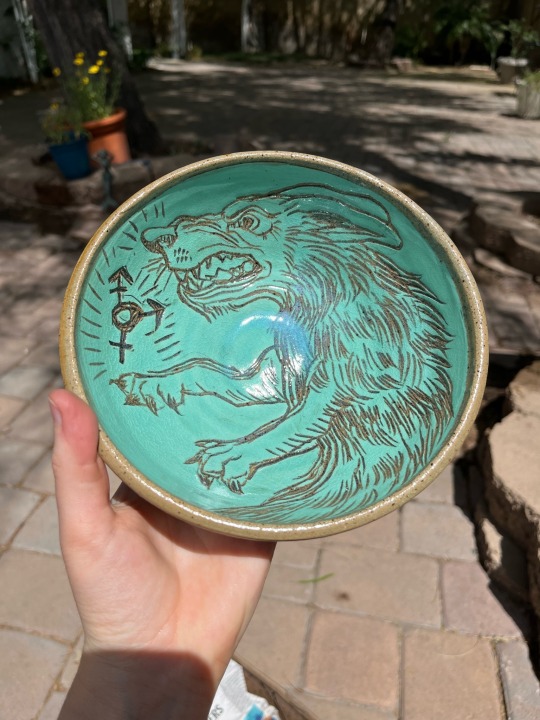
New patch design and more when I update my shop today (4/26) at 1pm mst!
#furries#queer patch#gay patch#gay pride#jacket patch#punk patch#patch jacket#furrycore#furry badges#furry art#sfw furry#ceramics#pottery#ceramic sculpture#artists on tumblr#trans patch#trans artist#trans werewolf#werewolf art#madlyfluffyart
23 notes
·
View notes
Text

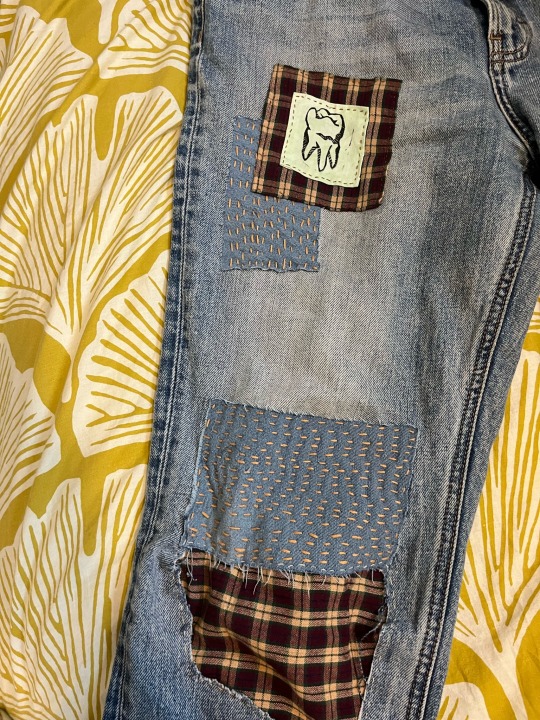

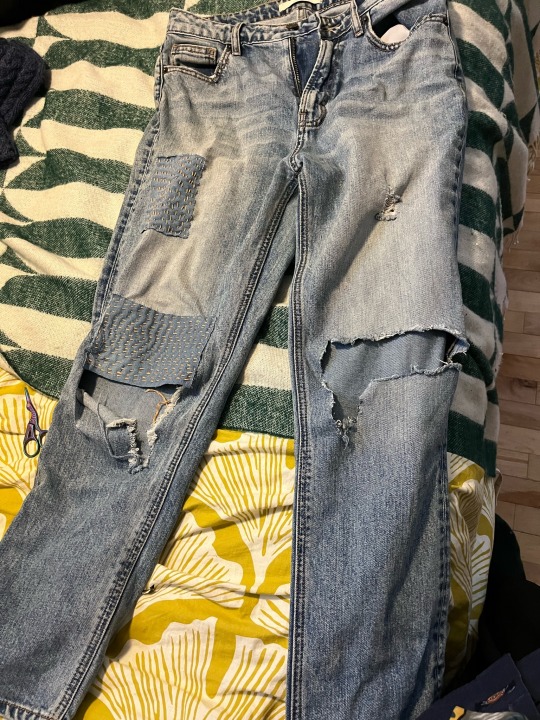
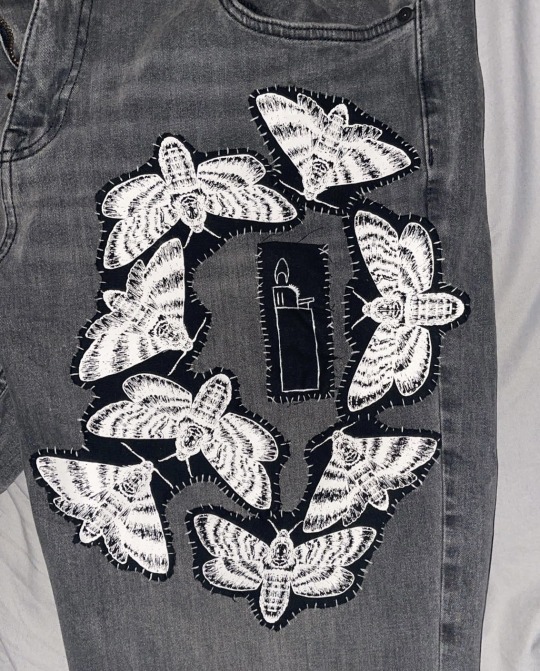
Finally got around to finishing this visible mending project from this fall.
#solarpunk#printmaking#punk patch#punk#diy fashion#blockprinting#punk patches#diy punk#patches#solarpunk fashion#eco fashion#visible mending#mending#clothing repair#sewing
576 notes
·
View notes
Text
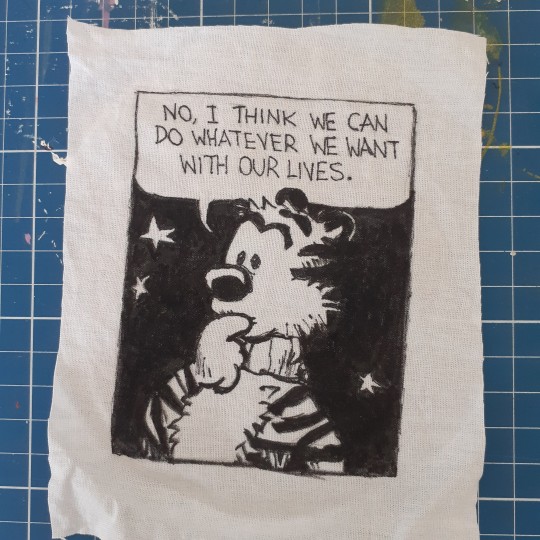
well that's the fastest I've ever gotten from patch idea to execution. it exists now. I love it. all my nankin pens are dead. I don't know where I'm going to put it
716 notes
·
View notes
Note
Question...how do you make your patches? They seem so fuckin cool. I'm working on a vest and a jacket atm, and I'd like for them to be done by the time a pride fest rolls around next month.
Main technique I use for making patches nowadays is linocut. Its best suited for mass production of patches.
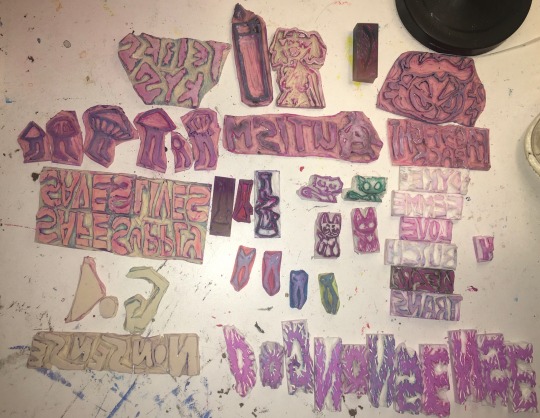
Make sure to remember your carving the mirror image so you have to flip all the text. Using tracing paper to flip the design is a good trick, as well as leaving graphite marks on side, then pressing that to the lino to leave the marks in the same spot. Another trick with pencil is to view what ur carving in negative space quickly, put a paper over your design and shade over it with pencil, darker marks will be where you haven't carved yet.
I use speedball fabric ink, it takes 1 week to set then will be fine to be washed. I have magenta, violet, turqouise, and white. They have a limited range of fabric colors at the store. I have seen gold and silver fabric paint for sale and I will investigate it one day.

I use a speedball roller, i find the smaller one to be better than the big one as I can be more precise and waste less ink.
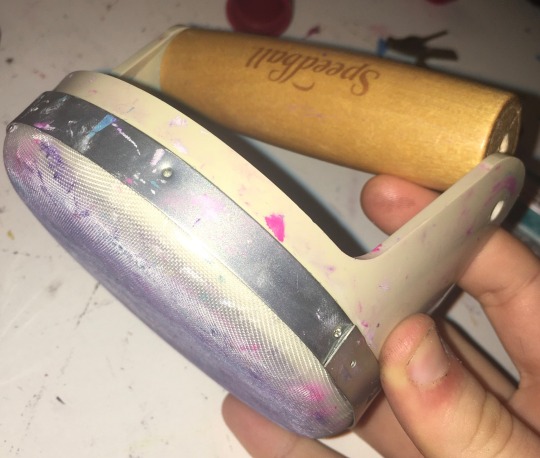
I got a fancy handle for $40 but the screws fallen out so its broken now so just get some heavy books. I used to use a mug. Whats important is pushing your whole body weight into it.
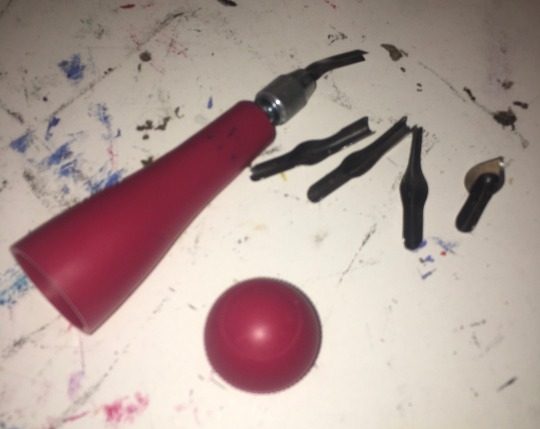
I got a speedball carving tool with different heads I can swap out so I can cut into the lino at different deepness and widths. The heads are stored inside the tool since its hollow and has a screwable removable bottom. I use linocut or dollar store erasers for my carvings. Make sure to wash the ink off your linocuts after your done using them.
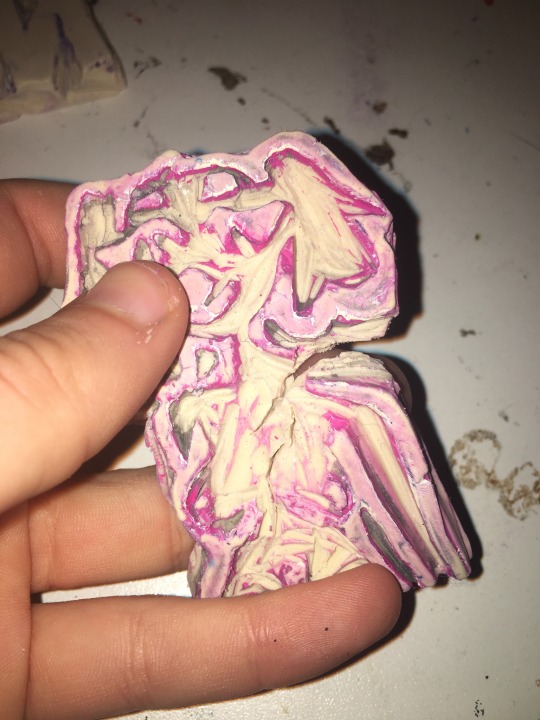
A thing to increase the lifespan of you're linocuts is to use wood glue, some cork or wood pieces, and glued the lino stamps onto them. I dont do that yet so my stamps fall appart from overuse sometime and because I cut way too deep into the lino since I hate chatter.
Chatter is the term for in linocutting when theres little messy lines and stuff. It makes the art more recognisably to be linocut. My work is very clean with no chatter which is why people don't notice its linocut usually. This is a stylistic choice, with diy styles having a lot of chatter can look really cool so experiment with leaving bits of extra uncarvered lino sticking out in ur stamp. I need to experiment and buy some more lino.
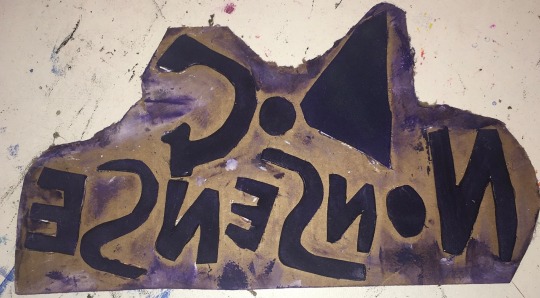
You can also use multiple linocut stamps together to make a patch. Some patches ive made have like 8 different stamps. Ive made a dog nonsense patch where each letter was their own eraser stamp. You can also use different colors between the different lino stamps on the same patch to add more color. An effect I like to do is first stamp it in color, then the next day I stamp it in white over the same spot but shifted to the right and down slightly. It makes the text have a cool border 3D effect I love doing.
If making a more detailed picture with colors, i reccomend hand painting patches. I use white fabric paint mixed with acrylics for color to get all the shades i need. Acrylic paint mixed with fabric softener works too.
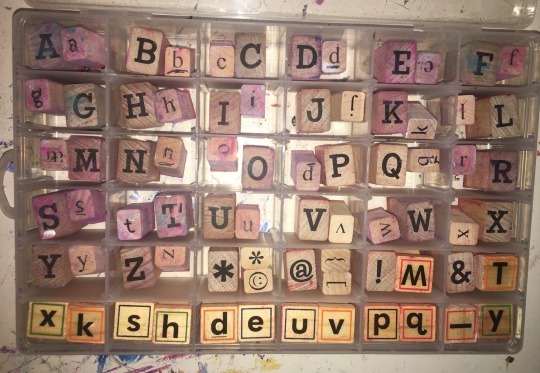
If doing words and you dont want a unique font reccomend using letter stamps. If you want a unique font for that i recommend hand paint for individual or linocut for mass produce.
The positive of letter stamps is the font is neat and can be done quickly. I know from lending them to my roommate that they are very helpful if you have dyslexia and have trouble getting letters right.
A visual effect of the letter stamps is that have a nice boxy edge effect, its an imperfection that adds a personally touch to it. I have both lower and upper case stamps that I got from michaels. You can use a hair band or elastic to hold a bunch of letter stamps together to make a word stamp.
You can use other stamps than letters that you find at craft stores for example my racoon print is a craftstore stamp.
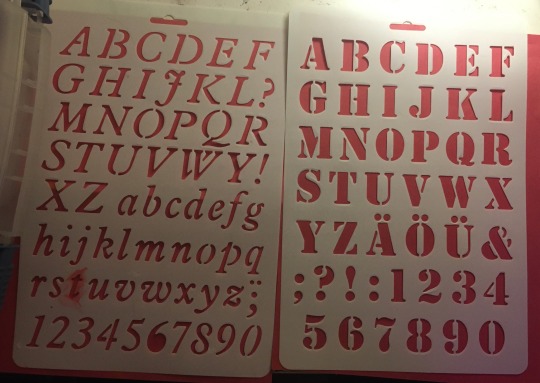
You can also find big plastic letter stencils at the dollar store that you can use to do lettering by filling in gaps with a sponge or or paintbrush. They make special paintbrushes just for using stencils.
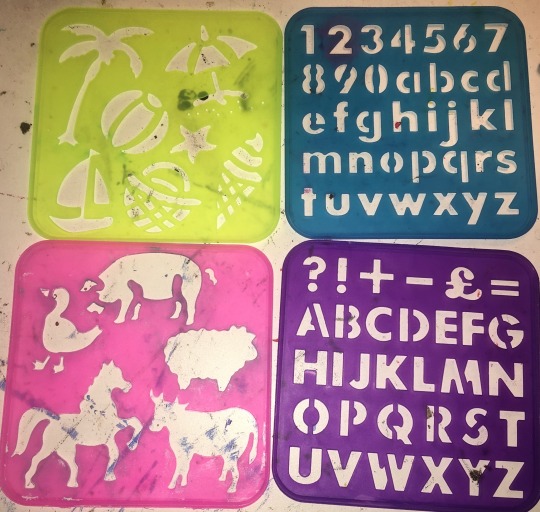
You can also get plastic stencils in the shapes of things, i got some for children and use a horse stencil for my horse smoking weed patch. Easier than drawing a horse myself.
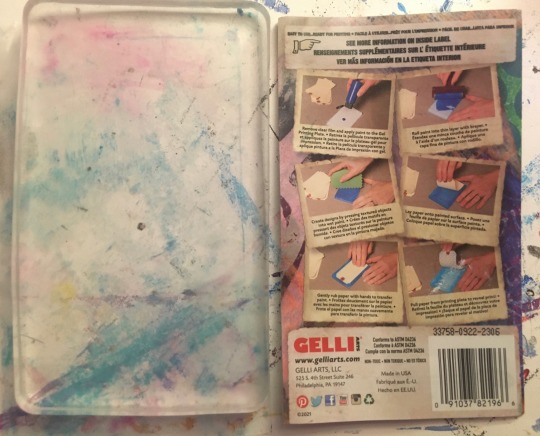
Another technique I use for more unique clean patches is gel plating. I haven't tried printing laserprint images with it as ive seen online a lot but I will try one day. What i personally do is use it to make imprints with chains and physical objects.
Another thing i use with gelplates are any stamps or linocuts that dont have words, or words ones that i fucked up with and forgot to mirror when carving. It flips mirror image twice with the gel plate so it goes back to being right again on the patch.
Another patch making technique is using foamboard cut into shapes glued onto cardboard. This is good for a quick test of a design and is very cheap to make. It will not hold under water so is more difficult to clean.
#punk#diy#patches#diy patches#patch pants#diy punk#crust punk#crust pants#battle vest#punk fashion#punk diy#punk patch#queer art#linocut patch#gel plate#linocut#stencil#my patches#patch tips#how to make patches#patch 101
339 notes
·
View notes
Text

I made new patches :)
These ones aren’t for sale b/c i did not design some of them but if you want to see my other patches click here
306 notes
·
View notes
Text

back patch(es) for my new vest :)
#mcr#my post#punk#punk patch#diy patch#punk vest#patches#diy punk#queer art#trans art#my chemical romance
881 notes
·
View notes
Text


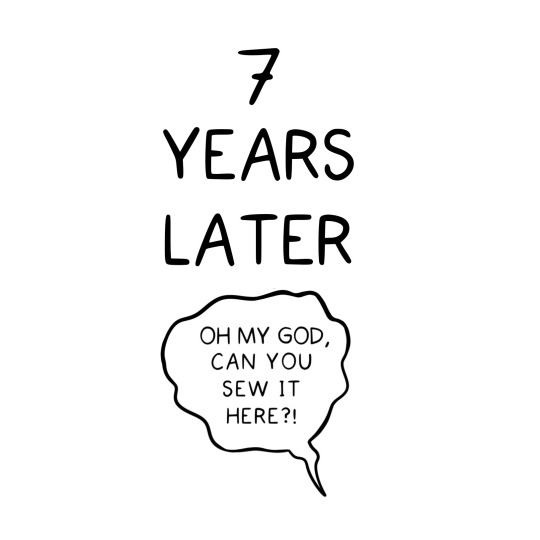
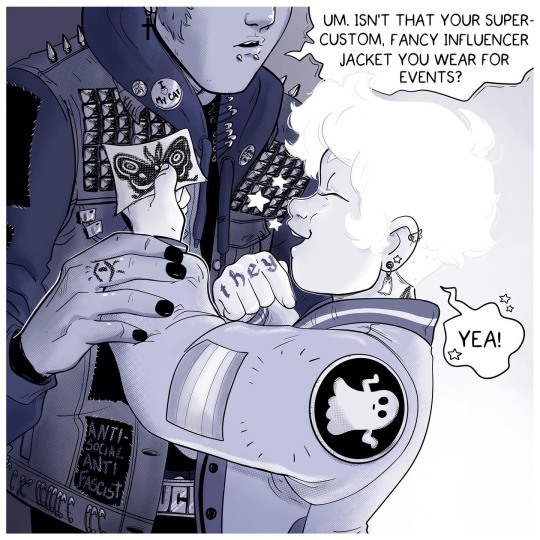
I’m still doing some prompts I got on Instagram a few weeks ago. This one was ‘has John ever made Caro a patch for their jacket,’ and I guess it could have been answered with just the first frame but I do really love them and now comics.
788 notes
·
View notes
Text
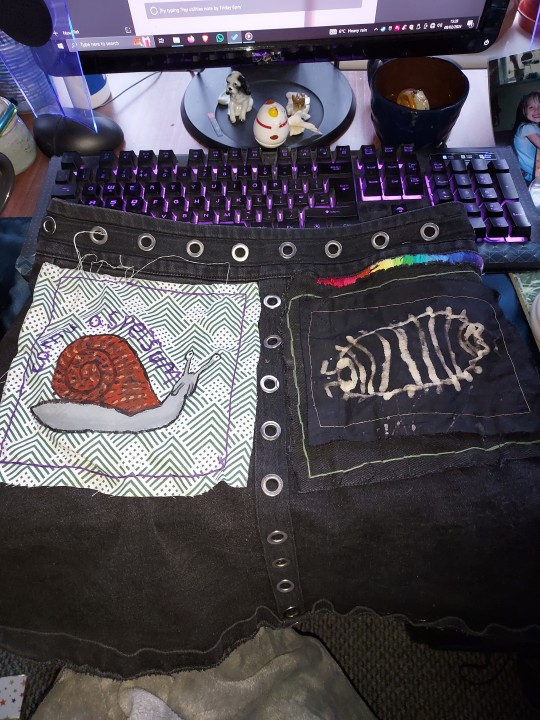
Bugskirtbugskirtbugskirtbugskirt
Featuring the common garden snail Cornu aspersum, formerly Helix aspersa.
75 notes
·
View notes
Text
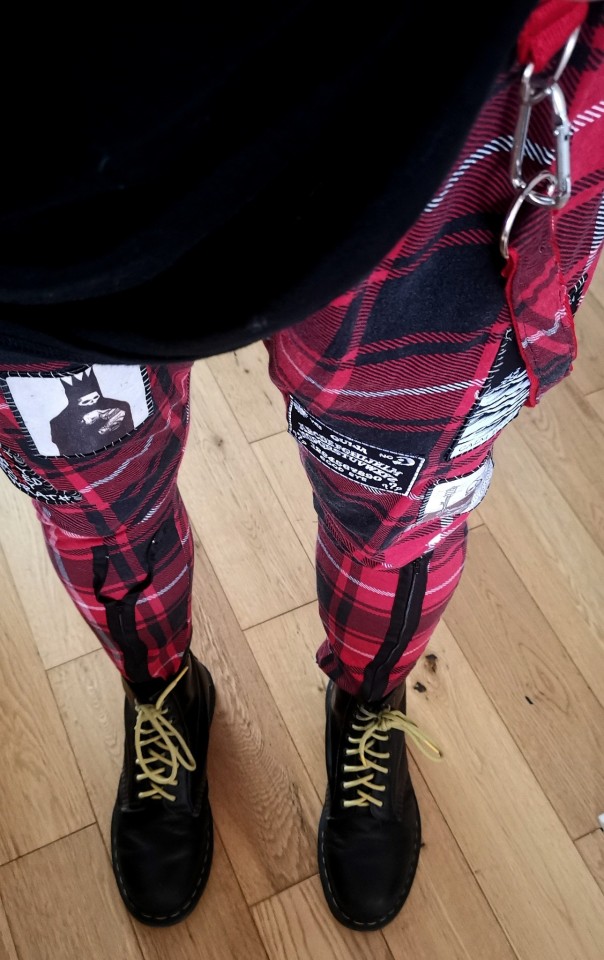
Made some more patch pants (this time from a thrifted pair of pyjamas, because comfy, and some old patches I had lying around)
Inspired by the wonderful tutorial from @rattusrattus3 🖤
177 notes
·
View notes
Text
new batch of patches :3

the courage the cowardly dog patch says "do it alone" and "do it scared" btw :3
#crust punk#punk#punk patches#punk diy#diy punk#punk patch#courage the cowardly dog#do it alone#do it scared#cringe culture is dead#diy or die#homosexual tendencies#mlm#sundrop#fnaf daycare attendant#fnaf sb#moondrop#mine
95 notes
·
View notes
Text


Trans flag version of my dog patch! Just listed these on my Etsy :)
#trans artwork#transartist#trans patch#trans symbol#trans art#trans artist#trans pride#patches#jacket patch#punk patch#gay patch#queer patch#queer art#patch jacket#diy patches#furry patch#trans flag#Etsy#lgbt patch#lgbt artist#lgbt pride#lgbt art#furries#madlyfluffyart
247 notes
·
View notes
Text
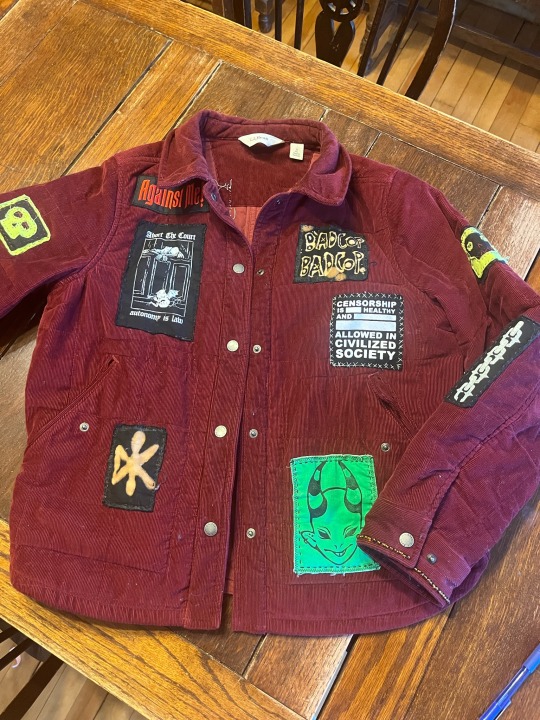
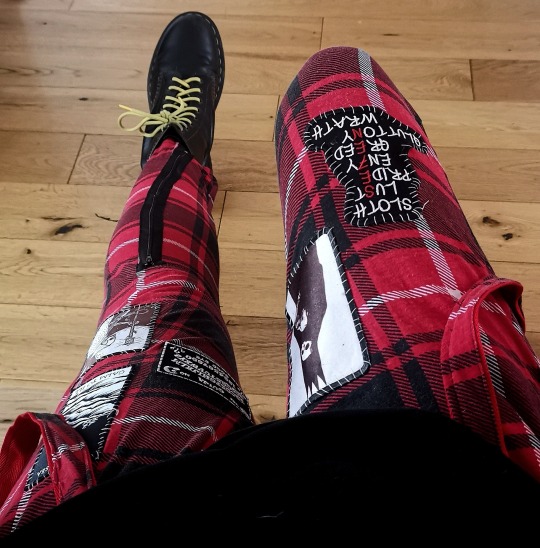
Since I’m out of new art to post for the moment, I thought I’d share my battle jacket
She’s not the most traditional punk jacket, given that she’s not black, and not denim or leather, but I find the softer fabric more sensory friendly. The base is a corduroy quilted jacket I got on sale at an LL bean outlet. (Not thrifted, unfortunately, which is especially poser of me). However, she’s good quality and will last a long time, which is important to me.
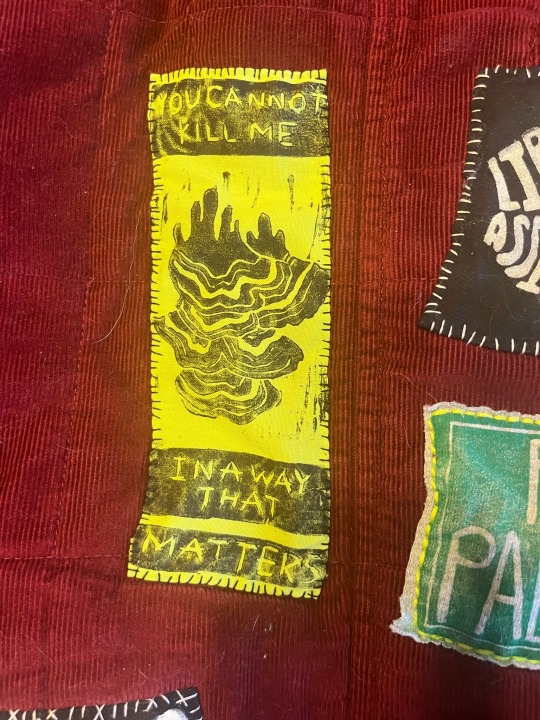
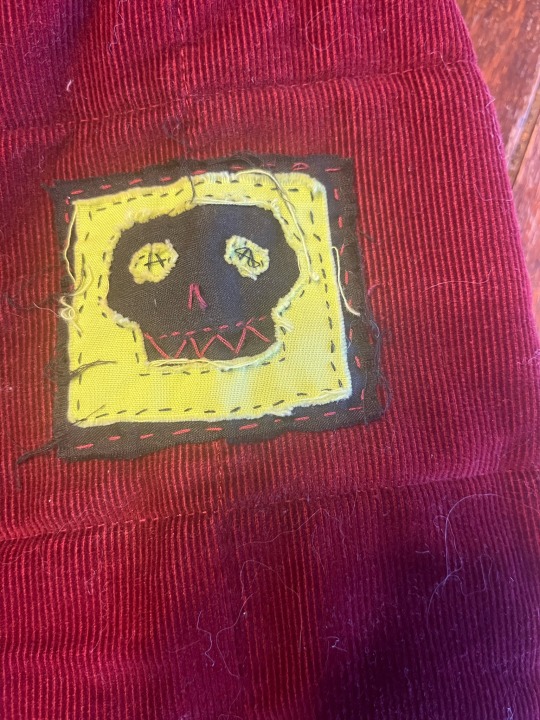
The patches are all hand-sewn on, as are the beads on the cuff, which were harvested from some thrift-store costume jewelry. The patches were all either made by me or ordered on Etsy, with the exception of the free Palestine patch, which were given out by someone at my school earlier this year.


As you can see the back is still a work in progress. I started the jacket (my first) over the summer at about the same time I started printmaking, and there are a lot of mistakes in it, but I still like it. Planning to add some more to it soon.
Fun fact, this jacket is what coined the term “cozypunk” to describe my style, which then became the name of my shop and my url here on tumblr.
#battle jacket#solarpunk#punk#printmaking#punk patch#patches#diy fashion#diy punk#diy or die#sewing#punk fashion
185 notes
·
View notes
Text

first ever "linocut" (old eraser carved with an exacto knife lmao)
not bad for a first try, I think :D
174 notes
·
View notes
Text
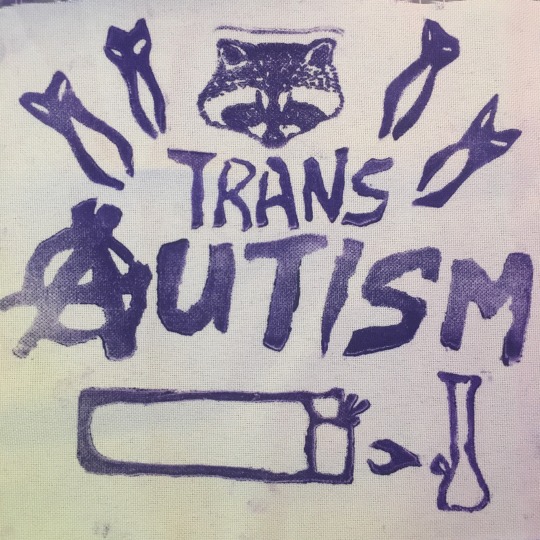

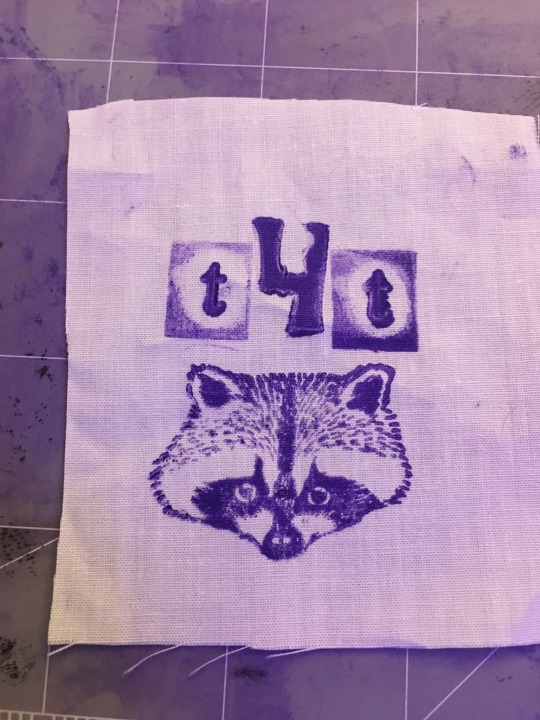

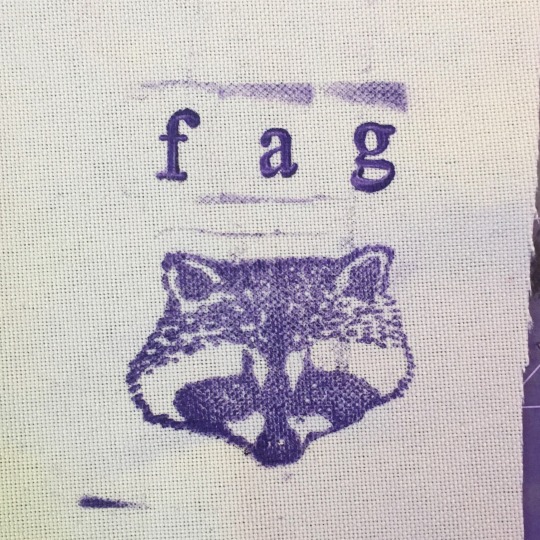


New Patches i made today
#punk#diy#patches#diy patches#punk patch#racoon#racoon patch#puppy girl#t4t#trans patch#queer patch#autism patch#anarchy patch#autism#queer art#trans art#weed mention#bong art#bong patch#weed patch#weed art#stoner patch
517 notes
·
View notes
Text
Update on patch pants
i’m more of a machine sewing kinda gal but it’s been really interesting doing this all by hand!
2K notes
·
View notes
Text
https://www.etsy.com/listing/1193010257/block-print-sew-on-patch-support-your

The new patches are in my shop.
#mothman#support your local harbinger of doom#cryptid culture#punk patch#block printing#cryptozoology#reclaimed linen#recycled fabric
79 notes
·
View notes
Last Seen Blogs
faez-sims
Faez

walden-media
The Official Tumblr of Walden Media

eggoscrombled
Do y'all know where a Denny's is?


prayaglawclasses-blog
Untitled