#oatmeal cookies
Text
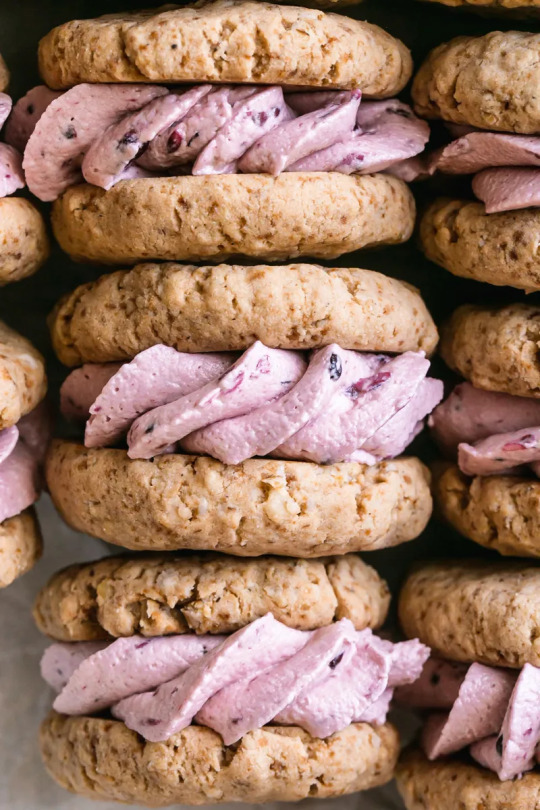
Blackberry Cream Oatmeal Sandwich Cookies (Vegan)
#vegan#desserts#cookies#sandwich cookies#oatmeal cookies#blackberries#oats#vegan butter#plant milk#shortening#vanilla#coconut sugar#sea salt
36 notes
·
View notes
Photo

Honey Oatmeal Chocolate Chip Cookies
4K notes
·
View notes
Text

Oatmeal Chocolate Chip Cookies (x)
422 notes
·
View notes
Photo

Easy Chocolate Oatmeal Lace Cookies. - Half Baked Harvest
139 notes
·
View notes
Text
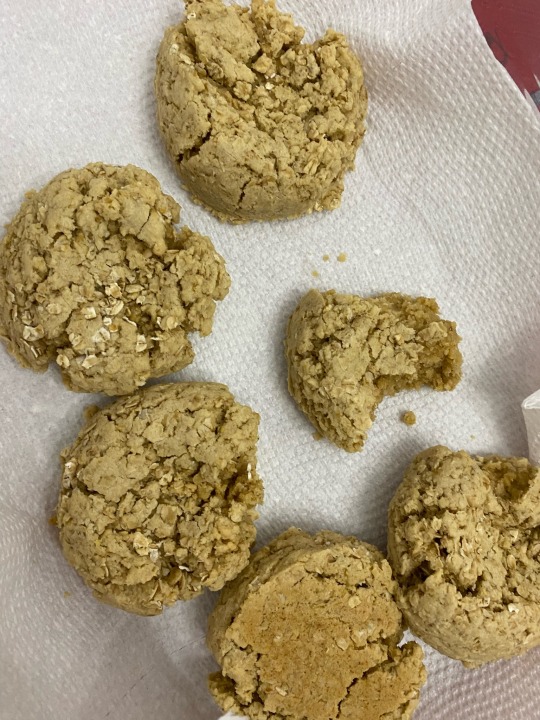
Happy Holidays - Have Some Cookies
I feel like sharing this recipe with everyone since I've gotten really positive feedback on them.
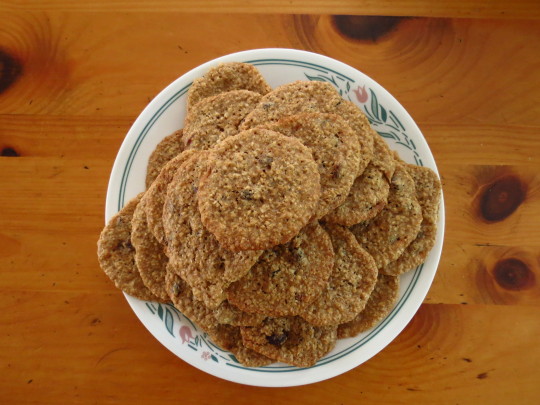
Oatmeal Craisin Cookies
Yes, "craisins" as in "dried cranberries." My partner and I aren't big raisin fans, but we do love craisins. If you're the opposite, you can easily swap them out, obviously.
I don't remember exactly how I cobbled this recipe together, I just know that I used at least two different sources.
Ingredients
1 cup salted butter, softened (you can use unsalted butter, but you may need to up the added salt content)
1 cup dark brown sugar, packed (light brown sugar will also work, but I think the lower molasses content will affect the texture and flavor)
1/2 cup white granulated sugar
2 large eggs
2 tsp vanilla extract
1 tsp ground cinnamon
2 cups old-fashioned oats (I don't recommend steel-cut or quick oats, but you do you)
2 cups (240 g) all-purpose flour (I've not tried this with any other type of flour, nor do I necessarily recommend using any non-glutenous or non-glutenous-like flour, as it will at the very least make the batter much looser than intended)
1 tsp baking soda
1 tsp salt
1 cup craisins
Directions
In separate bowl, whisk together eggs and vanilla extract, then add craisins. Let sit to soften craisins.
In mixing bowl (stand mixer is HIGHLY recommended as this dough is very thick), mix butter and sugars.
Add egg mixture to mixing bowl and mix.
Add the rest of the ingredients and mix.
Let dough chill in fridge for at least 30 minutes (this keeps them from spreading too much once in the oven; if you want to chill the dough for more than an hour, I recommend rolling it into balls beforehand as the colder the dough gets, the tougher it is to work with, though you can also take the dough out of the fridge and let it warm up on the counter for 30 minutes before trying to work with it).
Preheat oven to 375°F.
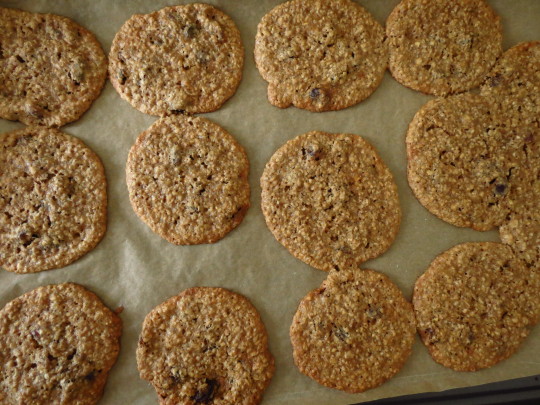
Roll dough into balls by hand (this helps pack the oats and craisins into the cookies so they're not jutting out all over the place once baked; I use a 1" cookie ball scoop just to keep the sizes more or less consistent, then properly roll them before placing them on a cookie sheet; also I recommend wearing gloves for this part, as the dough is VERY sticky and I can't guarantee your hands won't feel like they're coated in butter for hours afterwards no matter how well you wash them).
Bake 10-12 minutes (I usually put them in for 11 minutes or a little over, but the exact time depends on your oven; if the dough balls are straight from the fridge, they may need a bit longer; on the upside, there's so much sugar in these that it doesn't hurt if they get a little dark on the edges!).
Notes:
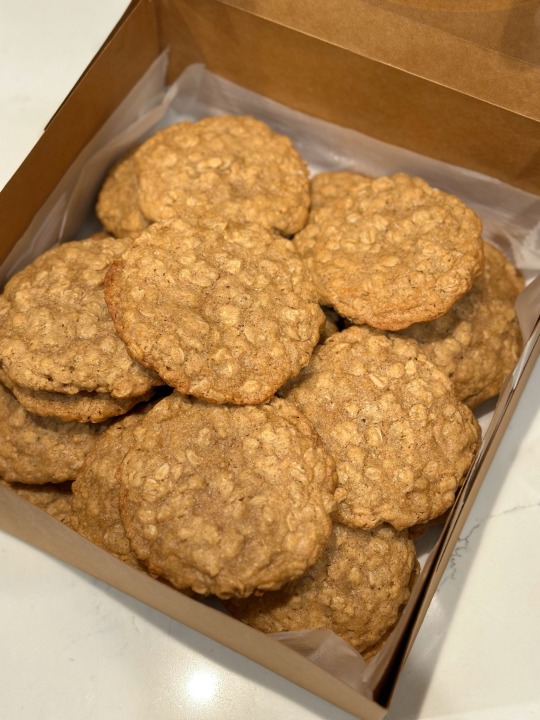
These come out of the oven VERY SOFT, and you might mistake them for not being done - trust me, they're most likely perfectly done, and any longer will result in an unpleasantly crunchy (if not outright burnt) cookie. If you're really unsure about how long your oven needs to bake these, start off doing small batches and let your "test" batch cool down before trying to move them off the parchment paper. If they're still gooey after 5~10 minutes, add another 30-60 seconds to your baking time, but most likely they'll have firmed up enough to at least pick up without them falling apart on you.
I use these "air bake" cookie sheets, which work wonderfully well for these cookies, plus baking parchment; I've not tried making them on regular baking sheets or without parchment, so cooking times may need to be adjusted for that.
Even with chilling the dough , the cookies do still spread out, so make sure to leave a good amount of space between each ball. This recipe makes quite a lot of cookies (about 69 if using a 1" cookie scoop), so depending on your setup, you'll have to work in batches. I try to get all the dough rolled out into balls before I even start baking them, so it's quick and easy to swap them out. We keep our house on the cooler side, so it's not usually a problem, but if your house (or your kitchen) is on the warmer side, you may want to keep the balls refrigerated while they await their turn in the oven.
Lastly, I highly recommend stacked cooling racks for these. Because of how soft they are fresh out of the oven, I'll slide the parchment paper off the cookie sheets and onto a cooling rack with a finer mesh, then transfer the cookies to the stacked cooling racks once they've firmed up a bit (about 2~3 minutes) leaving the finer mesh rack available for the next batch. The reason why I recommend the stacked racks is that, again, this recipe makes a LOT of cookies, so the stacked racks are a good space-saver! Especially since these take a while to cool down completely at room temp (I've not tried chilling them directly post-bake - I think that might affect the texture), and they do need to be COMPLETELY cooled before they can be packed away (otherwise they warp and smoosh into each other - even when completely cooled, they'll stick to each other a bit, but they come back apart easily enough).
Have fun baking cookies! They may not really be "holiday" cookies, but this recipe is my gift to the internet void, so merry happy and all that jazz~
#recipe#cookies#cookie recipe#oatmeal cookies#oatmeal craisin cookies#oatmeal raisin cookies#recipes#baking#food#tag me if you make these!#I wanna know what other people think#or if I need to specify anything else in my directions
20 notes
·
View notes
Photo

brown butter oatmeal raisin cookies - Blue Bowl
17 notes
·
View notes
Photo

AUGUST 4 — national chocolate chip cookie day!
classic / oatmeal / double choc / pecan / brown butter / levain
#foodedit#food#food gifs#foodcore#recipes#dessert#chocolate chip#chocolate#chocolate chip cookies#cookies#oatmeal cookies#oatmeal chocolate chip cookies#double chocolate chip cookies#pecan cookies#chocolate chip pecan cookies#brown butter chocolate chip cookies#levain chocolate chip cookies#mine#gifs#youtube#preppy kitchen#natasha's kitchen#claire saffitz#entertaining with beth#the danni rose#el mundo eats
313 notes
·
View notes
Text
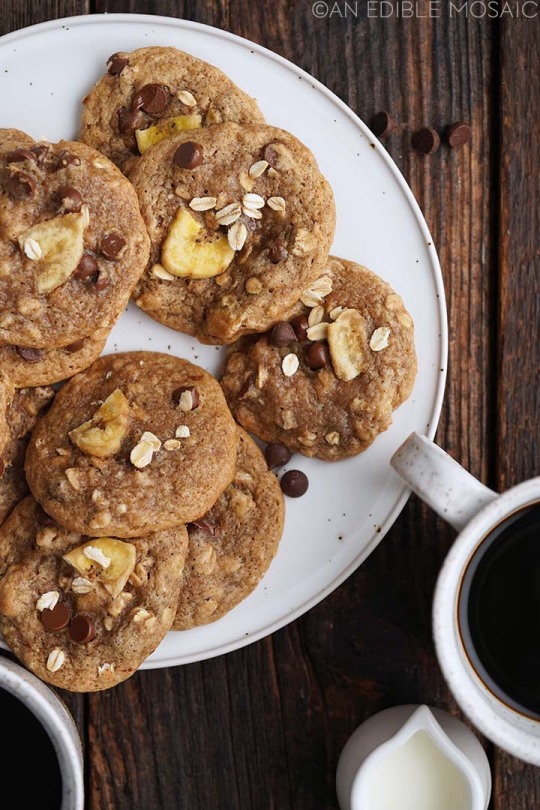
#food#delicious#tasty#cookies#snack#treat#dessert#coffee#drink#mug#baking#rustic#banana#oatmeal#chocolate chips#oatmeal cookies#banana oatmeal chocolate chip cookies
26 notes
·
View notes
Photo

Oatmeal Cranberry Walnut Cookies - Alpine Ella
6 notes
·
View notes
Text

http://instagram.com/the_southern_snack
#food#foodie#cookies#cinnamon roll#cinnamon sugar#cream cheese#french toast#fruity pebbles#cereal#oatmeal#oatmeal cookies#chocolate chip cookies#chocolate chips#chocolate
47 notes
·
View notes
Text
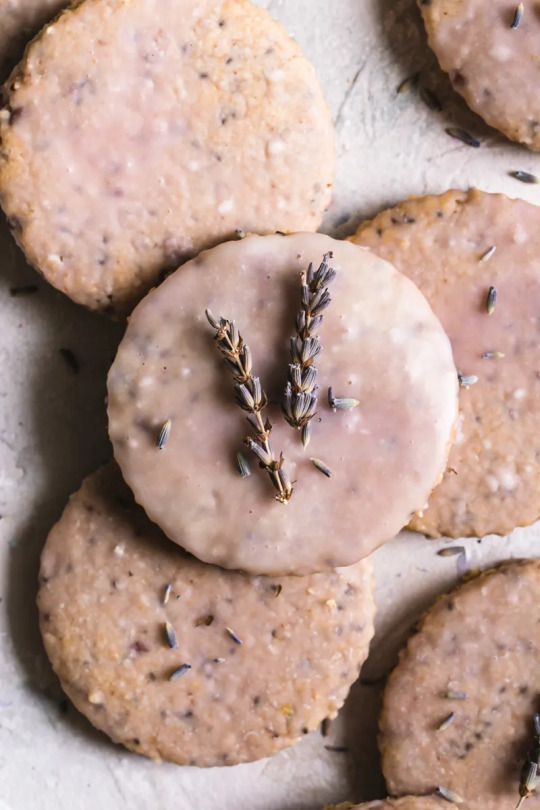
Lavender Vanilla Oatmeal Shortbread Cookies (Vegan & Gluten-Free)
#vegan#gluten free#desserts#cookies#shortbread cookies#oatmeal cookies#lavender#edible flowers#vanilla#oats#coconut flour#tapioca starch#vegan butter#icing#plant milk#coconut sugar#sea salt
21 notes
·
View notes
Text
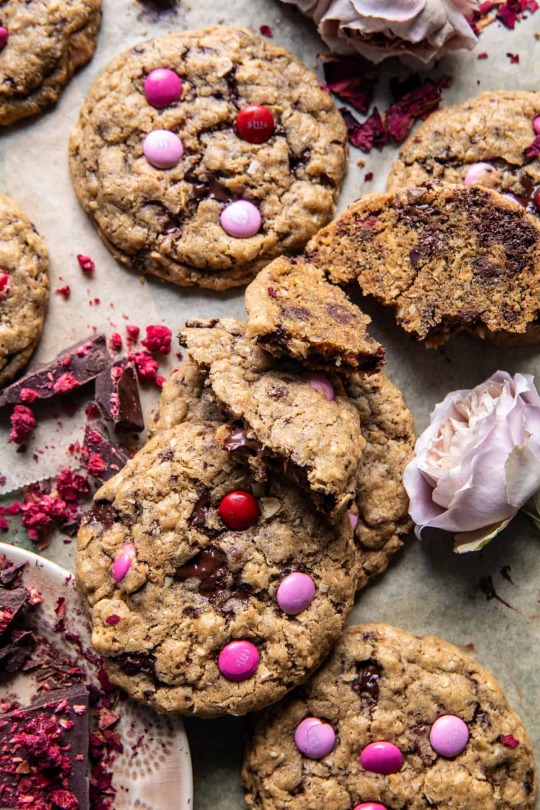
Homemade Coconut, Raspberry, Oatmeal Chocolate Chip Cookies
406 notes
·
View notes
Text


Oatmeal Ginger cookies with raisins & craisins + Ginger spice tea.
#baking#cookies#oatmeal cookies#oatmeal raisin cookies#fall food#tea#ginger#my photos#my phoyography#yeah definitely feeling better today. my legs are still not moving too good though
15 notes
·
View notes
Photo

Shot - Oatmeal Cookie
This alcoholic beverage is a tasty shooter that will remind you of oatmeal cookies with raisins.
4 notes
·
View notes
Text

Second homemade baked good: oatmeal cookies without the raisin. ⭐️⭐️⭐️⭐️⭐️
12 notes
·
View notes
Text

8 notes
·
View notes
Last Seen Blogs

greatmooncalf
eleven-time cinnamon challenge failiure

therealmrsgojo
my waves meet your shore ever 'n evermore

onawhimsicot
something at work in my soul

u-inspired-me
Sometimes You Just Have To Let Things Go