#and yes i edited the eye colors
Text
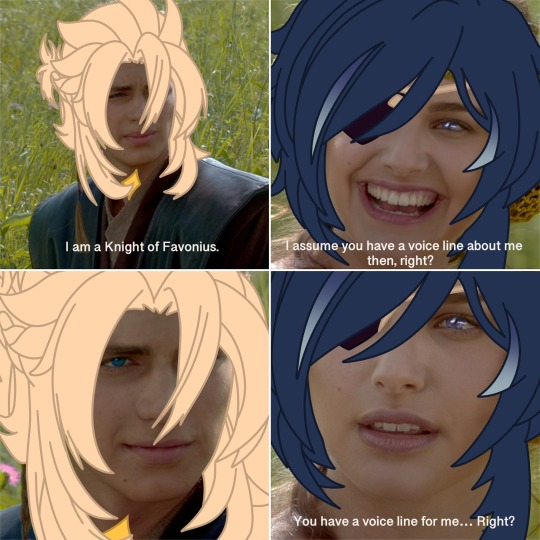
#it will never not be funny to me that albedo has a voice line about xingqiu and not his fellow knight of favonius#and yes i edited the eye colors#because i (kinda) figured out how layer types of procreate work :D#♡⊱a talks#genshin#genshin impact#genshin memes#genshin impact memes#albedo#genshin albedo#genshin impact albedo#kaeya#kaeya alberich#genshin kaeya#genshin impact kaeya#kaebedo#kinda
169 notes
·
View notes
Text
EWAN MITCHELL as Aemond Targaryen in House of the Dragon 1.10
❝ I want you to put out your eye, as payment for mine. I plan to make a gift of it to my mother.
#ewan mitchell#aemond targaryen#house of the dragon#aemond one eye#hotd aemond#aemond#hotd#hotdedit#aemondedit#ewan mitchell edit#targaryensource#dailyhotdgifs#gameofthronesdaily#ewanmitchelledit#hoosbandewangifs#have I used this coloring before? yes#and i'll use it again!!
625 notes
·
View notes
Text
Aemond Targaryen + tumblr posts that are definitely about him
part 2 (and one bonus gif about him and Aegon!)
original posts: x, x, x, x, x, x, x + inspo / part 1
Aegon II Targaryen + tumblr posts that are definitely about him part 1 / part 2 is in the works
#aemond targaryen#you’d think the rain scene was the hardest to edit but NOPE#the coloring in the last one made his sapphire VIOLET so I had to recolor his eye FRAME BY FRAME#yes it’s not perfect pls do not say anything I’m literally howling at my own incompetence#my edits#hotdedit#hotdgifs#aemond one eye#house of the dragon#ewan mitchell#hotd#hotd edits#house of the dragon edits#hotd aemond
193 notes
·
View notes
Text
you know what? fuck you. *gives your pokémon faves brown eyes*
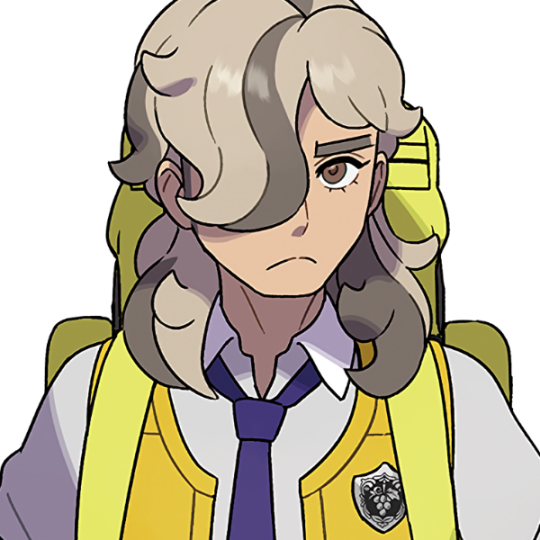
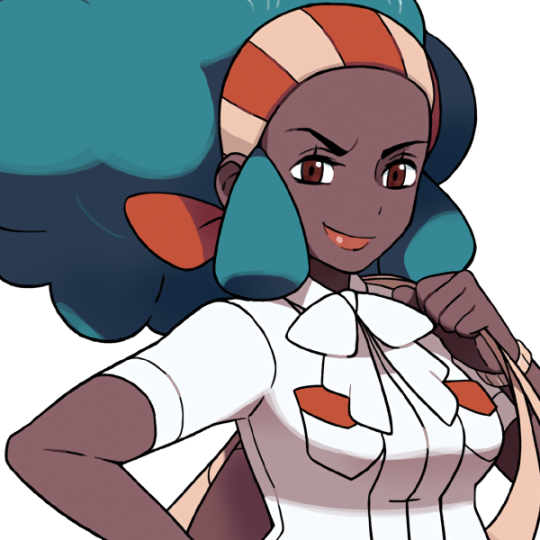

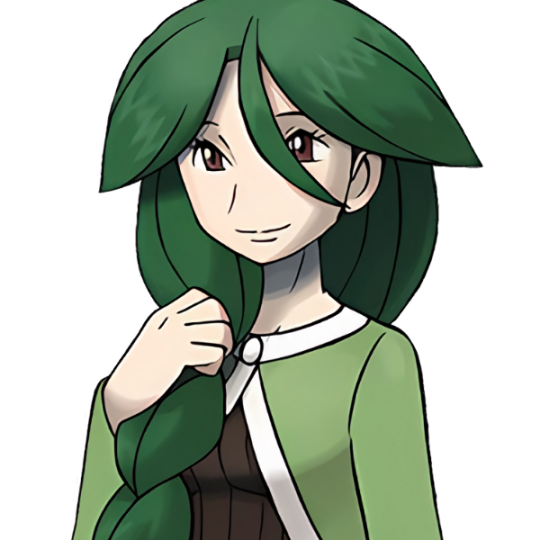

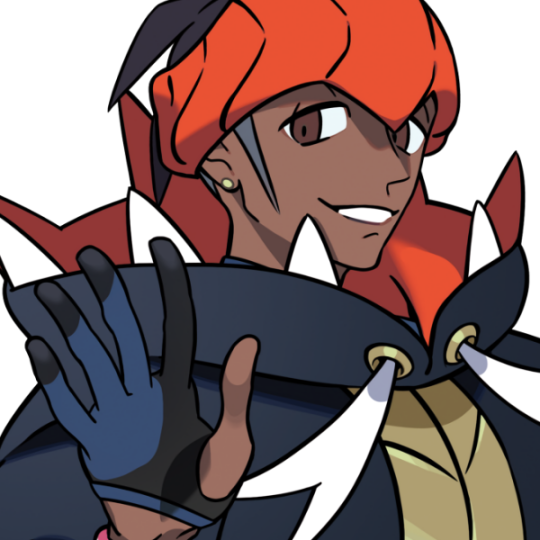
#if you're wondering : yes that is arven with turo's eye color#i'm begging gamefreak to give more of their characters brown eyes#seriously so many charas in swsh had blue / teal eyes it was ridiculous#i love seeing characters with brown eyes it makes me so happy#pokemon#rival arven#gym leader lenora#gym leader nessa#trainer cheryl#gym leader elesa#gym leader raihan#pokemon edit#my edits.png
2K notes
·
View notes
Text


🥺🥺🥺 why must he go through this when he's so adorable
#ofmd#our flag means death#ofmd gifs#ofmd edit#ofmdgifs#ofmdaily#ofmdsource#dailycolorfulgifs#tvgifs#tv show gifs#tvarchive#stede bonnet#my gifs#no entry for the ofmd week guys I didn't have time#but gonna post this that I made a while ago and never posted 😌#yes the coloring is purely to see his red eye from having his eye on the scope all damn night
468 notes
·
View notes
Text

with the power of editing i have removed the flashing white frames 👍
[Image description: a gif from Professor Layton vs Phoenix Wright, in which Maya Fey stands beside the player in the English courtroom. She raises an iron pipe with both hands, smiling blissfully, before bludgeoning the player over the head with it, forcing the perspective to tilt down to the ground. The gif has been edited to remove flashing white impact frames. End image description]
#the flashing white frames are probably the 1 thing i dont like about aa's graphics tbh. like yes i am shocked. please stop hurting my eyes 😵#dont need credit to use the gif etc but that being said its not perfect. i had to edit a white frame so its a bit off-color#edit: thank you to @ kagehisanotsu for the image description!#anis gaymer moments#ace attorney
1K notes
·
View notes
Text


The Power of the Star
#mario movie#mario movie spoilers#mario and luigi#super mario bros#super mario bros movie spoilers#epilepsy warning#flashing lights warning#(if you know of any other good tags i should use along those lines let me know! looking at these even strains my eyes after a while lol)#(also yes these look a little fuzzy but THIS SCENE IS ESSENTIALLY A GIF NIGHTMARE (TOO MANY COLORS). this is the best i could do!)#cherrysip edits#with all of that out of the way MAN OH MAN#this whole sequence is [chef's kiss]#love that when things clear mario and luigi are both staring at bowser over their shoulders#love the effect of the road cracking from the impact of bowser's kick but they don't even blink#LOVE that the two are basically mind-melded on a WHOLE NEW LEVEL now where just a look is enough to move in perfect unison#and love bowser's suprised pikachu face :O :O :O :O#i will do the whole scene in a few parts eventually :) it's WAY too much for one gifset haha
498 notes
·
View notes
Text
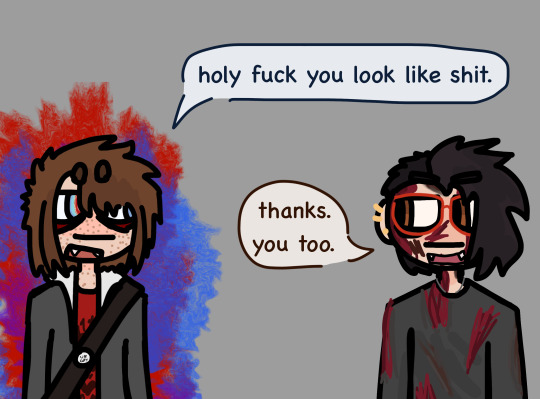
if Feral Max met Half-Dead Alex i think
#the sillies 👆👆👆👆👆👆👆👆👆👆👆👆👆👆👆👆👆👆👆👆#going through my just standing there era#i hate making speech bubbles…. 😔🪦#i love drawing feral max and half-dead alex tho#i will never stop doing red eye effect max#it has taken over my soul#the pin says UR GAY btw.#yes you 🫵 (joke)#i actually had so fun drawing this 👍👍#i had to resist the urge to give max emo angsty one eye covered hair#it is just so silly i 💖💥💥💥💥💥💥💥💥💥💥#lis#lis tc#life is strange#life is strange true colors#max caulfield#alex chen#lis fanart#ok i think thats all the tags 👍👍#EDIT 9/8 at one am: i gave them mouths because it was bothering me so fucking much#they deserve fangs btw
63 notes
·
View notes
Text
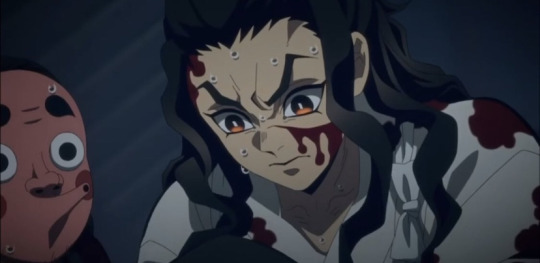
#stew’s pot of thoughts#hotaru haganezuka#yes im having trouble editing the mechanic cuz i cant even name the color of his eyes
27 notes
·
View notes
Text

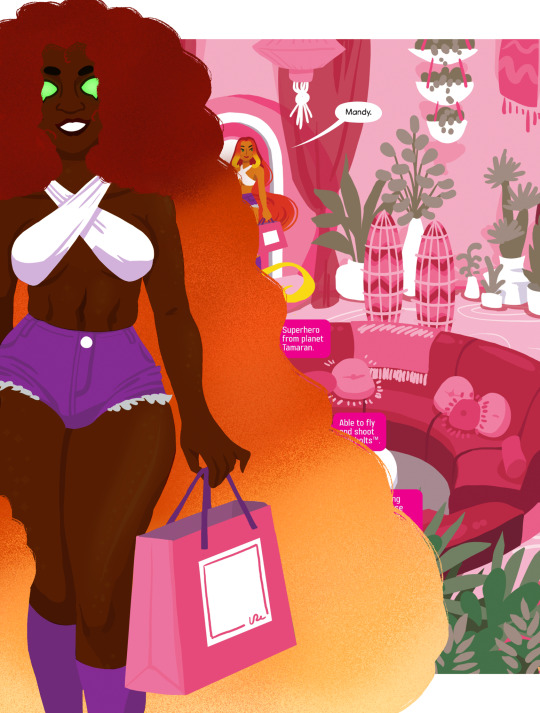

Starting an I Am Not Starfire Au where Mandy is officially Starfire/Nightwing’s kid, and Starfire looks different yet the same
#i am not starfire#starfire#teen titans#teen titans starfire#mandy#my edits#edits#also before you ask yes! I know that Nightstar/Mari exists! She’s in this Au!#I say different yet the same because I took from her 80’s design and her Titans look#so she’s dark skinned/black but her hair and eyes go back to her 80’s#both her and Mandy share colored hair (it’s genetic) and similar skin tones#but Mandy has her fathers eyes#I posted this on tik tok and it’s…blown up. which is kinda shocking!
43 notes
·
View notes
Text

thanks again for all the help, luz –
but i don't need you anymore.
#toh#the owl house edit#toh edit#toh hunter edit#ah yes. points at the silly traumatized boy: my silly son ... that's my boy .....#and so we initiate w/ the faceless aesthetic gifset. thank u for ur time i just think he's very neat#toh s3: thanks to them.#toh hunter.#was debating bt a green + a blue color favoring but love the blue being a callback 2 belos's cursed eyes ... a chefs kiss !#adore this thread of. ' everything is okay. belos is gone. ' and then luz becoming more and more wary of. are u ... sure u saw him?#mmm whatcha say moment. mwah !
19 notes
·
View notes
Photo

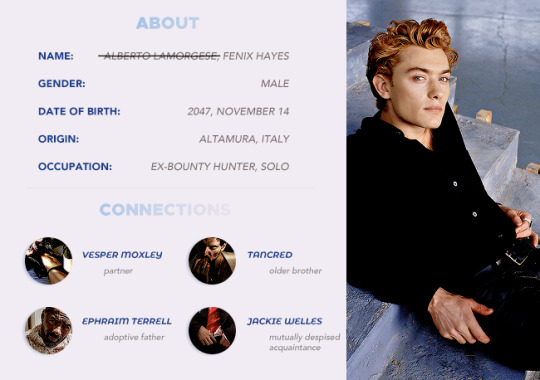
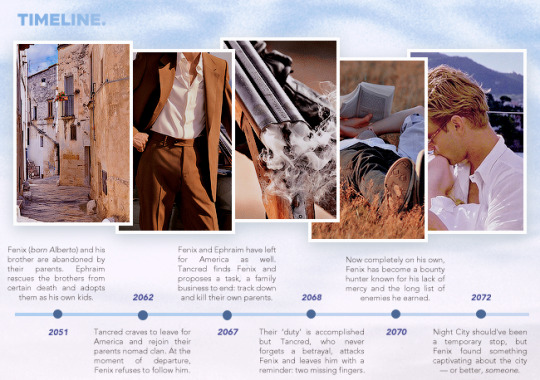
you know how it is with blonde men, even worse if he’s italian too
template
#jude law as fenix everybody go woooo#everyone has seen mr fenix at this point. say u see the vision. he's basically a young slutty jude law.#cyberpunk 2077#oc: fenix#*ocstuff#attempted to edit his eye color too to fit the Canon but..don't look at it too much#that timeline part. so much to say. so many layers. fenix will go through the most traumatic shit of his life and say 'it is what it is'#i love the connections part every time i gotta do smth like that for him its like (rolls dice) which mortal enemy i'll put in here#also yes. that's idris elba in ephraim's photo. yes. i'm experiencing dread and loss bc of the dlc. no. i will not change his fc. jskfdsjk#anyways :)) light blue suits so well my friend berto my bestie i truly love him so much (bites him and shakes him around like a squeaky toy)
35 notes
·
View notes
Text
one of these days I’m going to snap and make that “how encanto uses color symbolism” post into a video essay but I have a feeling it’s mostly going to be me being too feral to function for like 20 minutes so is it really worth it
#I also do not have any video editing software#and the extent of my skill in that area is making twitch highlight comps and amvs#BUT IT'S JUST SO GOOD YOU GUYS IT'S SO GOOD I CAN'T EVEN EXIST ABOUT IT#I want to shove this in people's faces like yes you saw the movie but do you know DO YOU KNOW DID YOU SEE OPEN YOUR EYES BITCH IT'S AMAZING#LIKE HOW CAN YOU NOT SCREAM WHEN YOU SEE ALMA'S COLOR ALL OVER MIRABEL'S SIDE OF THE NURSERY????#THE FIREWORK SHOT IN WAITING ON A MIRACLE ALONE MAKES ME FERAL#THE SHIFT OF ISABELA'S DRESS#MIRABEL'S GLASSES#THE GODDAMN MAGENTA BUTTERFLY ON MIRABEL'S SHIRT I JUST AHHHHHH
78 notes
·
View notes
Photo


before & after coloring tag
tagged by the amazing @snimeat ♥ thank you so much! also have to say that i love your very dark coloring and i admire you for how well you can pull that off ^^
tagging: @luna-lina @nanons @machikeita @badprophetvx @danyokz @liyazaki @dimpledpran @patprans ♥ no pressure but i am very curious and i love this tag a lot myself so i thought maybe you all would have fun with it too ^^
some thoughts/explanations and a list of the original posts under the cut!
pictures taken from these edits:
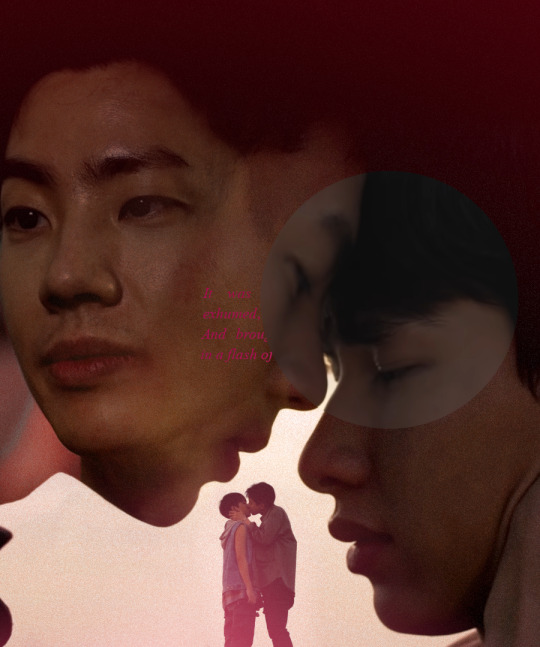
seanwhite + lang leav’s three questions x
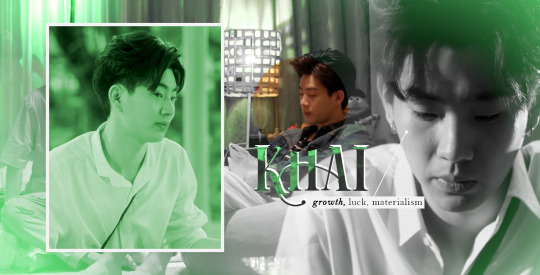
pride month + fave thai drama characters x
patpran + forugh farrokhzad’s on loving x
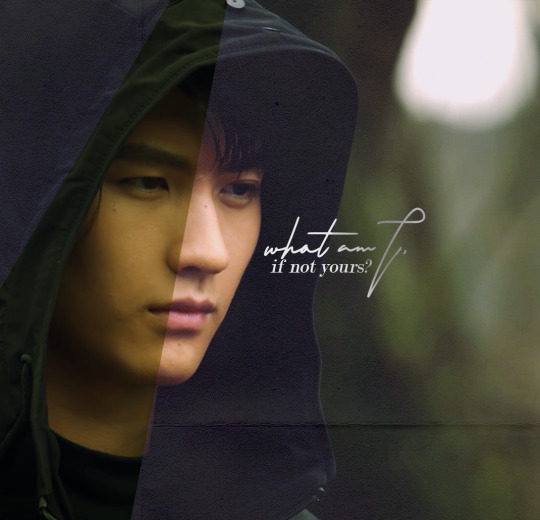
pingxie (reboot) + olivia gatwood’s the lover as a cult x
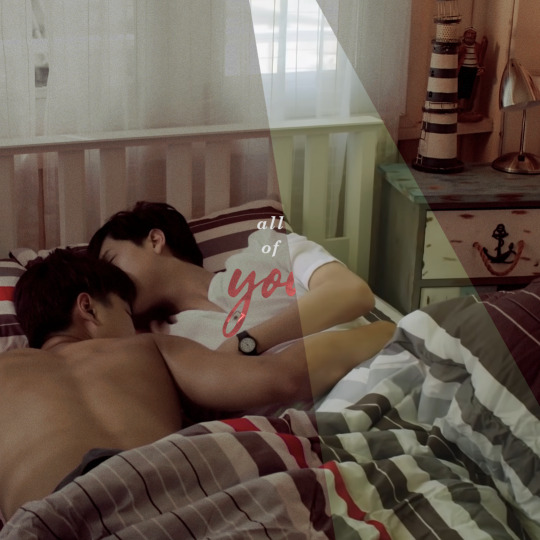
patpran’s love through the seasons x
pingxie (ultimate note) + joan didion x
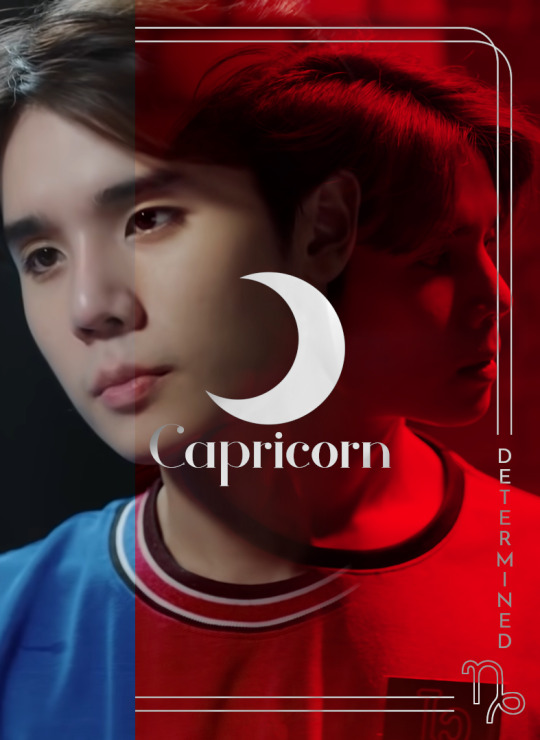
bad buddy’s main six + sun & moon signs x
this tag is always super hard for me bc a) i don’t usually keep the gimp files and b) i obsess over “cleaning” my folders so i usually delete all “used” screenshots as soon as am done with my edit. i got lucky this time when i realized i had actually kept some of the shots used in these :’D
i tried to pick different colorings i've used but with such few options, these all became kind of similar. also my basic coloring is always kind of the same. but i’ll still blabber about each of these a bit:
the seanwhite one has a lot of red/magenda bc of the color scheme i used in the edit. it’s also a lot darker than the original picture bc i wanted the layers to show up some more. i also tried bringing in more warmth by adding more of yellow to their skin etc. it’s a very basic thing i do for pictures in general. there’s also the added noise i love using for edits to bring that rougher feeling to the images.
for both of the pride month post’s pictures i tried picking one color and switching that into the color i had chosen for each character. for shin i’ve turned green into red and for khai i remember turning some of the background blue towards green. so these two show that process more than just simple coloring.
this edit’s main colors ended up being a soft coral pink and a pastel orange. in this picture i’ve tried taking away some of the green and yellow by adding more magenda, red, and blue. i don’t think i’ve done anything more complicated for this. there’s also the added noise once again to bring in more texture.
reboot is very... green originally. so i struggled a bit when i was trying to take some of that away while still trying to keep the green in the background bc i needed that. zql got more blue tones this way (his hoodie). also this pic obviously has an added texture layer which makes the colors brighter/more muted plus brings in the folded paper effect.
the seasons one is my personal favorite when i think about my patpran edits. it was so much fun to do and i love the final edit to bits. it’s very similar to the pride month edit with how i used black and white pictures plus colored pictures. in this one i just kept pran’s skin color (which i made a lot brighter and added more red and yellow) and then turned everything else towards pink.
this pingxie edit has very muted colors and i also wanted to lean more towards blue bc the second picture is Very Blue originally. so i took away most of the green and yellow, added more blue and magenda, and made the picture a lot darker. i think the color change has happened mostly through the hue and saturation options.
all the pictures in the sun & moon signs edit also follow the same pattern i’ve introduced before: make all the colors turn towards the one desired. on the left image i had to work on the background colors separately to make them red without losing wai’s skin color and on the right i got lucky with his bright blue shirt which i could easily turn red. otherwise it’s mostly just curves for brightness and darker shadows etc.
if you have any questions, feel free to ask ^^ i love sharing my editing process but i rarely feel like it’s something i am good at explaining. mostly i just throw things together and see what works. am getting better at it tho and have learned a lot during all this time i’ve been around :’D
#tag game#thank you so much!!#i enjoy these tags every time#i just wish i could show more#am just awful when it comes to saving anything on my laptop#i get so anxious about using too much storage haha#also yes am a neat freak when it comes to my folders#but am happy i got to show at least something!#the b&w + one color has really been my thing lately#it's just so much fun to do imo#tho i hate it when i need to try and#keep the skin color for some pics#bc then i need to go select things by hand#and oh boy that is a struggle sometimes#do not look at my edits with a keen eye#or i will burn down
27 notes
·
View notes
Photo


seeing colors all around me, i don’t recognize the palette. suddenly i feel a change in me, like a thunder in the deep i light up i just had to grab it. suddenly i see the world differently. every time you put your arms around me it feels like forever, the way you move is like a mystery. excuse the madness i just had to put into words the way you make me feel, sugar sweet. like a sun that never sets, like the heart beat in my chest. * song / open to rb: any katniss connections.
#edits.#[ yes!! the diff colors is intentional :') ]#[ i will def do green / orange in the future but i wanted this to be more like how i loved the way the blue#brought out his eye color & the purple one brought out katniss's seam grey one i thought that was so cool the way#that turned out !! djkdnksndkj ]#&. ╱ ❝ ━━𝑠𝘩𝑒 𝘩𝑎𝑠 𝑛𝑜 𝑖𝑑𝑒𝑎. 𝑡𝘩𝑒 𝑒𝑓𝑓𝑒𝑐𝑡 𝑠𝘩𝑒 𝑐𝑎𝑛 𝘩𝑎𝑣𝑒. ▎ ‹ katniss. › )#&. ╱ ❝ ━━𝑠𝑡𝑎𝑦 𝑤𝑖𝑡𝘩 𝑚𝑒? 𝑎𝑙𝑤𝑎𝑦𝑠. ▎ ‹ everlark. › )
2 notes
·
View notes
Photo

my attempt at rescuing a specimen from TWDNE.net
#twdne#thiswaifudoesnotexist#not a total makeover but it gets the job done#i gave her color in her skin and made her less of a lemon#and adjusted some weird proportioning#i added detail that i thought did her eyes justice too#they looked like a beautiful snowy backdrop#the anime girl is a delicate specimen and as such reacts poorly to invasive art procedures#so i opted to stay as true to her natural habitat as possible though it pained me to do so#but some stylistic choices are fine. just fine#so yes. i just edited the original lol#intercom
5 notes
·
View notes
Last Seen Blogs

kure-84
KURE LOG
djbishopp
SYURP❌SODAWATER🍼🍇
dipstick06
#1 Nick L4d2 Enjoyer

tupperwarebrand
Untitled

nancyicons
nancy icons