Last Seen Blogs
shintaplanet
SHiNTA PLANET STUDIO
kaiiscottage
⌢ ✿ Animation enjoyer~ ࿐ ˚ .

softsyart
‧₊˚

book-my-crop
Book My Crop

celebritytgcaptions
Celebrity TG Captions
Text
Hawkgirl Wings Tutorial
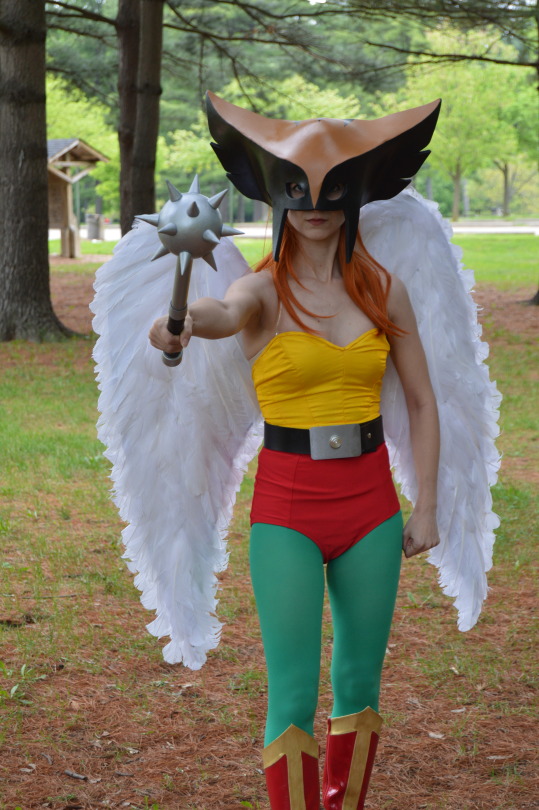
I’ve had a few requests for a tutorial on how I made these wings from my Hawkgirl cosplay. Be warned, these are literally the most ridiculously assembled things in the world. Do descend into the madness, go below the cut...
We begin by making the pattern. I had the basic shape in mind for what I wanted these wings to look like but I wasn’t sure about the proportions and math is not my strong suit. I also didn’t have any large sheets of paper to make the pattern on. Remember those binder dividers that had the little colored tabs on them? For some reason my mother saved all of them “in case we needed them someday”. Well...that day has come.
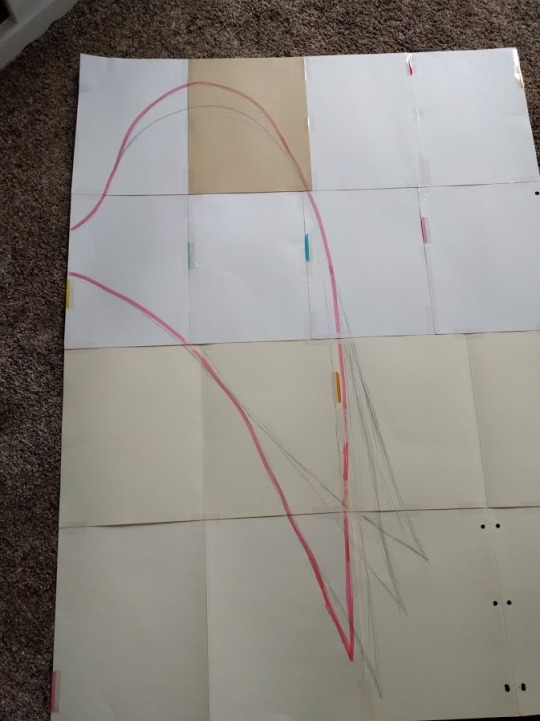
I had a similarly sized person lay on this monstrosity and I sketched out different wing shapes and sizes. The highlighted one is what I ultimately went with.
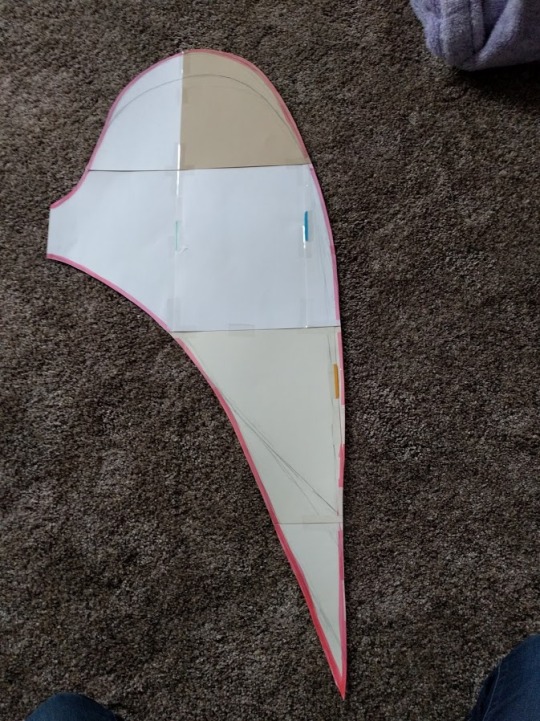
Once that was cut out I took a thick gauge of jewelry wire and bent it to roughly the shape of the pattern. Sorry for the crappy picture!

Now that the pattern was complete, we could move onto the next step; cutting the fabric.

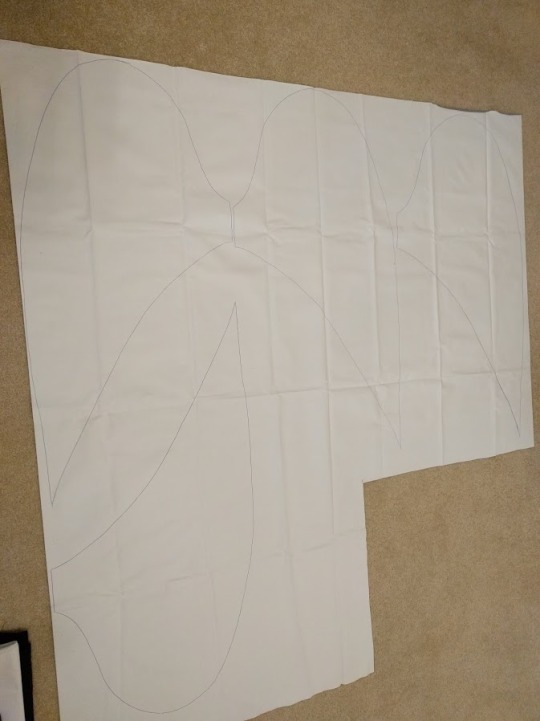
The fabric I used is an old vinyl tablecloth that my mom had stashed somewhere and had been using for little projects. I swear, most of this project was created using random crap from my parents’ place. Anyway, if you don’t happen to have any old tablecloths around, you can use any thick fabric. Upholstery fabric or canvas would probably be the best. You want something that’s strong and won’t rip because there’s a whole lot of things that are going to happen to it. Things that fabric isn’t usually meant for. Try to get as close to the color of the feathers you’re using as possible.
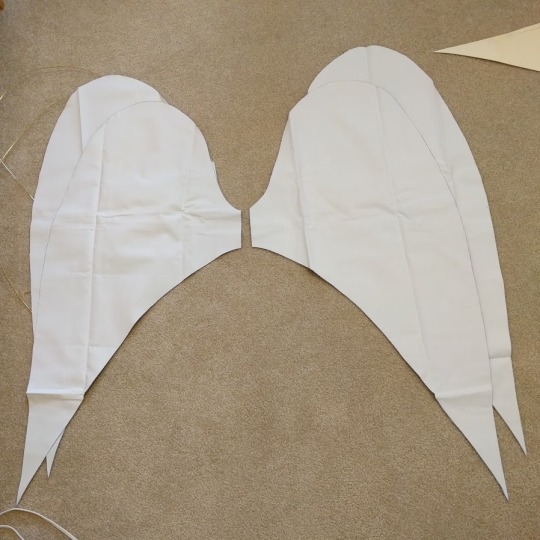
You will need four identical pieces cut out.
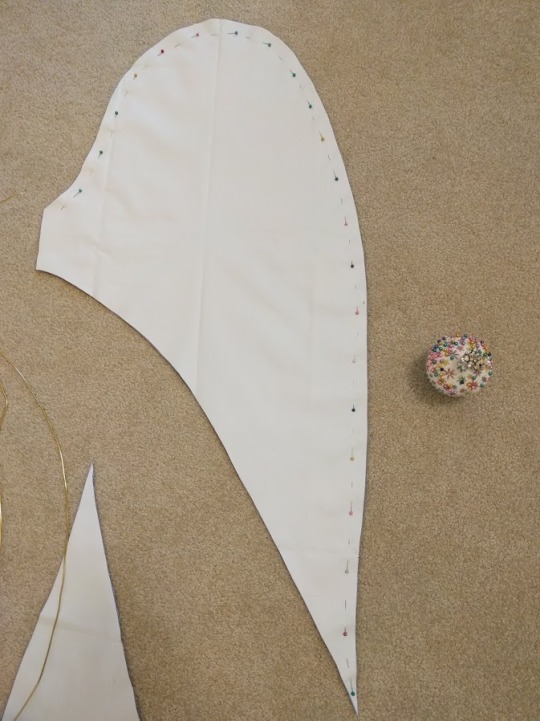
Next you’re going to pin two of your pieces together, wrong side to wrong side.

You’re going to sew two rows around where you pinned, creating a channel to feed your wire though. This is what’s going to stabilize the outer shape of your wings. The width between your stitches depends on the gauge of wire you decide to use.
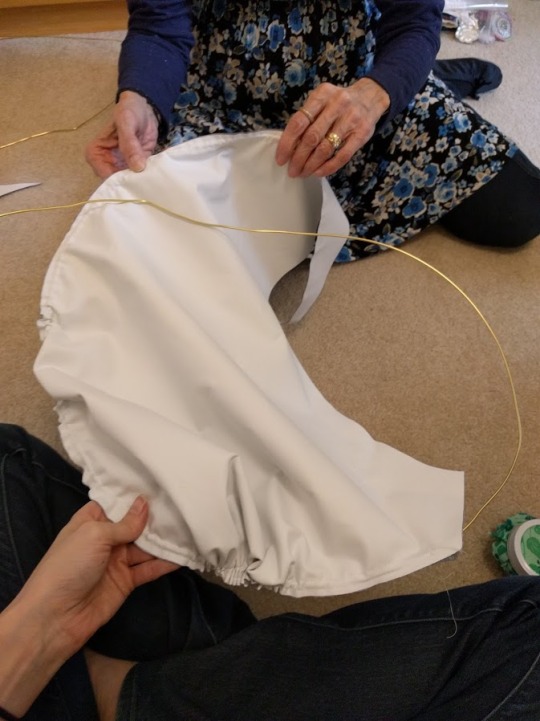
Here we are feeding the wire through the channel. Make sure you take a pair of pliers to bend the end of your wire in so you don’t have a sharp end that will poke through your fabric and/or stitches while you feed it through.

Remember what I said about random crap? Here’s some more! The top is some doweling that we had lying around. and the red thing is an old drum stick. You can just buy doweling at Michael’s or Home Depot though :D Anyway, these are going to be what reinforces the structure of your wings.

I sewed channels for the two dowels you see in the picture and just slid them in. Then with a bit of hot glue I tacked down the ends so they wouldn’t fall out.

Here’s a side by side of what both wings were looking like at this point.
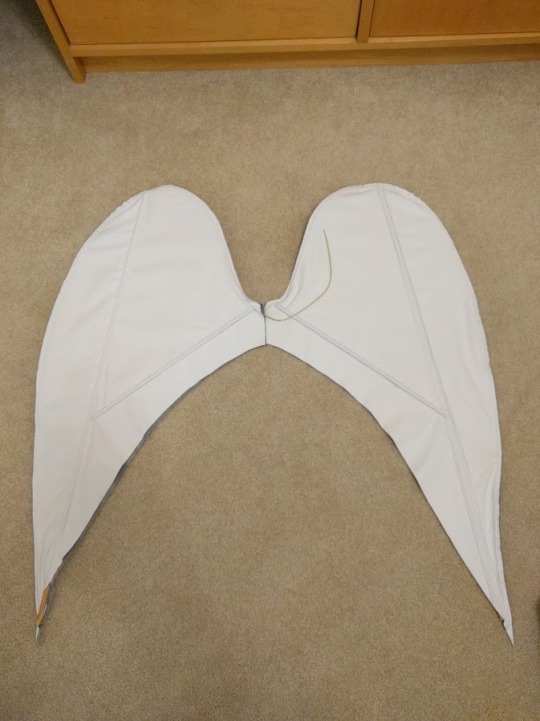
Next I sewed the two wings together at the center. Be careful because this seam is extremely delicate because there’s nothing holding the weight yet. At this point I also cut off the excess wire that you see poking out.

I realized that I needed one more piece of dowel but there was no more room to sew channels in the fabric so I just hot glued it on. I made sure to use a LOT of glue. The door hinge is part of what I did next.

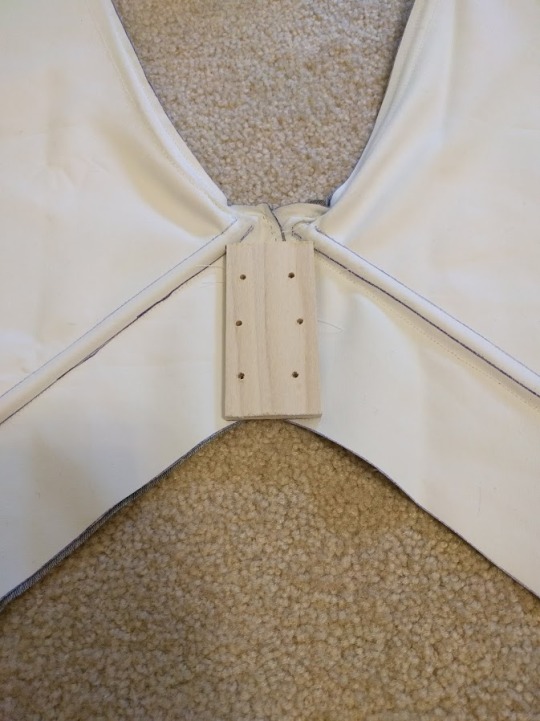

The center was REALLY flimsy so I bought a door hinge and some plywood. No we didn’t just have those lying around this time :P Anyway, there’s two pieces of wood, one of the front and one for the back. We marked where the holes needed to be on the wood and drilled those in. Then we sandwiched it all together. It should go bottom piece of wood, wings, top piece of wood, door hinge.
Now I needed a back plate that would serve as a flat piece to go against my back and a place to attach the straps for the harness. For some reason there was a denim canvas board at my parents house.

Yeah that’s some jeans fabric on a canvas board. I don’t know why it exists either. You can just use a regular canvas board if you don’t want to try to track down one of these ridiculous things. It will work the same. Anyway, I measured out the size I needed for my back plate (this will vary based off of your own size).

This is what I came up with. You want it to fit between your shoulder blades comfortably. Next I had to cut it out, drill more holes, cut more plywood and attach the thing to the wings.
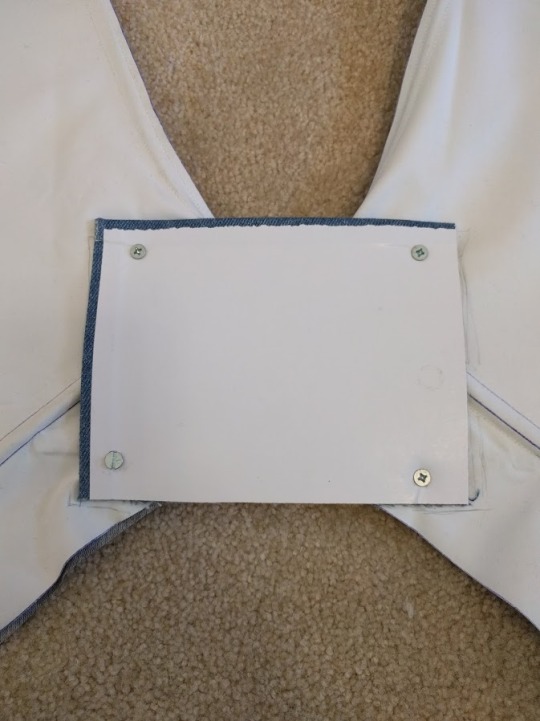

It’s much easier to show in pictures than to describe. One important point though. Make sure your plywood overlaps the dowel on the left. DO NOT go underneath like the one on the right. I had to redo that side. You want that dowel under the wood because this is what will keep your wings from flopping backwards on that side. Also make sure the dremel off the pokey ends of the screws that are sticking out or your wings will be very dangerous and your feathers won’t sit right on that part.
Finally it’s feather time! I used a combination of 12-14 in. feathers and 6-8 in feathers. Here are some of my progress pictures. I started from the bottom and worked my way up. I wasn’t super precise or anything, I just hot glued them in the way that looked most natural.

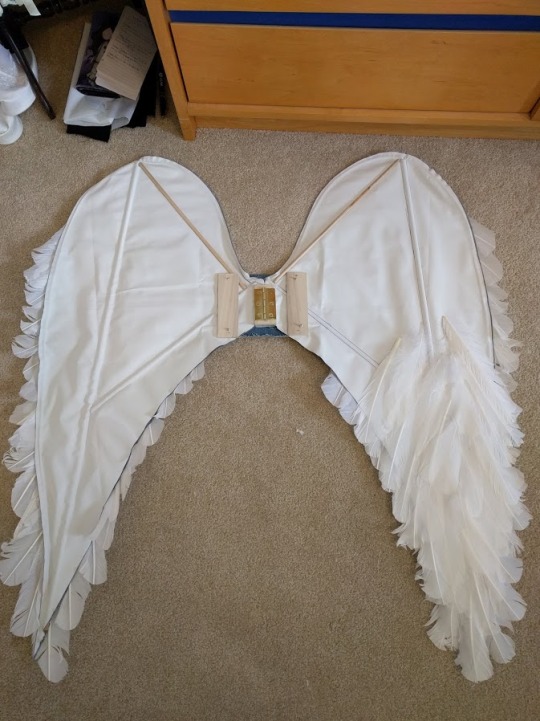


Eventually I was able to cover everything except for the white back plate. Now it’s harness time.

I didn’t take a whole lot of pictures for this step so bear with me. This is your under-bust strap at the bottom. Use a wide two inch elastic and measure it to fit snugly around your under-bust. Attach three clasps. I just sewed these on by hand.
Next, I attached some clear bra straps to the back of the canvas board back plate. I used barge cement for the straps and the elastic. Next I glued down a thin piece of craft foam over where I glued on all the straps. I wear a strapless bra under my corset and the clear straps hook into the inside of my strapless bra. You should now be able to put a corset on over the whole piece and the only thing showing will be the clear straps.
If you’re doing a different version of Hawkgirl (or even a whole different costume) and you don’t care if the straps show, or if the straps can be incorporated into your costume, you can attach them however you’d like. I only did this weird bra strap/hidden under-bust strap thing because I was concerned about having the straps be as unobtrusive as possible.

This is what the back of the wings look like once they were completely covered in feathers.
Anyway, that’s how I made these wings. I hope this is helpful. Feel free to send me a message on Instagram if you have any questions at all. I check that more than I check the messages on here. Thanks for reading if you somehow made it this far and good luck on your winged adventures <3
59 notes
·
View notes
Photo
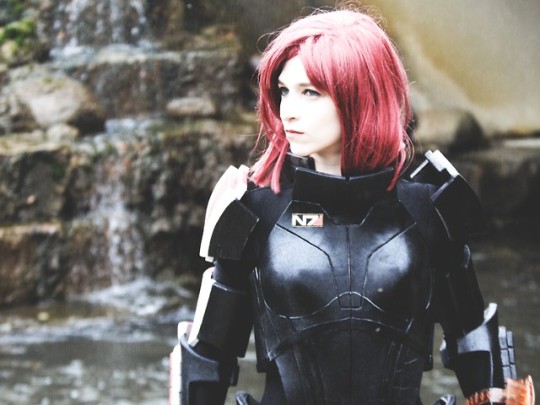

Images courtesy of Phantom Photos
Follow me on Instagram: https://www.instagram.com/lauracosplay/
72 notes
·
View notes
Photo

6 notes
·
View notes
Photo


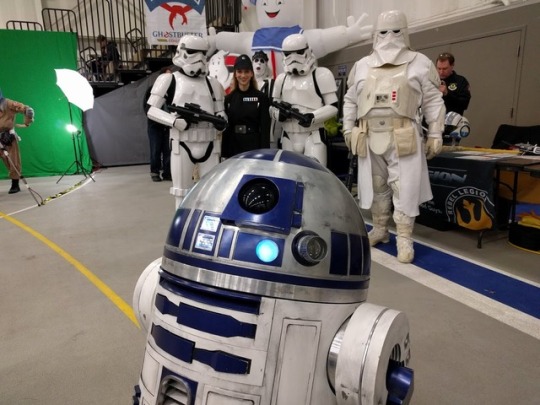

Some fun shots from Great Lakes Comic Con today!
#cosplay#star wars#ghostbusters#501st legion#rebel legion#cosplayers#imperial officer#jedi#mandalorian#r2-d2#stormtrooper#stay puft marshmallow man#cosplaying
32 notes
·
View notes
Photo
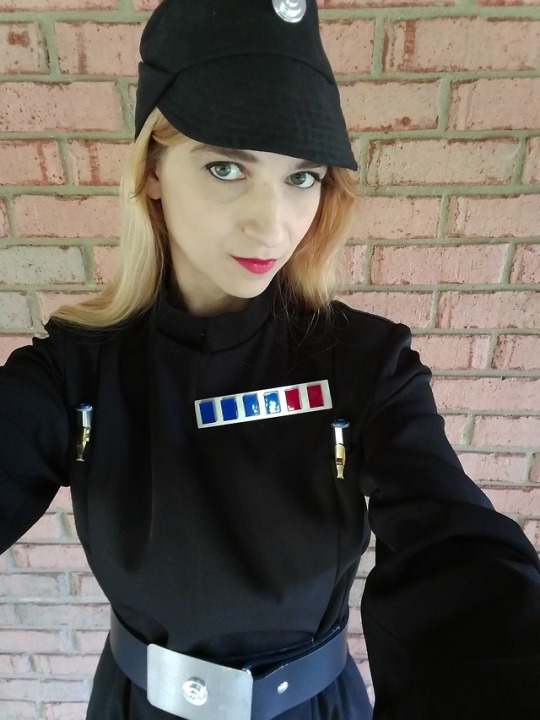
I’m going to be at Great Lakes Comic Con today representing the Empire!
5 notes
·
View notes
Photo
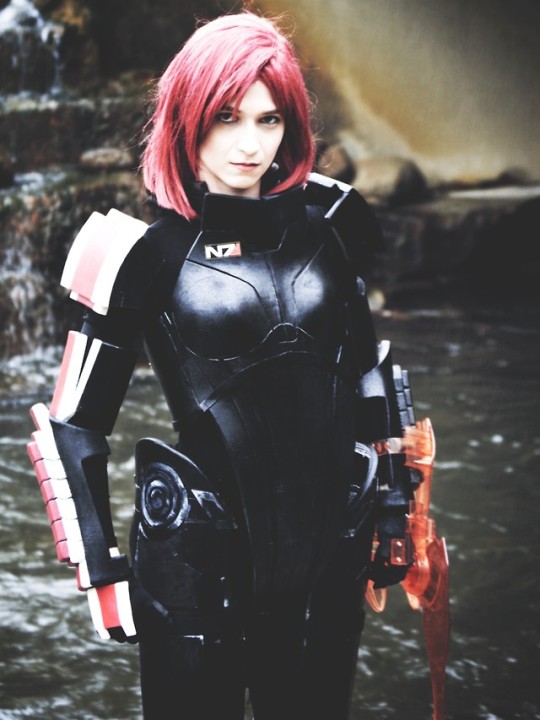


I finally decided to create a separate Tumblr just for my cosplay stuff since my main blog is just for Mass Effect stuff. I’ll basically be posting my cosplay pictures and WIP stuff on here as well as whatever other cool cosplay stuff I find :D
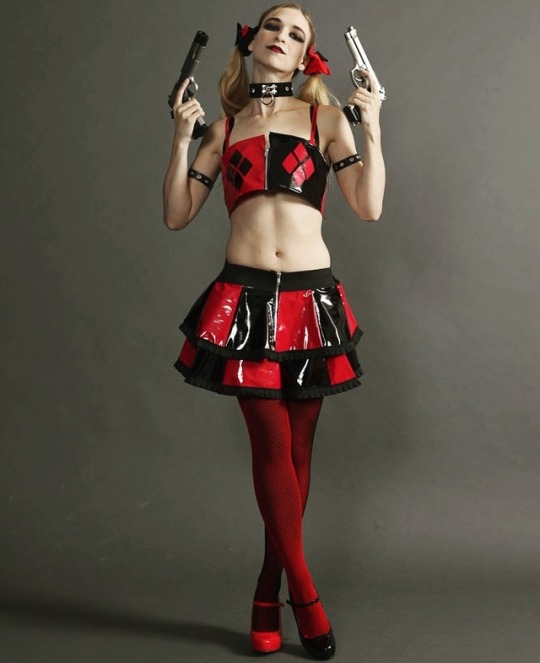
#cosplay#commander shepard#imperial officer#sith#harley quinn#wonder woman#mass effect#dc comics#star wars
57 notes
·
View notes