
Last Seen Blogs

meyerupjscott
Untitled

aiilenox
Your Friendly Neighborhood Cryptid

spaded-aces
Inactive. Find me at spaded-drawings

lilac-in-sn0w
🧚🏻♀️✨

gammagoblins
Goblina
Text
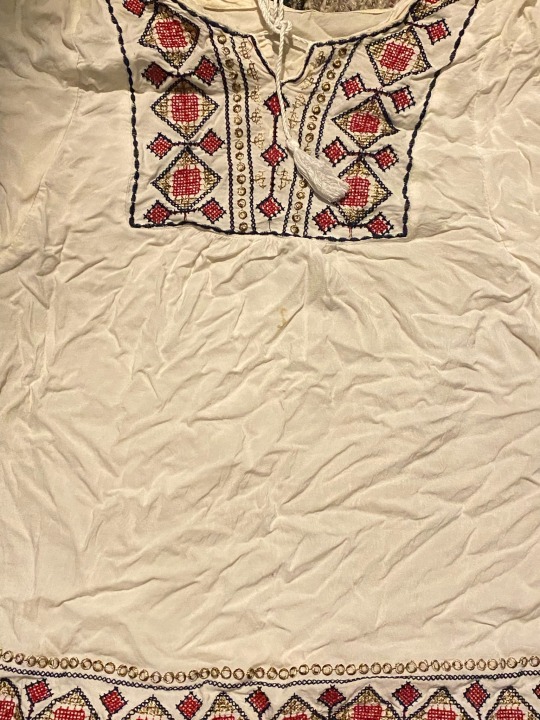
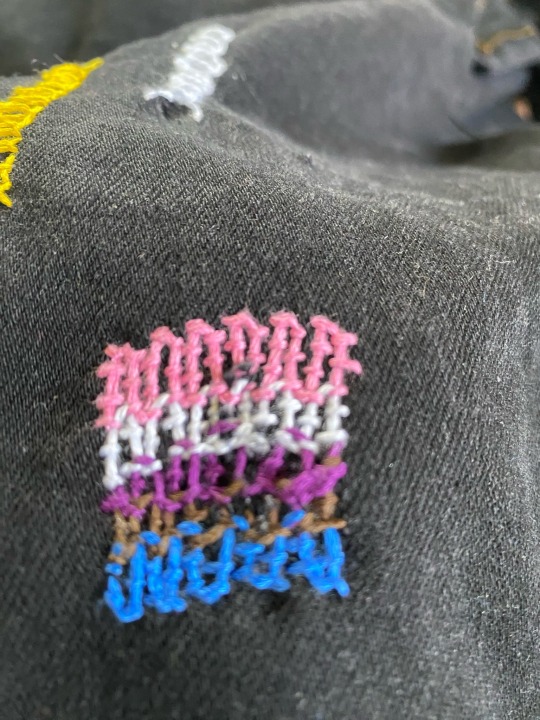
Post three 🤟 : Shirt that is stained slightly.
Let’s get started
This is a simple job due to how small the stain is. I’ve tried a lot to get it out but its really stuck there. So, I’m using embroidery to cover it.

Very small! But way too visible when worn.
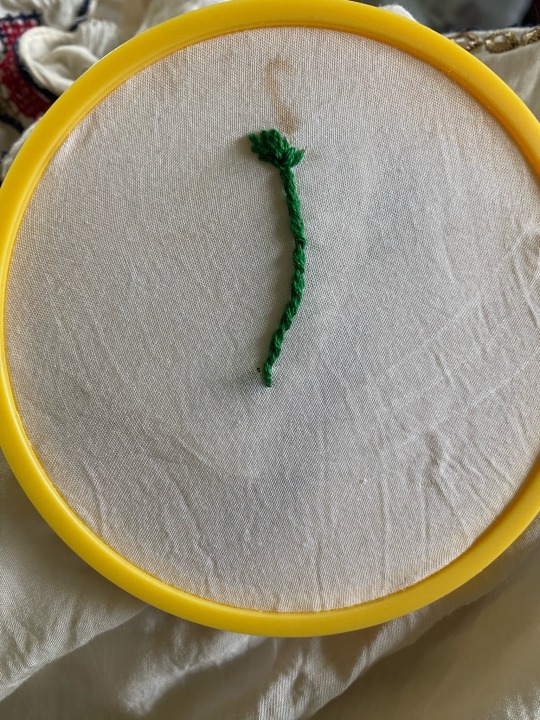
Flowers can be fairly simple and sturdy things to embroider when hiding holes or stains. For hole there needs to be another layer of fabric. I started off with the stem.
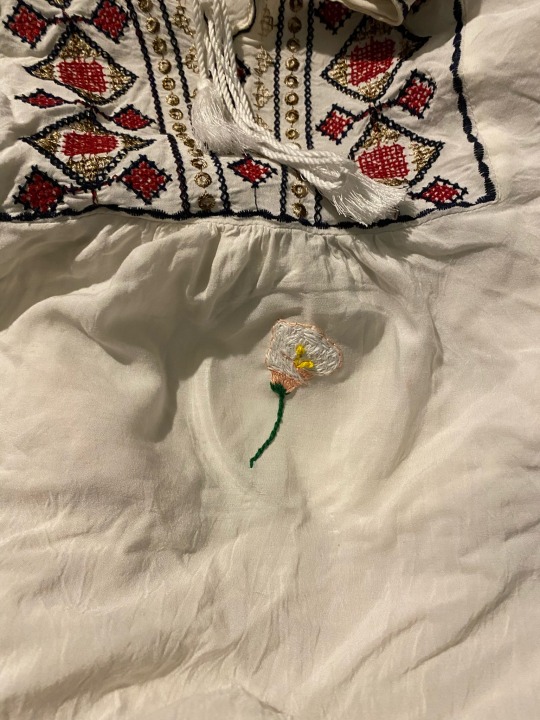
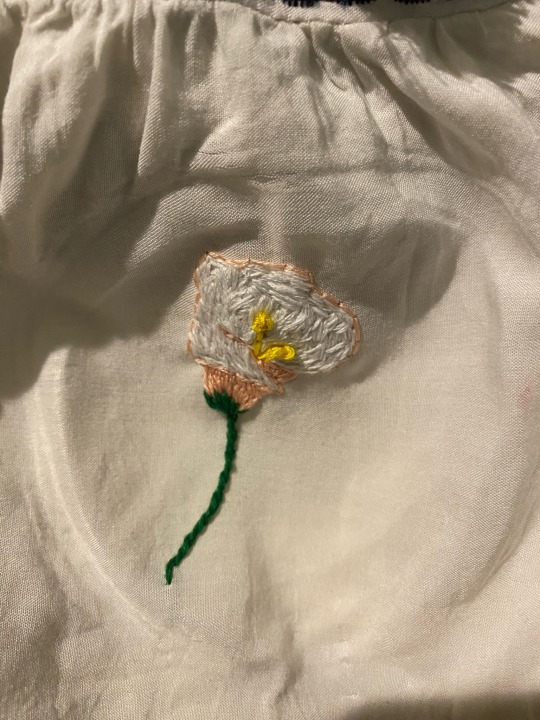
Voila! A calla lily. It doesn’t quite fit the shirt design but it gets the job done.
0 notes
Text
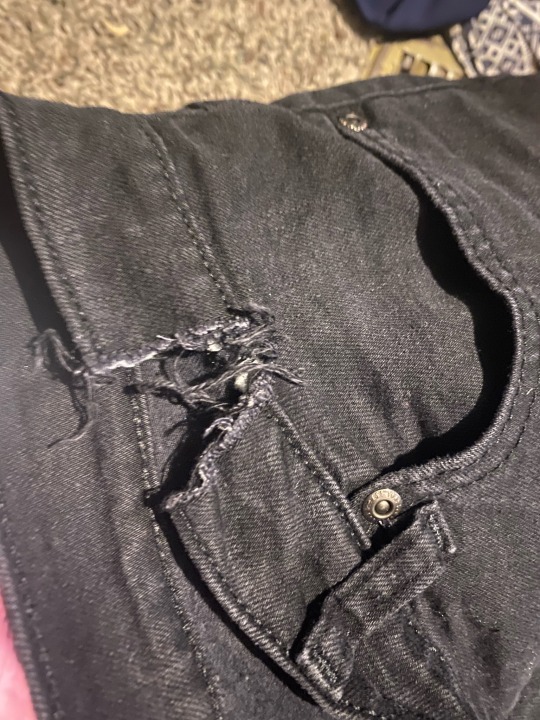
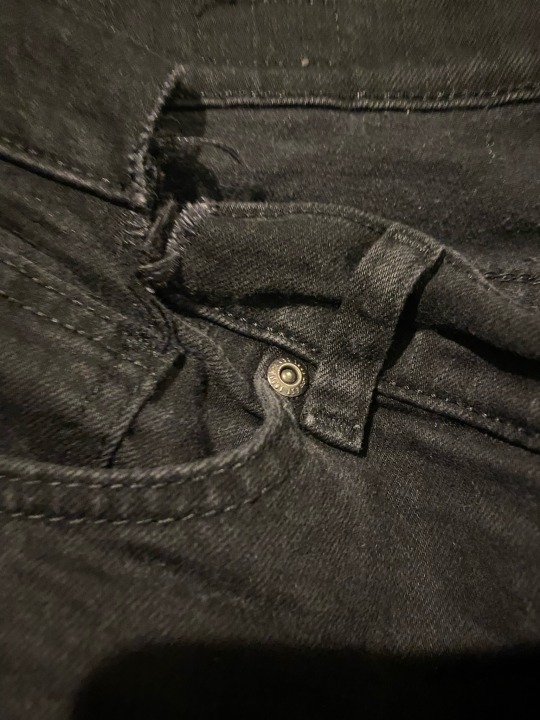
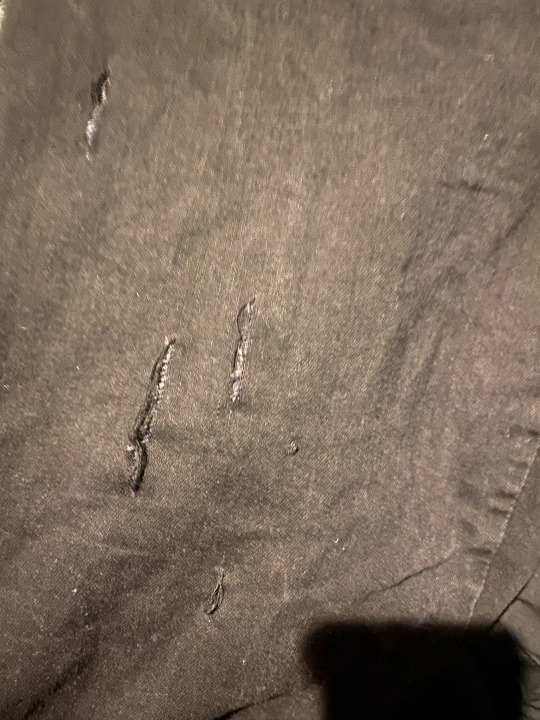
Post two ✌️: Black jeans a little too tight and cut up.
Let’s get started!
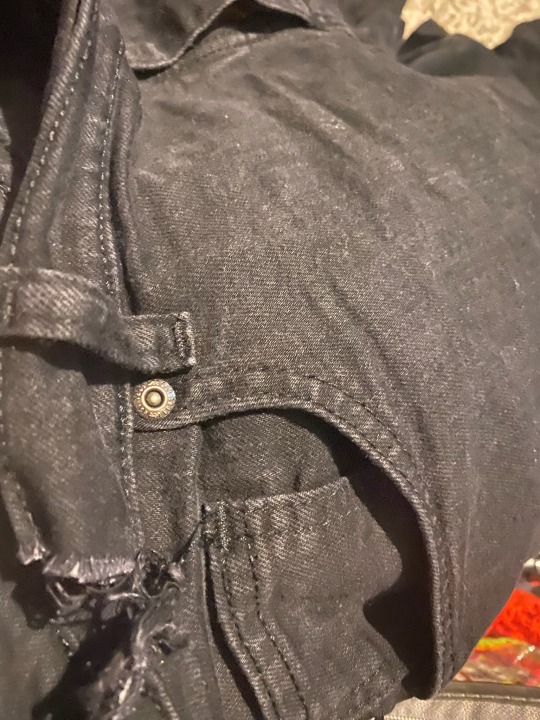
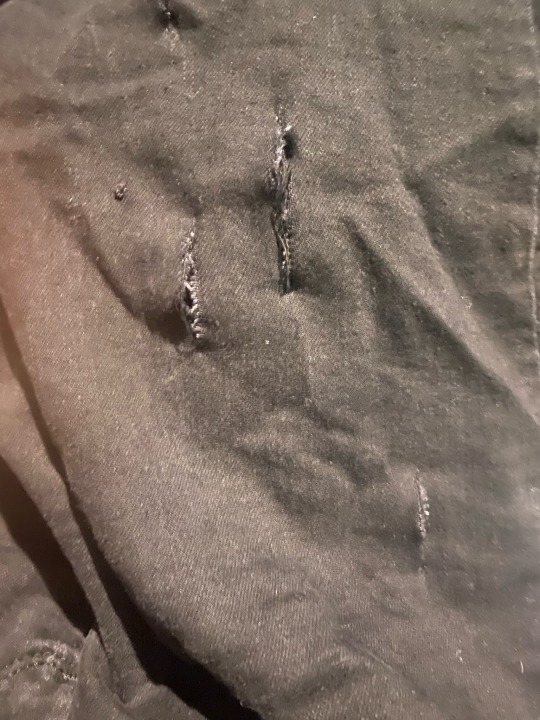
Now unlike the last one, there is quite a bit to be done here. Many rips, an attempt to make the jeans slightly bigger without previous knowledge of any kind of knowledge, as well as the actual alteration itself. Whoookay.
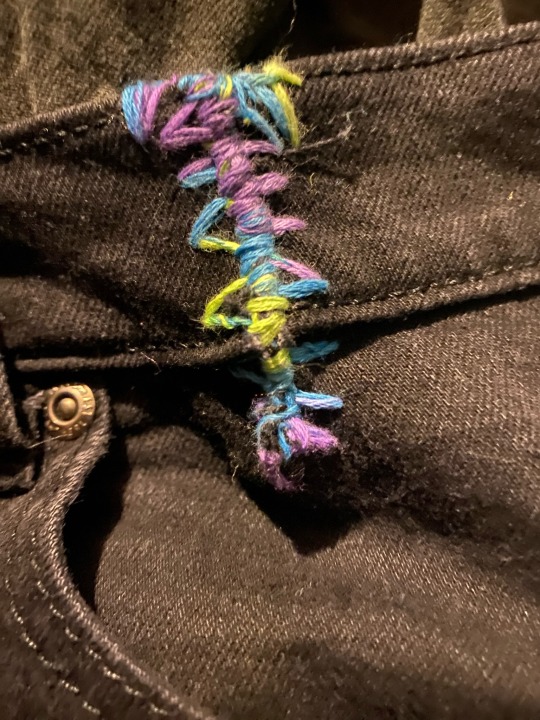
I wanted to go for a centipede look, so I used the overlock stitch again and joined them together. It’s almost buglike?
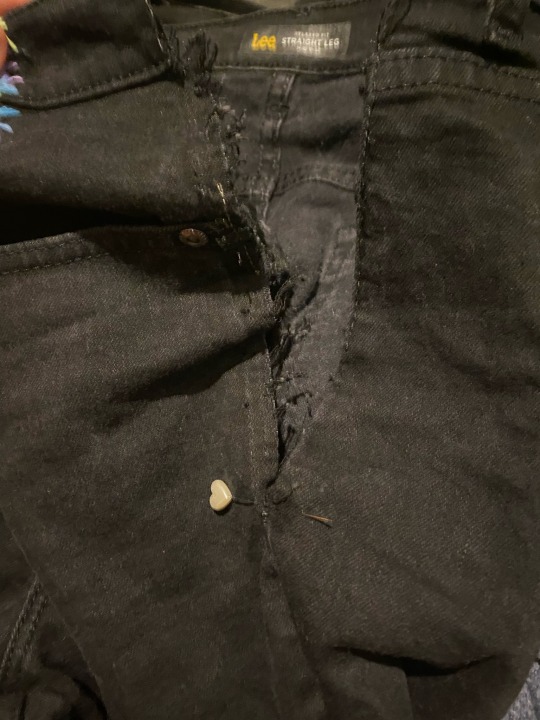
Then I decided to rip both seams that go down the outer sides of the pants. A needle being kept there as a mark so I won’t accidentally rip too much apart.
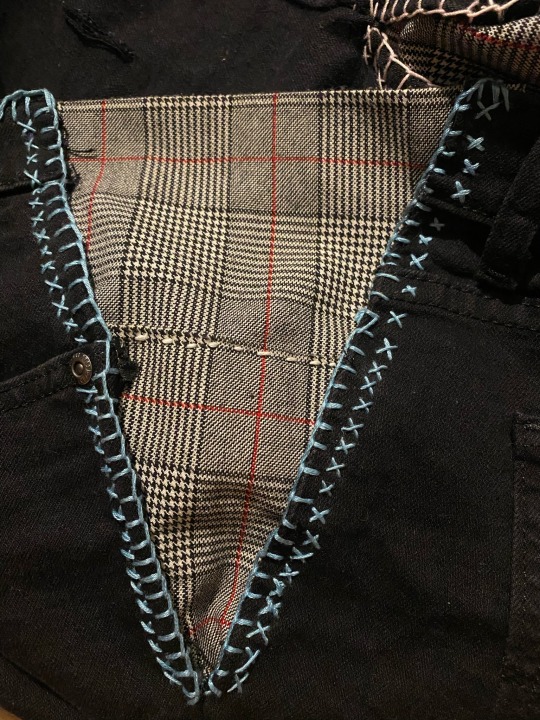
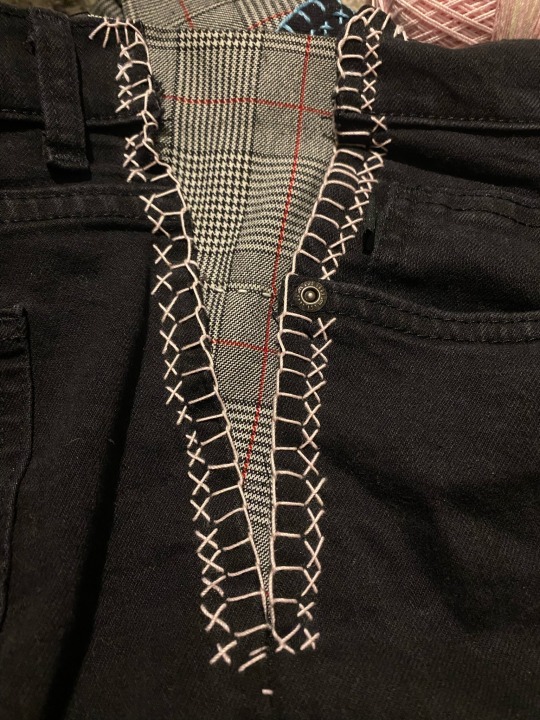
Put the pants on and get something to measure how far the fabric of the pants needs to be from itself to comfortably fit your waist. Use an overlock/blanket stitch on the edges of the jeans to give your pants a nice edge that prevents fraying. Then use a sturdy stitch of your choice to stitch together your fabrics.
Stitching the fabrics together was so tedious and I am so sad I didn’t get a picture of the process.
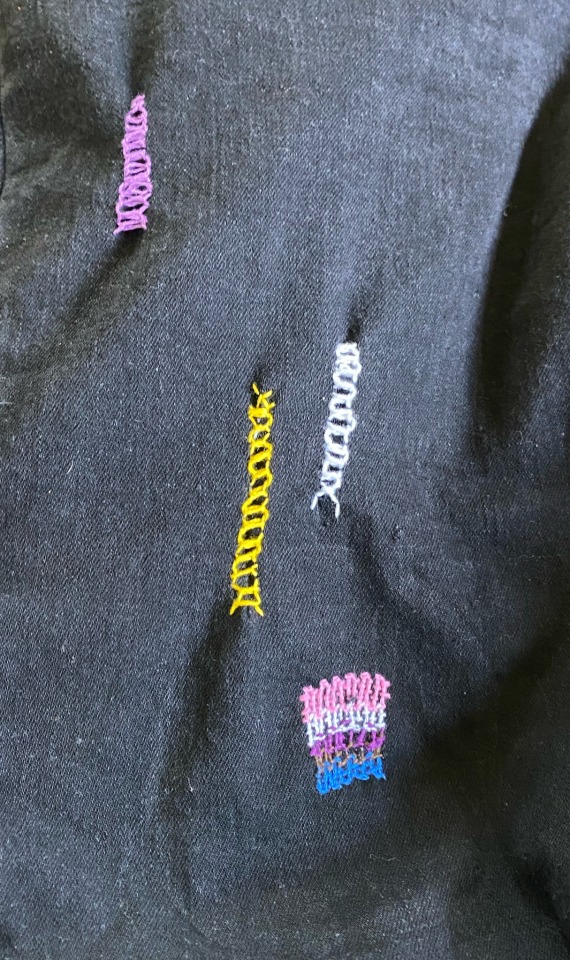
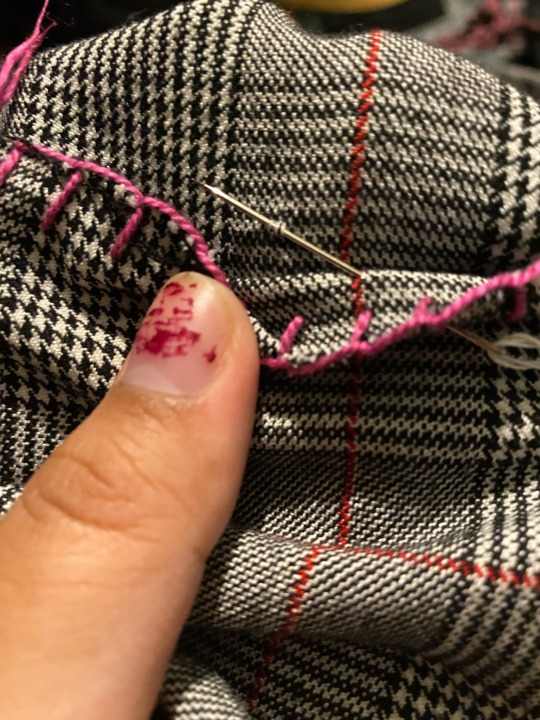
With the holes at the bottom I tried the ladder stitch and darning. I’m not sure I did either completely right but it ended up really pretty.
3 notes
·
View notes
Text
Let’s try our hands at alterations and visible mending yeah?

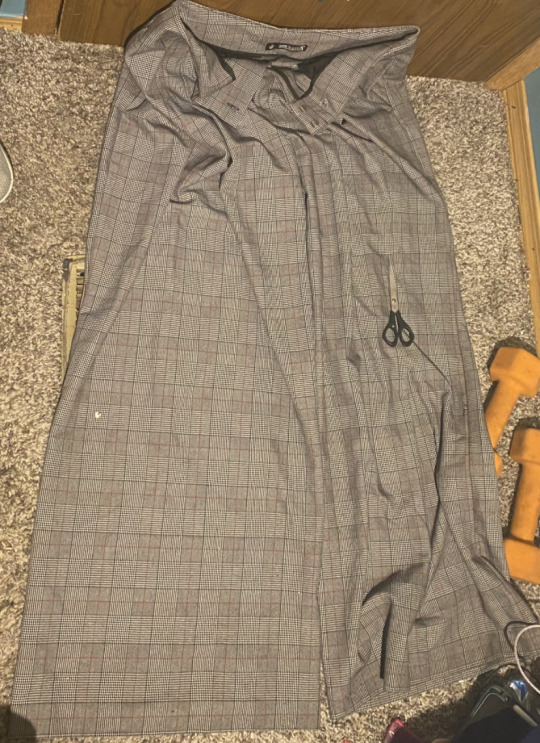
I’ve been wanting to fix up my clothes for such a long time and I love the way visible mending and alterations can look. Let’s go through the process.
Hemming is an important skill for anyone as bodies vary so heavily and it allows for a quick way to work on the height aspect of alterations….
With enough practice that is.
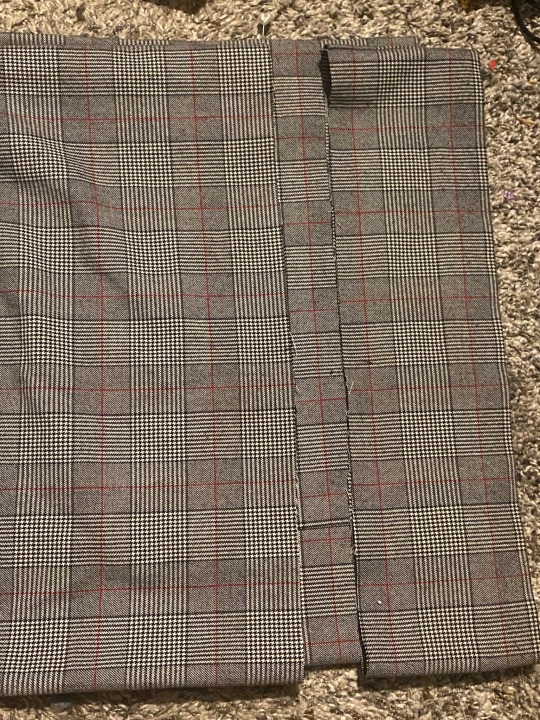
First step is to wear and measure your pants to see how far you should cut for the hem. Then mark and cut. Marker is fine for this step as its going to be folded inwards anyway.
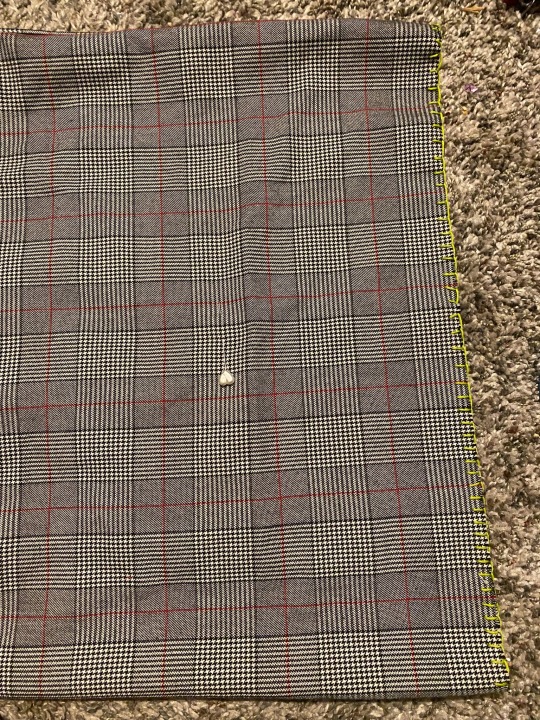
An overlock/blanket/serger stitch is very helpful to put at the ends to prevent fraying and to remind yourself of seam allowances. There are many online videos you can use for this. I used the one below.
https://youtu.be/9flx6nJNY8I

Put your pants on again and use a pin to fold up and measure how high you want the hem.
There are many ways to do an invisible hem but I just guessed it. It was really fun though!!!!! Don’t be afraid to just mess with things if you want. You can find many different fun paths that way.

Wow! It almost looks like I bought them like that. A great thing I like about pants is how it has two legs which give you more practice.
Bye bye for now!
#alterations#sewing#hemming#my post#needle cw#i feel like such a bot posting this its for a project the youtube link is fr tumblr is just mean arghgjsgsjsg
2 notes
·
View notes