thesolarfandom
The Solar Opposites Fandom!
It's like the #solar opposites tag but without the spambots, discourse, or problematic content! also all fanart is tagged af so this blog can be used as a catalogue B)
3028 posts
Don't wanna be here? Send us removal request.
Last Seen Blogs


Text

realized i don't hate the human designs as much if i shave korvo and i caved
#spinetrick#korvo#terry#human au#humanized#solar opposites season 4#tervo#crossed arms#bald#arm around shoulder#gaze#in love#nail polish
605 notes
·
View notes
Text
Chillin
#solaroppositesyaoi#korvo#terry#tervo#talk#laugh#lap#gayalienlover#flirtyalien#sisterb#sisterbloomers#zina#blush#clasped hands
196 notes
·
View notes
Text
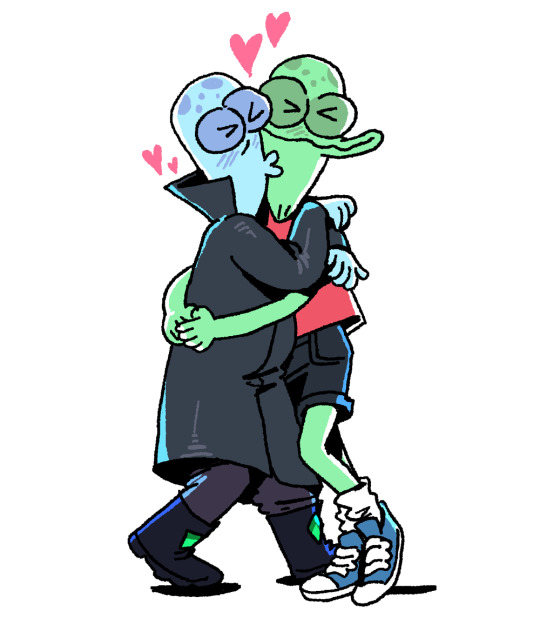
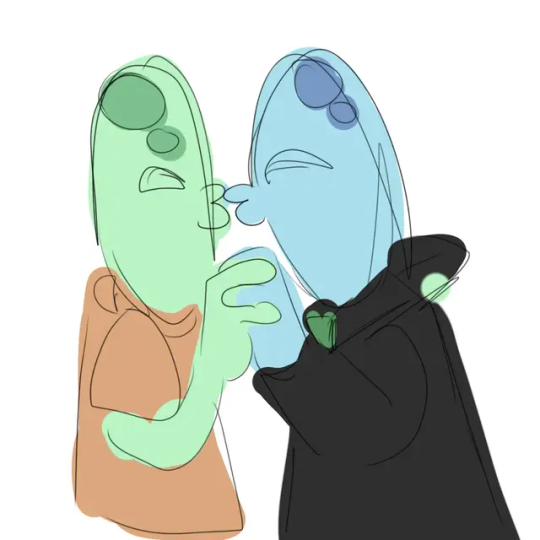
kissies
2K notes
·
View notes
Text
I finished this
48 notes
·
View notes
Text
Human Korvo but It's Real Dan Stevens (Made with Stable Diffusion/Photoshop/MTXX)
(Here is a screenshot of Solar Opposites S4E11 to compare)

First of all, I understand that there is some controversy on AIGC currently... However, I still decided to post this work here. Yes, I call it “work” because I had spent at least 5 hours to make this image, and I went through hundreds of small steps to achieve this effect. It's not perfect, of course, since I basically know nothing about drawing and photography…but I tried my best.
To make this post more "meaningful", here is the complete detailed workflow (FYI: It's VERY LONG. Here is a 1-minute summary video I made, in case you wanna save some time:)
Preparation stage:
①A base model (or base model+LoRA/Embedding, depending on your need). Normally people use LoRA for a specific person’s face, but I’m not using LoRA for Dan because small models don’t reconstruct his face very well. I’m using a base model (in my case, Serenity V1.0) trained on his photos with Dreambooth. I trained this model 3 weeks ago so it’s ready to use.
(If you’re wondering, “why not using Midjourney to generate celebrities?”, the answer is, Midjourney does a terrible job generating Dan’s face. Also it strictly forbids NSFW. Even just mild NSFW.)
②An OpenPose map and a Scribble image, to use in ControlNet (an extension on SD WebUI). I made a screenshot of the posed dummy from Magic Poser, and used this image to make an OpenPose map, and trace the outline of the dummy on Photoshop to make a Scribble image. Why do I need to make a Scribble? Because from my experience, all SD1.5 base models have a hard time generating “man wearing unbuttoned shirt”. So, only an OpenPose map is not enough. Gotta let it know what shape I want.
Base image making stage:
Step 1: Write a prompt.
I’m not good at writing prompt but it does the job:
Positive prompt:
full color photo of RLDAN, (wearing_unbuttoned_black_long-sleeve_glitter_shirt), BREAK, RLDAN, (long light blond hair), BREAK, RLDAN, (holding a martini glass), in a bar, looking to the right, (flat lighting), sharp focus, raw photo, 8k uhd, high resolution, DSLR, high quality, Fujifilm XT3
Negative prompt:
((woman, 1girl, female)), ((tattoo)), cartoon, 3D, (teeth), (mouth opened), (deformed iris), (deformed pupils), ((poorly drawn)), (extra limbs), (bad anatomy), painting, drawing, weird colors, blurry, watermark, text, high contrast, high saturation, (muscular)
About the prompt, I didn’t use any negative embeddings because sometimes they affect my trigger word; I add “muscular” in negative prompt because if I don’t, it’ll give me super buff man and it’ll look weird; “BREAK” is for separating groups of words.
Step 2: Choose a decent “raw” image
Editing the prompt and adjusting the ControlNet weights according to the results, and cherry-picking the better ones. The style of the clothing is the most important feature to imitate the original animation, so it has to be accurate enough. After cherry-picking the first okay-ish image, I reused its seed, and put this image into Lineart-realistic preprocessor to use the Lineart ControlNet model. The second cherry picked image looked more natural on lighting and background, so I saved this one for future use. I then used ADetailer (an extension) to swap face roughly, not good enough but that’s far from final.
Step 3: Upscale this image
Since SD1.5 was based on 512 resolution, my initial image size was 682 x 512, but that’s too small to make a higher quality face. Hence I used img2img+Tiled Diffusion+ControlNet Tile Resample to upscale x 2. So I get a 1364 x 1024 image to work on. I furthur upscaled it with MTXX, just 3 clicks.
Step 4: Inpaint the hair and face
I wasn’t satisfied with the hairstyle in the previous image. It doesn’t look natural and there’s no tendril near ear, so I gotta fix it. I masked the hair area and edited my prompt, and used a 0.55 denoising to get a better hair, and then used inpaint sketch to draw a blond strand near his ear, and used a 0.75 denoising to add a tendril. There were some artifacts in the image so I used Photoshop to remove those. Finally I used Adetailer again to change the face, this time it looked much more similar to the real Dan.
Post-processing(?) stage:
The Stable Diffusion part was complete. Now the Photoshop time. I changed the background (remove the wall-like thing and replace it with night view), martini glass bottom (it was really messed up), the shirt buttons (there weren’t any before), and of course the hand (I normally use OpenPose hand map to control it but this pose is rather complex, and I don’t like using depth/canny models so…) with Generative Fill. Also plenty of times of remove tool (and patch tool, color replacement tool, burn tool, liquify…yada yada yada). Then I used Neural Filters-Harmonization to match the color tone of the torso to the tone of face. Finally, I used MTXX to make some small adjustments on face and body.
And the picture is done.
Hope you guys like it :)
#okay this is pretty fucking cool actually#and exactly what ai should be used for#now can we get Thomas middleditch as psycho Terry#or sean giambrone in yumyulacks bounty hunter gear#thatchubbypillow#ai generated#stable diffusion#photoshop#korvo#human korvo#dan stevens#humanized#solar opposites season 4 spoiler
42 notes
·
View notes
Text


Im actually finally experimenting with my own solar opposites human designs 😵💫
1K notes
·
View notes
Text

i really loved this scene lol
#spinetrick#terry#korvo#tervo#screenshot redraw#kinda lol#cry#naked#blush#kitchen#solar opposites season 4 spoilers
1K notes
·
View notes
Text
terry: im EAT SHIT korvo: and i am die
#mushy-madness#terry#korvo#tervo#gif#flash#the fuck you husbands#middle finger#flip off#im eat shit#and im die#meme#?#i can't keep up with the memes anymore folks
825 notes
·
View notes
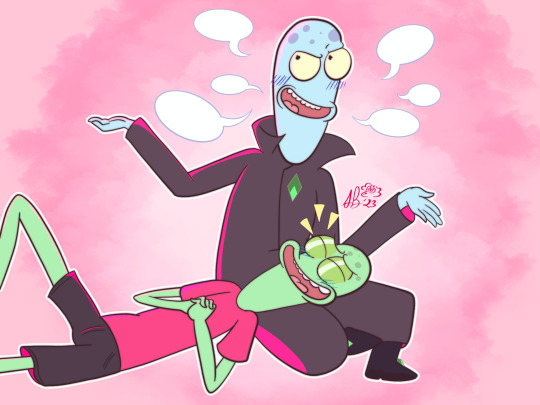
Text
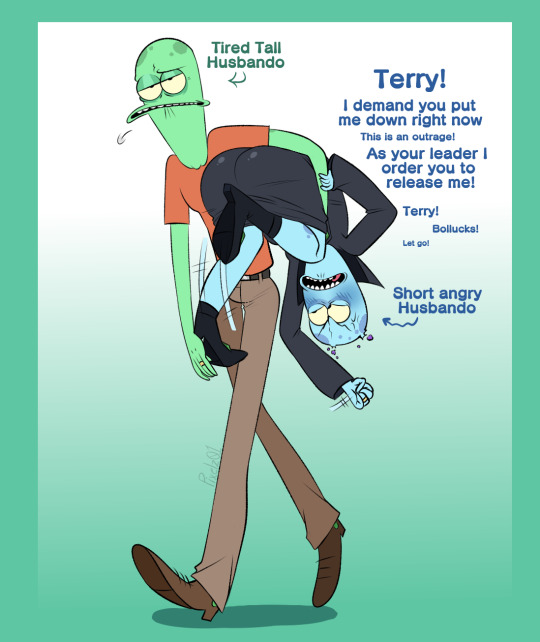
More Solar Opposites Brainrottt
their height difference gives me so much life XD
DO NOT STEAL REPOST OR CLAIM MY WORK!
#pixelz01#terry#korvo#tervo#this is making me nervous sweat#how dare you exploit my attraction to beanpoles /j#carry#lift#tired tall husband#short angry husbando#gooblers#wedding wings
150 notes
·
View notes
Text
the tag has been on fire! ive had a hard time keeping up since school started again, but I'll catch up soon 🖖 in the meantime enjoy some week-old fanart!
1 note
·
View note
Text
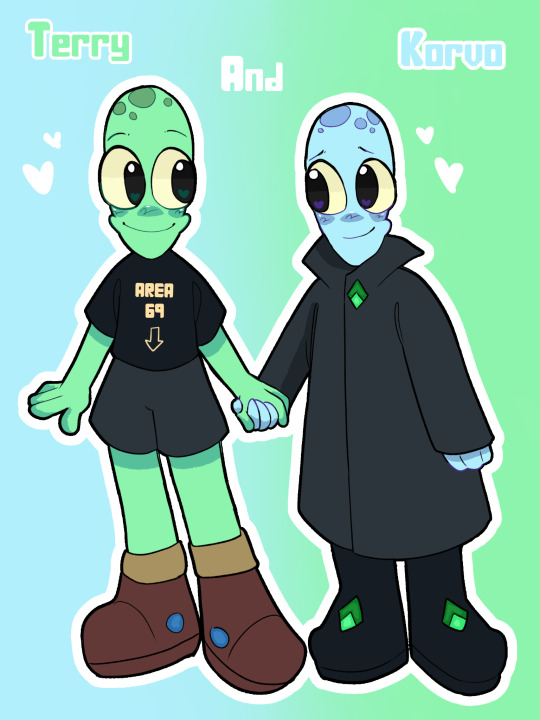
I love them I love them I love them
46 notes
·
View notes
Text
i love the whole show but the backgrounds are sincerely the most visually stunning of all
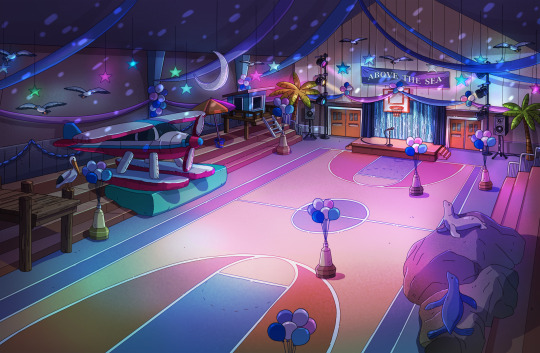


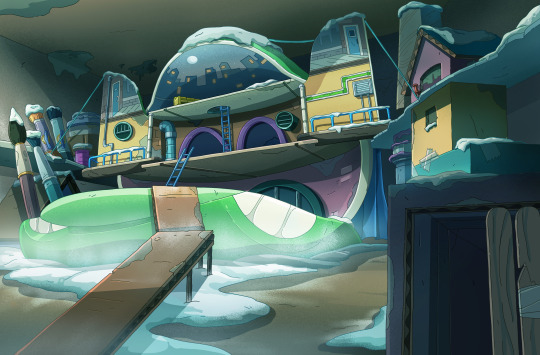
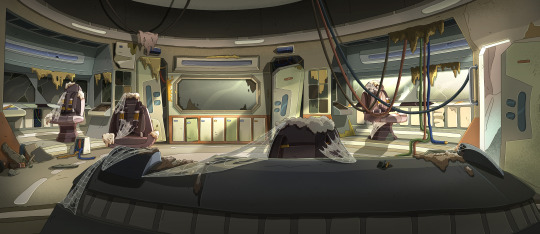
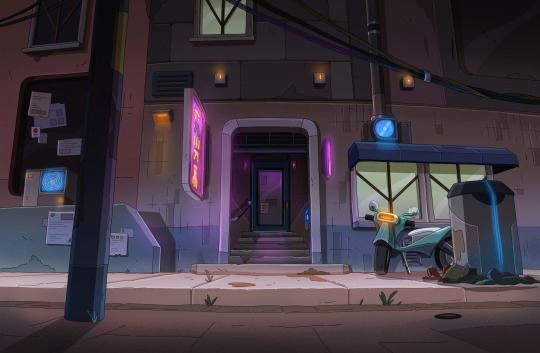
It was such an honor to be one of the Co-Art Directors of Season 4 of Solar Opposites! I had such a blast with my talented team, continuing to explore and expand on the Solar Opposites universe! It was also really fun push the atmosphere of everything and come up with wacky colors!
245 notes
·
View notes
Text

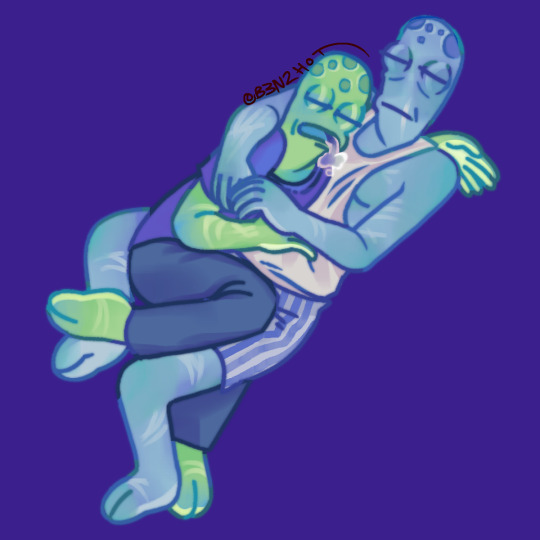
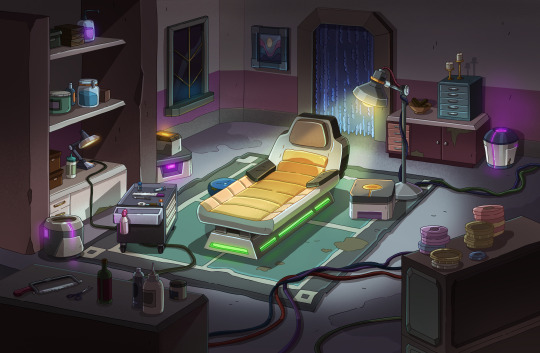
they're so in love, it makes me SICK
#what-am-i-doing-in-this-fandom#terry opposites#korvo opposites#tervo#hug#leg up#socks and sandals#it's wine o'clock somewhere#blush#crossed arms#british
224 notes
·
View notes
Text

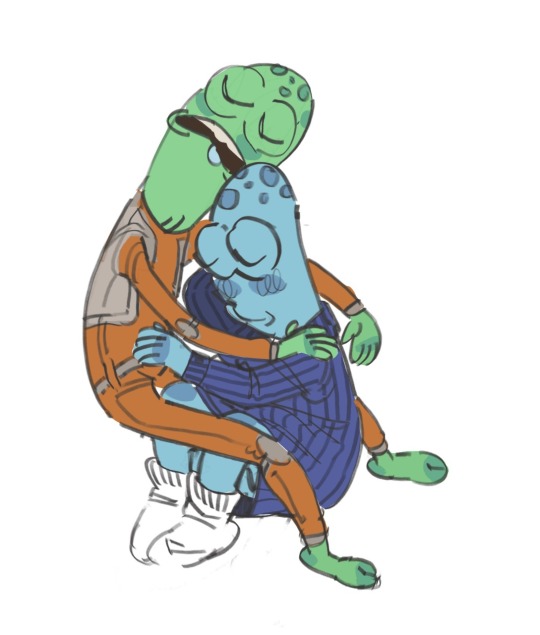
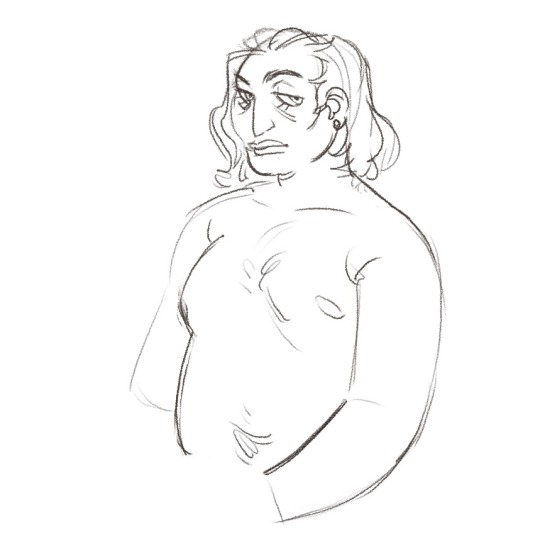

Random Tervo sketches feat human versions and dadbod Korvo
now if you'll excuse me i have to go have a breakdown
#demonontheroad#tervo#terry#korvo#holding hands#ray gun#sorry ladies I'm married to a freaking awesome wife#she's a bit crazy & scares me sometimes#but i love her and she is my life#she treats me like a king#if you mess with me the beast in her will awake & they'll never find your body#wave#pajamas#sleep#drool#cuddle#human au#humanized#shirtless#crossed arms#tapping foot#👉👈
317 notes
·
View notes
Text
(This took so long pls)
#gh0stjellies#terry opposites#tervo#korvo opposites#jesse opposites#yumyulack#pupa#video#animation#animatic#song#fighter#ray gun#wink#heart hands#wine#peace#crossed arms#family picture#family portrait#holding hands
49 notes
·
View notes
Text
Reposting this from my tiktok acc
#gh0stjellies#korvo#terry#tervo#tiktok#video#animation#animatic#arm around shoulder#wink#flirt#blush#meme redraw#KMNGSCBKLGD THE ROLLING PIN AT THE END
8 notes
·
View notes