shipwreckeddolls
Shipwrecked Dolls
Side Blog Dedicated To My Doll Related Topics!He/Him
5 posts
Don't wanna be here? Send us removal request.
Last Seen Blogs


Text
I made my first proper custom doll recently but I can’t post it until later in June because it’s a birthday gift for my sibling
I’m so proud of it though and I can’t wait to give it to them!!!
0 notes
Text
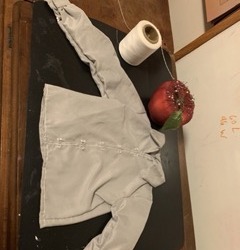
First Attempt At A Doll Shirt!
So to make the wait for my first doll a little easier I've started making things for him! I wanted to start with a shirt because I only bought pants and a wig for him and I want him to have a full outfit and not be stuck half-naked for months while I wait for one.
I followed the "EID Cuffed Poet Shirt" pattern by Lomi's Playground, which you can find here on their Youtube channel and here on their website! I love how it turned out and it was incredibly easy to follow so if you're looking for a good source for patterns I highly recommend them.
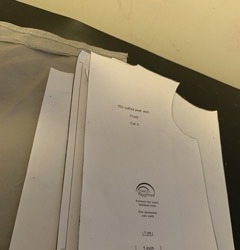
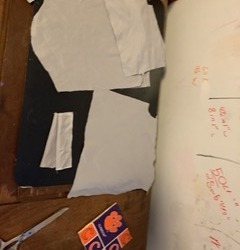
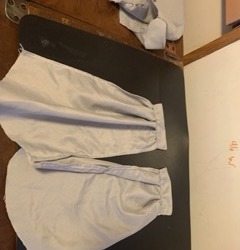
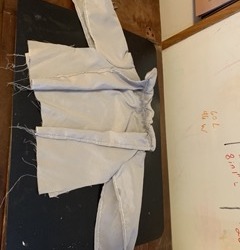
Getting all my pattern pieces cut out was pretty easy. I haven't worked from a pattern in a long time and the one that I did was complicated and I gave up halfway through so I was relieved that this was much easier.

Pinning the rolled hem on such a small seam allowance was a bit of a nightmare but somehow I managed.
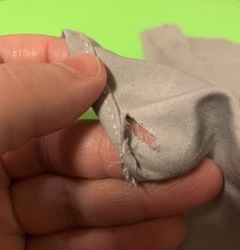

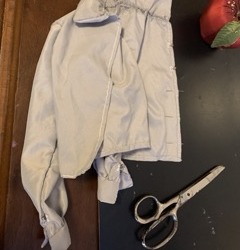
And after I got both sleeves sewed I realized I rolled the wrong part and had to undo it and start over. While I was ripping the seams I put a hole in the fabric and had to cut new sleeves and new cuffs while I was at it because I found a tear in the panels.
After finally getting both sleeves sewed correctly I was able to gather the edges, attach the cuffs, and move on to the rest of the shirt.
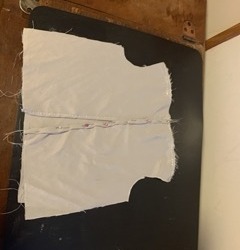
This part went much quicker than the sleeves because I slowed down and actually listened to the pattern so I didn't have to undo any of it
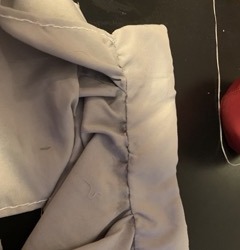
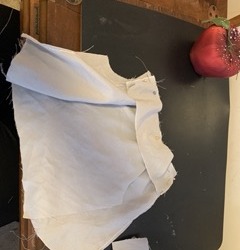
The collar went on the same way as the cuffs and I'm pretty happy with how it turned out! The sleeves went on with no issue and for someone who had never done a project with sleeves before they turned out pretty good.


The side seams gave me a bit of trouble where the sleeves were attached but I managed to figure it out and I was able to get both sides stitched up. The bottom hem was rolled like the sleeves and once the whole thing was sewn up I took some liquid stitch and went around the raw edges on the inside to keep them from fraying anymore. I would have preferred to use fray check but I didn't have any on hand so the liquid stitch was the next best thing.
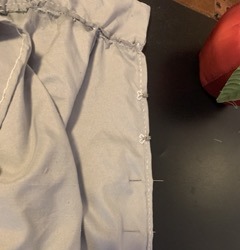
The next step was adding the closures to the front and sleeves. I used hook and eyes and spaced an inch and a half a part down the front and just guessed the placement for the sleeves.
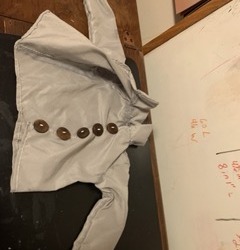
I wasn't liking the way it looked with the hooks so visible so I went through my button stash and found these cute wooden buttons and added them down the front over the hooks. The added benefit of having them is they provide a good hold for the hook and make it easier to close the shirt.
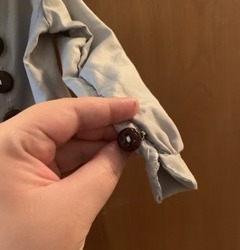
I went back and added these cute buttons to the sleeves for the same reason.
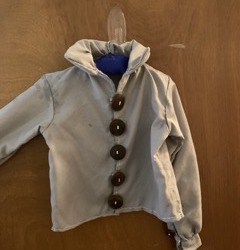
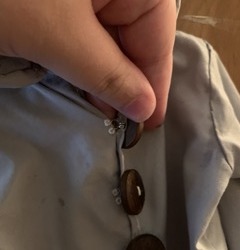
And this is how it turned out! I really like it and for my first sewing project in many years, I think I did pretty well!
If you have any recommendations for pattern makers send them my way because I really enjoyed this and want to make more clothes for my doll!
21 notes
·
View notes
Text
everyone supports $15/hr until it's time to buy doll clothes from etsy
#this is part of why I want to get better at sewing in general#doll clothes are expensive for a reason and I don’t want people to undervalue their work just so I can afford a pair of little pants#if I want doll sized clothes that bad I’ll just have to learn how to make them or save up for them#sewing is a good skill to have anyway#bjd#bjd clothes
92 notes
·
View notes
Text
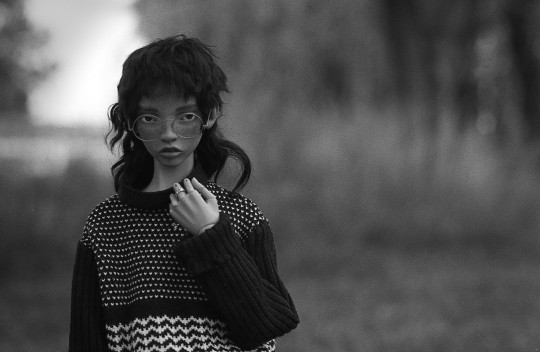
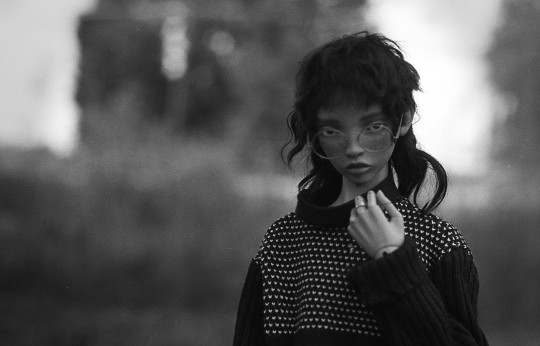
Combining two of my loves, dolls and film photography
#I love the way they come alive in these photos!#you have an amazing talent with film#bjd#bjd photography
78 notes
·
View notes
Text
Hello!
Welcome to my dedicated doll side blog!
Follows and likes will come from @shipwreckedpirate and I have a list of my other side blogs pinned there!
~~~~~~~~~~~~~~~~~~~~~~~~~~~~~~~~~~~~~~~~~~~
I plan to post doll customization and BJD content here
1 note
·
View note