mtb2450
Amateur “Ham” Radio Go-Kits
Building my Amateur Radio Go-Kits.
13 posts
Don't wanna be here? Send us removal request.
Last Seen Blogs

magellan-88
plot bunny distribution center

seyirbahcem
Hacer

norfokatl
TLD Auto Title Loans Agency Norfolk VA | 757-734-1510

lost-my-sanity1
I suck at everythinggg

julianendres
Unbetitelt
Text
Yet Another Winter Project
By Mark Bell N7GRB
This winter and with help from Santa Claus bringing an ICOM IC-705 I have completed my third go-box build. Unlike my earlier go-box builds, this one is oriented for POTA activations and a more compact travel solution. (ARES deployment is a secondary consideration, recognizing the power out limitations of the IC-705.)
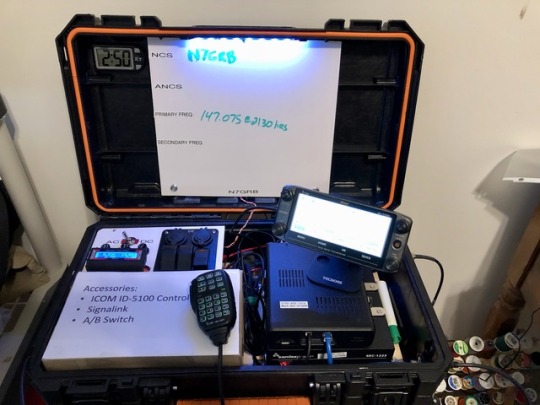
The first go-box build was based on an ICOM ID-5100 contained within a RIDGID brand Pro Organizer with the RIDGID Tool Cart holding a 30 ah LiFePO4, coax, tools, etc. The second go-box held in a 4U server case an ICOM ID-7100, Yaesu FT-400XDR, PSU and Kantronics KPC3+. These first two go-boxes were oriented at and saw lots of ARES field work. The second box with its IC-7100 also saw service in Parks on the Air (POTA) activations.
There are so many choices to make in building a radio go-box. First step is to define its mission and the requirements to meet that mission. Example, the first go-box with ID-5100 is oriented at rapid deployment to local area ARES operations, primarily voice and if needed off-grid. It also had a Signalink for digital work. The second go-box with its dual-radio setup allows for parallel operation on HF bands and local area voice plus digital operation. Its mission also primarily ARES field work then later POTA. The third go-box build is a mission change with it focusing on POTA wrapped around the ICOM IC-705 radio.
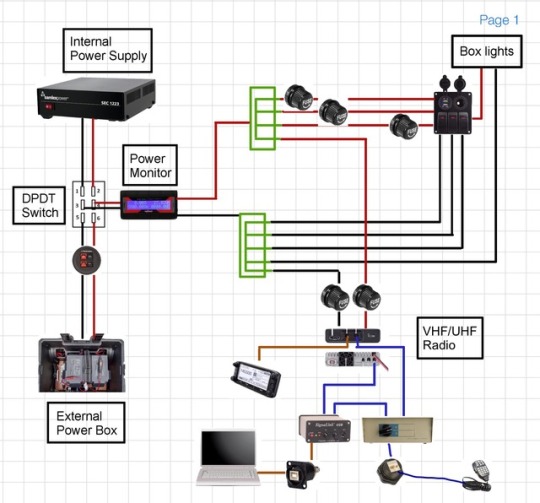
For the rest of discussion, we’ll focus on the power source change for this new build, moving away from the power/tool cart to a smaller, substantially lighter hand-carry box. As before weather resistant.
The DIY power box service requirements include powering the IC-705, its AT-705 tuner, a laptop and charge ports for USB A and C devices. Operating time should allow for half-day POTA operation in both digital and voice modes.
I must say that there was feature creep in the power source solution. With what originally started out as only a LiFePO4 battery with an external battery charge wart saw the inclusion of a West Mountain brand Epic PwrGate. The PwrGate has nice features to include auto switching between battery and external power, battery charging and direct solar panel input.
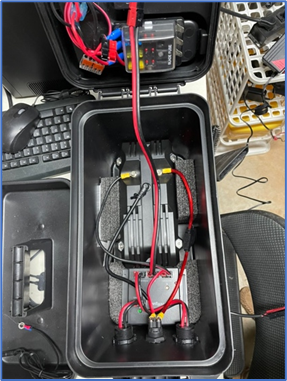
The Harbor Freight Tactical Ammo/Utility Box used in the construction provides sufficient space for a low profile ECO-Worthy brand 20 ah LiFePO4 battery. It is low enough that it allows me to retain use of the internal, removable tray. One side of the tray is reserved space for the power outlets on the lid. The opposite side is where I store the battery charger. So, if I have external 13.8 VDC for primary power it will use the Epic PwrGate to charge the battery. If I have 120 VAC but not a PSU, I’ll plug in the power wart LiFePO4 charger. Down the road I may add a solar panel!
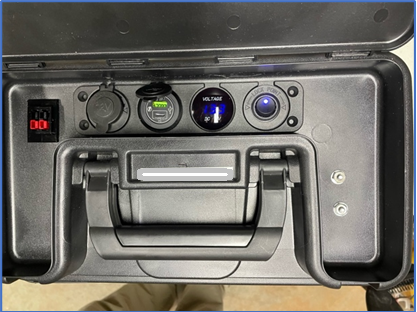
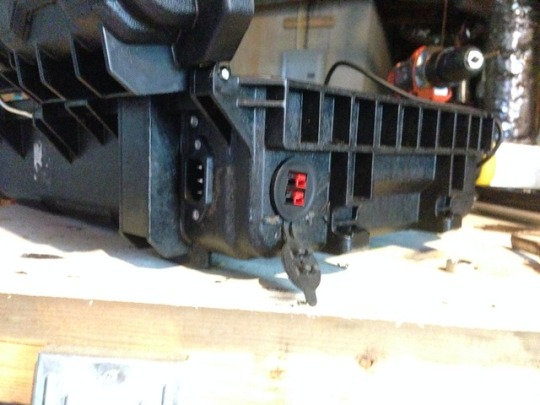
The top of the box has a quick access compartment that is used for power out connections. There are two sets of Anderson PowerPoles that are for radio and tuner usage. A car 12 VDC receptacle. a combination USB A and C charge port adapter, voltage monitor and a power switch controlling these three items. There is enough room in the tray for the wall wart battery charger (a portion of the tray space is taken up by the lid mounted interior side of the power out devices).
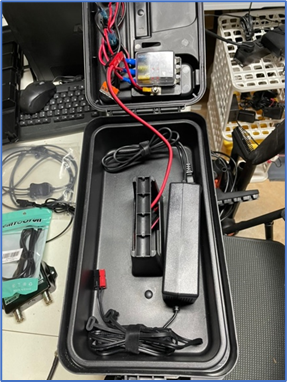
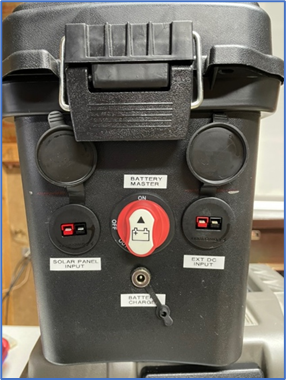
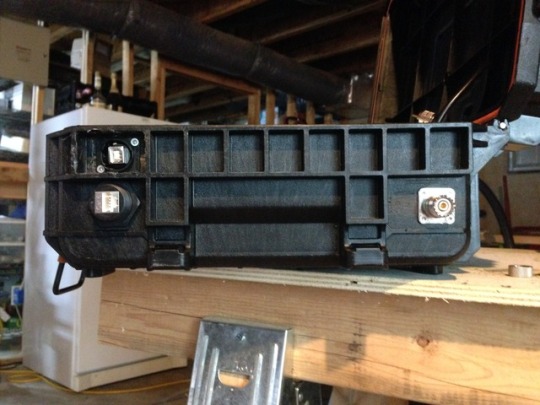
On one side of the box are two bulkhead mounted Anderson PowerPole connectors. One is for solar panel input and the other for external 13.8 VDC input. The third connector is an inline jack socket used by the wall wart charger going direct to the battery’s charge port.
I did not realize when I first added the Epic PwrGate into the box configuration that the PwrGate draws residual (parasitic) power, a small amount but nonetheless a drain source. I could just unplug the battery from the PwrGate when it is not in use putting a little wear and tear on the associated Anderson PowerPoles. Adding the master battery switch between the battery and the PwrGate makes it more user friendly.
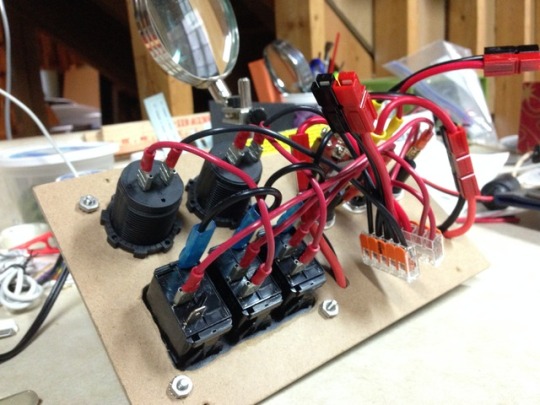
All wiring is done with scrap pieces of 12 awg strand wire. Power out from the Epic PwrGate runs thru an opening in the interior tray to a marine grade 6-port (only using three ports) fuse block I had lying around. There’s a master 30-amp auto style fuse between the battery and the PwrGate. If I need to remove the tray to access this fuse, the battery or PwrGate its one pair of PowerPoles to disconnect next to the fuse block.
How much did this power box cost to build? Well pre-Epic PwrGate feature creep roughly $175 (got a great Cyber Monday deal on the battery). Post feature creep right around $400.
Fun stuff …
Mark N7GRB
Technical Specialist, GA Section ARRL
0 notes
Photo
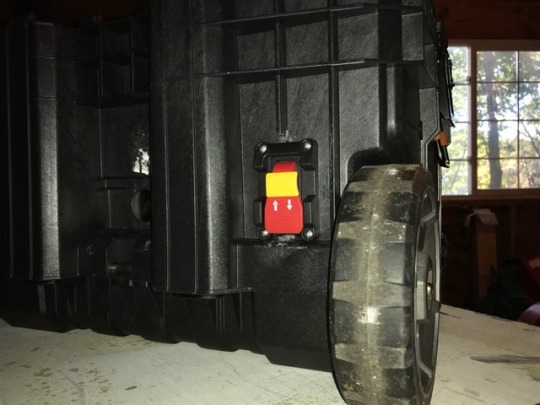
LED lighting added to the top, inside of the lid illuminates via toggle switch on the small panel.
2 notes
·
View notes
Photo
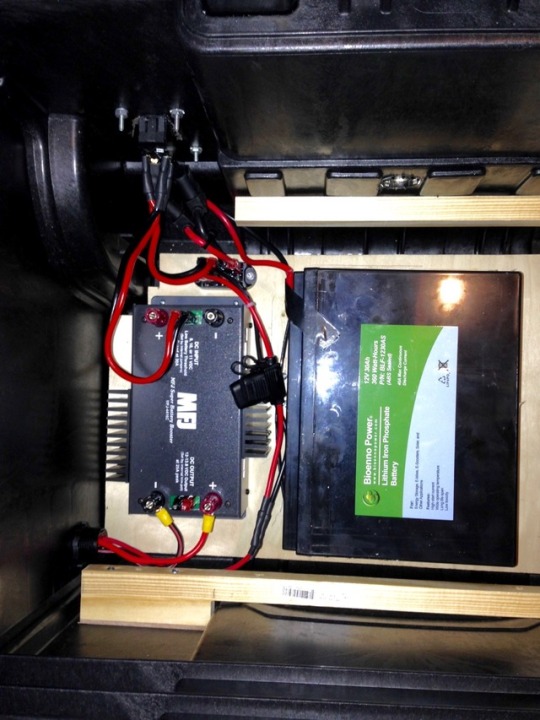
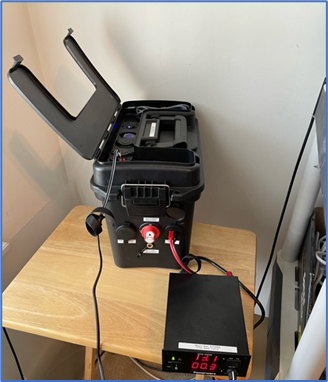
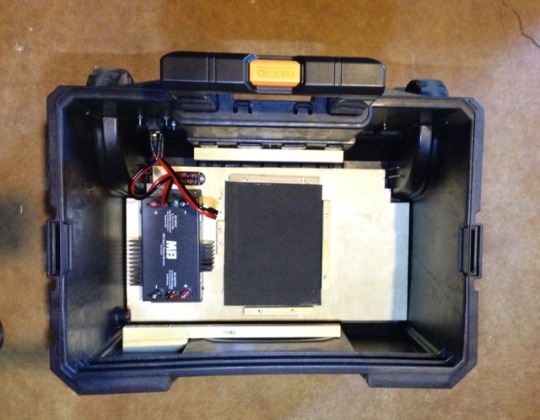
Finished battery go-box - 30 AH LiFePO4 battery with MFJ battery booster. The Bioenno battery has built-in over current, under voltage protection.
1 note
·
View note
Photo

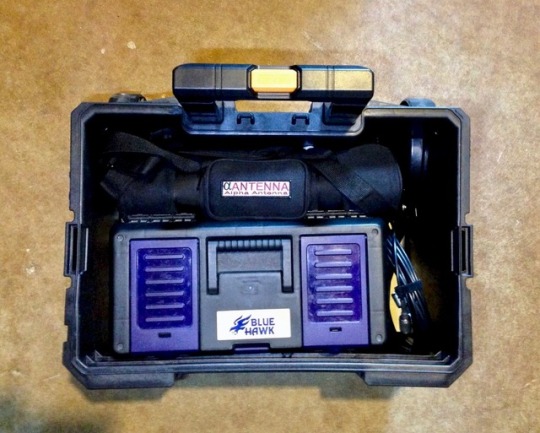
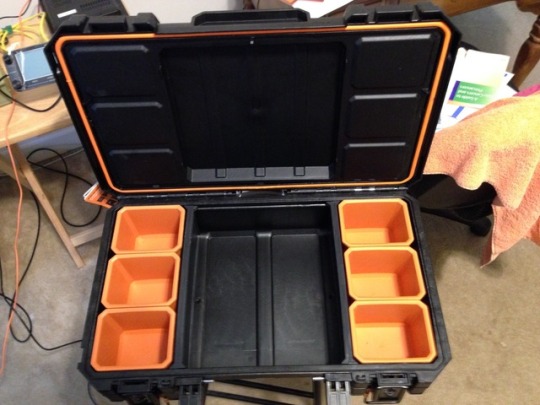
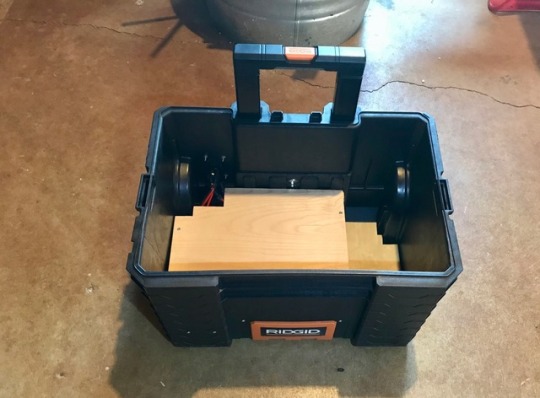
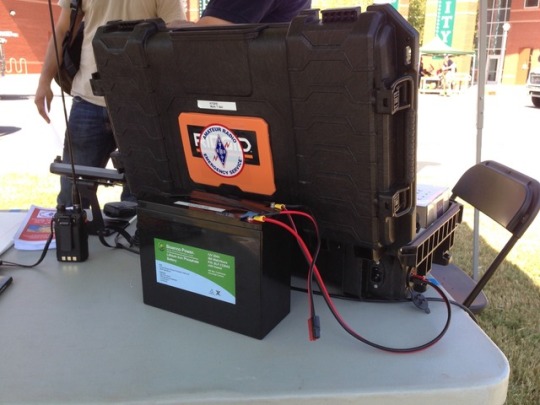
A RIDGID Tool Cart serves as a battery box with space for tools, antenna, cables and more ...
1 note
·
View note
Photo
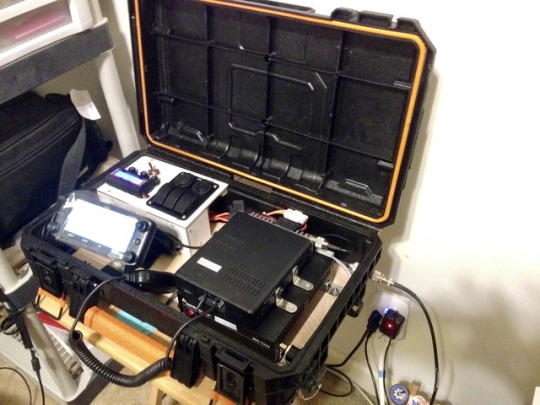

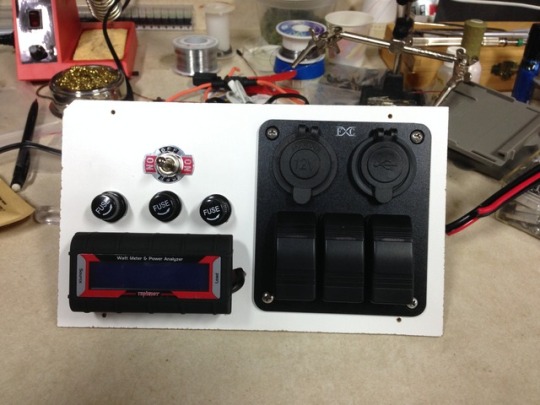
Panel wiring completed today and inserted into the go-box. Radio and power supply bolted to base board and firmly attached to the RIDGID Pro Organizer. Antenna connected to external SO-239, AC to box power-in. Radio powered up and check done through local repeater. All works well! The core of the go-box is complete.
From here on out it is adding icing to the cake. A white board will be fitted to the inside of the box’s lid. A pair of speakers and LED lighting will be added to the lid. A reversible platform / protective box will be build to hold the Signalink and A/B switch. This will fit in the space in front of the panel.
1 note
·
View note
Photo
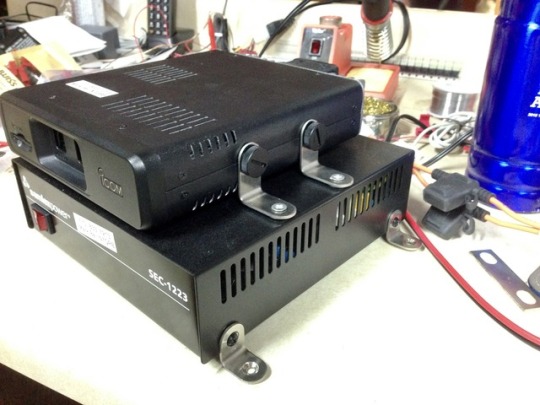
Connectors for antenna, power, mike and USB (PC control of Signalink) along with radio mounted to power supply - good progress this weekend.
1 note
·
View note
Photo
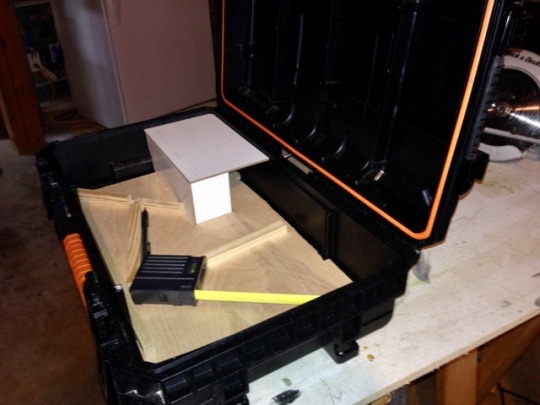
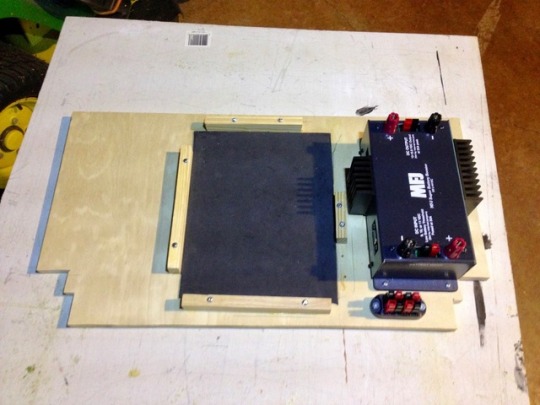
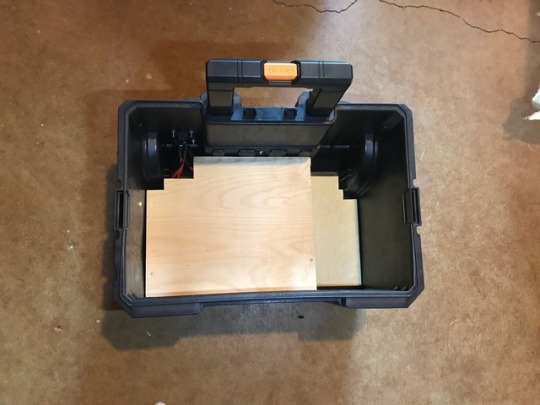
Wood work in progress with a base and small console in the making.
1 note
·
View note
Photo
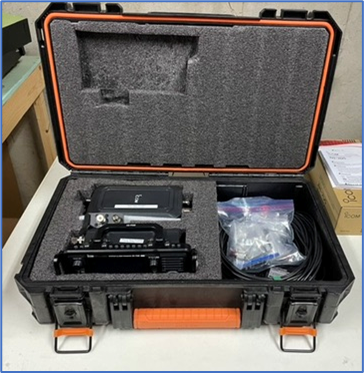
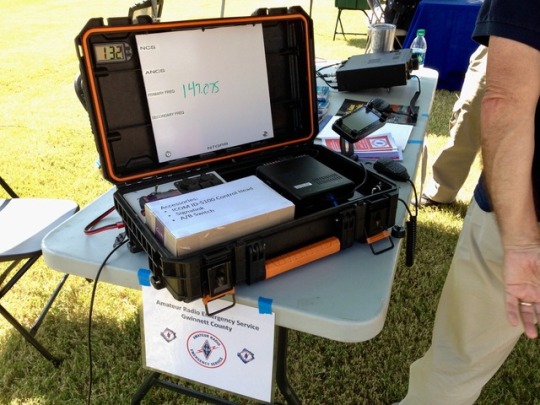
ICOM ID-5100, PSU, Signalink and A/B switch destined for the radio box.
1 note
·
View note