
miss-dynamic
Miss Dynamic!
Sadie Saunders:gynmastics enthusiast,
small animator
this is where I combine my
love of animation and my love of gymnastics.
39 posts
Don't wanna be here? Send us removal request.
Last Seen Blogs

charnock-city-enterprise1998
Charcock City Enterprise

whatthewhatblerg
Whatthewhatblerg & All That Jazz

chocolatecandyalexandrasara-blog
M&M Undressed
shinjito
Shinjito

choiseonhong-blog
홍이텀블
Photo


Simone Biles, Aly Raisman, and Aliya Mustafina
Rio 2016 Olympic All Around Medalists
#old gifs new feelings#simone biles#aly raisman#Aliya Mustafina#rio 2016#olympics#gymnastics#olympics gymnastics#gif#gifs#rotoscope#gymternet
2K notes
·
View notes
Text
Today is my birthday and all I wanted was this exact podium. :,)
4 notes
·
View notes
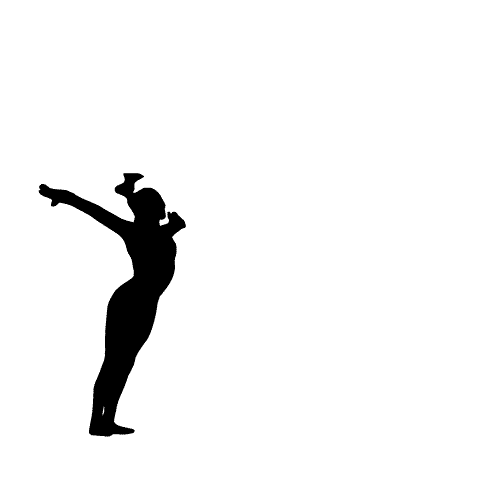
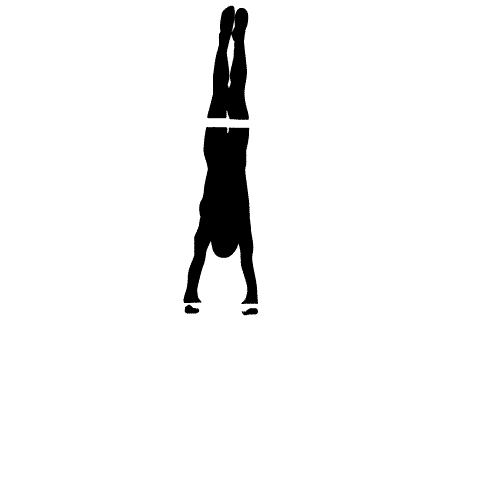
Photo
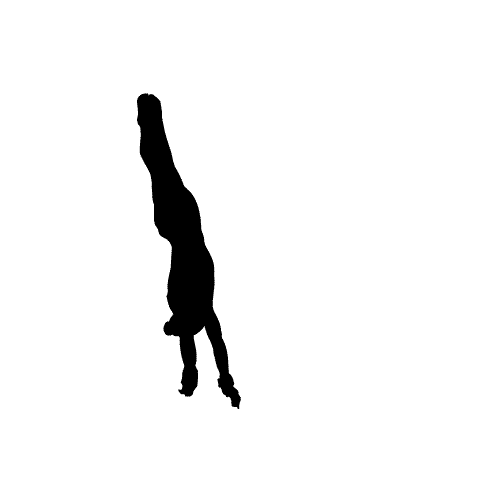

Kyla Ross, 2013 P&G Championships
#Kyla Ross#2013 P&G Championships#uneven bars#ub#gymnastics#gifs#artists on tumblr#gif#rotoscope#women's artistic gymnastics#wag#fitness#animation#team usa
74 notes
·
View notes
Text
.gif making tutorial
So, my .gifs are made by rotoscoping. Rotoscope is an animation technique where film is traced over frame by frame to create animation. This technique is also used in green screen tracking in special effects compositing, but also to help animation have a different or smoother look- the animated film ‘Anastasia’ is mainly rotoscoped, as are scenes from Disney’s ‘Snow White’.
I create them using Adobe Premiere CS6, Adobe Flash CS6, and a Wacom Intous 4 tablet.
I apologize if my info is vague. I’m not sure where someone interested in my process might be coming from- an existing .gif maker? An animator? There might be gaps that need filling, but I also encourage to play around and learn programs you are unfamiliar with. Feel free to askbox or chat me with questions if you end up getting into it!
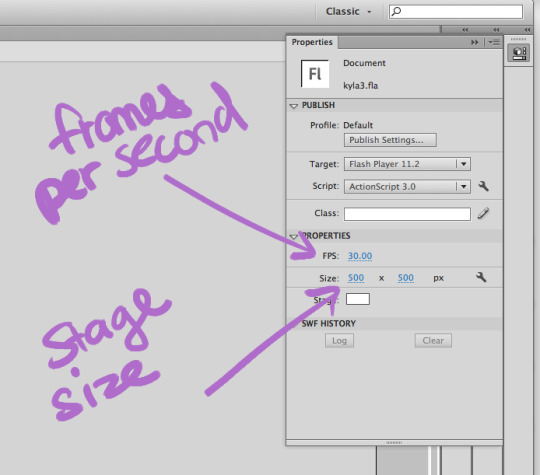
1. Download your video footage
I used to have an extension, but I get everything off of Youtube. You can just search ‘Youtube Downloader’. There are a few full competitions I’ve downloaded elsewhere, but mainly I’m looking for something very specific. Requests also get very specific.
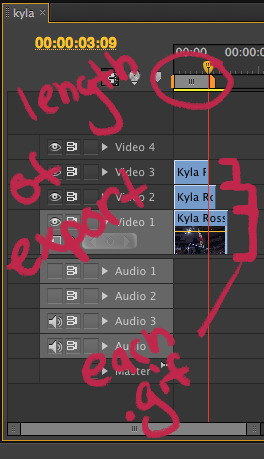
2. Cut down to size in premiere
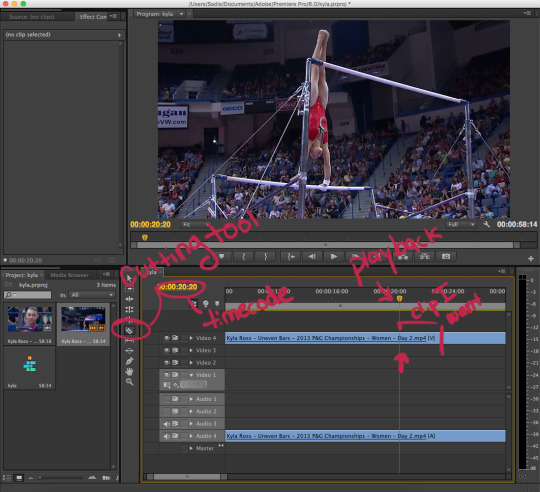
Once I have a routine picked out I bring it into Adobe Premiere and plot out the exact amount of frames I’m going to work with. I go in with the blade tool and clip down to the exact frames that I want to rotoscope.
3. Export as flv

Once I know what I want I export it from premiere, as a .flv video. Make sure you’re exporting the clip exactly so your flash file is neater. Go File < Export < Media. For the format, select .flv, and make sure your quality is at ‘best’. This makes drawing easier, but I also have a pretty RAM heavy computer, so I can run a lot of programs at once.
Keep in mind, I don’t think you can export as .flv on later versions of Adobe Premiere.
4. Upload to flash
Start a new flash document. I always work at 1920 x 1080, but my clips are usually smaller. I just import the smaller clips, since flash uses vectors and things resize cleanly. Open your document, then go File < Import < Import to Stage. Select your clip, and a dialogue will appear. Select the option ‘Embed FLV in SWF and play in timeline’.
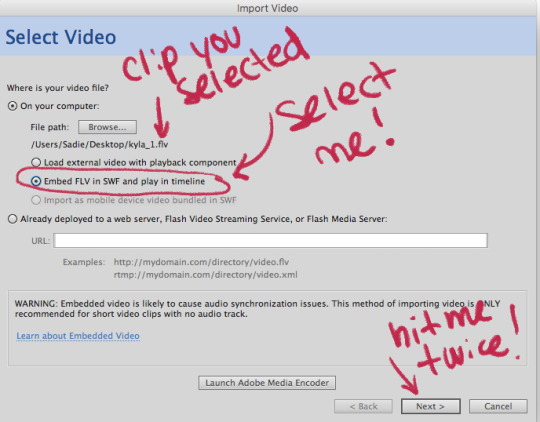
After this, hit ‘next’ then ‘next’ and then ‘finish’ and your video will appear on an expanded timeline.
5. Keyframe
Make a new layer. this will be the layer you draw on! I like to make my .gifs using every other keyframe- but you could easily use every third or fourth keyframe! depends on your footage. I go for a smooth look, but because of the way I do it, it doesn’t always work out that way.
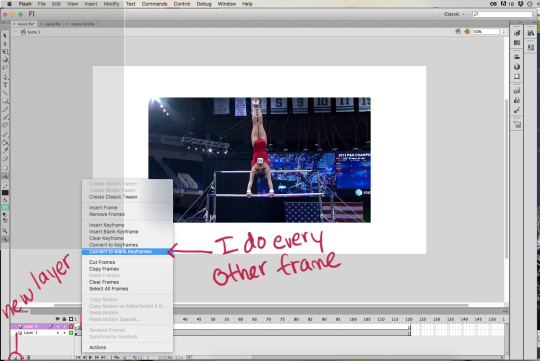
To make keyframes, drag out your timeline to the amount of time your clip is. Then, I like to go through the timeline using the . hotkey and the F6 hot key, F6 makes a new frame, and . moves forward on the timeline.
6. Animate
Time to draw! I always pick a bright color that isn’t present in the clip. I also prefer to work at the same zoom distance (usually 200%) and brush setting (I have a high smoothing at 40, and use the second smallest brush size). If you keep the same settings, everything is more consistent.
Here’s a timelapse (at x10 speed) of me drawing some frames of my Kyla rotoscope:
youtube
This is really the meat of how I make these micro animations- I just redraw it, almost frame by frame. It started as just a way for me to break down the movement in gymnastics, something I found so incredible I could barely comprehend how it worked. I’ve learned a lot by doing this. So this is how I began learning more about the sport. It takes a lot of time and patience to finish these things.
7. Resize
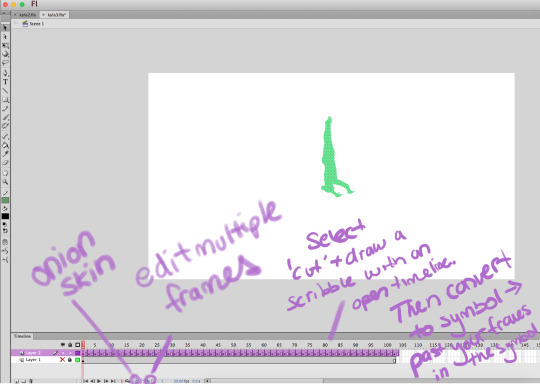
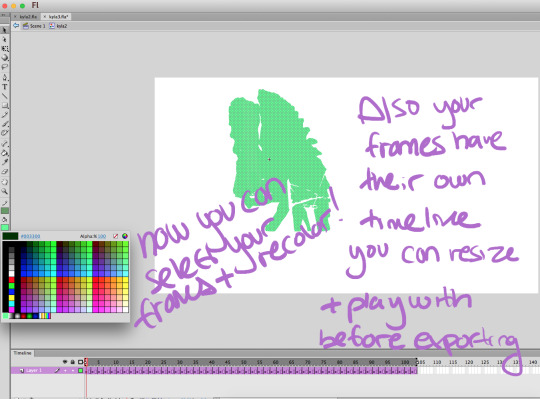
When everything is set, I resize it for tumblr. You’ll notice zooming out makes everything less wiggly, which is always satisfying. I select everything using the edit multiple frames tool, recolor to black, and make my frames a symbol. Then I delete the source video, and resize the canvas (generally to 500 x 500)
Often I spend a lot of time finagling the placement of the gymnast, too. It might look like she’s travelled all over the screen without an apparatus anchoring the video footage.
When you’re happy with it just go to file < export < export movie
choose the Animated GIF format and then choose your settings from there!
I have no idea if anyone is actually going to spend the time to make these like I do. I can go into detail and answer more questions about them as needed, I just know it’s a time consuming effort for something as simple as a .gif. But I did want to share that I take the time to make these frame by frame- there’s no magic involved, really. I just know how to set up a file. I do love the way they look, and I have toyed with the idea of making jewelry out of particularly striking frames.
Thanks for checking out my blog and tutorial, as always!
15 notes
·
View notes
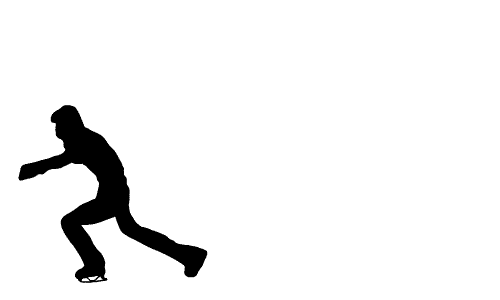
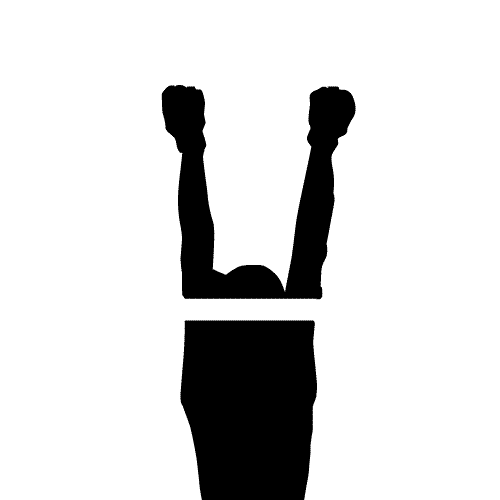
Photo
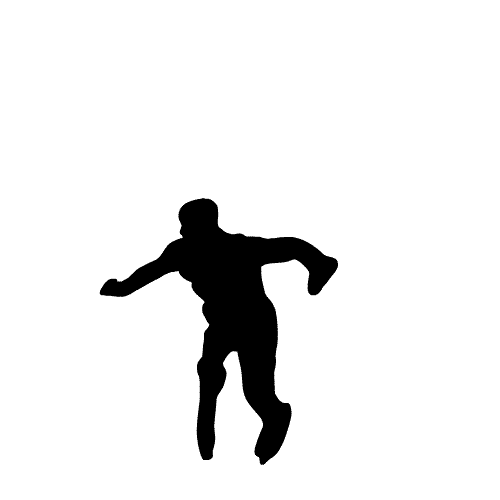

Javier Fernandez, Grand Prix Final 2015
I’m going to be at the men’s free skate for world championships in just a few days and I’m freaking out a little, I’m so excited!!
#Javier Fernandez#Grand Prix Final 2015#mens figure skating#fskateedit#figure skating#free skate#gif#gifs#rotoscope#animation
38 notes
·
View notes
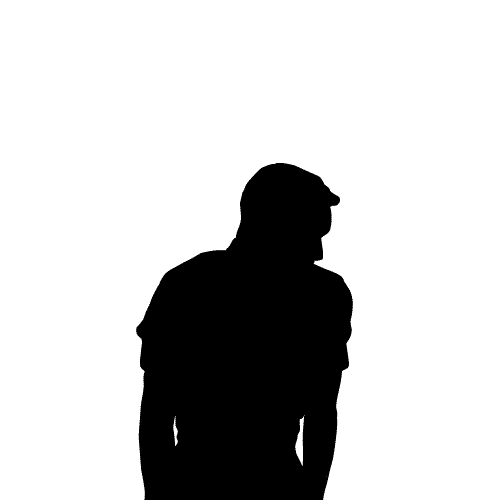
Photo
Yuzuru Hanyu, Grand Prix Final 2015
#yuzuru hanyu#figure skating#mens figure skating#long program#gif#gifs#rotoscope#sry not sry I'm obsessed with skating this season<3
188 notes
·
View notes
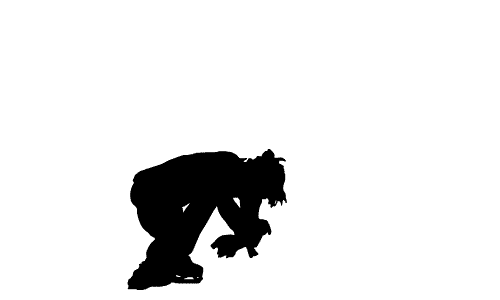
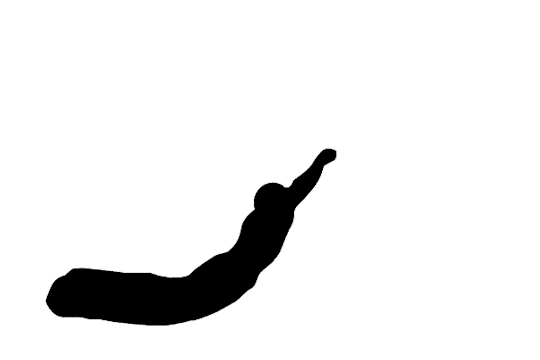
Photo


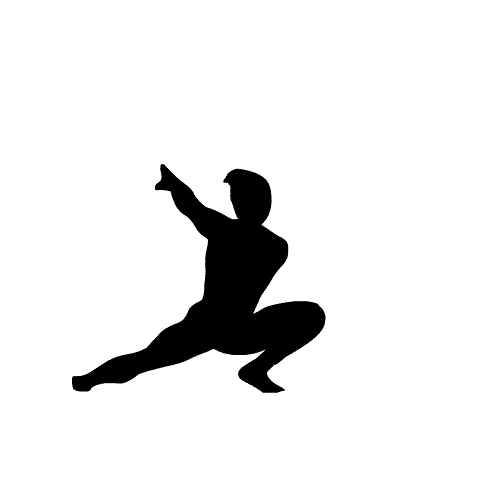
McKayla Maroney, USA Nationals 2012
#mckayla maroney#I hope this spices up your dash a lil thb <3#floor exercise#fx#team usa#olympics trials 2012#firece five#3.5 twist#rotoscope#gif#gifs#women's artistic gymnastics#wag#artistic gymnastics
132 notes
·
View notes
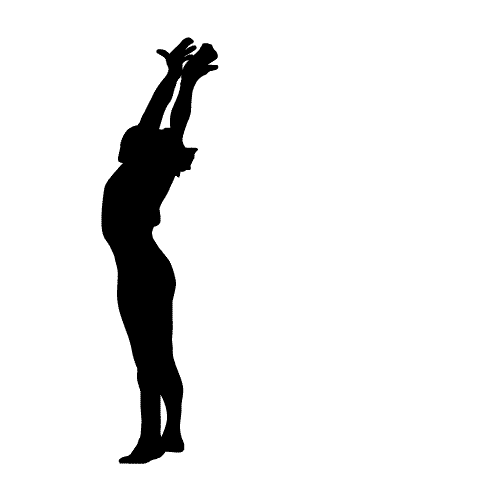
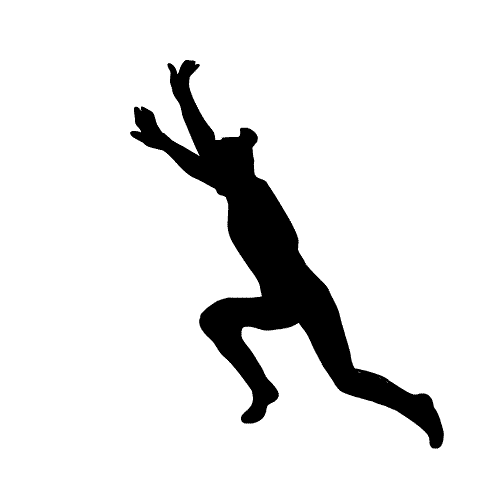
Photo

Aly Raisman, 2012 Olympics
#aly raisman#floor exercise#London 2012#olympics#Olympics 2012#double arabian#gif#gifs#rotoscope#artists on tumblr#alexandra raisman#team usa#gymnastics#gymternet
73 notes
·
View notes
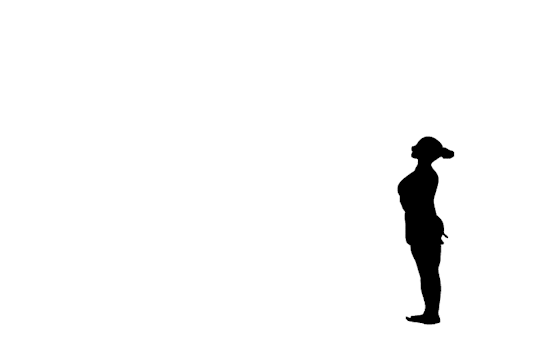
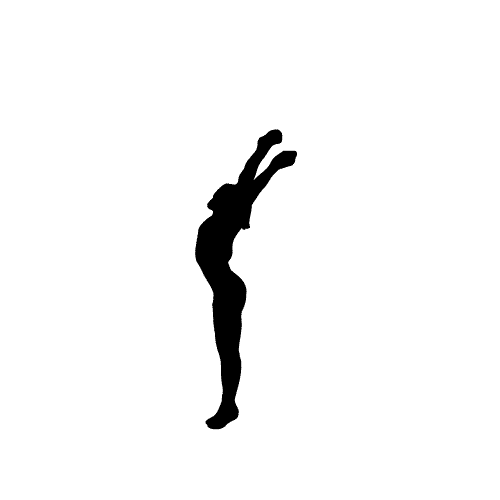
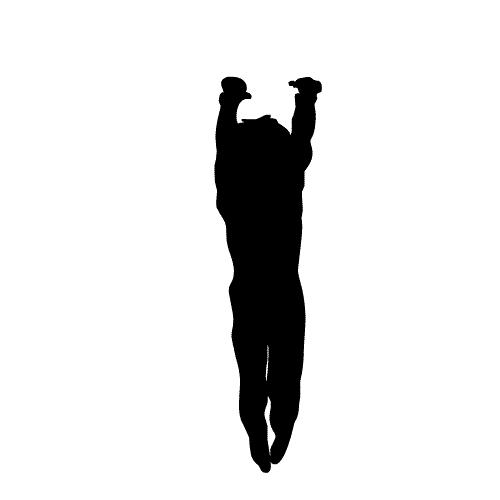
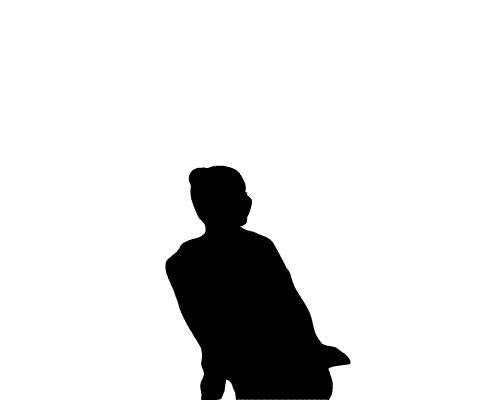
Photo
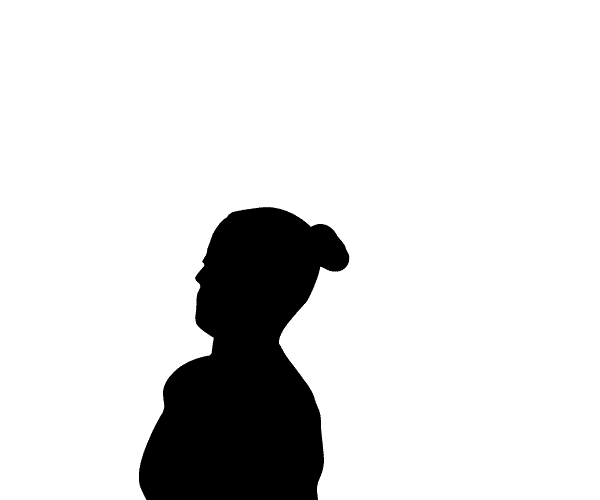
Aliya Mustafina, Worlds 2014
236 notes
·
View notes
Photo
Nastia Liukin, 2008 Olympics
Welcome to tumblr Nastia!
#nastia liukin#balance beam#beijing 2008#missnyc2013#artistic gymnastics#wag#rotoscope#gymternet#gifs#gif
796 notes
·
View notes
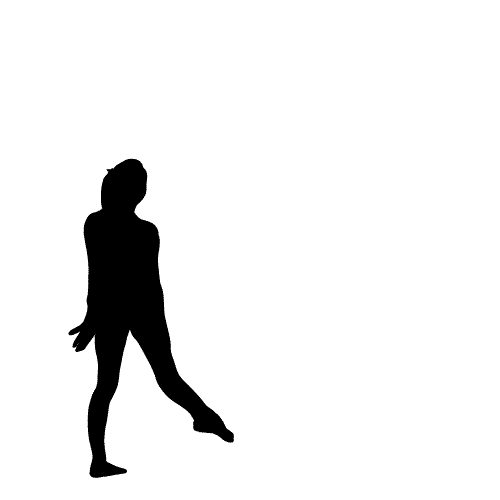
Photo


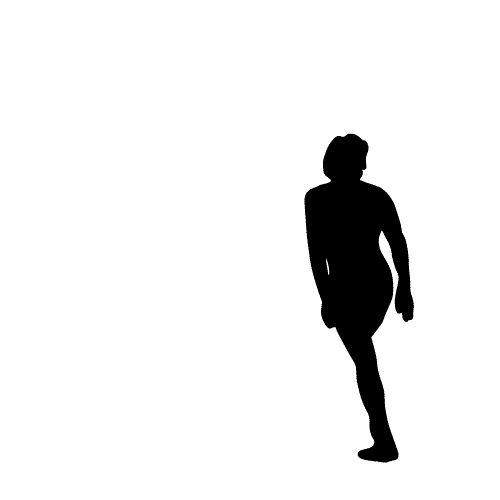

Larisa Iordache, Worlds 2014
#larisa iordache#team romania#worlds 2014#nanning 2014#fx#floor exercise#she doesn't stop moving the entire time#the whole flipping routine#gymnastics#gymternet#rotoscope#gif#gifs#artists on tumblr
457 notes
·
View notes
Photo

Ruby Harrold, Worlds 2014
#ruby harrold#Uneven Bars#nanning 2014#team gb#british gymnastics#gymnastics#gymternet#rotoscope#gif#gifs#artistic gymnastics
90 notes
·
View notes
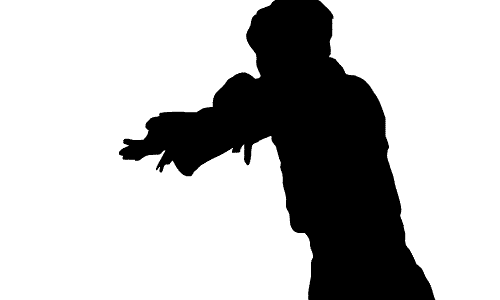
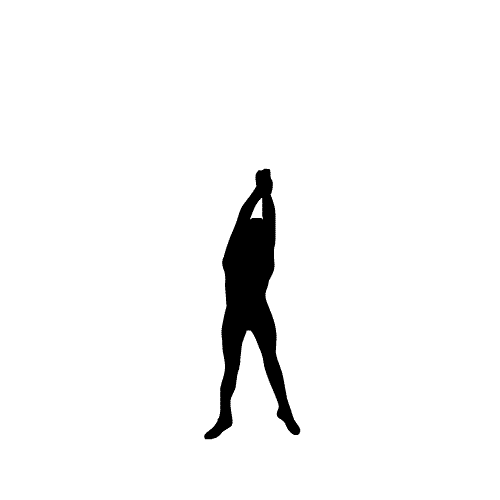
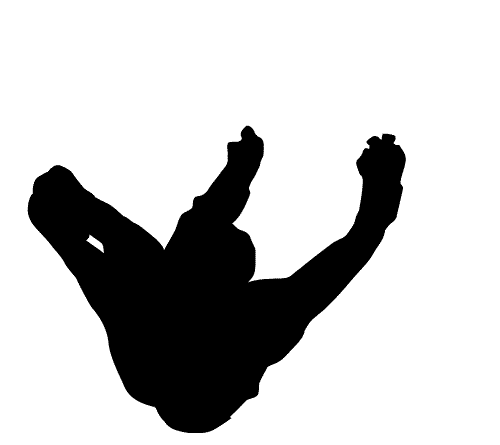
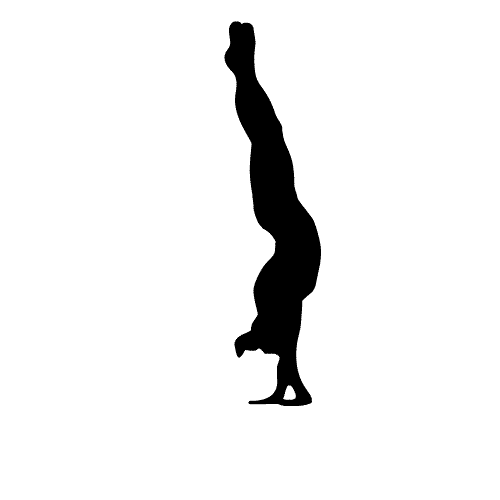
Photo

Epke Zonderland, Olympics 2012
#epke zonderland#request#olympics 2012#olympics#gymnastics#artistic gymnastics#MAG#high bar#flying dutchman#rotoscope#gif#gifs#I have returned!
76 notes
·
View notes
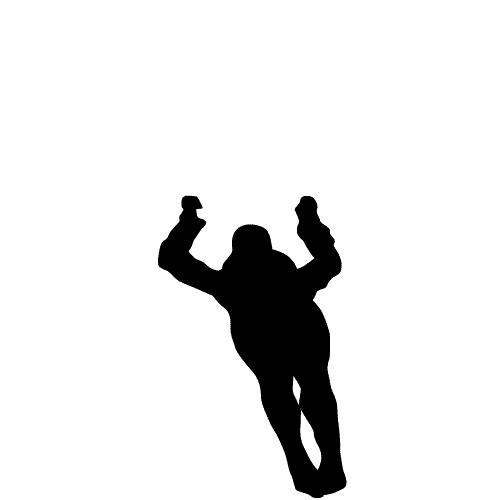
Photo


Yao Jinnan, Olympics 2012
#yao jinnan#yao ziyi#yao noot noot#team china#chinese gymnastics#uneven bars#asymmetrical bars#ub#olympics#gymnastics#gymternet#gif#gifs#rotoscope
209 notes
·
View notes
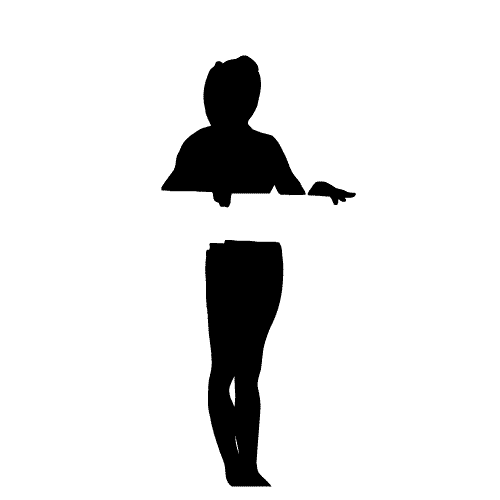
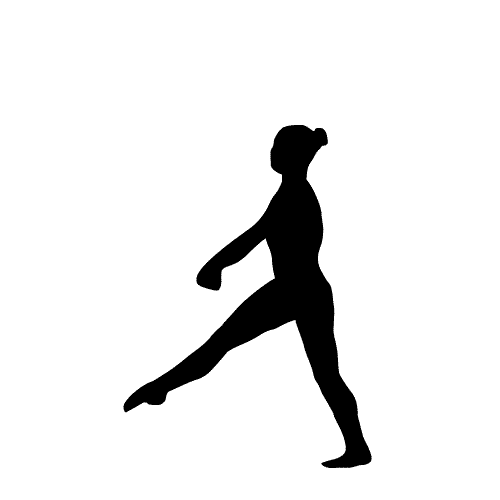
Photo

Simone Biles, Worlds 2013
Also, thank you for 200+ followers! Your support means a lot to me, especially because of how inconsistent I am. Also note I'll try and fulfill any requests that I receive!
#Simone Biles#$im∞ne Biles#Antwerk#Antwerp 2013#fx#floor exercise#gymnastics#gymternet#rotoscope#gif#gifs#simoney#love her.
170 notes
·
View notes
Photo

Diana Bulimar, Euros 2014
#diana bulimar#european championships#euros 2014#floor exercise#gymnastics#gymternet#request#gif#gifs#rotoscope#team romania#romanian gymnastics
129 notes
·
View notes
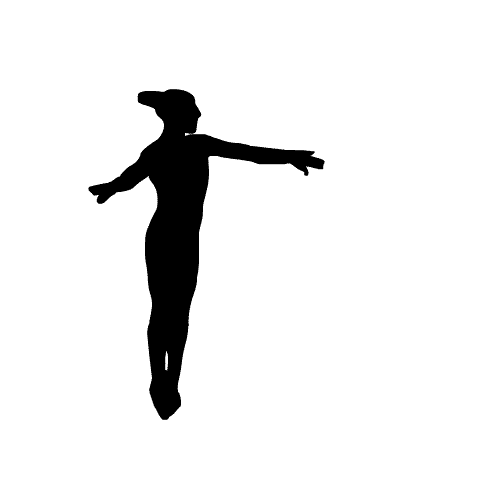
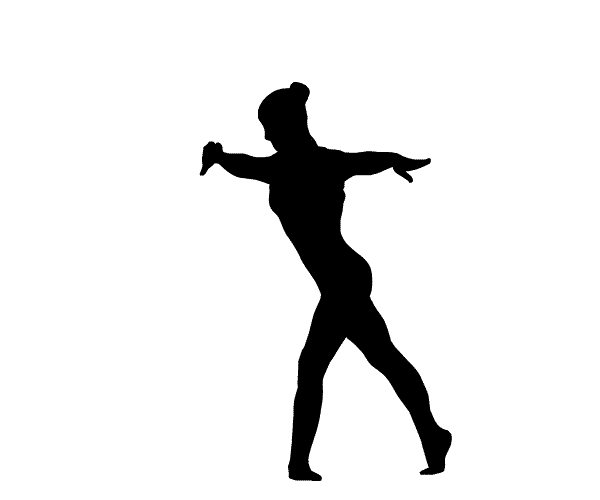
Photo
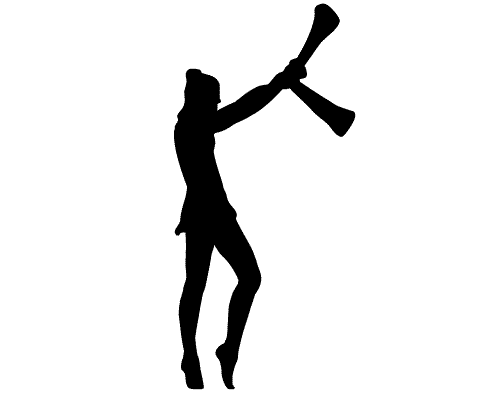
Alina Maksymenko, Worlds 2011
#alina maksymenko#clubs#rythmic gymnastics#gymternet#gymnastics#flexibility#gymnastique rhythmique#gif#gifs#animation#rotoscope#happy birthday you gorgeous queen you
65 notes
·
View notes