letsgoleen-blog
Lina Alaghbar
Artist and Graphic Designer
30 posts
Don't wanna be here? Send us removal request.
Last Seen Blogs

rems89
RemsPh
cake-wlk
creature
foreverfitnesspositivity
Forever Fitness and Positivity
creepypastabookclub
New episodes every other Friday
creepypastabookclub
New episodes every other Friday

Text
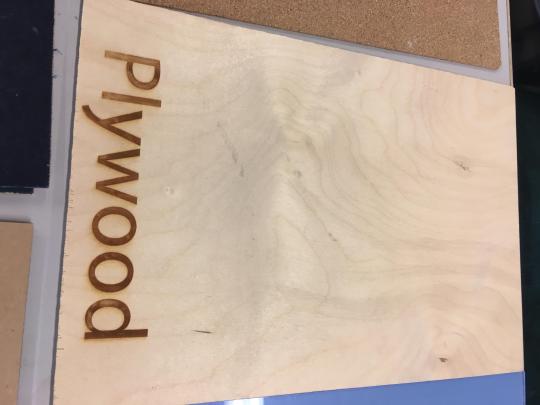
Laser cutting
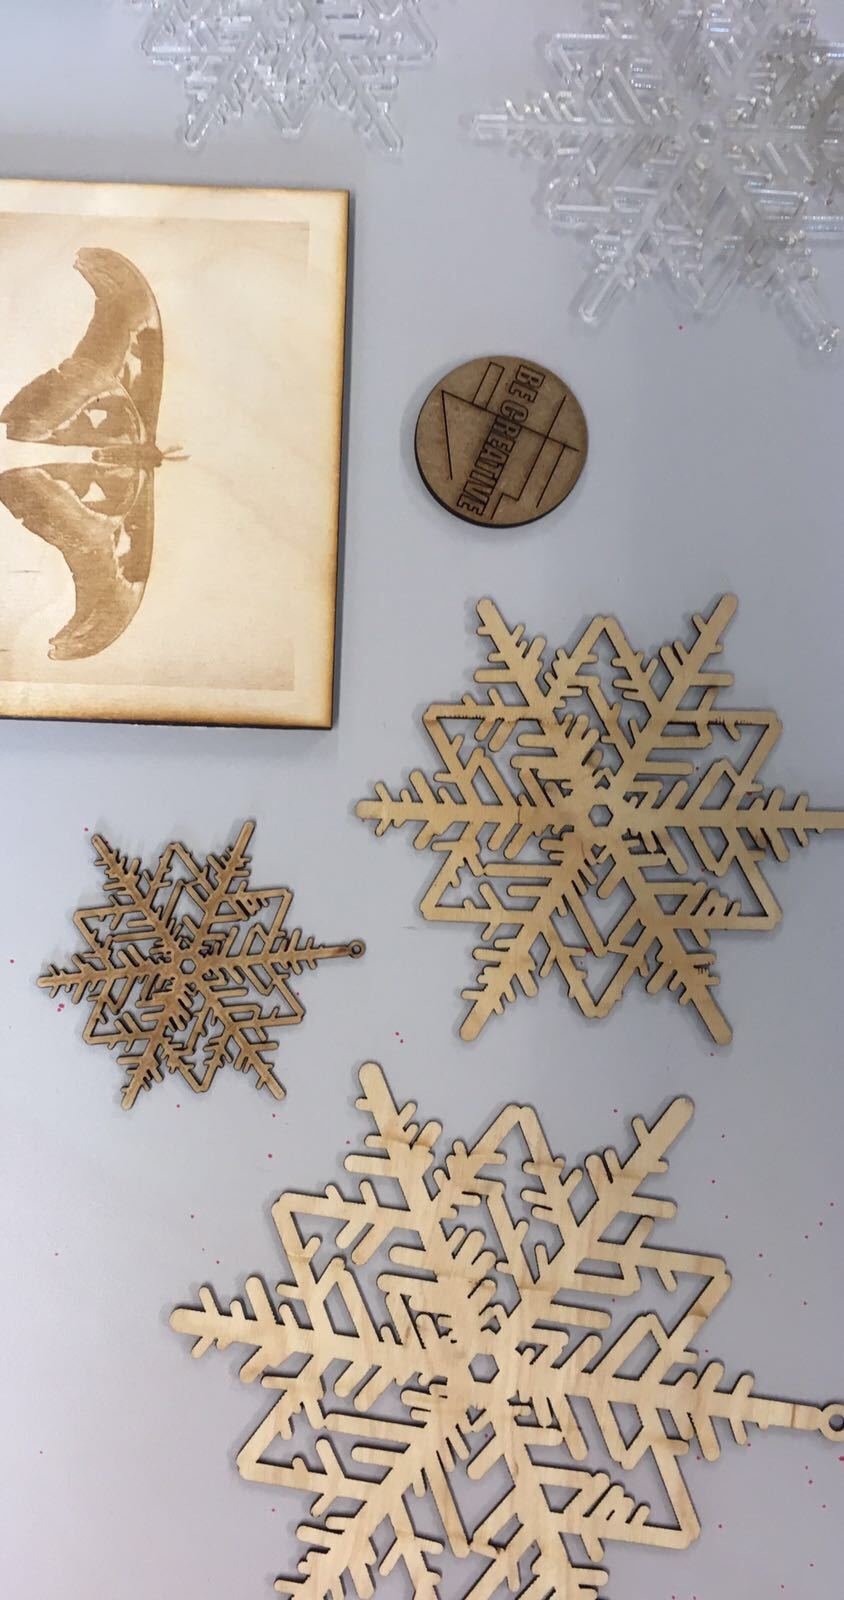

These are some of the photos I have taken from laser cut workshop. They are made on wood and stone. The fact that you can get the typography as it is on using the laser cut machine has amazed that I wanted to do lots of things.
0 notes
Photo
I also looked at Lynda to learn some basics on InDesign because I was doing a booklet for a project at Uni. I learned how to set double spread pages and how to add numbers on each page by applying that to the A-Master page
0 notes

Text
Eduard Mykhalov


I looked at other people’s work because I got so interested in making animated videos and I loved the idea of making something stable moves. I quite like the colours and the fun part in these videos as well as the bright colours.
0 notes
Text
2 Websites
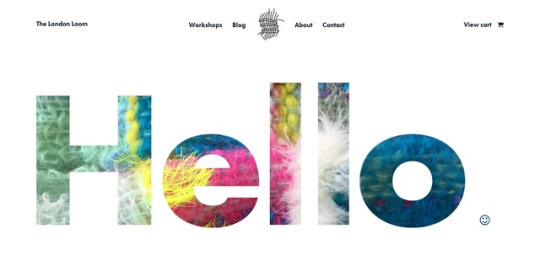
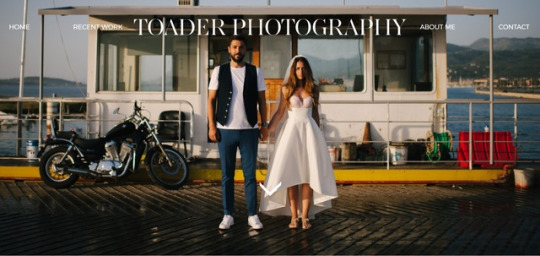
I also looked at some website 2017 inspirations to see if I can change my website for the better. The London Loom and Toader Photography websites. I quite like the layout they have used, the colours, the info bar, search bar and the simplicity in designing the whole website.
0 notes
Text
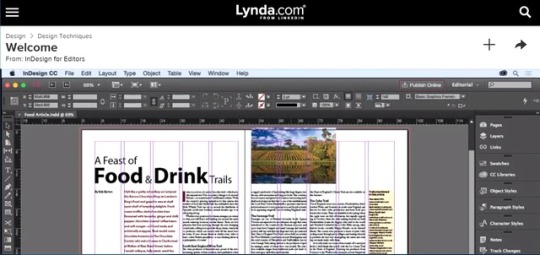
Lynda.com

FIRST video: to make the gif on AfterEffects, I imported the file of images and changed the colour correction by clicking on effects> colour correction> levels. And then I added a new layer (solid) (white) and dragged it from top to down. The final stage was timing the remapping, the most important thing in this step is to make sure the correct layer is selected.
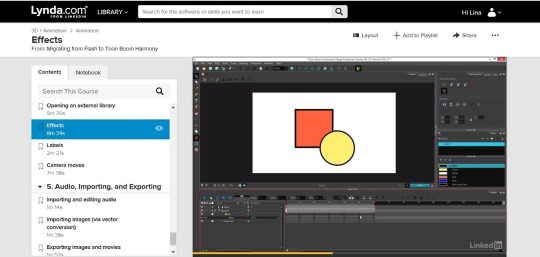
SECOND video: I also watched another video about AfterEffects to learn more how to make the animated GIF that I have to make for a workshop at University. This video covers importing sources, including essential settings, previewing work to see how it looks like and rending and exporting an AfterEffects project as this is an important step for the GIF to loop and work on any website.
The skills I learnt can be applied in my current project for uni as well as for future projects.
I still have a list of videos that I am intending to watch on Lynda.com, mostt of them about the software; Photoshop, Illustrator, AfterEffects, InDesign.
0 notes
Photo

This is my final official website. I used my colleague's EVALUATION to edit some bits of my website such as the font size and the getting rid of the ‘info’ and ‘work’ automatic buttons on the sides of the website design. I also added more work and finally added my animated video.
0 notes
Text
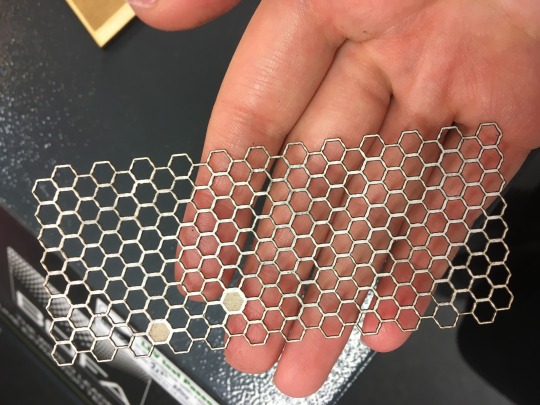
Laser cutting artists examples:

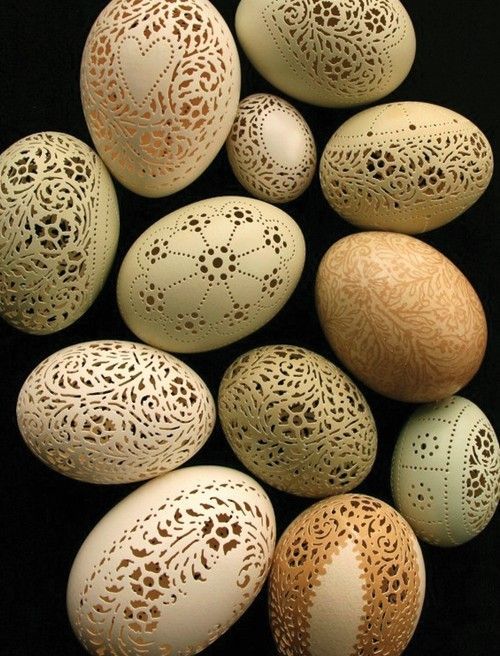
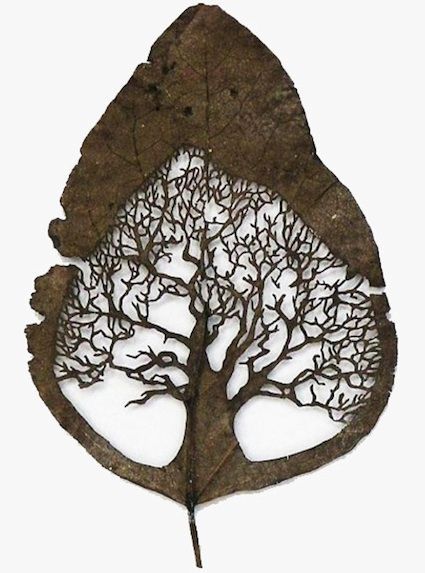
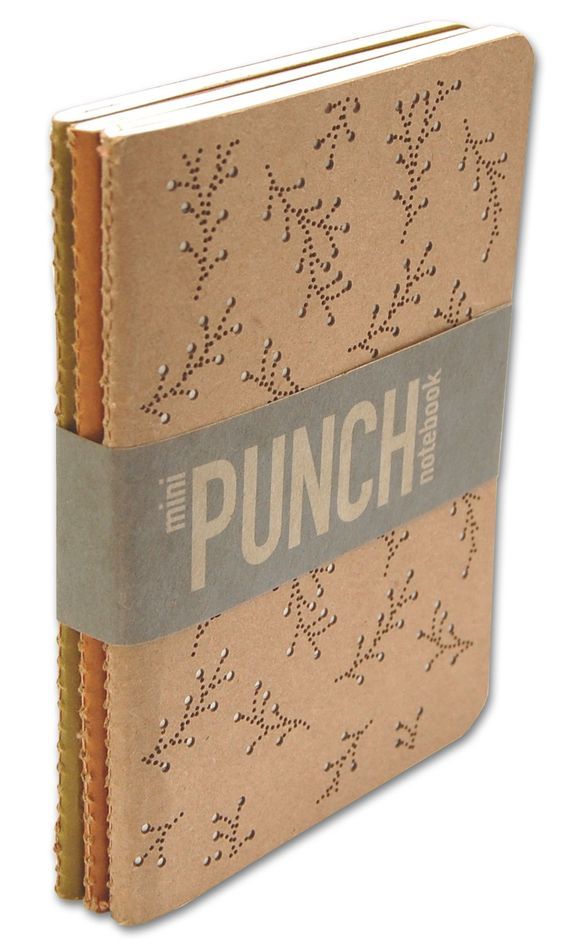
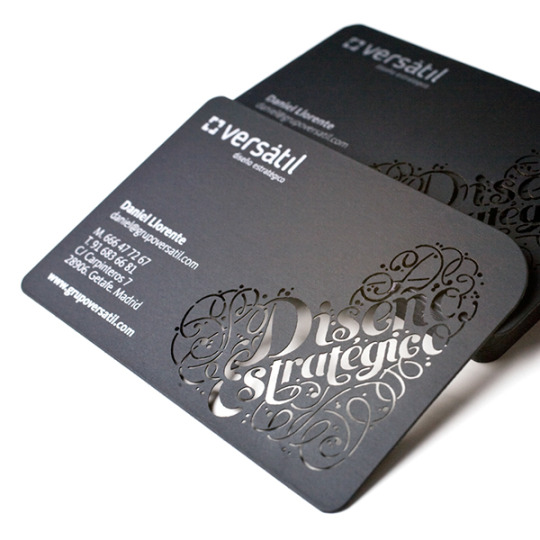
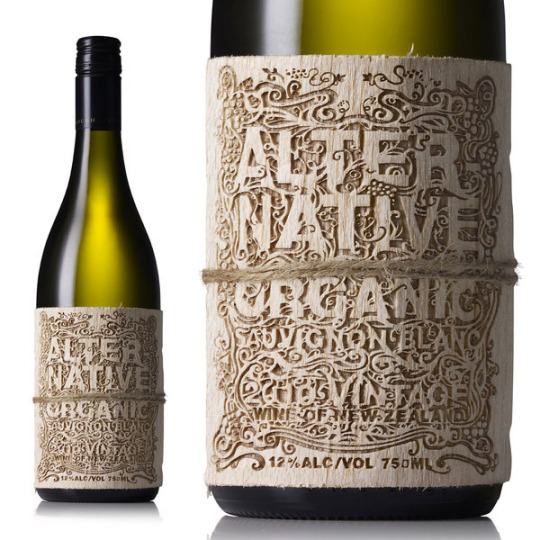


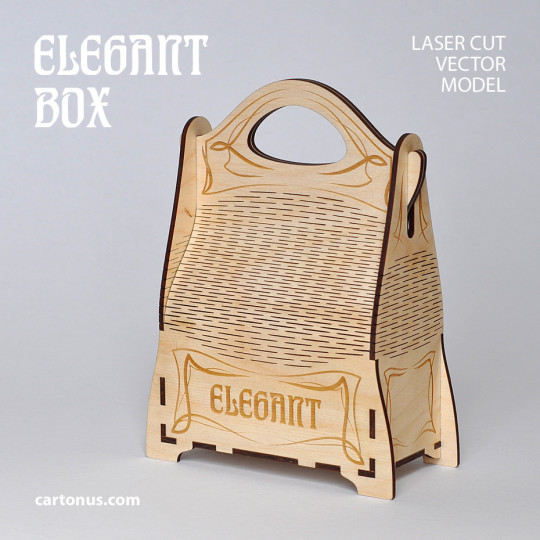

Laser cutting is a very attractive way to promote a product whether it is for business or a personal approach. It can be done on anything, on wedding invitations, boxes, books, notebooks, bags and even on LEAVES!!
0 notes
Photo

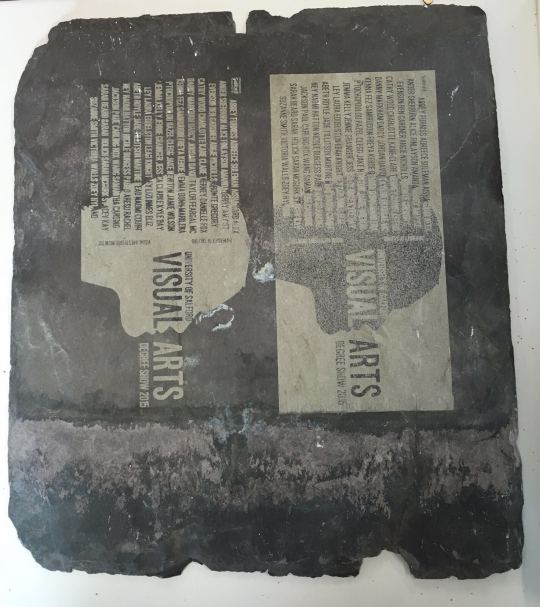
This is my final outcome of art (a picture of a wall in the Al Hambra Palace in Spain) that I made using laser cut machine. I quite love the experience and the skills gained during the workshop and I would love to try it again because we ran out of time and we could not make more than one piece.
0 notes
Video
I chose to laser cut a photo of a wall in Al Hambra Palace in Spain. I chose to laser cut it on wood because the wood suits the picture’s details. We uploaded the photo to a PC in the print room. We layed my chosen material in laser cutting machine bed and configured the machine to cut my artwork. We adjusted the Power, Speed and Frequency to suit my specific material. We have 3 laser cutters in uni. The maximum sheet size we can cut using them is an enormous 2400mmx 1200mm.
0 notes
Text
LASER CUTTING Workshop
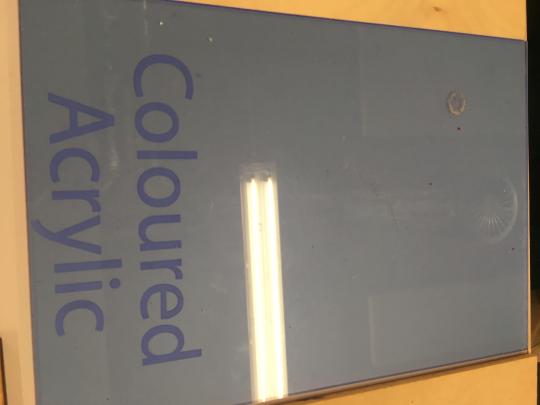

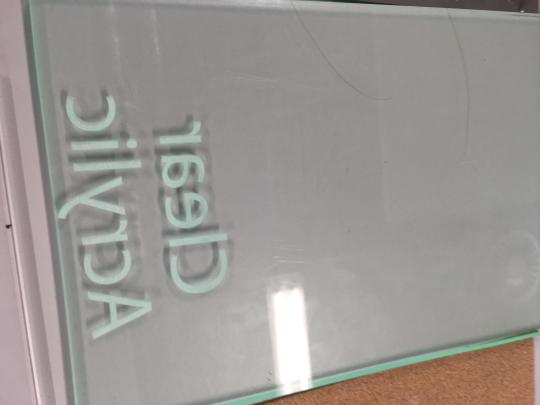
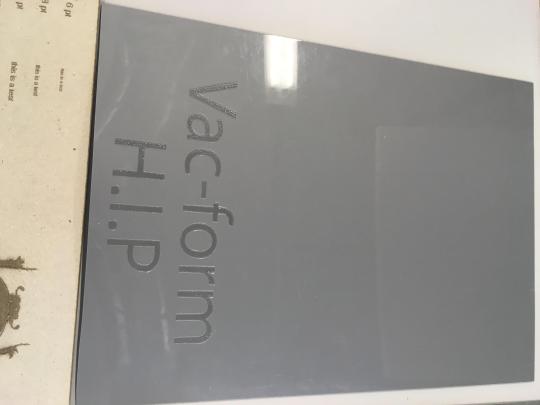
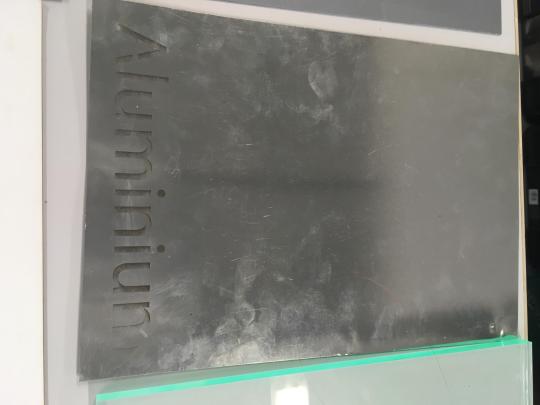


These are the photos that I have taken in class during the workshop. The workshop was so interesting, I learned a new skill and I learned that we can laser cut on wood, glass, cork, MDF, aluminium, acrylic and Corrugated Card.
0 notes
Photo


0 notes
Quote
A designer knows he has achieved perfection not when there is nothing left to add, but when there is nothing left to take away
Antoine de Saint-Exupéry
0 notes
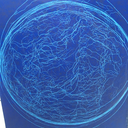
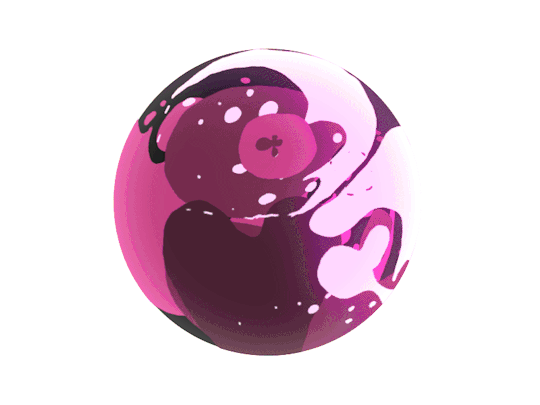
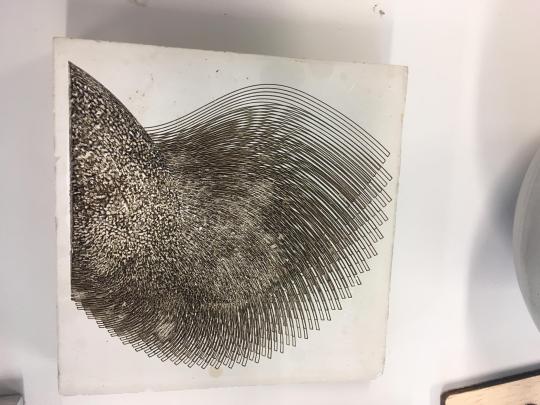
Photo
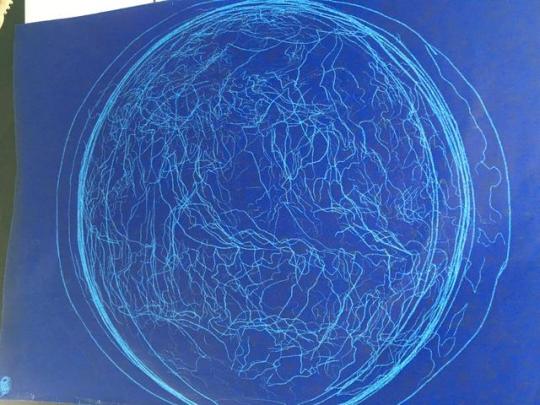
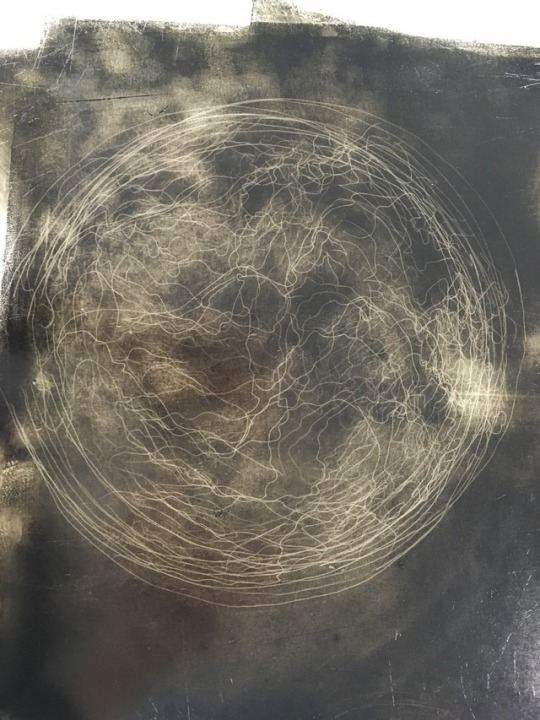

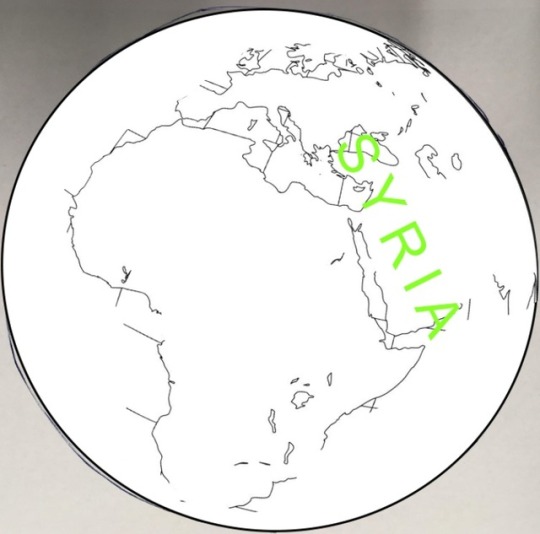
I got these lovely images on the glass pf the tables in the print room when I was tracing and mono printing the spinning globe for making an animated gif for a workshop in uni. I tried to make a use of them in my animated GIF but it did not have a contrast with the other images I used for the video.
2 notes
·
View notes
Photo
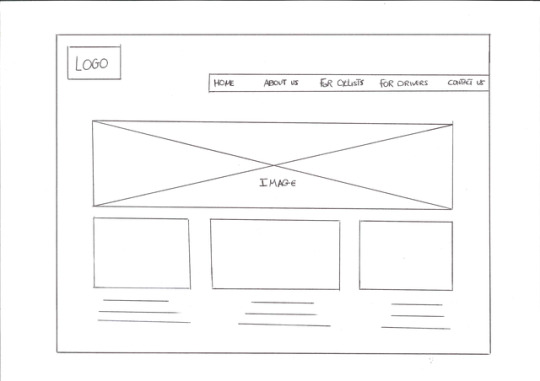

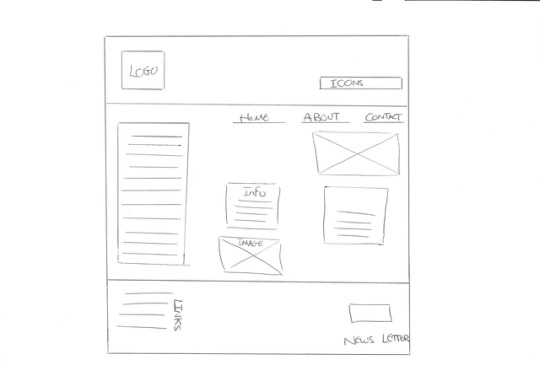
For semester two, we had to make a proper official website for us to start feel the importance of having social media resources and that now we have an official website and we are one step down to be professional graphic designers. I made some frames of how I would my website to look like. Those are three of the wireframes I made.
1 note
·
View note
Photo
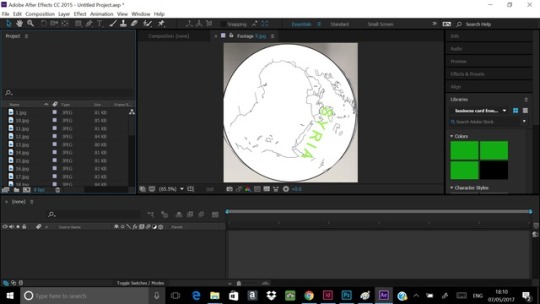
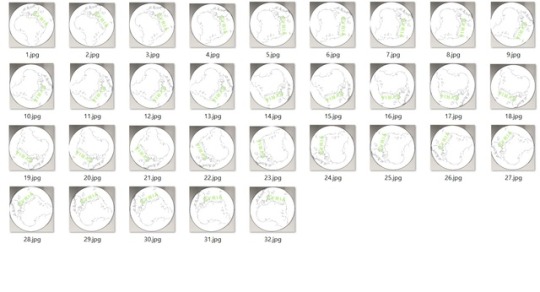
To make the gif on AfterEffects, I imported the file of images and changed the colour correction by clicking on effects> colour correction> levels. And then I added a new layer (solid) (white) and dragged it from top to down. The final stage was timing the remapping, the most important thing in this step is to make sure the correct layer is selected.
0 notes