#they also can out too glowy so im posting both versions lmao
Text
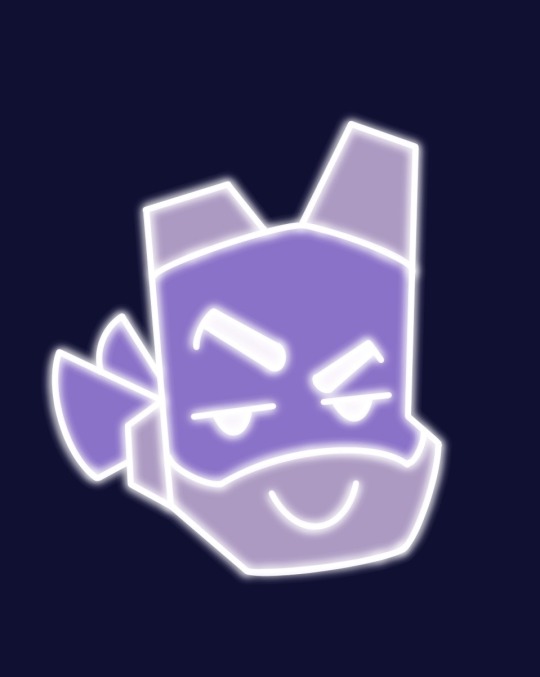
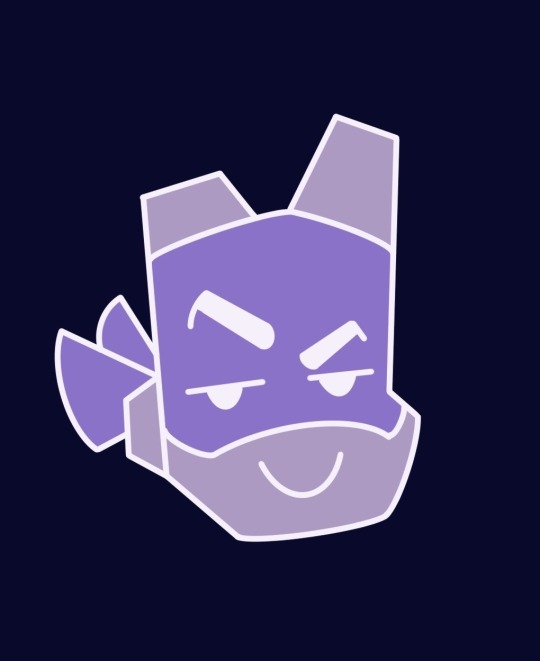
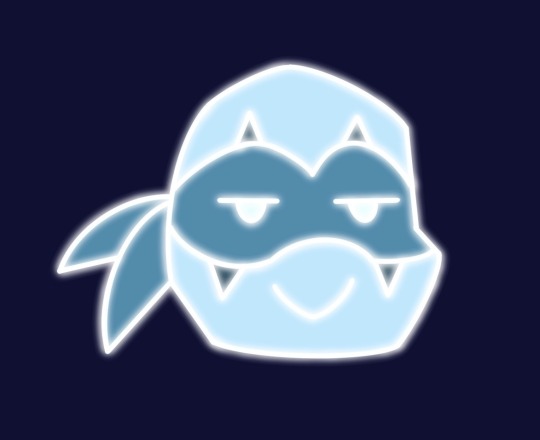

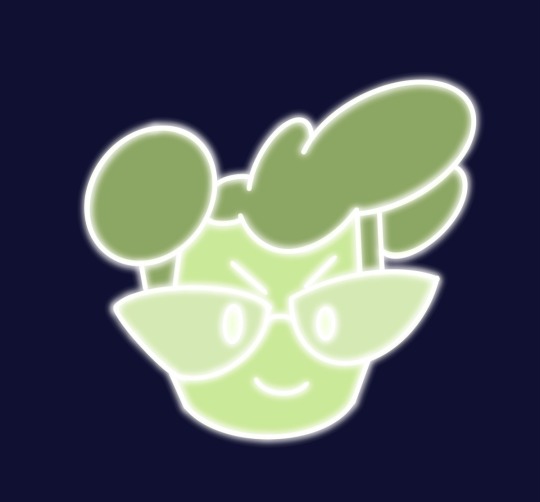


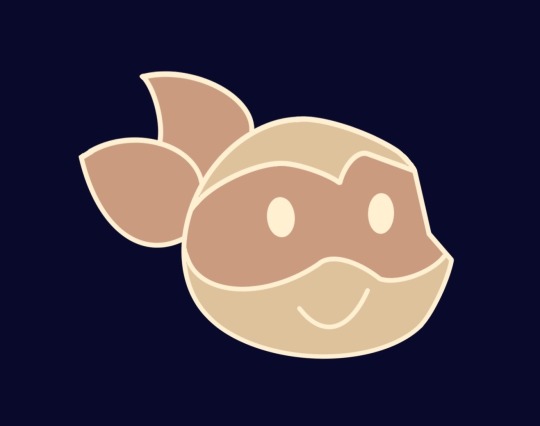
I tried to make the movie icons 😭 I messed up a lil but enjoy!
#rottmnt#rottmnt the movie#rottmnt leo#rottmnt donnie#rottmnt mikey#rottmnt april#rottmnt movie#my art#not really tho?#mikey looks like an old tangerine I am so sorry idk what happened#they also can out too glowy so im posting both versions lmao#if you can look past their mistakes and you want to use one pls feel free asdfghjkl#also… I couldnt find raphs I am sorry I love u raph#I actually fixed the other icons I did tho Ill post that tomorrow :’)
86 notes
·
View notes
Text
HOW I MADE ICONS LIKE THESE PT. 2
you can find the icons here! part 1 is here!
again, requested by @g0thyongs 🤸
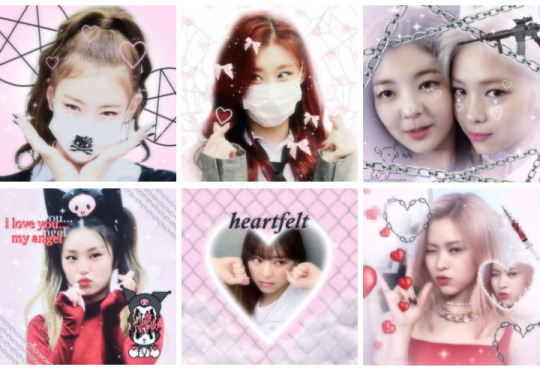
this is the second tutorial on how i edit my icons <3 part 1 covered the lia and chaeryeong icons
this part will be covering the lia + ryujin icon (top right), yeji icon and ryujin icon.
these were also done on picsart, it's best to start out with a transparant image (you can find these by scrolling all the way down and clicking the grey checkered block). 🕳️🚶♀️
STEP 1. PICK N CUT ( ˙º̬˙ )و

Pick out the pictures you want to use and add them, like the yeji and ryujin icons i picked a picture where you can fully see the person’s silhouette. however, if you’re making an icon like the lia + ryujin one it doesn’t matter. as you can see in the three images above, i first added a white (faded) background, you don’t have to do this. the main reason i did that was so you’d see less of the original background and it would look more cohesive and brighter. (also, yes im aware i missed a spot in the left upper corner leave me alone 😭)
the third image shows how i added a pink glowy border. this is a sticker you can find on picsart, 👉 here is a link to helpful stickers 👈 to help you achieve this effect. they’re the exact stickers i used with these icons!
STEP 2. ADD STICKERS (ꆤ ﻌ ꆤ) !

Here i copied the yeji icon (i didn't feel like coming up with something new 🧍), i basically just added chains in both corners. you can achieve this ‘white’ effect by going to 'blend' (after clicking on the sticker) and scrolling all the way to the right, then clicking on ‘add’. i did the same with the hearts in her hair and the hearts on the side (it’s the same sticker i used on the ryujin icon). i then added some other stickers around it (look at image three).
if you want the hearts to look brighter you should go to ‘adjust’ (after clicking on the sticker) and raise ‘brightness’ and ‘clarity’ all the way. i did this with the hearts on the ryujin and lia icon, i then lowered the opacity and put them on their faces (it looks cute in my opinion 🙃).
if you look at the ryujin icon you’ll see the heart with her face in it. i basically just added the original image of her and cropped it into a heart (i believe it’s called ‘shape crop’ or smthn idk) and then added the burning heart like a border around it.
the yeji icon is pretty simple, if you want the exact stickers i used you can go to my picsart, @/4ngelspit , and go through my saved stickers.
STEP 2. FX, SPARKLES AND COLOURS (๑മܫമ) <44
First i added sparkles, they’re quite minimal in this edit so it’s not a separate step. i answered which sparkles i use the most here, you can find them in brushes. i did the same as the lia + ryujin icon, two extra sparkles under luda’s eye and two on her eyelid. i almost always do this cuz it looks cool. 🧐
Click on FX and pick the effects you want to use. on all the previous icons i either used ‘smart blur’ or just ‘blur’. i specifically used ‘motion blur’ for the yeji and ryujin ones.
on this icon i used ‘smart blur’, ‘halftone dots’ (just a liiitle bit because it kind of messes up the contrast and saturation) and ‘pixelize’. you can see the little pixelized bits, like on the top of luda’s hair. i also used ‘pixelize’ on the ryujin icon.
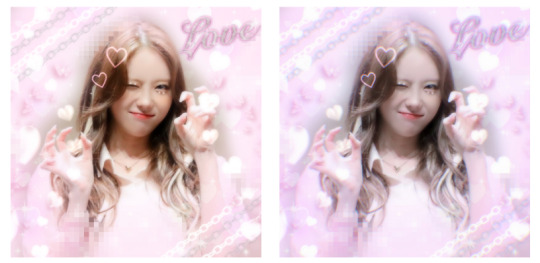
the left image is after i changed the colours in polarr (thanks, @hmcute ( ˈ ∘̬ ˈ ) ). as you can see the icon looks way cooler (as in cold lmao) and less orange than b4. i prefer them this way but i’ll still be posting both versions on my pinterest because im extra. 🌚
i basically went to adjust, lowered the exposure, raised the brightness. i lowered the temperature. then hsl, i lowered the red and orange hue. then i dehazed it a bit. (i also used fringing but i regret that now).
N E WAYZ tutorial over (i spent way too much time doing this 😒)
#tutorial-ish#luda icon#wjsn icon#itzy icons#soft icons#messy icon#messy layouts#polarr#cute icons#itzy layouts#kpop gg layouts#kpop gg icons#gg icons#bg icons#drain icons#drain edit#bts icon#bts edit#red velvet icon#red velvet edit#blackpink edit#blackpink icon#kpop icon#kpop edit#tutorial#soft edits#itzy moodboard#gg moodboard#cyber icons#୨♡୧ likeme ! * tutorial
81 notes
·
View notes
Last Seen Blogs

detritusgoods
S. Detritus
whywontuluvme
hm...


bedobecef
Untitled

autoglassburbank-blog
Burbank Auto Glass Repair