#prettyandchic
Text
𝕥𝕙𝕖 𝕔𝕠𝕞𝕡𝕝𝕖𝕥𝕖 𝕙𝕖𝕒𝕕-𝕥𝕠-𝕥𝕠𝕖 𝕞𝕒𝕜𝕖𝕠𝕧𝕖𝕣 𝕘𝕦𝕚𝕕𝕖
✨ first, a disclaimer! this is a list of things which i have found to subjectively improve my own appearance. i’m sure there’s many more treatments i’ve missed, and you may also feel that some of these treatments aren’t for you- i’ve just included everything which i have enjoyed personally in order to inform you of your options, from which you can make your own decisions on which to take part in. also, little blurb; what society or others think of you doesn’t matter in the grand scheme of things and it is not my goal to promote being concerned with these things here. these are meant to help you be more excited about your own appearance every morning when you wake up, and take more time and care for yourself. partaking in these activities should add to your life, not subtract. ur all cute and valuable already ✨
also second disclaimer: i initially tried to make an amazon storefront as i thought i could put all the products i mentioned on one page so you could have access to them easily, but it turns out regular people can only get an amazon affiliation. this means that if you buy anything through the amazon links i provided, i’ll receive a very tiny percentage of the profits. this doesn’t benefit you, nor does it make the price higher for you, but if you’d like to support what i’m doing, it would be cool if you bought things through the links i provided. if you hate me or something, you can just search and buy them through amazon yourself! these are all products that i used and bought from amazon far before i signed up for the amazon affiliation, i’m just genuinely obsessed with amazon but i’m not affiliated in any way with any brand i mentioned.

✨ 𝕙𝕒𝕚𝕣 ✨
bleach/dye: personally i am a huge fan of foil highlights! tons of gals look amazing with dark hair or their natural hair color, but i have found that, for me, they really brighten the face and add depth to my hair. you could also darken your hair, do balayage, or tone it a different shade. i always recommend going to an actual well-rated salon rather than attempting to do it at home. they can ensure you’re getting the proper undertones and the correct volume developer for your hair. if you’re getting your hair bleached, look for a salon that uses olaplex or a similar bond builder in the mixture to avoid completely damaging the structure of your hair. at home, i tone my hair to remove gold/brassy tones with either this pravana mask, or a tiny amount of this semi-permanent violet hair dye mixed into my conditioner (you should only leave this in for a minute the first time as it can be very strong). i’ve found most purple shampoos are quite harsh, especially on fragile hair, so i always go for conditioner.
at-home protein treatments: if your hair is damaged from dying or styling it, i highly recommend using a protein mask on it at home once a week when you can to restore the structure of your hair. olaplex no 3 is a popular option but i really like this k-beauty collagen mask for a way cheaper option that works just as well in my opinion! many brands make protein and keratin masks though so feel free to order whichever you like.
cleansing conditioner: if you’ve used every “hydrating” and “repairing” shampoo + conditioner under the sun but your hair is still dry or fragile, i recommend using cleansing conditioner instead! shampoo, even sulfate free ones, can create friction and cause tearing in your hair, but cleansing conditioner cleans your hair without stripping or damaging it! i love this one from renpure and it’s a lot cheaper than other cleansing conditioners like wen, which i found to be less effective and weigh the hair down. if your hair does ever start to feel a little weighed down or oily, use shampoo to clean it more deeply- i tend to use it once every 1-2 weeks depending on how much i’ve been working out. cleansing conditioner will also help maintain a keratin treatment as it won’t strip the treatment from your hair, which brings me to this next consideration...
keratin treatments: keratin treatments are a semi-permanent treatment which help to make your hair quite a lot straighter, and much smoother, softer, shinier, and dry quicker! these help so much if you have frizzy or damaged hair, or your curl pattern is super irregular like mine! curly hair is beautiful too but if your curl pattern is tough to manage and make look pretty, then they’re a great option. a lot of people ask me if they're damaging but i find that they really help with my damaged fake-blonde hair and my hair stylist agrees, but he said to stay away from relaxers or japanese straightening treatments if your hair is fragile as those can be very damaging! if you’re in nyc, i recommend ‘hair bar nyc,’ their treatments are around $100 and last a couple months before they start to fade. i always go for their strongest solution, the 24 karat.
hair growth vitamins: personally i had short hair for a long time and loved it and still think it looks great on so many people! but i’m currently growing it out, so i’ve been taking hair vitamins daily to speed up the process. any brand works, but i love this brand ‘hair anew’ on amazon, or any store-brand which contains extra nutrients like zinc and pantothenic acid (not just plain biotin) as i feel that they work better and also clear my skin. they also help grow your nails longer and stronger, your eyebrows thicker, and your lashes longer and thicker!
hair extensions: these are less common/necessary, but for girls whose hair is much shorter than they want it, is damaged from bleach/dye/heat, or whose hair is quite thin, clip-in extensions can be a game changer. i’ve had tape-in extensions before and found that not only did they damage my hair and thin it out incredibly badly afterward, but they also truly were a lot of work to style and still looked bad after half an hour of trying to get it to work. a pair of clip-in remy extensions should also only set you back $60-100 while any sort of semi-permanent extension is far more expensive. i currently have this brand fullshine from amazon but it may also be wise to find a beauty supply store where you can match your hair to the extensions. this is also a great method of showing your hair stylist exactly what color you want your hair dyed to be! and pro-tip, never ever use shampoo on your extensions if you want them to last more than a month before they’re ratty and you need new ones. only ever wash them with plain conditioner, every couple of weeks!
shower filters: if you live in a place which has hard water, this can make your hair more brittle, dry, frizzy, tangled, and even make your hair a shade of green, due to the dissolved minerals drying in your hair. i installed this water filter in my shower to purify the water. it only takes 5 minutes; you simply twist off your showerhead, twist the filter on, and then twist the showerhead back on. they also help with acne, eczema, and dandruff! i definitely noticed a difference in my hair softness when i got one.
leave-in treatments: i figure my favorite leave in-conditioners and serums are worth a mention here! i’ve been using the same 2-3 products for several years and i’ve never found anything that works as well as them. the two non-negotiables for me are it’s a 10 leave-in conditioner with keratin, and either biosilk or chi silk infusion. and if and when my hair is very dry or damaged from recent bleaching, i also put some moroccanoil on the ends.
✨ 𝕖𝕪𝕖𝕤 ✨
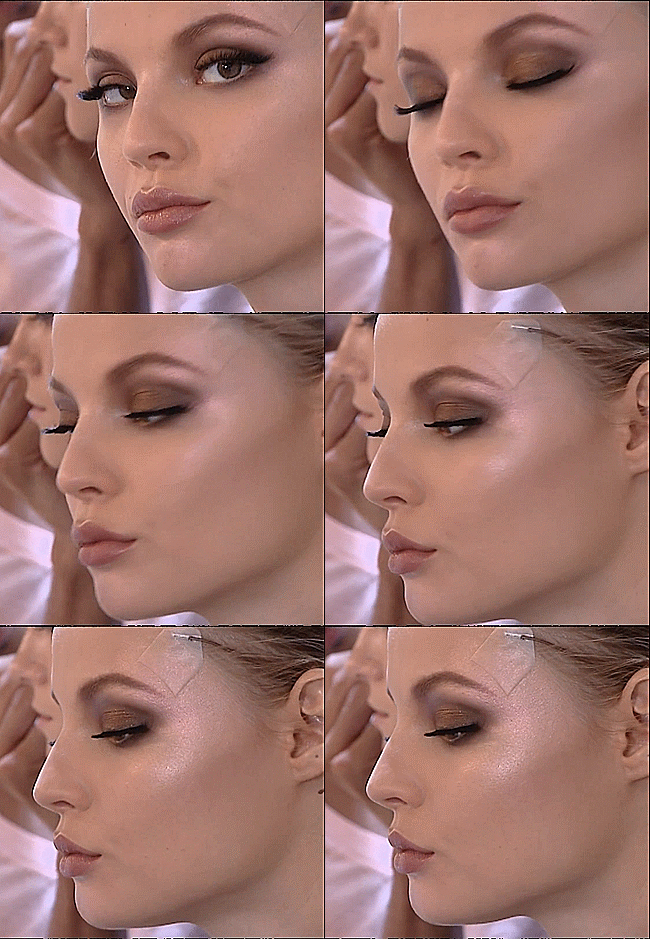
brows: at-home tinting is a quick and cost effective way to make your brows more defined! i’ve used henna dyes before, which also dye the skin beneath the brows and make them look extra thick, but i found that lighter colors were always more orange than “light brown.” instead i love and use this brand of lash/brow dye. i don’t buy their developer- i just followed a reviewer’s instructions to mix equal parts hydrogen peroxide and dye, and it works great! and obviously choose the color which suits your hair color. also worth mentioning, the light brown can be quite light or quite dark depending on how long you leave it on so start with 5 minutes and go from there!
also, of course always keep your eyebrows well-shaped! if you’ve never had them shaped before, it’s a good idea to get it done professionally first and then maintain it at home with tweezers. i’m a big fan of benefit brow bar for waxing! they have stand-alone locations or smaller bars in a lot of ulta’s.
lashes: getting your lashes done is a great way to feel more done-up even without makeup! lash extensions are amazing at defining your eyes and making them look bigger and more awake, but they’re also a lot of money and upkeep. personally i love lash lifts as i have long lashes (from hair growth vitamins woo) but they just don’t curl very well and are super blonde; a lash lift dyes and curls them and lasts far longer than extensions with no bi-weekly touch-up appointments! if you're not opting for any treatments, i’d still recommend hair growth vitamins to grow your lashes longer!
you can also dye your lashes at home! i’ve tried at-home lash lift kits several times and i found them all messy and completely ineffective, possibly due to my lack of skill, but i couldn’t personally recommend them as of yet. i would recommend at-home lash tints though! if i don’t currently have my lashes curled and tinted from a lash lift, i will use this dye, which is the black version of my eyebrow tint, and use the same hydrogen peroxide formula as described above, to dye my lashes black. it’s great if you’re lazy with makeup, going swimming, or wanna look a lil extra cute when you're at home.
✨𝕤𝕜𝕚𝕟𝕔𝕒𝕣𝕖 ✨
professional facials are a great option if you want to feel pampered, get extractions from someone who knows how to do it properly, or get an intensive peel or mask. but they can also get incredibly expensive, while some of their treatments can be done entirely at home!
physical exfoliation: this is pretty important for basically any skin type, in order to remove dead skin cells! you should avoid harsh scrubs, like those with walnut shell, as they can create microtears in the skin. sugar-based scrubs are safe, but personally i use either of these two items:
-facial brushes! i got a clarisonic years ago, and i love it! if i remove my makeup, then wash my face with my hands, but then wash my face with the clarisonic, there's generally still makeup that comes off on the brush. i would recommend a clarisonic but there’s now highly rated much cheaper versions on amazon so i don’t think i’d recommend spending $100-200 on one when this $33 version with similar sonic vibrations is available.
-microdermabrasion is a great, more advanced option, for removing dead skin cells and helping to clean out your pores. the ‘diamond’ tip runs along your skin to exfoliate dead skin cells, while a vacuum pulls off the skin cells and unclogs your pores. they are a bit more expensive- i got this $90 one for christmas and love it, though there are also similar ones which run around $60 and also have great reviews. i only use this about once a week.
chemical exfoliation: this is great for brightening up the skin. whenever my skin simply looks tired, dull, or congested, i opt for a chemical exfoliant. there are tons of chemical exfoliant options, but my go-to has to be these pads by dr dennis gross. they consist of 2 pads- one with the acids which will exfoliate your skin and one with a neutralizer- and only take about 5 minutes total to use! they are an all time favorite, as i see a difference in my skin right away, but aren’t so harsh that i get any redness or peeling afterwards. the ordinary is also a great skincare brand for all kinds of acids and oils for really cheap! they make a peeling solution which one of my friend uses and she loves it, and i’ve tried a lot of their products over the years and loved them too.
general masks: there are tons of different masks to help with different skin problems and skin types. basically, you've got clay masks for oily skin, hydrating masks for dry skin, and undereye masks for when you're tired as hell.
radiofrequency machine: i first found out about this from stephanie shepherd’s top shelf interview. it’s somewhat commonly used in high end facials, and my friend who is going to cosmetology school said they're great for acne and skin tightening! to my understanding, it works by killing bacteria in the skin, and stimulating blood flow and collagen production. the one i have is only $40, which makes it seem too good to be true, but apparently studies have shown they’re effective in wrinkle reduction, and i’ve found it really helpful for making breakouts heal faster.
other products: i haven’t actually found many other products that i think are a “holy grail” item, besidesss the embryolisse lait creme concentre. i have really dry skin, especially in the winter, and actually bought myself the smallest jar of la mer available this past christmas to see if it could help, but i found it to help absolutely nothing. the lait creme, though, has made my skin actually look like normal skin again, when it used to be extremely flakey and irritated. it’s known for commonly being used backstage at a lot of couture fashion shows, which sold me on it initially lol.

✨ 𝕤𝕞𝕚𝕝𝕖 ✨
teeth whitening: i use crest whitestrips to whiten my teeth at home! i’ve found them really effective, but i’d recommend using them a bit less often than the instructions recommend. the kind i have recommends using them daily at first but, anytime i’ve used them two days in a row, my teeth were sensitive and in pain for a whole day afterwards. otherwise they’re great though, just space them out a bit!
also, of course, floss and brush your teeth morning and night! i’d also recommend adding a tiny bit of baking soda on top of your toothpaste, to help with whitening. i used to do this daily back in high school and started actually getting compliments on my teeth being white.
lip filler: as many of you know, i’ve had lip filler done, and I've received a lot of questions about them, so i thought i’d include the basic rundown here. these obviously aren’t something that you should feel ugly without. your lips can be beautiful whether or not you’re following this trend. personally, i never thought i would get lip fillers, but last year i did start noticing that when i smiled in pictures, my top lip would totally disappear. i was hesitant but went and got my lips done knowing that it would dissolve in time, and i ended up loving them and feeling totally glamorous with them! i must caution you to avoid getting too much “lip flipping” done if any. over time, my injector started putting the filler around the edges of my lips to flip my lips out and make them appear bigger. it’s okay in small doses, but some injectors start cutting corners and over-doing it, which leads to the “duck face” look, and my lips have started to look slightly pursed even at rest, but are also completely lacking volume in the middle. i’m getting them dissolved and re-done soon, but let this be a lesson to you to ask for little to no lip flipping, and ask for the filler to be more in the center of your lips. before lip flipping, no one ever seemed to notice i had anything done, then suddenly after two appointments with lip flipping, everyone and their mother started asking if ive had my lips done. so i’d highly recommend them, with that caveat in mind.

✨ 𝕙𝕒𝕟𝕕𝕤 + 𝕗𝕖𝕖𝕥 ✨
manicures: okay so you can do your nails at home if you’re doing regular polish, or even if you're using an at-home gel polish set. you should file them into a nice shape (i prefer them round as opposed to square, as they’re less likely to break), push back and trim your cuticles if needed, and paint them. but personally i love getting acrylics or dip powder! i always get tips added if my nails aren’t very long at the moment, and i feel that it makes my fingers look longer and more elegant and feminine. either way is cute though!
pedicures: okay so getting a pedicure at the salon is a great experience, but i also see no reason to get one given that i can just trim and paint my toenails at home. i would highly recommend ordering some peeling foot masks though- these are the ones i have. they’re these little plastic sock masks that you leave on for an hour, take off, and then ~3 days later an entire layer of your skin starts peeling off and your foot is baby soft. if it’s taking a while to peel off, go soak your feet in a bowl of warm water or in a bath/shower and scrub it off. i used to sit with a foot exfoliation machine for like 20 minutes whirring away at my feet but with these you can just chill on tumblr for an hour and then a few days later your feet are totally renewed.

✨ 𝕓𝕠𝕕𝕪 ✨
self tanner: self-tanning is probably my #1 beauty tip. honestly i’d give up makeup, conditioner, whatever, as long as i could hold onto my bondi sands dark tanning foam. a good tan makes you look so fresh, healthy, glowing, and fit and toned. before tanning, you should try and exfoliate yourself in the shower. i use a scrubby mitt, specifically this one, which also comes with an actual tanning mitt and a mini facial tanning mitt for applying your tanner. afterwards, you’re going to want to apply some lotion on your knees, elbows, and heels, as these areas tend to be dry and soak up more self tanner and turn darker than the rest of your body. then just apply your self tanner all over with a tanning mitt, and blend well. i swear by bondi sands dark foam! st. tropez gives me an allergic reaction personally and a lot of other ones smell bad or have an orange guide-color, but bondi sands smells like coconut and has a really pretty cool-toned tan guide-color. (DHA is the active ingredient in self-tanners- its a clear chemical which reacts with the skin cells and turns them darker after a few hours, while the initial color that you see right out of the bottle is the guide-color. self-tanners will market their tan as “not orange” or something like that, but this only refers to the guide-color, not the tan itself, as they all contain DHA which turns skin the same color. regardless, i love that bondi sands has such a nice guide-color, so even when i’m pale, i can just throw some on and run out the door looking tan!) after a week or two, your tan is going to start getting patchy no matter how many layers you’ve added, so you’re either going to want to exfoliate as much off as you can and do a fresh new tan, or if i have time i’ll apply the bondi sands self-tan remover before exfoliating to get virtually all of it off.
glitter: this is a bit more out-there, but i love love love using shimmery lotions on my body. i feel like a fairy princess, but also it gets rid of that chalky flakey dry look my skin can get in the winter. before swim shoots or the victoria’s secret fashion show, models are always getting slathered in shimmery lotion or oil. there’s a lot of expensive shimmery body oils out there, but you can also just make your own with cosmetic mica and your favorite lotion (i use a gradual tanning lotion to keep my tan looking fresh). cosmetic mica is basically what they use in all the shimmery makeup you buy, and it doubles as an amazing highlighter or eyeshadow!
✨𝕞𝕒𝕜𝕖𝕦𝕡 ✨
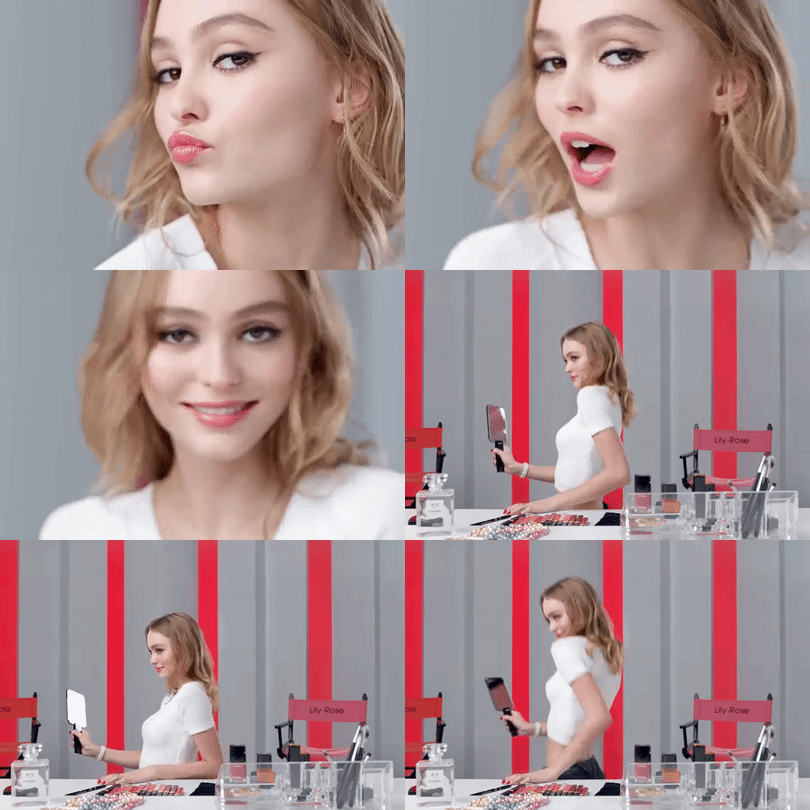
basic tips: i’m by no means a makeup guru, but i do feel as though my makeup skills have strengthened a lot since i was a little hippie at 16 years old who just wore hemp lip balm and organic powder foundation sometimes, so here’s some tips i picked up since then. i did also take a one-day makeup masterclass in LA with a celebrity makeup artist who has done the kardashians makeup, which is where i learned virtually all these tips:
✰ let your moisturizer sit for a few minutes before applying foundation ✩ beauty blenders tend to be far better for blending liquid makeup into your skin than brushes ✰ using just one shade of foundation on your face can make your skin look flat. either use a few different shades of foundation, or a light concealer and a darker contour stick, to add dimension to the face. also, use 2 or 3 different blush colors to add dimension ✰ blend. more than you think you need to. your foundation, contour, blush, eyeshadow, everything. just keep blending. ✰ don’t make your eyeliner too thick along the entire eye. this makes your eyelids and eyes look smaller. it should be thin until you thicken it at the outer corners of your eyes. ✰ as for the rest, fill in and brush your eyebrows, wear a lip color that goes well with your skin tone, highlight the inner corners of your eyes to look more awake, use a setting spray if you want to look dewier and make your makeup last longer ✰
if you’re curious about my full makeup routine here are all the products i use:
✰ embryolisse lait creme concentre moisturizer ✰ giorgio armani luminous silk foundation ✰ tarte shape tape concealer ✰ anastasia beverly hills contour stick in ‘mink’ ✰ too faced born this way setting powder ✰ wet n wild blushes in ‘mellow wine’ and ‘apricot in the middle’ ✰ huda beauty rose gold eyeshadow palette (this is pretty but doesn’t blend super well you should probably buy the abh modern renaissance palette) ✰ stila micro tip eyeliner ✰ too faced better than sex mascara ✰ abh clear brow gel ✰ eyebrow powder, doesn't matter what brand but i got tamnova at the makeup course so i use that. thin eyebrow pencils are good for a natural look but my brows are too thick for them lol ✰ this cosmetic mica for highlighter ✰ glossier generation g lipstick in the color leo ✰
makeup bag: a somewhat extensive list of on-the-go beauty products for you to consider carrying with you in your makeup bag:
✰ perfume. you can buy small on-the-go perfume bottles like these and fill them with your favorite scent ✰ lip products, such as lip balm, lip gloss, or lipstick ✰ lotion. i bring a small hand lotion bottle, and also carry a small container of my body lotion and cosmetic mica mixture ✰ mini lint roller ✰ tide stain stick ✰ downy wrinkle releaser fabric spray ✰ eyelash curler ✰ foundation powder ✰ mascara ✰ mini hairbrush ✰ mini dry shampoo ✰ mints, mint gum, or mini mouthwash ✰ mini deodorant ✰ summer’s eve wipes ✰ hydrating facial mist ✰ blotting papers ✰

✨ 𝕜𝕚𝕟𝕕𝕟𝕖𝕤𝕤 ✨
no matter how manicured, tanned, and sparkly you are, if you act with jealousy, spite, and hatred, you will never be beautiful, on the inside or outside. live authentically, act with integrity, and be kind ♡
244 notes
·
View notes
Text
𝕕𝕠𝕚𝕟𝕘 𝕪𝕠𝕦𝕣 𝕠𝕨𝕟 𝕟𝕒𝕚𝕝𝕤
some of you have probably seen by now that i do my own nails nowadays. i do the whole 9 yards complete with tips and dip-powder for around $86/year. it’s pretty much the same thing as acrylic nails, except that traditional acrylics require extensive fine motor skills and when i tried doing them that way, my nails looked like giant uneven globs of plastic. but with dip-powder the only real skill you need is being able to dip your nail into the powder, and spending some time spent filing to shape them, and with practice they end up looking virtually the same as a $100+ manicure at the salon.
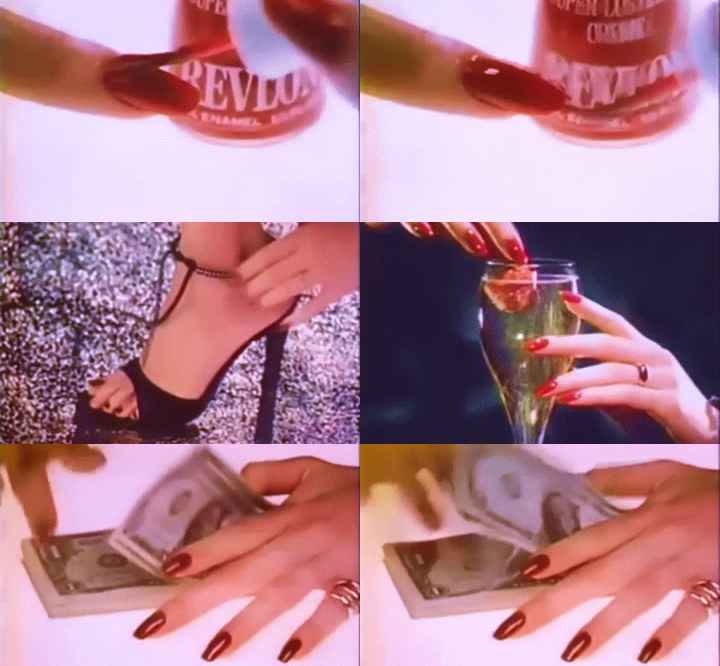
all you need is:
a dip powder liquid kit ($42)
nail glue ($9)
fake nail tips ($6)
a nail cutter ($4)
nail files, i would recommend a basic coarse one ($4) for shaping, and this finer metal one ($8) for filing around the base of the nail- i’ll explain later. you can also use an electric nail file ($16) like they sometimes do at salons. once you get the hang of it, it will cut down the time it takes to file, but it will take some practice and fine motor skills.
a dip powder in the color of your choice, my two favorites include this extremely pale shimmery pink one ($14), and this slightly shimmery white one ($13)
the entire kit should be about $86!! i started doing this several months ago and am still stocked on powder, tips, and liquids, so this may last you longer than a year, but i can pretty confidently say it will last you at least that long.
there are 8 relatively simple steps to the process. it should take you under an hour- i’ve gotten in down to around 30 minutes now, and do it while watching tv or youtube.
step 1: wash your hands with soap and water, then dry them well.
step 2: find the right size nail tips for each nail and glue them onto your nails.
step 3: cut them to the approximate length you want, using the nail cutter.
step 4: use the coarse nail file to shape them how you want them, and then file down the base of your natural nail a bit to make it rough and allow the dip to stick to them.
step 5: apply the keratin bond liquid from the kit.
step 6: apply the nail base liquid evenly to nail, then immediately dip into powder. tap/shake off excess powder, then set with the activation liquid. repeat 3 times, or more, to create a thick nail which won’t break.
step 7: use the coarse nail file to shape the tips and top of the nail and even it out. if it has strayed past your cuticles or sides of your nails, wedge the metal nail file between your skin and the dip, and file it down into the bounds of your nail. over time, you will learn to apply the liquid more carefully to the center of the nail and decrease overflow.
step 8: seal with the top coat, allow to dry. go show off your pretty nails!
the best advice i could give is: take your time and spend a lot of time filing to ensure an even shape! if you’ve gotten your nails done at a salon before, it will probably be a lot easier to know what to do. if you haven’t, you can always watch youtube videos on how to do this for a better visual!
good luck!
26 notes
·
View notes