#i saw this going around and thought i'd make a template you can download and fill in easily
Text
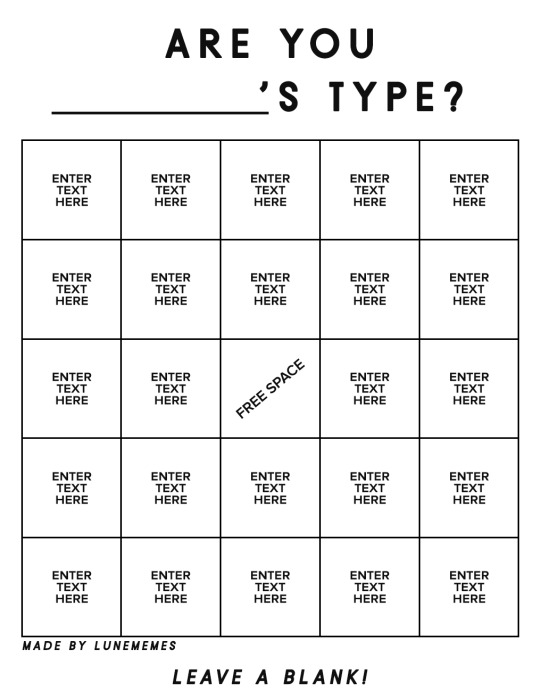
🌙 * ― 𝐈𝐓❜𝐒 𝐁𝐈𝐍𝐆𝐎 𝐓𝐈𝐌𝐄! ( a fully customisable bingo card where you can easily change the background, line colour, enter your character's name and fill in each box easily! )
you can find the base template here or in the source! just download, open in photoshop and descend into madness as you try to fill it out and watch as your characters type flood in!

#rp meme#character meme#bingo meme#roleplay meme#rp games#dash games#i saw this going around and thought i'd make a template you can download and fill in easily#to save you guys the trouble of trying to align and fit everything in nicely!
201 notes
·
View notes
Text
Road Sign
One of my favorite projects in my home is an on going one.
This started a few years ago, long before my husband and I bought our house. I thought it would be cool to have signs to fictional places along with the mileage from there to my our town, which is just outside of Atlanta, Ga.

Each sign starts pretty much the same, but the latest one I'm going to show you is was born from a cool little trick I've been seeing on YouTube.
Supply List:
Wood (you can use any kind you have on hand. I've used everything from scrap wood to an old pallet that I broke down and cut. For this, however, I bought a 5x8 piece from Home Depot for around $5 and cut it down to size)
Paint (I used Folk Art chalk paint in the color Castle, found at Michael's)
Paint Pen (found at Michael's. I find this gives me a little more control than a traditional paint and brush)
Tape
Pen and pencil
Template (more on that later)
For this sign, I decided to go with the location of The Bunker in Supernatural. I just used Google Maps to figure out the distance.
I found the font on this AWESOME website called DaFont.com (it's called Supernatural Knight) and downloaded it on to my computer. You can use any font that's suitable for your project, I just wanted this to match the title card of the show.
I opened up a word document and then typed out Lebanon Kansas and the mileage and printed it out. Easy peasy, rice and cheesy!
Like I said in the supply list, I'd bought this piece of wood from Home Depot and cut it down. I believe they'll cut it in store for you, but the saw was down the day that I was there. So I headed to the next best place; my parent's house. My dad and I marked out how big I wanted the pieces (6 inches x 12 inches) and cut it down using a circular saw and a jigsaw.
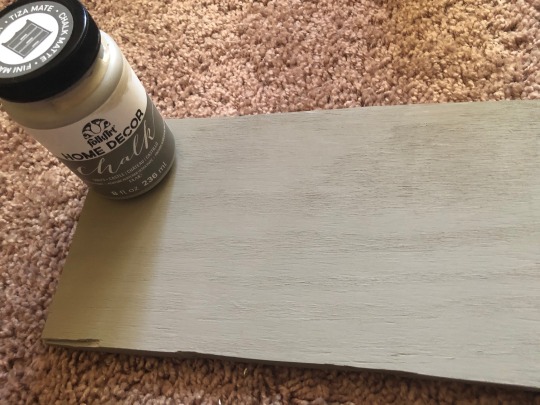
Once my piece was the size I needed, I gave it 2 coats of the chalk paint and let it dry.
When the paint was dry, I cut out my template and placed it how I wanted it on my sign just like this.

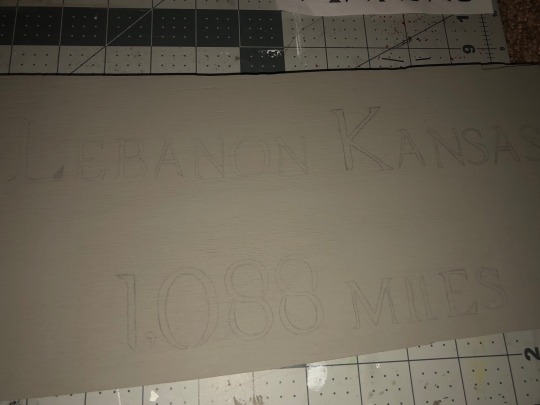
When I had the placement the way I wanted it, I used the cool trick I learned from YouTube that I mentioned earlier. I used a pencil to shade the back of my template.

I taped it back into place and began to trace over the letters using a pen. I find that transfers the lead onto the projects better. When you pull back the template, you should have a perfect transfer of your letters, just like this.

I then took my Sharpie paint pen in metallic sliver and used it to fill in the letters how I wanted. I find this so relaxing, which is probably why I've done so many signs!

And this is how it turned out!

I'm so pleased with how it came out, now I've just got to decide where on the wall I'm going to hang it up!
I hope you guys enjoyed this latest project, make sure to like and share with your friends and followers. If this is your first time here, please consider hitting that follow button if you want to see more DIYs from me! Have a great day everyone!
DIYers:
@flamencodiva @sandlee44 @screechingartisancashbailiff @algud
12 notes
·
View notes
Last Seen Blogs

awaisartsworld-blog
Art+Anime+MBBS

zelfbouwhuis
ZELFBOUWHUIS

uniqost
Untitled

young7475
A likely
lewdlena
sel.