#I'm drawing myself a little sketch as a treat after completing every little task
Text
they had dinner together once so they're canon, you can't change my mind
#death note#kiyomi takada#misa amane#kiyomisa#misa#kiyomi#they're my comfort ship and I love them#I'm drawing myself a little sketch as a treat after completing every little task
802 notes
·
View notes
Note
What steps do you usually have for creating each page, and how long does each one usually take you? Do you do stuff like thumbnail entire chapters in advance, etc?
I don't know how big your page buffer is, but you seem to get pages done at a really impressive rate, especially considering every page is clean and colored, so I'd love to know how you manage it :)
// this is a long ask, so buckle up!
all of my pages start with an outline, which is then fleshed out into a script- over time I've found that having an entire chapter done before starting any other step cuts out unnecessary fat that comes with editing. if there's one thing I learned from preboot OBT, trying to figure out what exactly happens on a page as you're drawing it can lead to a lot of heartbreak if you decide to change it (a lot of preboot OBT's chapter 4 was subject to this- I have a million drafts of rune and fienne in the market because I didn't know what I wanted them to do there). my scripting program is actually the beta version of a program one of my classmates in college made, and if it ever goes public I'd be happy to pop a link since I believe they want to make it open source eventually. on average my scripts are about 5000-6000 words long, and are written (casually) like film scripts since that's the format I was trained on as a film student.
my outlines are a bit sloppy because it's just like a stream of consciousness flowing out while I try getting ideas slapped down as quickly as possible. I try not to worry too much about details unless I have a clear vision in mind because I think writing the plot out in one go flows the most smoothly.
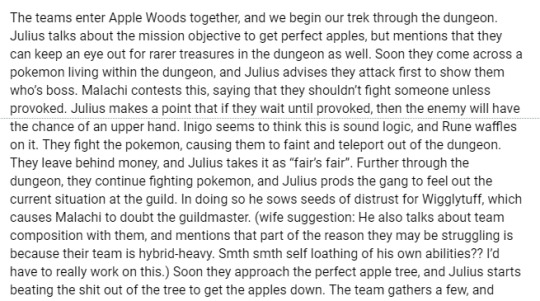
and then from there, I expand that outline into a script.

after the script is completed, and assuming I have enough buffer, I thumbnail the entire next chapter- or at least as much as I can stand in one go. I'll usually either be working on rendering the previous chapter during this step, or I'll have the previous chapter completed so I can devote my attention to it. either way, I try and give myself room to do a variety of tasks depending on my mood. thumbnails are easy to work on while on-the-go for example, but they require a lot of thought to put together. coloring can be tedious, but it's great to do while multitasking of on lunch at one of my jobs.
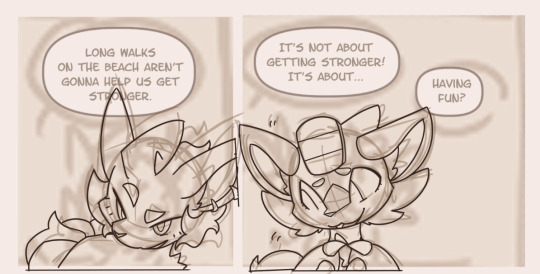
part of the thumbnailing process for me includes putting down text bubbles. surprisingly, this is a very tedious task, so I try to get it all done in one go so I don't have to agonize over it. and this is where my process gets a bit convoluted, so bear with me.
to do this, I take a look at my script and break all the dialogue into different text bubbles. I've gotten to the point where I think I do pretty well naturally finding breaks in pages, and I just go in chronological order putting text down. for this step I have page templates prepped, which show the safety margins that I need to follow to prevent text from getting stuck in the binding when printing into books. I make sure all the text is safe, and then move onto the next step.
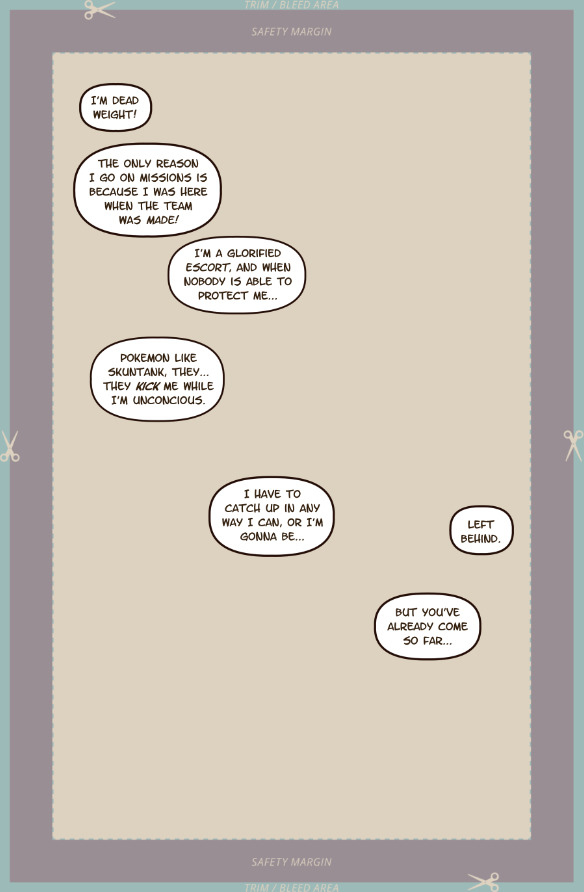
after that, I copy the page with text bubbles, and then shrink it really small into thumbnail size. on a layer above this screenshot I trace the text bubbles, and then treat those bubbles as "dead zones" to draw around while working on the thumbnails. this might be an unnecessary step if you have a good grasp on how much text takes up a panel, but I am historically awful at judging that so knowing the exact text bubble size when thumbnailing helps prevent my bubbles from getting in the way after the art is already rendered. then, rinse and repeat for the rest of the chapter!
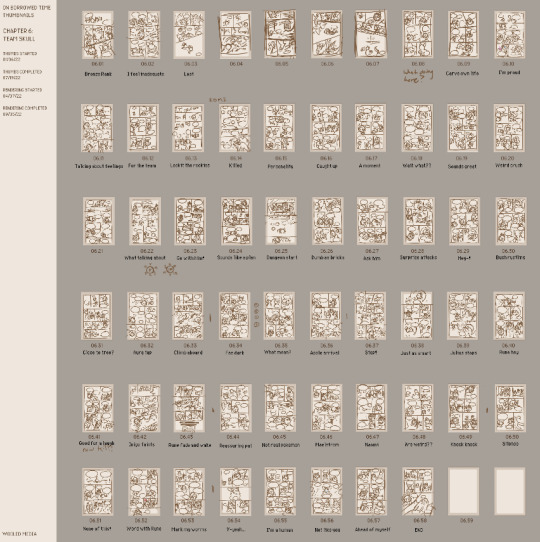
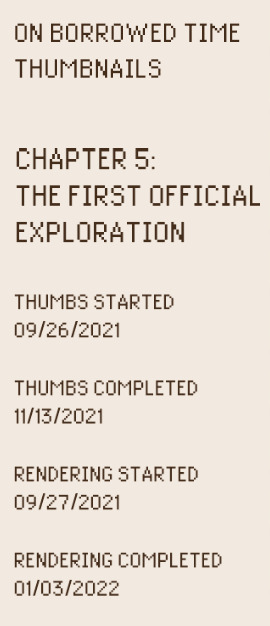
some chapters I'm quicker at thumbing than others- on the low end we've got chapter 5, which I wrapped up in 2 months (I did roughly 1 thumb per day)
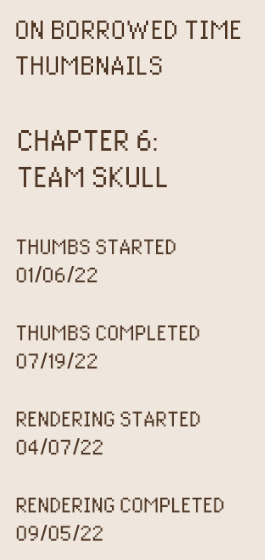
and then chapter 6 which I dragged my feet on a little bit, at around 6 months
(and chapter 7, which is twice the length of a normal chapter for me, took 4 months!)
after that is sketching, the part I dread most when working on a chapter. it's the part that requires the most thinking on my part, and I did away with sketching completely for most of chapter 3- but I've been trying to make my lines thinner lately, and until I build up the confidence to work without sketches, I'm afraid I'm stuck with them. I try to do 1-2 sketches per day, but some days I just don't do them if I'm not feeling up to it.
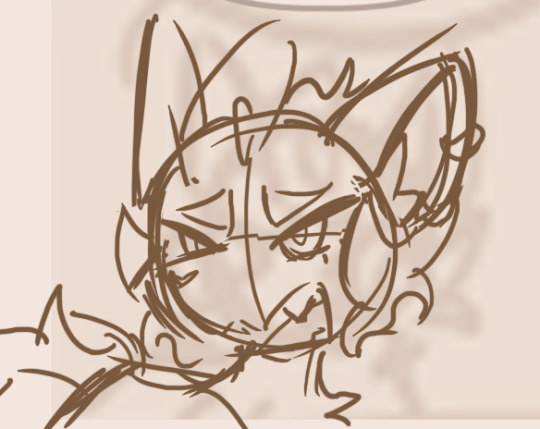
(I'm actually avoiding sketching while I work on this ask)
while most of OBT is done in CSP, the one thing I don't do there is lines- for that I use Autodesk Sketchbook. sketchbook has a pretty incredible predictive stroke tool that adjusts your strokes after you make them. it takes a bit of time to get used to, but with it I can draw much faster than any other program or with any other stabilization tool. I gave CSP an honest shot with lining by trying to use it for 6 months, but sketchbook was just too powerful so I live the multiprogram life. I try my best to keep all my lines closed during this process because it'll make coloring WAY easier. like I think coloring used to take me an hour, now it takes me 20 minutes tops.
then I flip off the visibility on all layers except the lineart layer, save as a PNG (saving a working file as well if I'm feeling spicy), and then import to CSP! where the most fun part begins.
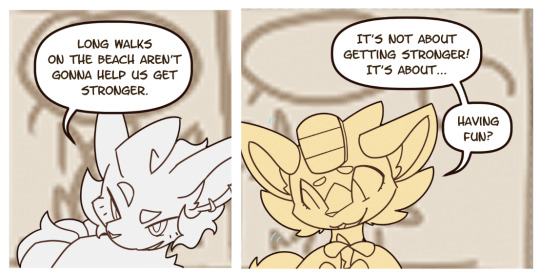
to start, to do that colored lineart thing where the lines on my characters are darker on the outside than the inside, I start by coloring characters their inside color first (using the "lock transparent pixels" layer option). for comics this is reduced to a simple "warm palette" color and "cool palette" color, which are brown and blue respectively. it's subtle, but you can see it in action with rune and eilwyn here.

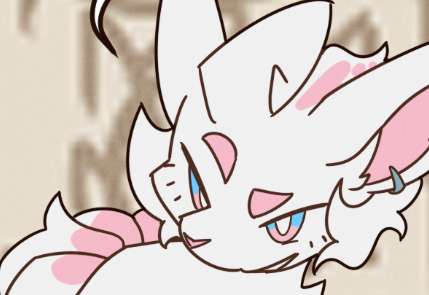
then I use the magic wand tool, my best friend. I select the negative space around the characters, invert it, and then with the dark color selected in my palette (for me it's a dark brown approaching black) and the transparent pixels still locked, I use the "outline selection" option to outline the characters. I usually outline them by 6 px, but it'll depend on what looks best.
then for coloring, with the characters still selected, I use the "shrink selection" option to shrink it by 1 pixel. this helps prevent aliasing when I use the fill bucket to fill characters in with a base color! after that I pick them out by character and manually add their main color by hand, so they look something like this.
and here's the part where I impart upon ye, dear reader, with the forbidden knowledge I learned while doing the Monster House Marathon this month. see, I really like doing these daily events because they push me to my limit. a page a day is the most comfortable fast pace I can work on the comic, but it can still be a bit of a strain to get a page done before my bedtime, so I'm much more willing to learn shortcuts in order to get a nice juicy 6 hours of sleep instead of 4.
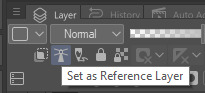
if you do a closed lineart method like me for most of your character's markings, the "Set Reference Layer" tool is going to become your new best friend. using this, I set the lineart layer as the reference layer (and only the lineart layer), move over to my coloring layer, grab my fill bucket tool, and then I can just start literally filling in characters within seconds. some characters have unclosed markings that I'll have to do by hand, but this is extremely quick and I love it so much.
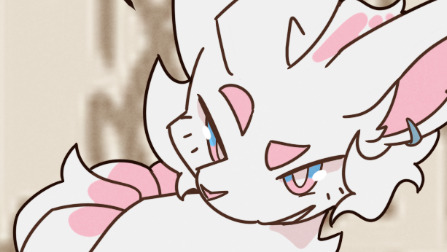
finally I add a multiply layer where I do some light shading. this step used to be full cel shading, though over time I've found that my art reads a little more clearly without it. and shading also used to be miserable because it was another 30 minutes to an hour of rendering that kept me from completing a page, so it sometimes got a little miserable.
and finally, I add backgrounds and lighting effects. I have a pretty decent library of pre-rendered backgrounds I've made that I can just plop in a scene, but sometimes for new or one-time locations I'll make a new one by hand.
and that's a completed page! it's a bit hard to calculate how long a singular page takes start to finish since I try doing everything before the lineart in batch style, but I'd say it all roughly evens out to 2-4 hours. breaking it down, it looks something like:
Thumbnail - 10-20 minutes
Sketch - 30 minutes - 1 hour
Lineart - 30 minutes - 1 hour
Coloring - 10-20 minutes
Rendering - 10-20 minutes
Background - 20 minutes - 1 hour
so pages are pretty quick for me to make! this helps me build a pretty sizeable buffer, I think my previous record was somewhere around 40 pages? maybe 70 if I included dielle's wish. though I will admit during this Monster House Marathon, I actually ran out of buffer on day 7, and I'd been laying the tracks in front of the train until, uh, checks watch, the 27th! as of writing this I finished the buffer through the MHM, so I can rest easy. this ask probably won't queue until after the MHM has ended so this probably sounds a little comedic. the main reason I was able to manage these daily updates without a buffer was because of an art high I was experiencing this month, which is also why I did a marathon in the first place.
though usually, I really am an advocate for buffers. having a buffer of at least 3 months means I can hop around with different processes as my interest in them flips around. my brain usually likes to focus on one task at a time, and a lot of it, so having that freedom is great for me. and sometimes, I just wanna take a month off to play a new game or hyperfixate on stardew valley once again! it all comes down to practice and developing a workflow and schedule that works for you.
31 notes
·
View notes
Last Seen Blogs

archieyelash
Do You Know That You Can?

adawalman
Untitled

gamtavreal
Ask GamTav or each!

my--moon
i ♡ hot girls

fosterscribbles
muffled sounds of hyena violence