jenglee
Jennifer Gleeson
Graphic Design & Animation Student
84 posts
Don't wanna be here? Send us removal request.
Last Seen Blogs

perfecteggsbakerydiplomat
Eduardo

vvv365
until I no longer exist
fantasies2paper
Fantasies to Paper

techfygeeks
Techfy Geeks
Video
youtube
JAY’S WORKSHOP- PHOTO EDITING AND SHOWREEL
In Jay’s final workshop, we learned how to use Adobe Premiere to edit a showreel together. The process was quite simple and similar to After Effects. We were given a series of pictures that we needed to crop. and edit in photoshop first. We then were given a music track and were tasked in having the slideshow change in time to the music.
1 note
·
View note
Video
youtube
SARA’S WORKSHOP- MAKING A SHOWREEL
In our final workshop with Sara, we were shown the basics of making a showreel to show off all our work we had created over the year. For this, we learned how to put together a showreel in After Effects specifically. I found using After Effects for this was pretty straightforward, as it was mainly just a case of importing existing footage into the composition. I made a unique title with my instagram handle ‘Jenglee_art’ for the intro too.
0 notes
Photo
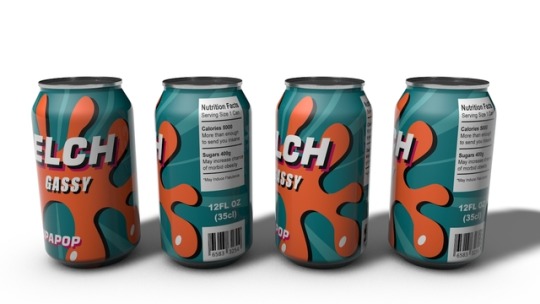
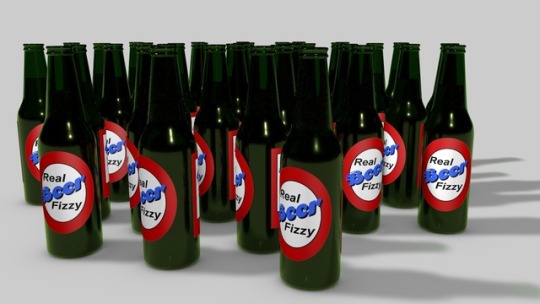
JAY’S WORKSHOP- MAKING AND DUPLICATING MODELS WITH LIGHTING
In this workshop by Jay, we looked at 3D objects in Cinema 4D and how to add lighting, texture and shadow to models. For this example, we used aluminium cans and beer bottles, since these both have unique textures. We learned how to ad lights to a scene, how to add textures and properties to an object like reflections, and how to move around and duplicate models. We when posed these models for the images above.
0 notes
Video
youtube
SARA’S WORKSHOP- FOOTBALL MUSEUM COLLAB
For this After Effects workshop with Sara, we were tasked in creating motion graphics for a piece of informative text we picked at random, intended to be part of a infographic for a football museum in Manchester. We were given a passage of text to animate and a specific colour scheme which we all needed to follow for consistency. Since my passage talked about war diaries, I created a simplistic diary graphic for the text, and had the text appear as if it was being written on the book. I had originally intended to animate a hand with a pen writing the text into the book, but unfortunately I ran out of time.
0 notes
Text
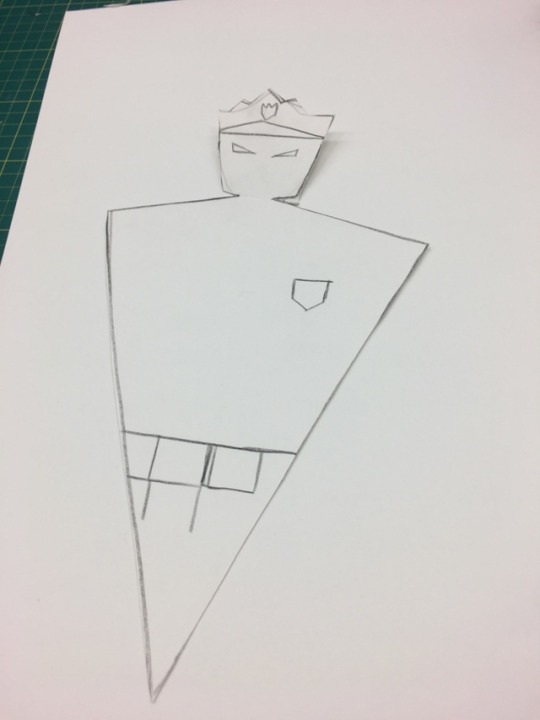


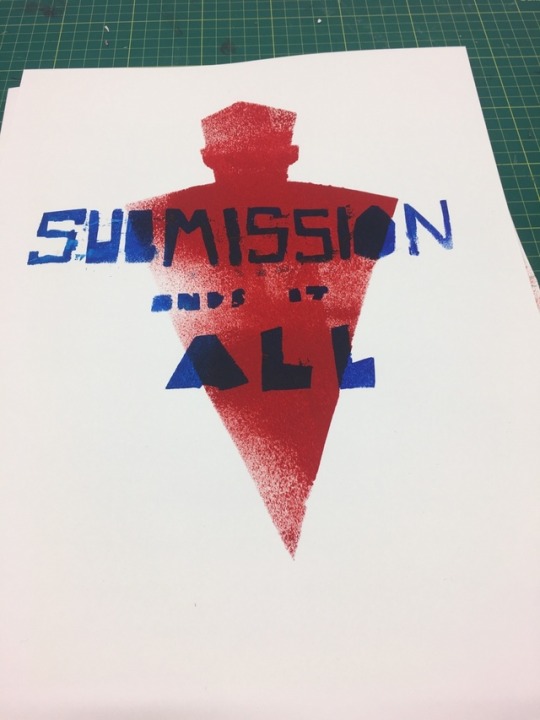
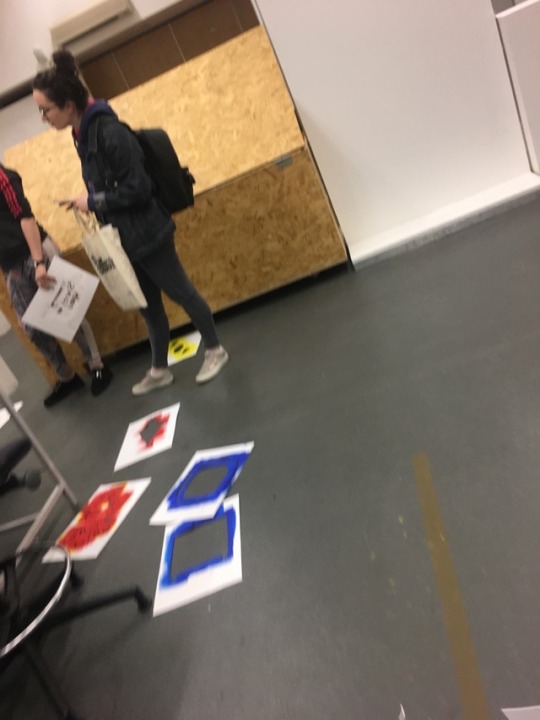
NICK’S WORKSHOP- PRINT POSTERS
In this workshop with Nick we explored the making of propaganda posters using templates and prints.
0 notes
Video
youtube
Here is a short video I made during Innovation week. We were tasked in creating a series of animations as a group based around a ‘Sports Day”. I chose the sport swimming, and we then had several hours to design a character and animate it taking part in their event. I chose a rat since they are a recurring theme in my work. I found this exercise to be fun as I utilised many different skills in After Effects, including wiggle, the puppet pin tool and frame by frame animation.
0 notes
Text
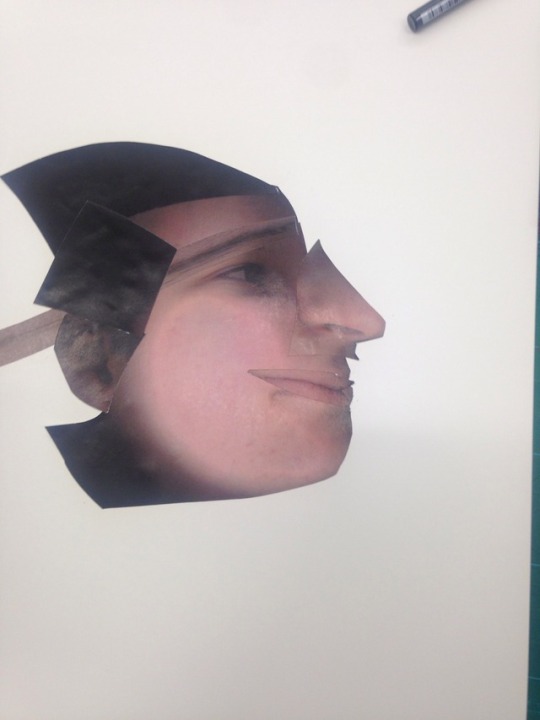
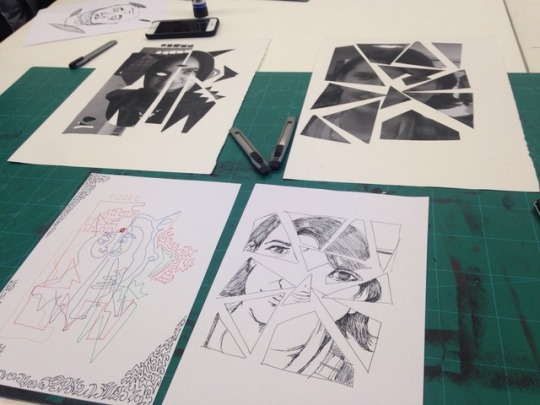
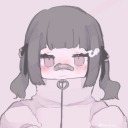
NICK'S WORKSHOP- SELF PORTRAIT
Nick’s workshop today involved playing around and experimenting with our faces, in order to create something abstract and bizarre. We started off with a photo of our faces that we had to cut up and create an image out of. I went with a broken mirror idea, since there is a lot of things about my face I would like to change. We then drew out our collages on paper, some taking on a more abstract approach, while I chose to be slightly more realistic.
We then physically scanned our faces and created a second collage with the pieces we ended up with. I found this workshop to be pretty fun and engaging.
1 note
·
View note
Video
SARA WORKSHOP- TRANSITIONS
This is the first workshop we had with Sara.
The aim of this workshop was to explore different transitions in After Effects and just to play around with them using simple shapes. One effect in particular that I liked was the Venetian Blinds effect, in which two solids create moving lines. We were also introduced to the concept of coding in this workshop, which is a much easier way to incorporate different effects. For example, I used the code ‘wiggle(6,20)’ in order to add a wiggle effect with a specific magnitude to my rectangle.
1 note
·
View note
Photo
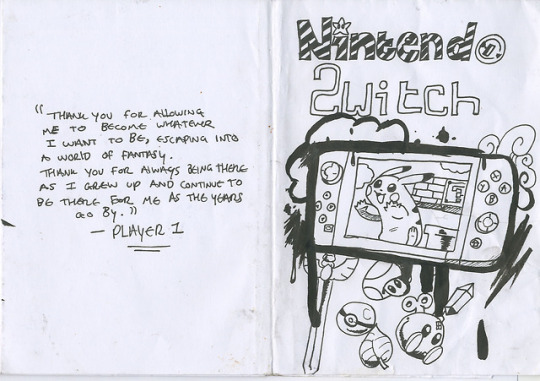
NICK’S WORKSHOP- ZINE
For this workshop we were told to bring in an object that was personal to us. Because of it’s interesting design, I chose my Nintendo Switch console. During the session we were to create a zine on our object, with each page representing something different, but with the same theme of somehow being related to the object. The first page was a title page of sorts, and we were given the most freedom with this than any other page. I drew the object on the cover as the main focal point, as well as items from famous games on the console, to truly represent the Switch.
The back page was a short ‘love letter’ of sorts we had to write to our object.
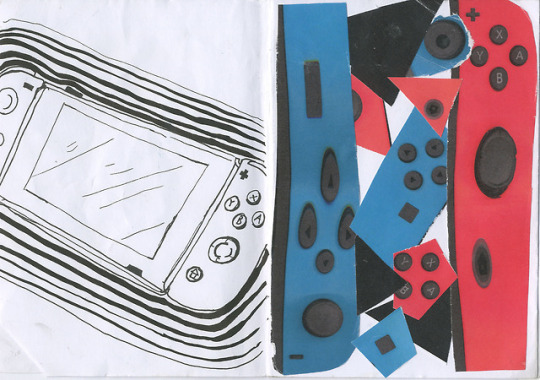
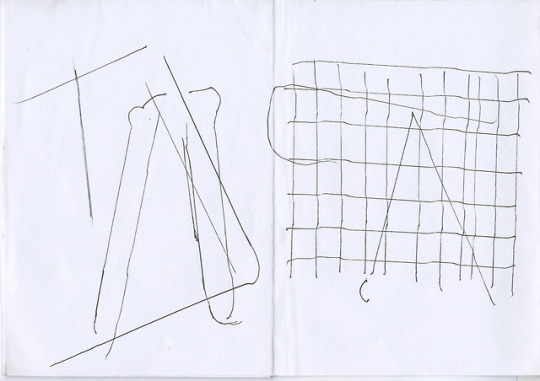
The second page was simply to draw our object on the table, the third was more interesting in that we scanned our physical object with a scanner, once keeping it still, and the other time dragging it across as it was scanning, in order to create a distorted image. With these scans we then had to create a collage with them. The fourth and fifth pages were a double page spread, and across them we had to think about if our object could speak, what would it say about us. Finally the last two pages were for drawing around our object. These pages gave me the most trouble as the console is an awkward shape so I just used the controllers. Even then I couldn’t create anything interesting.
1 note
·
View note
Video
youtube
SARA’S WORKSHOP- ROTOSCOPING
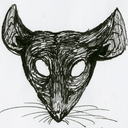
In Sara’s workshop today we explored the technique of rotoscoping, where a figure or object in a video is cut out of the background frame by frame, resulting in a unique look, almost like stop motion.
For this task I used a simple video of my rat peeking out of her home on my phone, as I wanted to start off simple.
While tedious and time consuming, I enjoyed the process and realised the potential rotoscoping has in a piece of work. Here I copied the rat and pasted it so it looks like a long line of houses.
2 notes
·
View notes
Photo
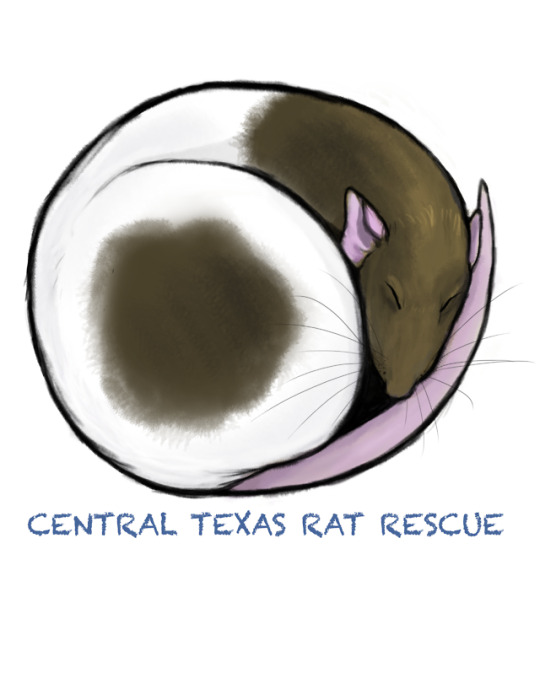
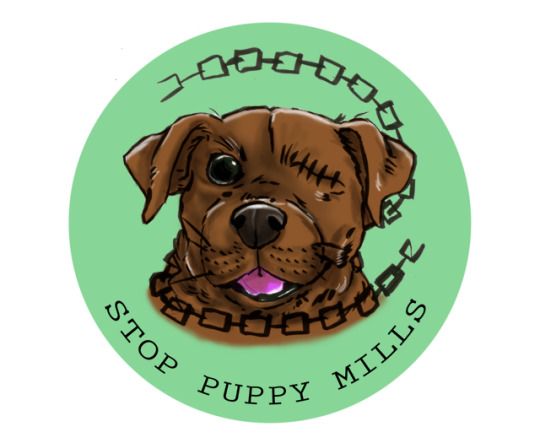
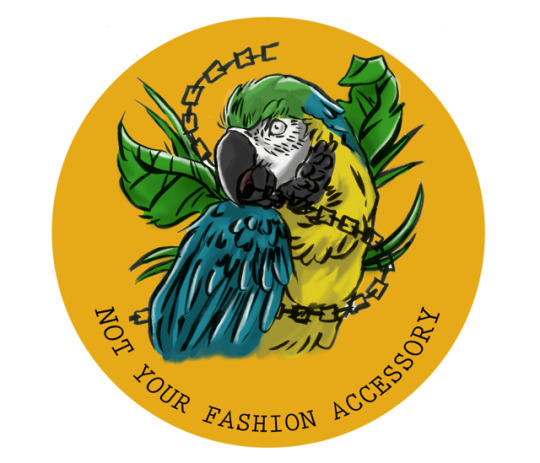
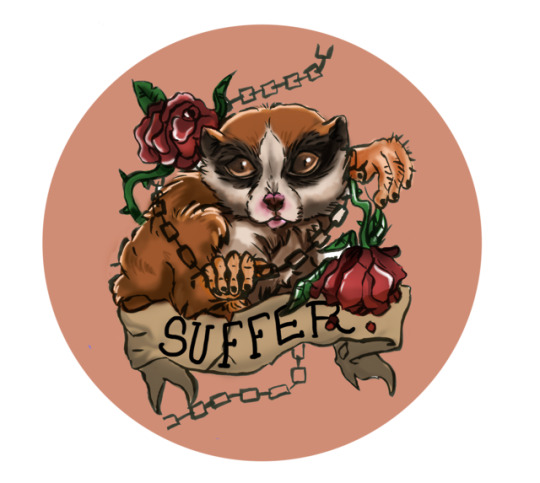
GRAPHIC DESIGN PROJECT- CTRR
I was asked by a rat rescue center based in Texas to design a logo that would appear on merchandice like mugs, stickers and mugs. For this, I took inspiration from my own rats, who would often curl up into a ball. I thought this was cute, and reminded me of how cats curl up, which would help make connections to the two and would shine a positive light on rats, as they are often viewed as vermin.
I thought about the shape of the sticker too, as my earler iterations had tails that stuck out and could therefore be ripped easily. I went with a round shape as this would be harder to damage and could be more easily placed onto things like mugs.
I am happy with the result of the logo, as I believe it’s simplicty works quite well.
1 note
·
View note
Video
youtube
WORKSHOP WEEK- Trying out stop motion
One of the workshops I attended during workshop week was used to play around with the medium of stop motion. We had a bunch of options for how we approached this, including articulated models and wires to suspend things in the air. I chose to use plasticine as I wanted to sculpt my own models. I sculpted a simple cat model as well as a ball which would represent a ball of yarn. I found the cat troublesome to work with, since it wasn’t very articulate and so I consider the walk cycle for the cat entering the frame to be a failure.
I think the cat sitting down and batting the ball was much stronger, apart from the small tear that appears behind the head when he looks down that I overlooked.
Overall, this was a fun little experiment and it helped to introduce me to the possibility of using stop motion in other projects.
1 note
·
View note
Video
PROCESS FOLLOW UP
Here, we followed up on our lighting experiment in order to play with adding physics to our tunnel. This allowed the balls to travel though the tunnel while colliding with it.
1 note
·
View note