
hamukosandwich
otomeknight cosplay
just a blog where i can dump a bunch of wip cosplay stuff/log progress to keep me motivated! might also upload tutorials sometimes :P currently working on: dahlia hawthorne
3 posts
Don't wanna be here? Send us removal request.
Last Seen Blogs
hoseoksx
운명

livefasttdropdeadd
☮ ☪ namaste ☯ ❀ ❁

squishybaekbuns
Opulent Dreamer

trubluebecca
Dogs. Finally.

conangrxy
conan gray
Text
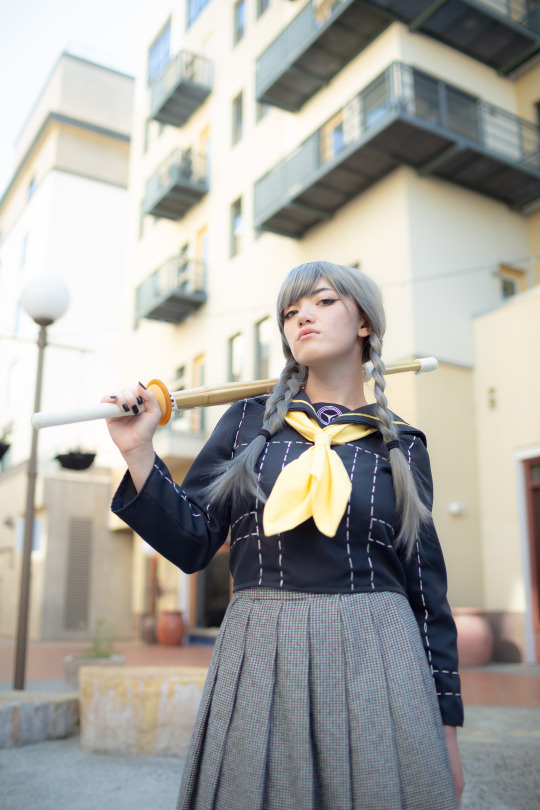
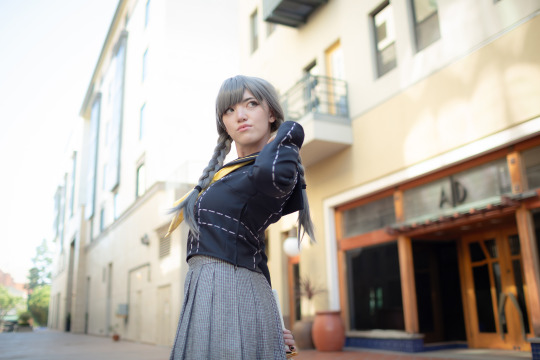
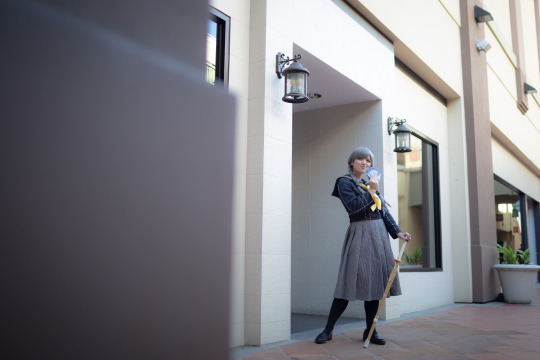
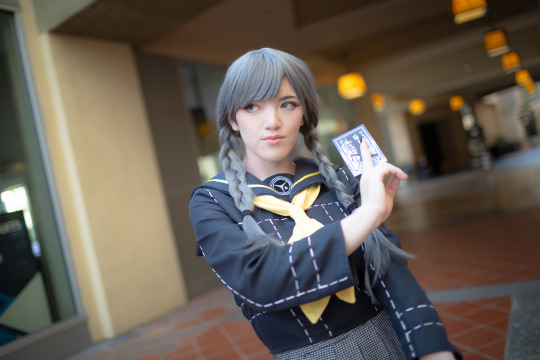
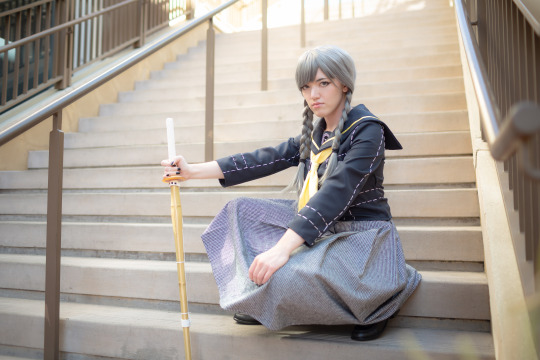
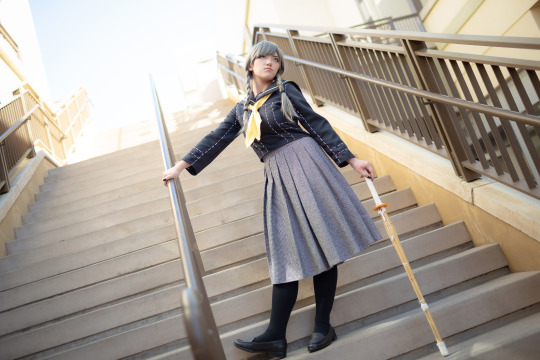
got some cool pics of my girlboss yu narukami cosplay!!! my first fully handmade costume :''') if you wanna see some of the process of sewing it i made a little post here
(photos by @wickedapricot on instagram!)
7 notes
·
View notes
Text
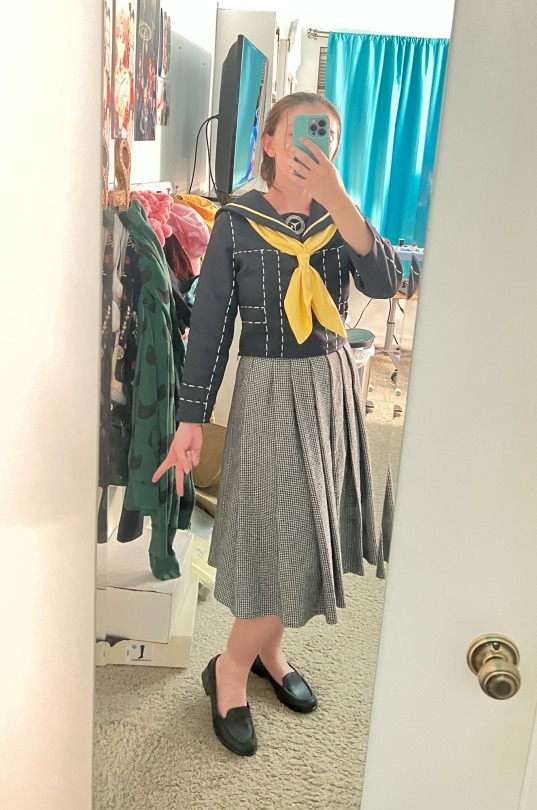
Finished my Persona 4 beauty pageant Yu Narukami cosplay! Really proud because it’s my first fully handmade costume. 🥹 Progress pics under the cut!
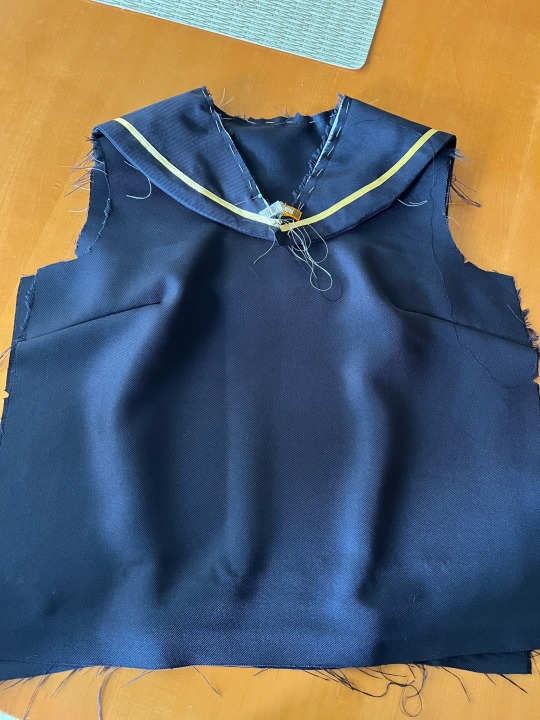
1. This is after I cut the pattern pieces out of my fabric (black gabardine), sewed + interfaced the sailor collar, and sewed the darts on the front and back. I used Simplicity 8160 but honestly did not really like it and found it pretty confusing at times as a less experienced sewer.
Also added the ribbon trim onto the collar. This picture was right after I basted the collar onto the neckline.
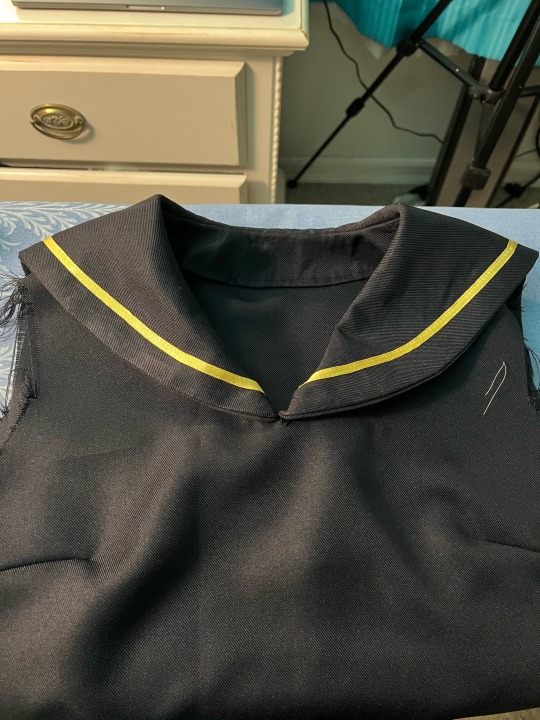
2. This was after I attached the facing and collar to the neckline! My first time sewing a facing. It didn’t come out exactly as I wanted it to, but I feel like I learned a lot for next time.
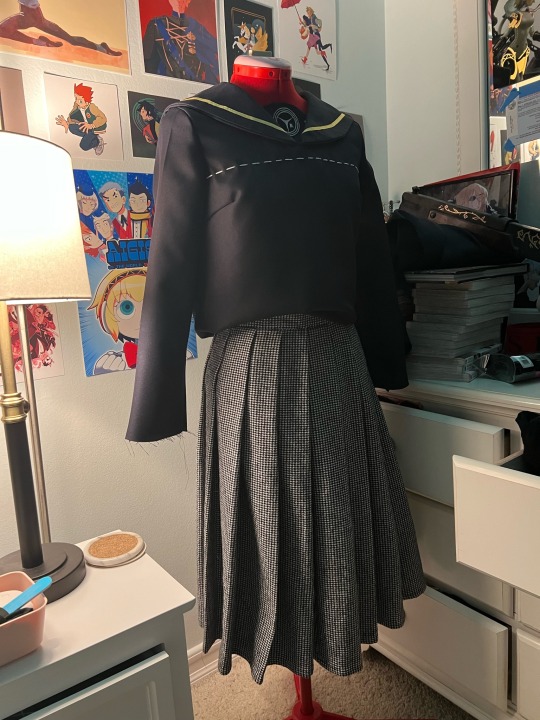
3. Got a lot done this day: sewed the sides together and attached sleeves and started the white stitching detail.
At first I tried to just topstitch with my machine, but it kept coming out wobbly and regular sewing thread was too thin-looking. I ended up using embroidery floss instead.
(Also I can’t find my progress photos of the skirt but it was relatively simple since it’s just a regular long knife pleated skirt.)
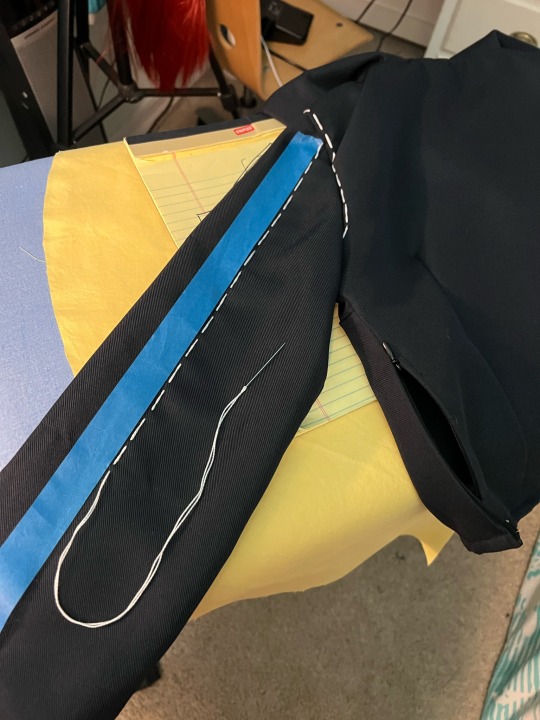
4. More hand stitching. Used masking tape to help me keep my lines straight. Also took in the bodice, cropped it, and added a side zipper after agonizing about the fit being a little unflattering.
5. Sewed the tie (which entailed me drafting my *~first pattern~* because I really hated the one from the pattern I was using) and then voilà--costume is done!!! :D wahoo
9 notes
·
View notes
Text
Making Kasumi's Rifle from Persona 5 Royal
Here's a process log of making Violet's gun from Persona 5 Royal for my cosplay!


To start with, I looked up a bunch of pictures and combed through gameplay footage to try to find good reference pictures of her gun. The best reference turned out to be pictures of Amakuni's scale figure that included her gun since the photos had clear shots of the gun from the side.

2. Then I made a pattern in Photoshop by tracing a picture of the gun from the figure and printed it out at the scale that I wanted it to be. To size it accurately to my proportions, I used nifegun.com.
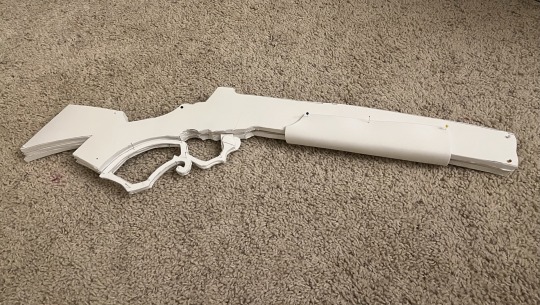
3. After that, I cut out 3 layers of 5mm foam for the main part of the gun and 3 layers of 3mm foam for the lever/trigger section. Here I had them pinned together so I could double check the thickness/scale before gluing it all together. (I didn't take a picture of this part, but I also carved out space inside the gun to fit two small PVC pipes taped on top of each other to make the barrel on the inside and to give the floppy EVA foam a stable core.)
4. I glued it all together with contact cement. Here I also used a dremel to carve an indent into the side of the barrel at the front end. I also tested the primer I was planning to use (black Plastidip) on the lever/trigger part at the bottom.


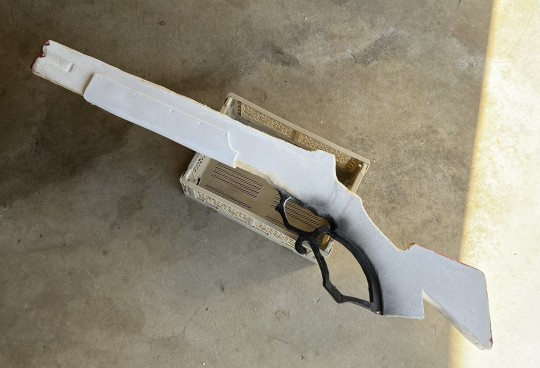
5. Ignore how crusty everything looks here LOL but this is the part where I experimented a lot on how to smooth out the seams on the top, front, and bottom of the gun. I'm not 100% happy with the level of smoothness I ended up with, but this was a last minute 1-week build before a con so I settled with a couple layers.
First I tried foam clay but had a lot of trouble sanding it because the brand I bought was super cheap/sticky and would not dry. Then I moved on to wood filler, which was slightly better and actually sandable but I still wasn't really liking the gritty texture. So as a last resort I ended up using Bondo glazing putty (which is super toxic and not fun to be around--wear a respirator!) since it's my go-to when I'm working with 3D printed props. Bondo ended up working the best, but I still want to keep experimenting with other less-toxic methods for future foam props...
I also added some more panels here on top and on the sides to add some dimension.

6. I spray painted the gun black and brown and added googly eyes for rivet-like details.

7. Finished the gun by adding all the rest of the details! Glued a black plastic gem onto the front of the barrel with hot glue for the front sight, bought some brass embellishments like the little framing piece on the stock and the metal rivet on the forestock, and hand-painted the filigree on the side of the gun with a gold paint pen.
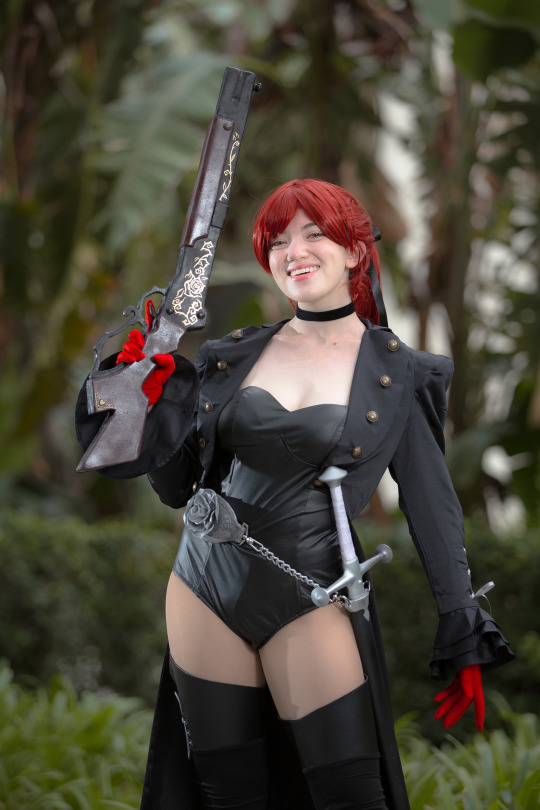
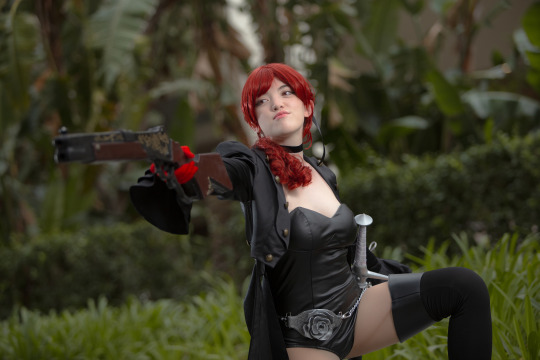
(Photos by @wickedapricot on Instagram)
Overall, I'm pretty happy with how it came out considering it was a one-week build and my first ever gun prop! This is also the second foam prop I've made, and I feel like I learned a lot from the process.
If I ever remake it, I'd really like to add a hinge to the lever to make it functional like it is in the game like in her introduction where she spins it by pulling the lever down. I'd also probably give myself like a month or more to work on it instead of a single week LOL I got so many mosquito bites from working on this in my hot garage at night in the summer 〒▽〒
If any other cosplayers are making her gun and want to use my pattern or have any questions about the materials/process, feel free to shoot me a message :^) I haven't seen any other cosplayers make her gun but it's such a cool design!
#persona 5#cosplay#kasumi yoshizawa#violet#violet persona 5#persona#persona cosplay#cosplay prop#cosplay tutorial
11 notes
·
View notes