Last Seen Blogs

booty-tickle
Cowabunga

ashvina2517-blog
ashvina2517

tepidbeanss
beans’ art blog

royalvenom
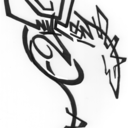
RoyalVenom Calligraffiti

rendizen
: RENDIZEN :
Photo


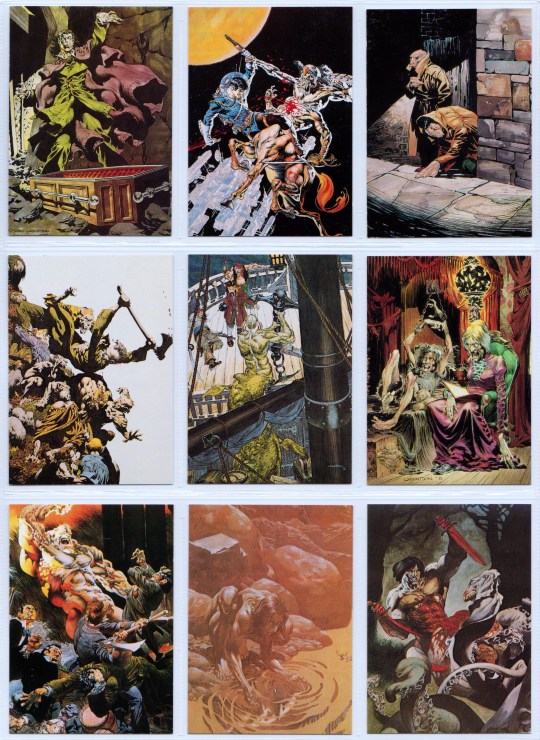
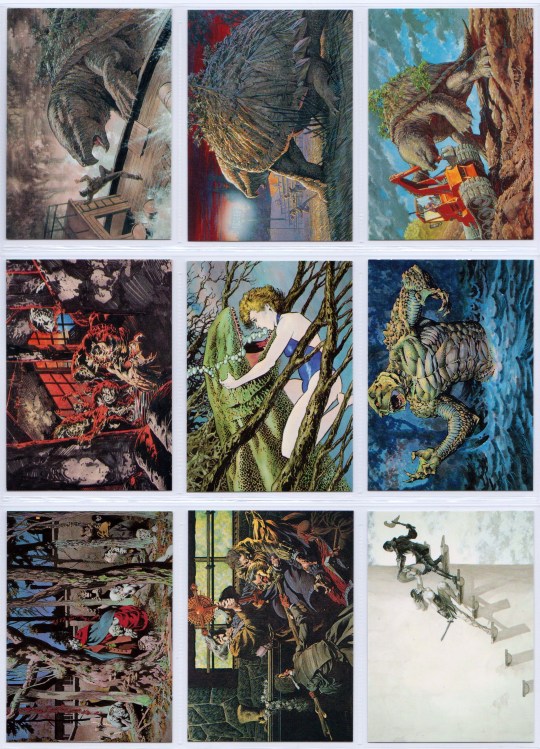
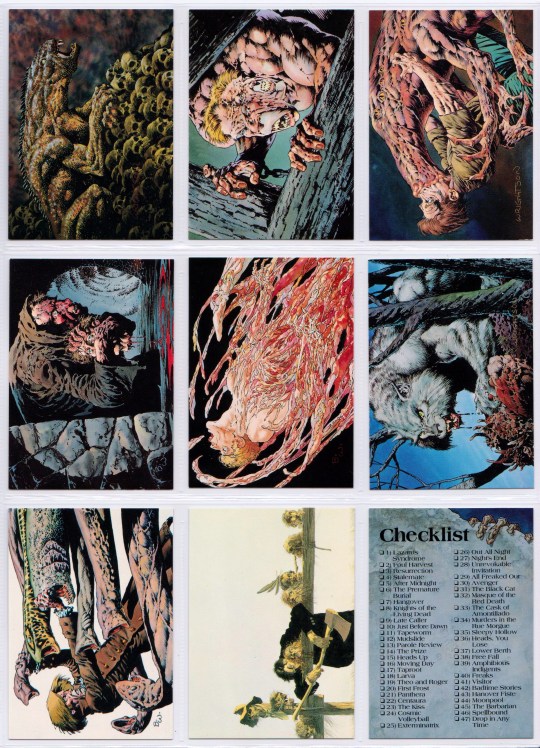
A few mid-70s covers by David Smee for Ursula K. Le Guin titles
2K notes
·
View notes
Photo


Artwork by Victor Vasarely at the church of Pálos in Pécs, 1980. From the Budapest Municipal Photography Company archive.
895 notes
·
View notes
Text

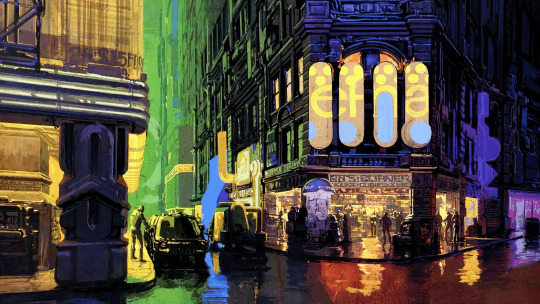
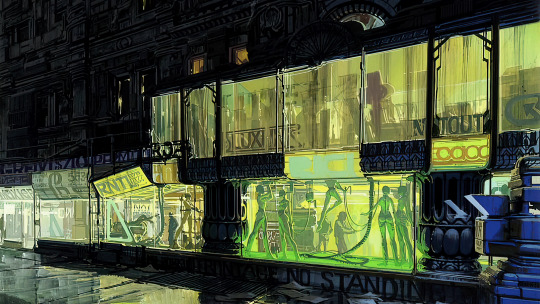
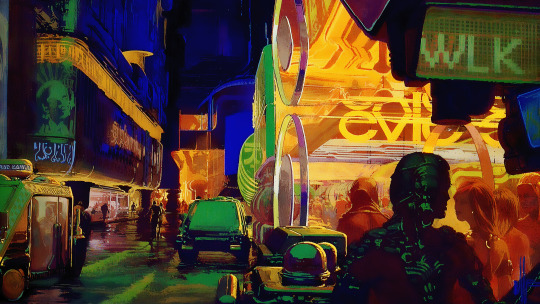
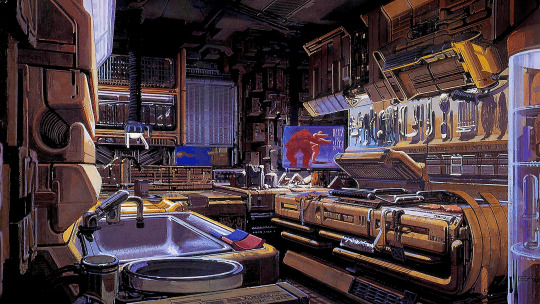
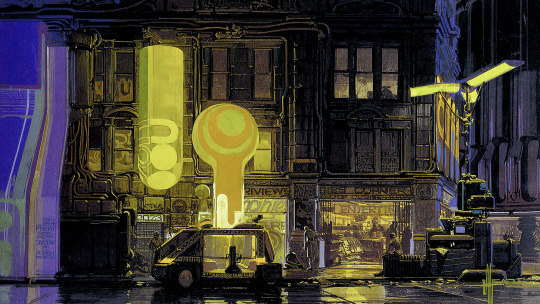
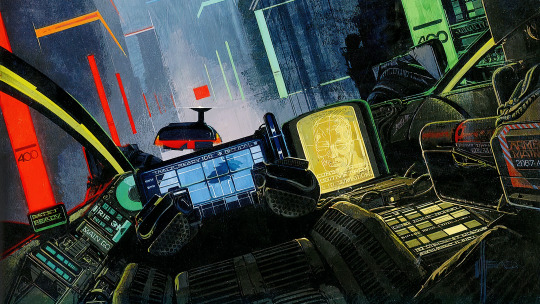


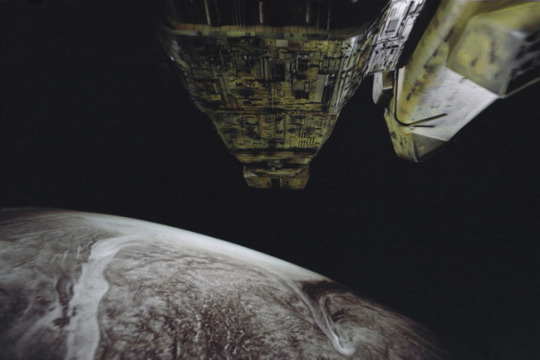
Some of Syd Mead's concept art for Blade Runner, upscaled to wallpaper res 3840x2160, cropped, denoised, color corrected and otherwise edited for the screen. These are NOT the originals as produced by Mr. Mead, if you are looking for 1:1 unmolested versions of the original art this isn't it.
(I'm not sure Tumblr will host these at the original full-res without downsampling them? See what happens I guess)
I zipped the full-sizes on my Dropbox if you should want them.
2K notes
·
View notes
Photo


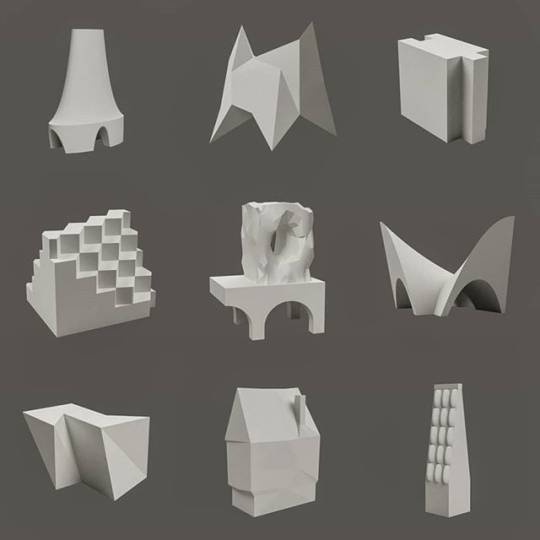
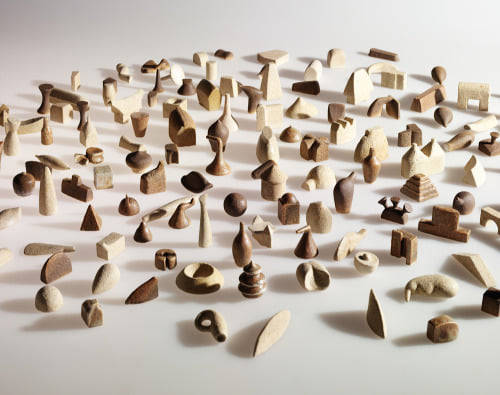

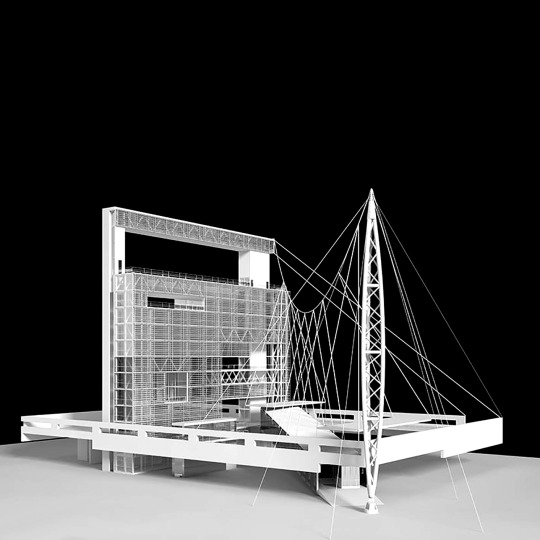
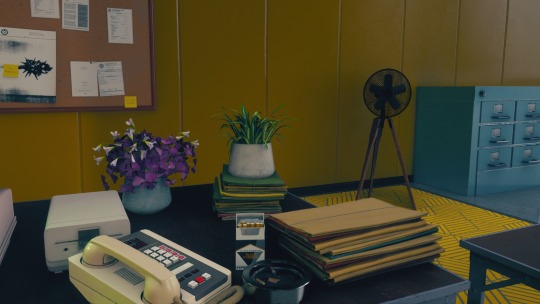
Tom Lauerman (born Chicago, IL) works within the overlap of sculpture, craft, and design. His objects, drawings, and installations explore the emotional capacities of constructed spaces as a visual, tactile, and visceral experience.
https://arts.psu.edu/faculty/tom-lauerman/
24 notes
·
View notes


Photo
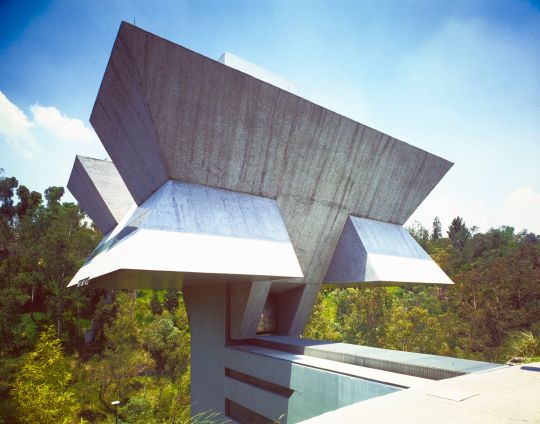
Sad news from Mexico: Agustín Hernández (1924-2022) has passed away at the biblical age of 98.
This is his monumental own house (1970) in Mexico City, photographed by Julius Shulman.
602 notes
·
View notes
Photo
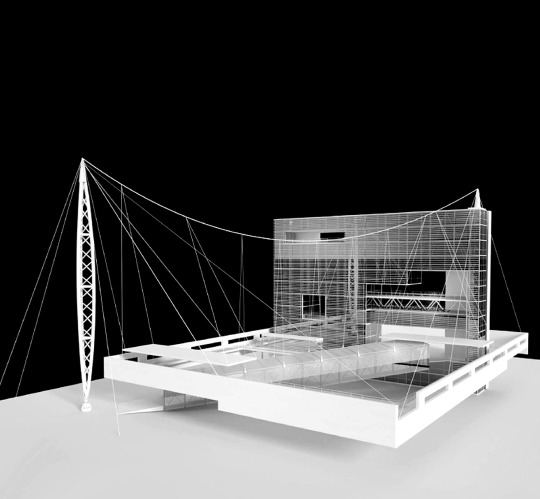
“Palazzo Del Vetro”, E42, Rome, Italy [1940] _ Architect: Giuseppe Terragni [1904-1943] _ Model photos via: Laurent Beaudouin.
https://www.facebook.com/photo/?fbid=353768055253841&set=pcb.353768115253835
https://www.facebook.com/photo?fbid=353768065253840&set=pcb.353768115253835
125 notes
·
View notes


Text
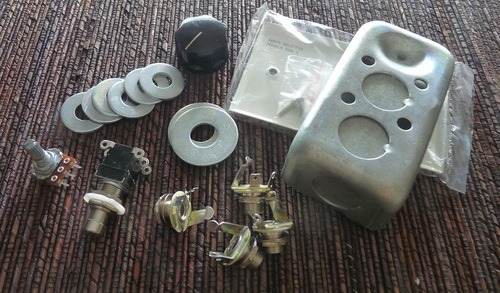
Building a Stompbox Without a Drill
Here’s a quick tutorial on how to build a stompbox into a junction box without having to drill any holes. This might be common sense, but it can’t hurt to document the process. Junction boxes are very cheap and can be found at any hardware store.
For this project I decided to build a KROK Feedback Loop from Experimentalists Anonymous. I didn’t want a bypass switch and am just using a feedback on/off switch. This project is passive, meaning it doesn’t need a power supply. This saves on a few components and makes for a simple project.
Here’s what you need:
Box
Cover
Metal Washers - Two 3/8" for each jack and potentiometer, Two ½" for the stomp switch.
Stomp Switch
500kA Potentiometer
4 Mono Jacks
Wire
Paint
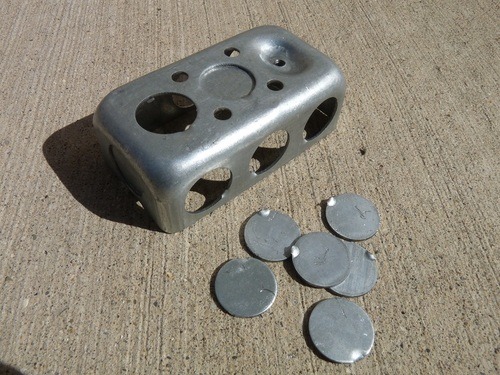
Start out by getting rid of the knock-outs where you want to place your components. A hammer or pliers help, but these usually give with finger pressure.
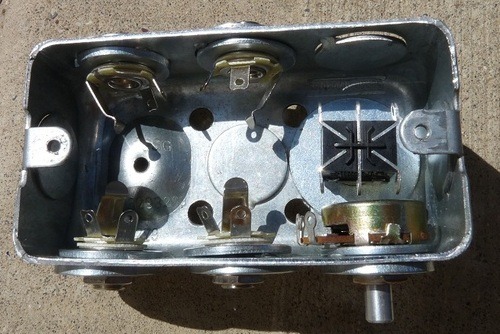
Take your washers and place one on each side of the enclosure, insert your components through and get them finger tight in case you want to move or adjust them before you start wiring.
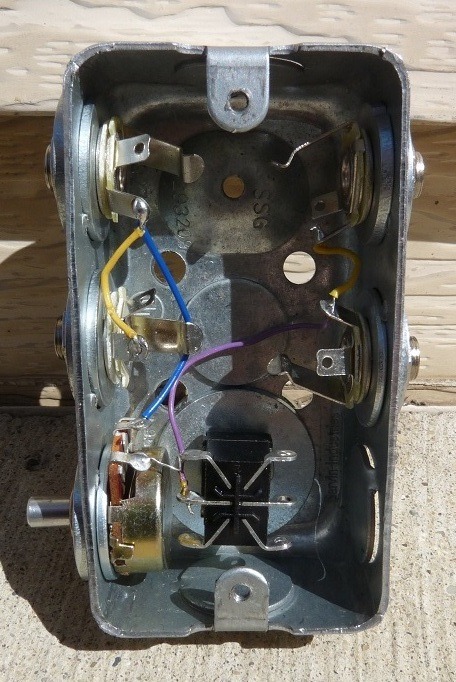
Next wire it up and solder. You’ll notice I’m using a different potentiometer than in the first photo with the parts laid out. I realized the smaller potentiometer wasn’t long enough and wouldn’t fit with the washers. They do however, fit in the holes in the top of the enclosure. They need to be threaded/twisted in, but they will fit without drilling out the hole. Always measure twice!

Finish tightening everything down, add knobs and a base plate and you’re ready to go.
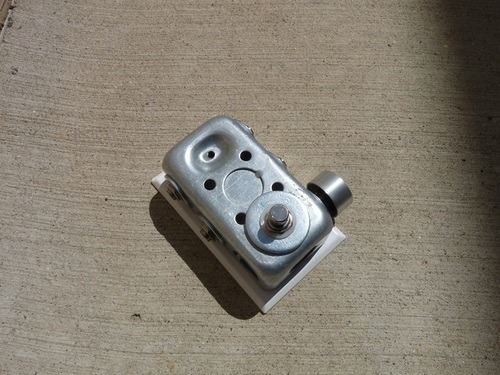
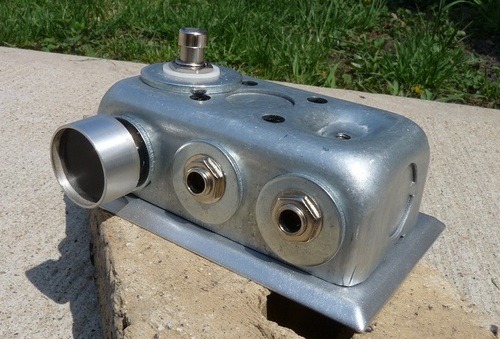
Decided on a new knob
Decided to paint the base plate silver to match the rest of the pedal
Even with my decisions to change things around and dealing with the consequences not measuring, this project took under an hour and was built mainly with parts that were lying around. Next time I’ll document an active circuit.
32 notes
·
View notes
Text
representación del núcleo atómico en su mural El hombre controlador del universo (1934). Palacio de Bellas artes, Ciudad de México, 1955, de la colección Juan Guzmán

68 notes
·
View notes


Photo
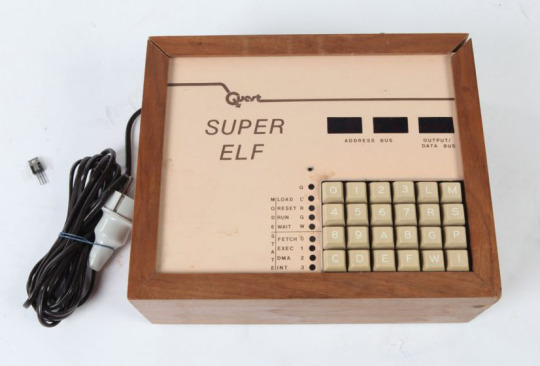
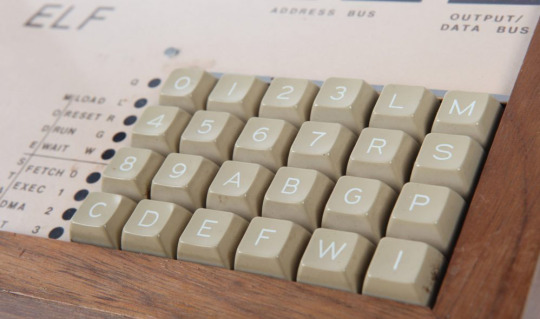


Quest Electronics // Cosmac Super Elf // DIY computer kit, 1976
via
674 notes
·
View notes