akiramasutani
Akiramasutani
A plumber is an expert who fixes or installs plumbing systems for residential or commercial buildings. A plumbing service typically comprises pipefitters and plumbers along with a carpenter. They're accountable for solving problems related to gas, water and sewage systems as well as fixing leaks and fixing the fixtures. PlumbingTechie is the best source for plumbing services, check Plumbing Blog.
3 posts
Don't wanna be here? Send us removal request.
Last Seen Blogs

ufac4
Untitled

finestdirtbiker
DirtBikeGirl

nihal2002
Senza titolo

captainpdfkitapokunet
İsimsiz

h4p-cl4p
Where am I?
Text
How to Attach a Portable Dishwasher to Your Kitchen Sink
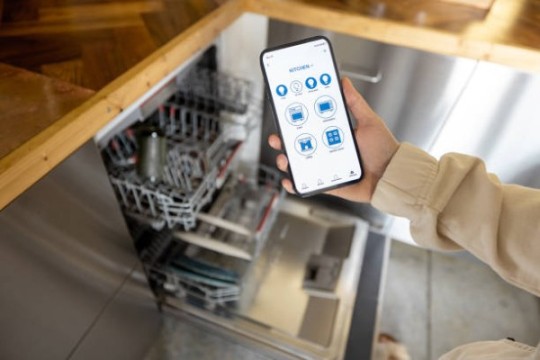
If you're anything like most people, you don't have a dishwasher in your kitchen. That's because dishwashers are huge and bulky, and they take up a lot of space. If you're looking to add a dishwasher to your kitchen, the best option is to attach a portable dishwasher to your kitchen sink. You can find these portable dishwashers in many different styles and colors, and they're very easy to set up.
What You Need To Attach a Portable Dishwasher to Your Kitchen Sink
To attach a portable dishwasher to your kitchen sink, you'll need the following items:
A portable dishwasher
A kitchen sink
Some clamps or wire hangers
Teflon tape or plastic wrap (if needed)
Kitchen Sink Tips for Attaching a Portable Dishwasher
The best way to attach a portable dishwasher to a kitchen sink is by knowing some tips for attaching the dishwasher to the sink.
Preparing Your Kitchen Sink for the Dishwasher
Before you attach the dishwasher to your kitchen sink, make sure that your kitchen sink is clean and free of any debris. This will help ensure a smooth installation process. In addition to this, you will be able to clean your dishwasher much more easily as well.
Positioning the Dishwasher on Your Kitchen Sink
Whenever you are putting your dishwasher on the sink, ensure that it is leveled so that the water flow rates are consistent all over the machine, when it is positioned on the sink. Additionally, be aware of any drainage holes in the countertop or in the flooring below the counter. If these holes aren't close enough to where you plan to install the portable dishwasher, consider using cl amps or wire hangers to hold the dishwasher in place while you attach it.
Mounting the Dishwasher Hose
youtube
Next, attach one end of the dishwashing hose to a water outlet on the back side of the portable dishwasher (usually next to or below where your drain is located). Then, use Teflon tape or plastic wrap to secure this hose connection in place. Repeat this process with another water outlet on the opposite side of the portable dishwasher.
Attach the Dishwasher to Your Kitchen Sink
Now that you have positioned and attached the portable dishwasher to your kitchen sink, it's time to start loading its interior with dishes. To do this, open the door of the machine and select a cycle setting appropriate for your dishes (usually either standard or heavy wash). Be sure to close the door after every load so that water doesn't splash all over your countertop.
Summary
With this easy guide, you'll be able to attach your portable dishwasher to your kitchen sink in no time. Just follow the simple steps outlined in the article and you'll be able to start cleaning your dishes in no time at all. Thanks for reading and we hope that you found this guide helpful.
1 note
·
View note
Text
How to Fix a Shower Lift Valve on a Faucet: DIY Tips
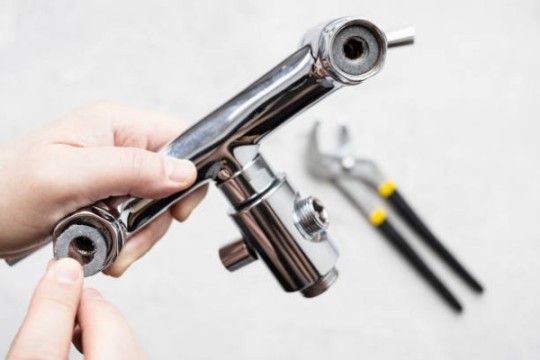
Have you ever had a problem with the shower lift valve on your faucet? If so, you're not alone. Shower lifts are one of the most common repairs people make, and they're not always easy to fix. In this post, we'll provide DIY tips on how to fix a shower lift valve on a Faucet, no matter how experienced you are. We'll also provide some tips on how to prevent this type of repair from happening in the first place. So read on and learn how to fix your shower lift valve on a faucet.
The Steps to Fixing a Shower Lift Valve
Before you begin any repair work on your shower lift valve, it is important to identify the source of the problem. When working on a shower lift valve, it is important to have access to both the hot and cold water lines. It is also helpful to have some tools that will help you fix the issue. Here are the steps for fixing a shower lift valve:
Turning Off the Water to the Faucet
This is the first and most important step. Before you do anything else, it is important to turn off the water to the faucet. This will help prevent any accidental flooding in your bathroom. Also, if the valve is covered in oil, you will be able to avoid any damage that may occur during the repair process.
Removing the Shower Head
If you have a fixed-position shower head, then it is easy to remove. If you have a handheld showerhead, then you'll need to unscrew it from the pipe below. Once removing the shower head, take note of how the valve works. You'll also want to remove any debris that has collected inside of it over time.
Checking For Leaks
As soon as you have turned off the water and removed the shower head, you will be able to see if there are any leaks under the sinks and behind the cabinet doors by using a flashlight to check for leaks. Check also around the shower valve body and hoses. If there are any signs of leakage, replace or repair as necessary.
Testing the Shower Lift
Now that all possible sources of leakage have been checked, it is time to test whether or not the shower lift is functioning. First, turn the water back on to the faucet and wait a few minutes for it to warm up before testing the shower lifts.
If you don't hear or see any water coming out of the valve when you depress it, then there may be a problem with the plumbing or hardware attached to your valve. In this case, it will likely require the replacement of either part or your entire shower lifts assembly.
Reassembly
Once you have determined that there is no functional issue with your shower lift valve, it is time to reassemble everything properly. Follow the instructions that came with your replacement part, or find a diagram online. Be careful not to pinch any of the plumbing lines while reassembling.
The Prevention of Leaks In The Future
youtube
To prevent future leaks, make sure you clean all the debris and build-up from inside of your shower head every time you use it. This will help to keep any water lines free of blockages that can lead to further leakage. You should also make sure to tighten all of the bolts on your shower head, shower valve body, and hoses properly every time you use them so they do not leak. Keeping them tight will prevent them from loosening over time and causing leaks.
Summary
Water leaks can occur in a number of different places within your home, and can be tough to find and fix. By following these tips, you should be able to identify and fix any water leaks quickly and easily. As long as you keep your home dry and free of leaks, you will be able to save money in the long run. As a result, it will be much easier for you to live in a comfortable and safer house.
#How to Fix a Shower Lift Valve on a Faucet#How to Fix a Shower Lift Valve#Shower Lift Valve#Youtube
3 notes
·
View notes
Text
How to Replace a Frost-Free Outdoor Faucet?
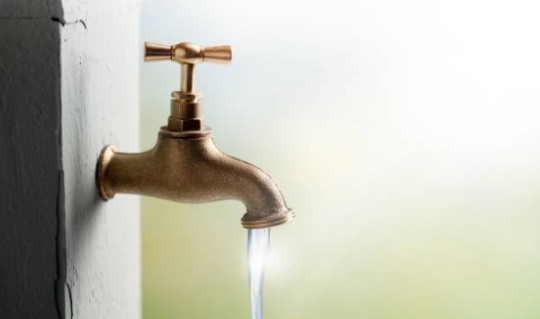
If your outdoor frost-free faucet isn't performing the way it used to, there are a few things you can do to fix the issue. Sometimes a faucet stem can become stuck, preventing the faucet from dispensing water. In some cases, the aerator on the faucet can become clogged. And finally, the filter may need to be replaced. Check out our step-by-step guide to replacing a frost-free outdoor faucet for more information.
What is a Frost-Free Faucet?
A frost-free faucet is usually one that doesn't require the use of hot water to operate. This type of faucet is typically more expensive than a standard faucet, but it can be a valuable convenience for households with young children or those who are elderly and may have difficulty reaching high places to turn on the hot water handle. When you wish to learn the latest information about outdoor faucet, you must browse around Plumbing Techie Author page.
A Step-By-Step Guide for Replacing a Frost-Free Outdoor Faucet
The following are some of the steps involved in replacing a frost-free outdoor faucet:
Identification Size of the Faucet:
In order to replace a frost-free outdoor faucet, you first need to identify the size that fits on the pipe. There are many different types and models of frost-free outdoor faucets available on the market, so it is important that you get the right one for your specific needs.
Removal of Old Faucet:
Once you have the part number, it is time to remove the old faucet. To do this, first turn off the water supply to the fountain by turning off the valve on your spout or under-the-sink tank. Next, unplug and disconnect the hoses from around the fountain. Finally, use a wrench to unscrew and remove both ends of the faucet assembly.
Installing the New Frost-Free Outdoor Fountain
Now that the new frost-free outdoor fountain is clean and sanitized, it is time to install it. First, screw the stem back on to the handle and tighten with a wrench or pliers. Then, attach the sprayer arm (if present) to the faucet body using screws or clamps.
Connecting the Hose and Connector
youtube
If your frost-free outdoor fountain features a connector, connect the garden hose to it using an over-the-counter water connector. If your faucet does not have a connector, you can attach the garden hose directly to the spigot.
Tightening Of Mounting Hardware
Once your frost-free outdoor fountain is installed, it is important to tighten the mounting hardware. Use a wrench or pliers to tighten the screws that secure the faucet body to the post. Rotate each screw in a counterclockwise direction by 1/4 turn before tightening completely.
Testing for leaks
Once the mounting hardware is tightened, test for leaks by filling a bowl with water and placing it next to the fountain. If there are no leaks, you’re ready to turn on your faucet.
Conclusion:
Thank you for reading this guide on how to replace a new frost-free outdoor fountain. This project is relatively easy, but it does require some careful preparation and execution. Be sure to follow the instructions carefully, and don’t forget to test for leaks before turning on your faucet.
3 notes
·
View notes