villainelle
a son for a son
mal / 24 / gifmaker tracking #usermal
32738 posts
Don't wanna be here? Send us removal request.
Last Seen Blogs

kudinoxixuto
Untitled

sighslost
_ Nothing
holyverbena
i'm into that

h67prfemdom
Pour Adultes Uniquement

nuoriyn
☾
Photo

they hated this poor herb so fucking bad
100K notes
·
View notes
Text


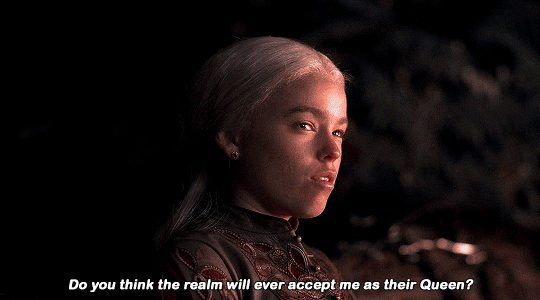


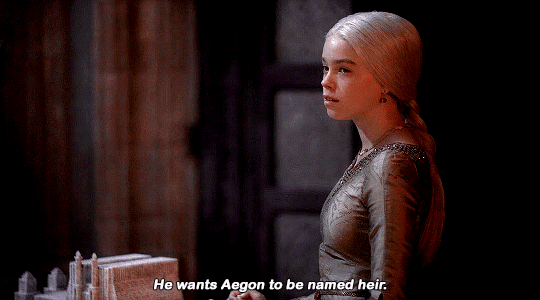
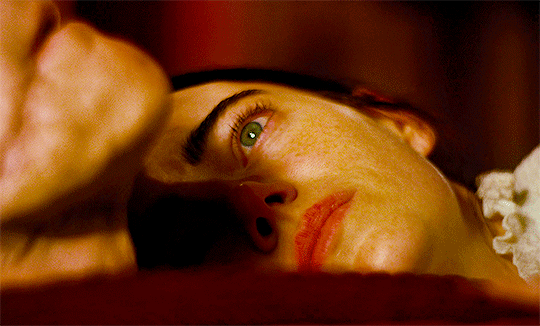
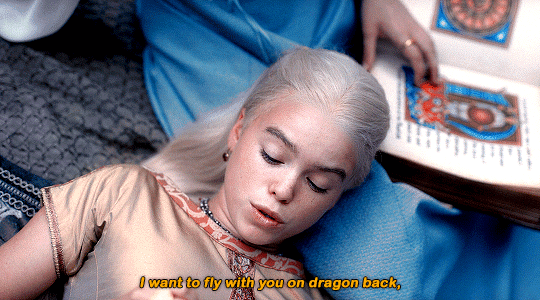
"What’s really interesting is that Rhaenyra has grown up with an expectation that there will be, at some point, a brother who will take on the heirdom and carry the lineage forward. She’s grown up always knowing that it’s not her destiny and that she will always be, to some extent, set aside as an aside." — Emma D'Arcy
#there's so many more scenes but i could not colour match them for the life of me so. i'm leaving it here 💖#rhaenyratargaryenedit#hotdedit#tvedit#mine: gifs#*mine
194 notes
·
View notes
Photo


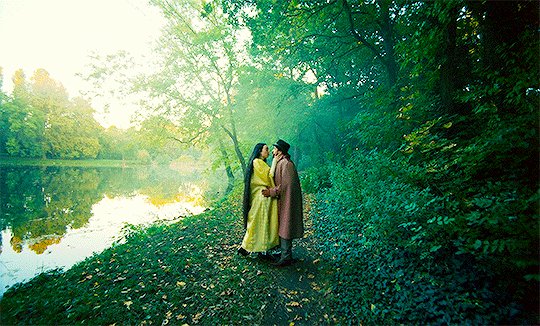
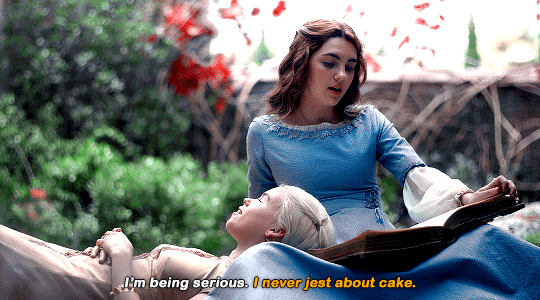
Matt Smith as Daemon Targaryen and Nanna Blondell as Laena Velaryon
House of the Dragon | 1.06 The Princess and the Queen
570 notes
·
View notes
Text

Someone asked me how I created the fade transition in this gifset which I’ll try to explain in the most comprehensive way that I can. If you've never done something like this before, I suggest reading through the full tutorial before attempting it so you know what you'll need to plan for.
To follow, you should have:
basic knowledge of how to make gifs in photoshop
some familiarity with the concept of how keyframes work
patience
Difficulty level: Moderate/advanced
Prep + overview
First and foremost, make the two gifs you'll be using. Both will need to have about the same amount of frames.
For ref the gif in my example is 540x540.
I recommend around 60-70 frames max total for a big gif, which can be pushing it if both are in color, then I would aim for 50-60. My gif has a total of 74 frames which I finessed using lossy and this will be explained in Part 4.
⚠️ IMPORTANT: when overlaying two or more gifs and when using key frames, you MUST set your frame delay to 0.03 fps for each gif, which can be changed to 0.05 fps or anything else that you want after converting the combined canvas back into frames. But both gifs have to be set to 0.03 before you convert them to timeline to avoid duplicated frames that don't match up, resulting in an unpleasantly choppy finish.
Part 1: Getting Started
Drag one of your gifs onto the other so they're both on the same canvas.
The gif that your canvas is fading FROM (Gif 1) should be on top of the gif it is fading INTO (Gif 2).

And here's a visual of the order in which your layers should appear by the end of this tutorial, so you know what you're working toward achieving:

Part 2: Creating the grid
Go to: View > Guides > New guide layout
I chose 5 columns and 5 rows to get the result of 25 squares.

The more rows and columns you choose, the more work you'll have to do, and the faster your squares will have to fade out so keep that in mind. I wouldn't recommend any more than 25 squares for this type of transition.

To save time, duplicate the line you've created 3 more times, or as many times as needed (key shortcut: CMD +J) and move each one to align with the guides both horizontally and vertically. You won't need to recreate the lines on the edges of the canvas, only the ones that will show.
After you complete this step, you will no longer need the guides so you can go back in and clear them.

Follow the same duplicating process for the squares with the rectangle tool using the lines you've created.
Align the squares inside the grid lines. The squares should not overlap the lines but fit precisely inside them.
This might take a few tries for each because although to the eye, the squares look all exactly the same size, you'll notice that if you try to use the same duplicated square for every single one without alterations, many of them will be a few pixels off and you'll have to transform the paths to fit.
To do this go to edit > transform path and hold down the command key with the control key as you move one edge to fill the space.
Once you're done, put all the squares in their separate group, which needs to be sandwiched between Gif 1 and Gif 2.

Right click Gif 1 and choose "create clipping mask" from the drop down to mask it to the squares group. This step is super important.
After this point, I also took the opacity of the line groups down to about 40% so the lines wouldn't be so bold. Doing this revealed some squares that needed fixing so even if you aren't going dim the lines, I recommend clicking off the visibility of the lines for a moment to make sure everything is covered properly.

Part 3A: Prep For Key framing
I wanted my squares to fade out in a random-like fashion and if you want the same effect, you will have to decide which squares you want to fade out first, or reversely, which parts of Gif 2 you want to be revealed first.
In order to see what's going on underneath, I made Gif 1 invisible and turned down the opacity of the squares group.

If you want text underneath to be revealed when the squares fade away, I would add that now, and place the text group above Gif 2, but under the squares group.

Make a mental note that where your text is placed and the order in which it will be revealed is also something you will have to plan for.
With the move tool, click on the first square you want to fade out. Every time you click on a square, it will reveal itself in your layers.
I chose A3 to be the first square to fade and I'm gonna move this one to the very top of all the other square layers.
So if I click on D2 next, that layer would need to be moved under the A3 layer and so on. You'll go back and forth between doing this and adding key frames to each one. As you go along, it's crucial that you put them in order from top to bottom and highly suggested that you rename the layers (numerically for example) which will make it easier to see where you've left off as your dragging the layers into place.

Part 3B: Adding the Keyframes
This is where we enter the gates of hell things become tedious.
Open up the squares group in the timeline panel so you can see all the clips.
Here is my example of the general pattern that's followed and its corresponding layers of what you want to achieve when you're finished:

So let’s try it!
Expand the control time magnification all the way to the right so you can see every frame per second.

As shown in Part 3A, select your first chosen square.
Where you place the time-indicator on the panel will indicate the placement of the keyframe. Click on the clock next to opacity to place your first keyframe.

Move the time-indicator over 3 frames and place the next key frame.

Things to consider before moving forward:
Where you place your very first keyframe will be detrimental. If you're using a lot of squares like I did, you may have to start the transition sooner than preferred.
If you're doing 25 squares, the key frames will have to be more condensed which means more overlapping because more frames are required to finish the transition, verses if you're only using a 9-squared grid. See Part 4 for more detailed examples of this.
The opacity will remain at 100% for every initial key frame, and the second one will be at 0%.

Instead of creating two keyframes like this and changing the opacities for every single clip, you can copy the keyframes and paste them onto the other clips by click-dragging your mouse over both of them and they'll both turn yellow. Then right click one of the keyframes and hit copy.
Now drop down to your next clip, move your time-indicator if necessary to the spot where the first keyframe will start and click the clock to create one. Then right click it and hit "paste".


Tip: When you have both keyframes selected, you can also move them side to side by click-dragging one of them while both are highlighted.
Your full repetitive process in steps will go as follows:
click on square of choice on the canvas
drag that square layer to the top under the last renamed
in timeline panel: drop down to next clip, move time-indicator tick to your chosen spot for the next keyframe
create new keyframe
right click new keyframe & paste copied keyframes
repeat until you've done this with every square in the group
Now you can change the opacity of your squares layer group back to 100% and turn on the visibility of Gif 1. Then hit play to see the magic happen.
PART 4: Finished examples
Example 1

the transition starts too soon
Cause: initial keyframe was placed at frame 0
the squares fade away too quickly
Cause: overlapping keyframes, seen below.
(this may be the ideal way to go with more squares, but for only 9, it's too fast)

Example 2

more frame time for first gif
transition wraps up at a good point
Cause: in this instance, the first keyframe was placed 9 frames in, and the keyframes are not overlapping. The sequential pair starts where the last pair ended, creating a slower fade of each square.


Part 5: Final Tips and Saving
You can dl my save action here which will convert everything back into frames, change the frame rate to 0.05 and open the export window so you can see the size of the gif immediately.
If it's over 10gb, one way to finesse this is by use of lossy. By definition, lossy “compresses by removing background data” and therefore quality can be lost when pushed too far. But for most gifs, I have not noticed a deterioration in quality at all when saving with lossy until you start getting into 15-20 or higher, then it will start eating away at your gif so keep it minimal.

If you've done this and your gif is losing a noticeable amount of quality and you still haven’t gotten it below 10gb, you will have no choice but to start deleting frames.
When it comes to transitions like this one, sometimes you can't spare a single frame and if this is the case, you will have to return to the timeline state in your history and condense the key frames to fade out quicker so you can shorten the gif. You should always save a history point before converting so you have a bookmark to go back to in case this happens.
That's pretty much it, free to shoot me an ask on here or on @jugheadjones with any questions.
210 notes
·
View notes
Text


I have adventured it and found nothing but sugar and violence.
Poor Things (2023) dir. Yorgos Lanthimos
1K notes
·
View notes
Text


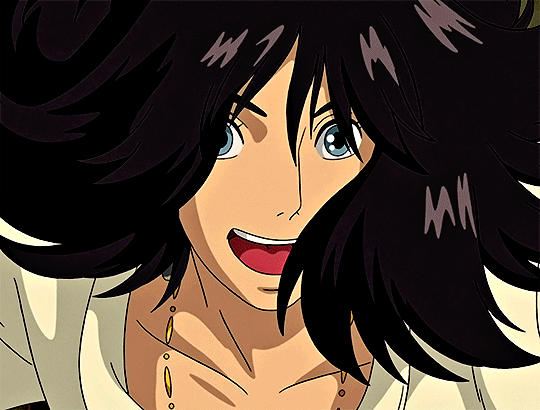
Sabrina the Teenage Witch | 2.22 - "Quiz Show"
768 notes
·
View notes
Text

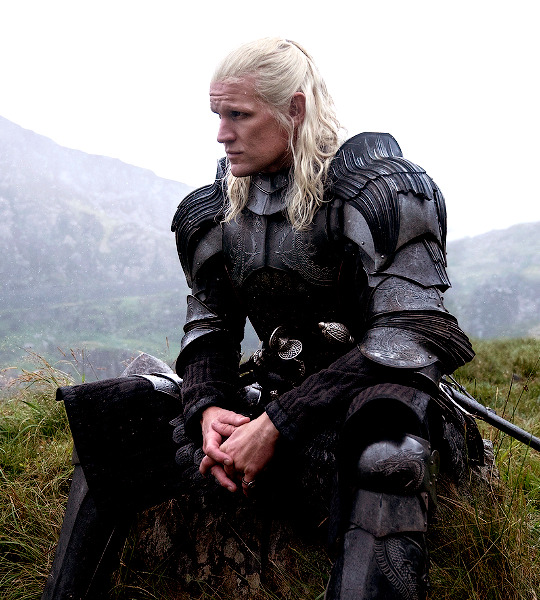

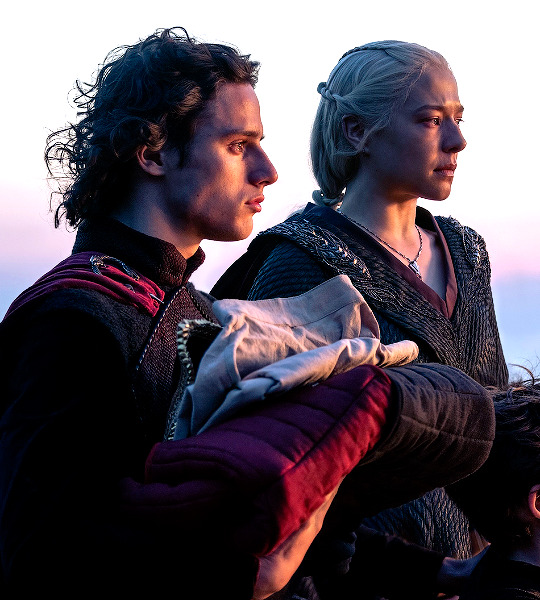
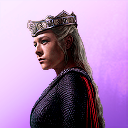
New official stills of Team Black in House of the Dragon: Season 2 (June 2024)
1K notes
·
View notes
Text


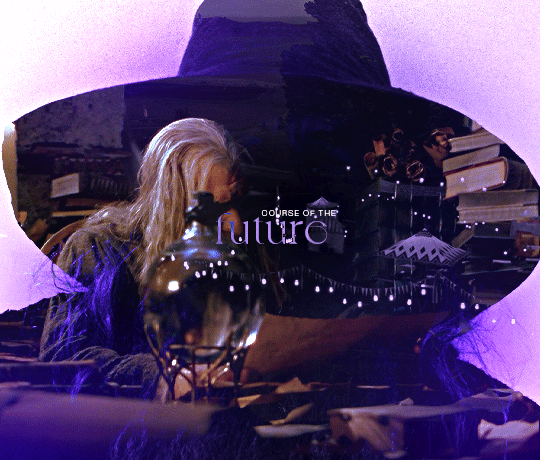
Howl's Moving Castle (2004) dir. Hayao Miyazaki

286 notes
·
View notes
Text
guy tries to toss a cigarette on the ground but the ground parries it and it flies back into his mouth and he solemnly continues to smoke it
69K notes
·
View notes
Text

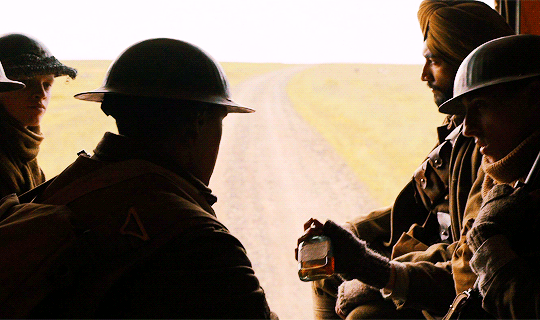
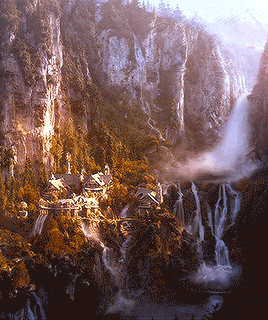
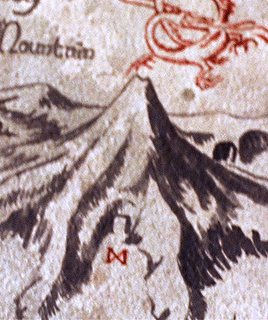
The Lord of the Rings: The Fellowship of the Ring (2001) dir. Peter Jackson | insp
335 notes
·
View notes
Text
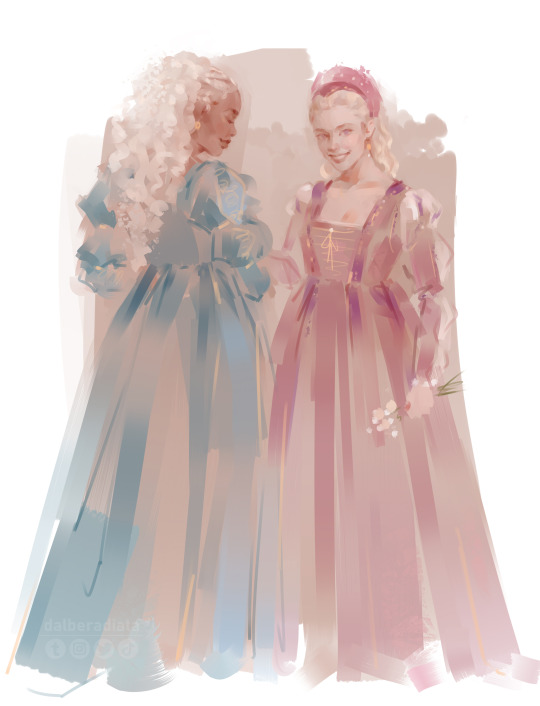
Laenyra para el corazón
2K notes
·
View notes
Text
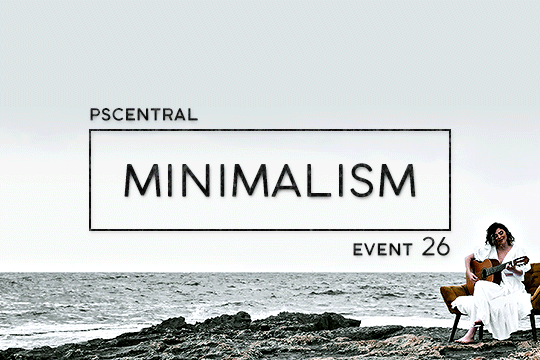
PSCENTRAL — EVENT 26: MINIMALISM
this april we will keep things simple with minimalism! instead coming up with most elaborate effects or concept, we aim for simplicity and remind ourselves that less is more. feel free to make a simple gifset or incorporate something related to the notion of minimalism for this event: you can interpret this event whatever you want!
this event runs from april 1st ~ 28th 2024. the submission window closes at 11:59pm of april 28th in pacific daylight time.
to participate:
✦ join the network
✦ reblog this post
✦ make a gifset that fits this month’s prompt
✦ caption your post: @pscentral event 26: minimalism
feel free to message us if you have any questions about the event. we’re excited to see what you create!
122 notes
·
View notes
Text
I must sleep. Sleep is the mind-healer. Sleep is the big-life that brings total ability to fucking do anything. I will face my bed. I will permit the blankie to pass over me and snores to pass through me. And when sleep has gone past I will turn the outer eye to greet the new morning. When the sleep has gone there will be everything. Energy and will to live will remain.
56K notes
·
View notes
Photo


I am sharing food with you; it is all I can do, and it is everything.
― Andre Dubus
2K notes
·
View notes
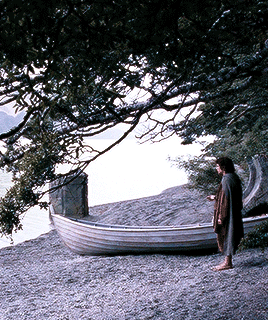
Text
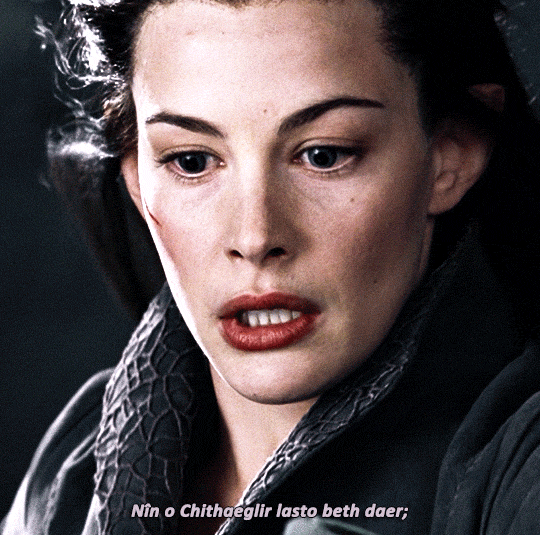


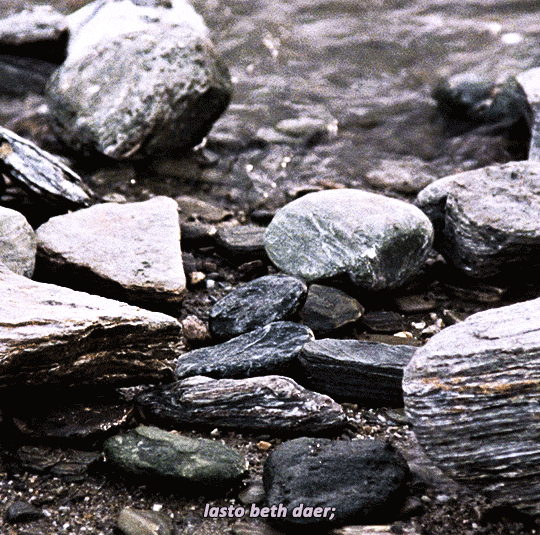

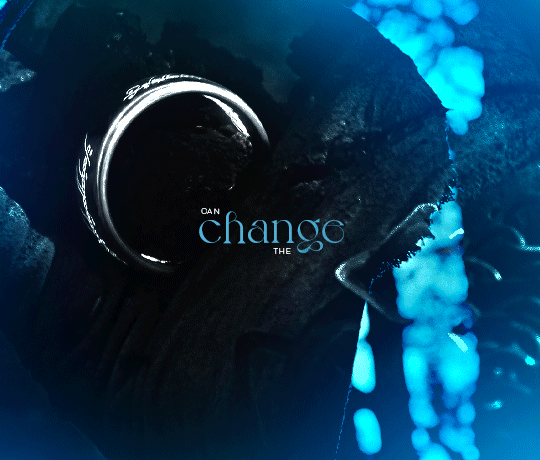
Waters of the Misty Mountains, listen to the great word; flow waters of Loudwater, against the Ringwraiths!
LORD OF THE RINGS: THE FELLOWSHIP OF THE RING (2001) dir. Peter Jackson
726 notes
·
View notes
Text

House of the Dragon | 1.01 "The Heirs of the Dragon"
#can't believe apart from this scene most of my fave scenes are filmed in a cave with one neolithic torch#sr
316 notes
·
View notes
Text


"Put it away! I am sorry: sorry you have come in for this burden; sorry about everything. Don’t adventures ever have an end? I suppose not. Someone else always has to carry on the story. Well, it can’t be helped. I wonder if it’s any good trying to finish my book? But don’t let’s worry about it now – let’s have some real News! Tell me all about the Shire!"
745 notes
·
View notes