#tracing paper
Text
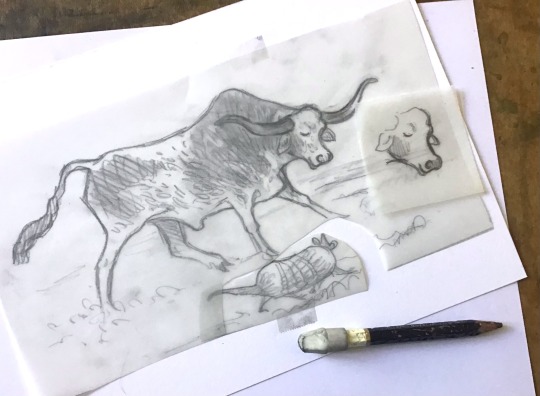

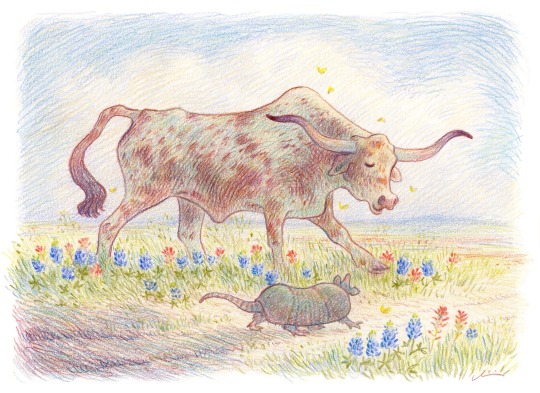
Usually I make adjustments to a sketch on the computer before I trace it, but sometimes I notice something afterwards and have to do some surgery. It’s quicker than booting up my old computer again 😅
180 notes
·
View notes
Text

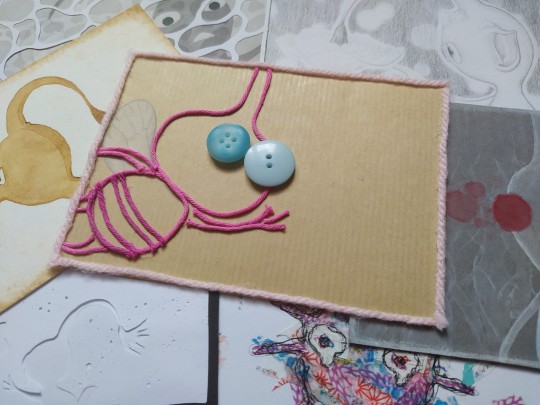
7/9 only Rock and Ice left
#sn0w fanarts#traditional art#pikmin#winged pikmin#pikmin fanart#sn0wmins#wool#yarn art#mixed media#buttons#tracing paper
21 notes
·
View notes
Photo


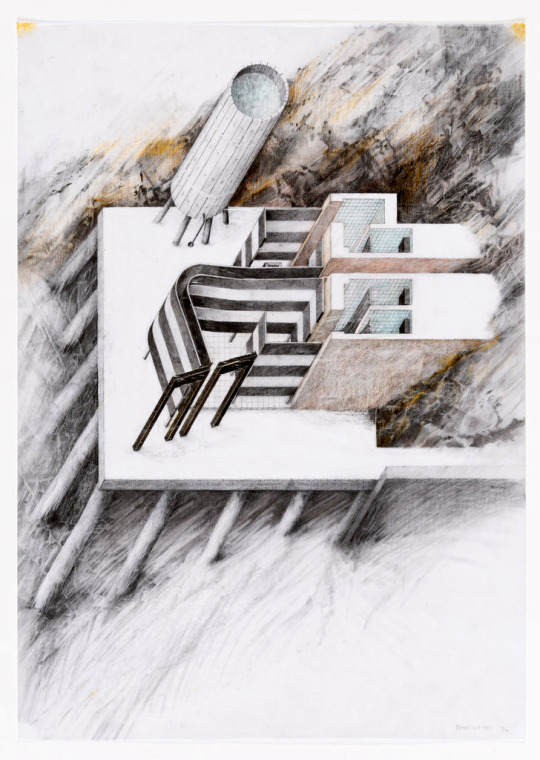


“Public Convenience” [Pencil and watercolour, 333 x 493 mm, 1976] _ “Thomas Crapper's Invention” [Graphite and coloured crayon on trace , 420 x 295 mm, 1976] _ “Splash and Gurgle” [Graphite and coloured crayon on trace, 420 x 295 mm, 1976] _ Architect: Peter Wilson.
Image source: https://drawingmatter.org/
https://drawingmattercollections.com/lightbox/?st=0402abf384b66e1ea4b83169f6e4fc0f448dd11c&target=same&fbclid=IwAR2AjTNzAJwobWYTinqIJ-AwcvqHnLTwYPrWNmV5neu2KF5-1ARzNcxcwDc
#Public Convenience#Thomas Crapper's Invention#Splash and Gurgle#Pencil and watercolour#Graphite#Coloured crayon#Trace#Tracing Paper#Drawings#Drawing Matter#Peter Wilson#1976#Spyros Kaprinis#2023
39 notes
·
View notes
Text

December 3, 2022
society6.com/abiwhales
#grace petrie#lyrics#connectivity#affirmation#collage#art collage#line drawing#tracing paper#david hockney#matisse#puppy#dog drawing#pen and ink#pen drawing#drawn#journal#visual journal#art journal#journal page
100 notes
·
View notes
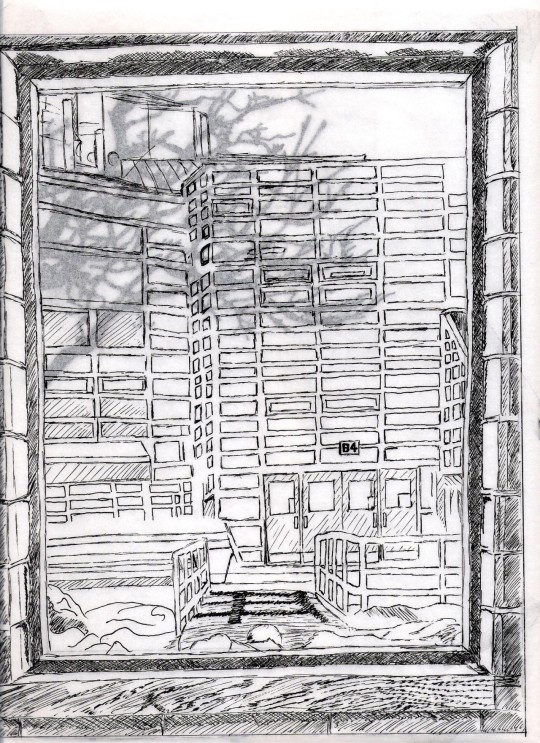
Text
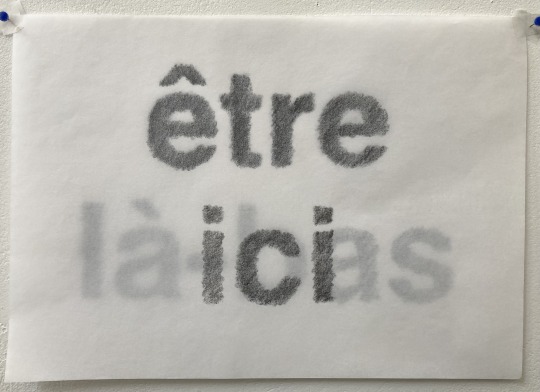
Être Ici_Là-bas, 2022
(To be here there, 2022)
Graphite sur papier 32 g (dit papier pelure)
105 notes
·
View notes
Text
I've been experimenting and did some scene studies for Monkie Kid! OvO


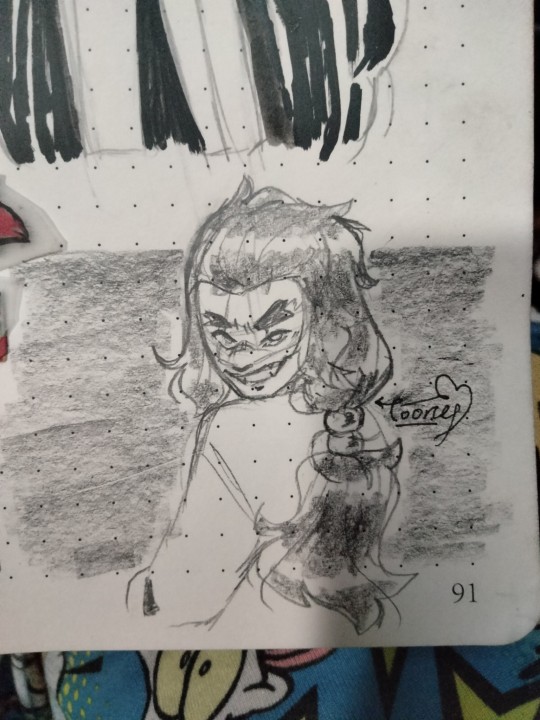

Got some transparent sticky notes and went wild lol.
#toony draws#traditional art#art#hardsketch#fanart#doodle#practice#experimenting#tracing paper#markers#sticky notes#lego monkie kid#monkie kid#red son#macaque#six eared macaque#princess iron fan#lmk pif#demon bull king#lmk dbk#demon bull family#sun wukong#monkey king#study notes
15 notes
·
View notes
Text
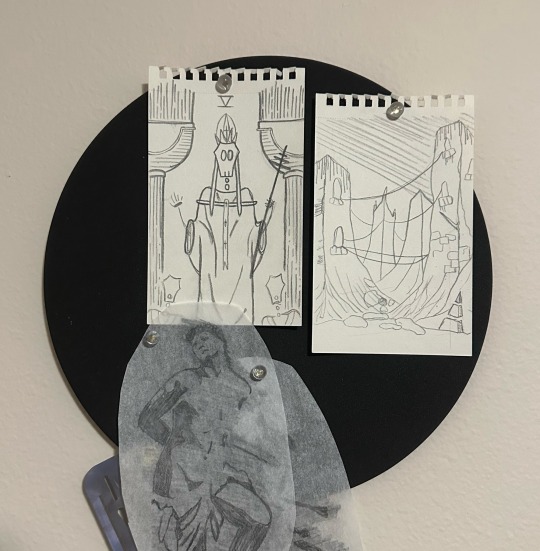
sketches and transfers
the heirophant, a small desert town, and st. sebastian
#sketch#sketchbook#tracing paper#saint#sebastian#the heirophant#doodle#artists on tumblr#trans artist#aesthetic#artwork#linocarving#block printing#trans#art#black#pencil
2 notes
·
View notes
Text
araki x tentacles
more on instagram
9 notes
·
View notes
Text
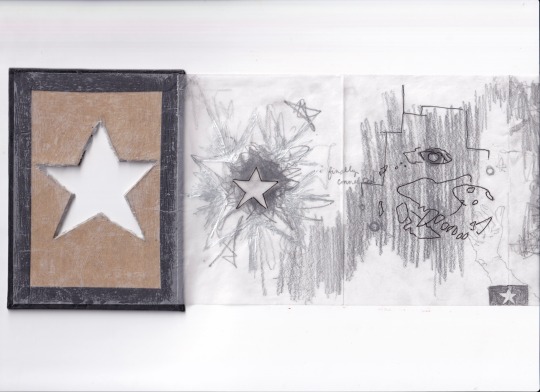
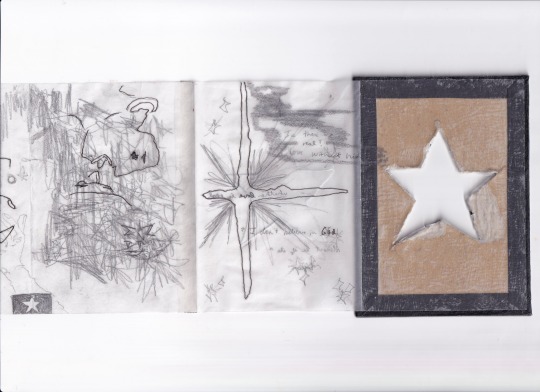
scans of a lil zine i made
#my art#sketch#sketchbook#zine#bookbinding#accordion fold#tracing paper#star#my drawing#drawing#graphite#ink
6 notes
·
View notes
Text
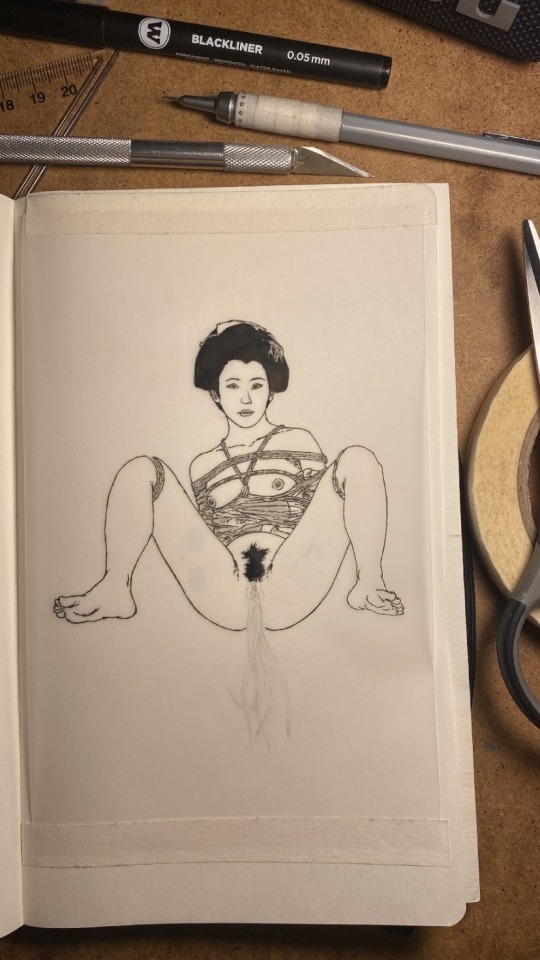
And for those interested in how to transfer from tracing paper to the final paper, this is how I do it - just flip the tracing paper pencil-side down and go over the back of the lines I want transferred with a hard pencil (but not so hard as to dent the paper underneath – been there, regretted that 🫠) The image does get flipped, which is why you have to flip it on the computer before you do the initial tracing.
105 notes
·
View notes
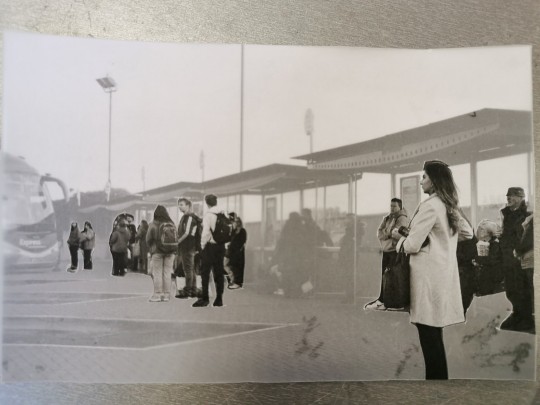
Text
Transparent Layer Photos (15.11.22)


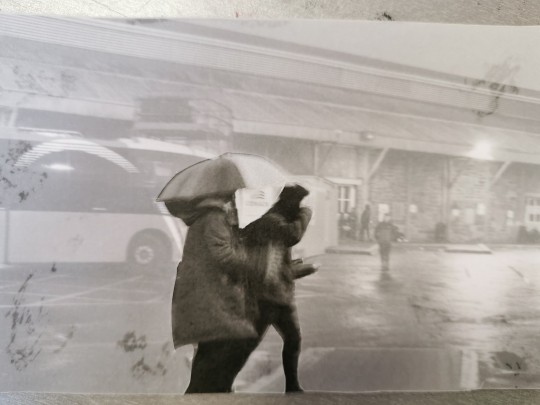
These are my favourite photographs from my transparent layering experiment and I'm very impressed with how they turned out!
Making them black and white and cutting around the focal point really helped show the viewer how I saw the scene before I took the photo and what drew me in to take it.
6 notes
·
View notes
Text
1 note
·
View note
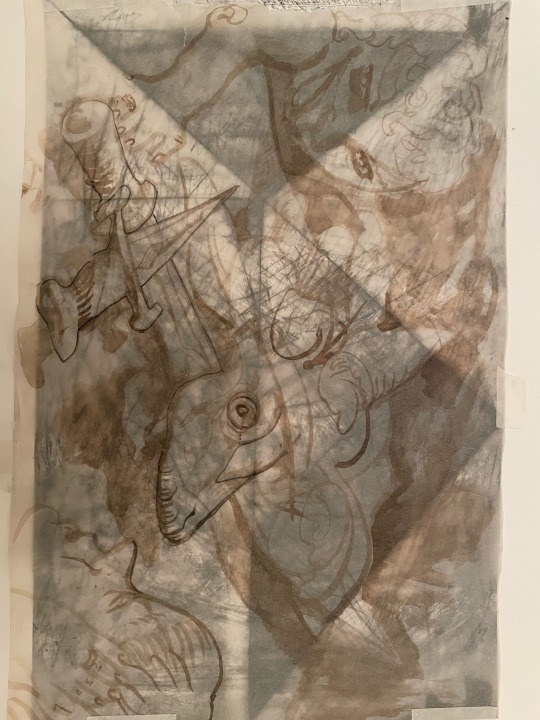
Text
When you don't have carbon paper or transfer paper for applying an existing image to something else, you make your tracing with tracing paper, and then scribble on the back of that tracing with a very soft lead pencil. Then you lay the tracing paper scribble side down onto whatever you want to apply the image to, and trace over the traced lines again, with a bit of pressure so it transfers the graphite from the back onto the object underneath.
This is a tried and true method, used the world round.
I found out the fun way that sometimes this process can result in creepy accidental images
This is the back side of the tracing paper, where I scribbled the soft pencil.
1 note
·
View note
Text
Portrait from Sheridan Oakville Winter Term 2015
July 14th, 2023 11:16pm
0 notes
Last Seen Blogs

alabasterjarr
Overflow
edith-finch
Edith Finch

20moonchild21
Moonchild Don‘t Cry,
Moonchild You Shine.
qr-0x07105-new
QR-0x07105(new)