#pirate shirt
Text
FREE POETSHIRT PATTERN
Some assembly required
Ok so. I made a sewing pattern that involves a lot of maths on the end users part - this is the only way I, a complete pattern making novice, can make this 100% size inclusive. Luckily it’s super simple and it just a whole bunch of rectangles.

Yes it’s written in cm. Bite me.
So to elaborate a bit:
It’s pretty straight forward. You plug in your own measurements in the places it’s needed.
Body x2: should be twice your either shoulder width or your widest point (if you’re more pear shaped you might want to use your hip width) by the length from your shoulder to about mid thigh* (you can make it as long or short as you want. This could probably also work as a shift pattern in a pinch). In one of the pieces, you should cut a slit in the middle, which as shown above should be about from your neck to your sternum.
Sleeves x2: these should be 2-3 times your bicep measure (this will determine the poofiness of the sleeves), by your arm length. Adding a few cm to the length can be a good idea here. I usually just round up to what seems most logical.
Cuffs x4: your wrist measure + 3-4cm of ease, by how ever long you want them - 5-10cm is a good place to start.
Collar x2: your collar measure** by however tall you want your collar. Keep in mind that it will be folded over.
Gussets
Oh glorious gussets. The whole reason this pattern works! But also where it gets a bit mathy
Sleeve gussets: these are square. The diagonal should be about 1/6 of your total armscye (all the way around). Rather a bit too small than too big - it can fuck up the fit (it did for me)
Shoulder gussets: these will depend wholely on how buff your trapezius muscles are. If your neck/shoulder is at a right angle, they’re not strictly necessary, but if you’re super buff, they’re very necessary. I’d say an average shoulder gusset is about 5-7cm, but it’s up to you.
Reinforcements
Again, these aren’t strictly necessary, but if you want your shirt to last it’s a good idea to put them in. You can choose to use between 5 and 10 total. These don’t need to be very big, they just go at any split in the fabric. About 2,5cm is good.
Instructions
I used these videos for assembly instructions
youtube
This is going to be hard without pictures…
youtube
youtube
*you can also keep the body as one piece, which should then be twice the length you want it. The slit at the neck will also have to be cut in the middle of the piece.
**your collar measure is the measurement at your neck going over your collarbone rather than tight to the neck.
298 notes
·
View notes
Photo


Just look at all that pain...
#Los Angeles CA 10/17/2022#gerard way#mcr#pirate shirt#my chemical romance#tw: flashing lights#decay era#or maybe it' swarm era whatever#rubbish78gifs#my gifs#fake your death
719 notes
·
View notes
Text
Almost done with the shirt I work on since... July...
Now I only need to make 6 bottoms, sew them on. Sew the button holes and then I am actually done!!!!
192 notes
·
View notes
Photo

House of Muscle - Hamidiu Banor by Baldovino Barani x FACTORY Fanzine
#hamidiu banor#baldovino barani#factory fanzine#house of muscle#vintage#ballroom#voguing#beauty#muscle#dance#pearls#willi ninja#hands#pirate shirt#80s#queer#fanzine
600 notes
·
View notes
Text
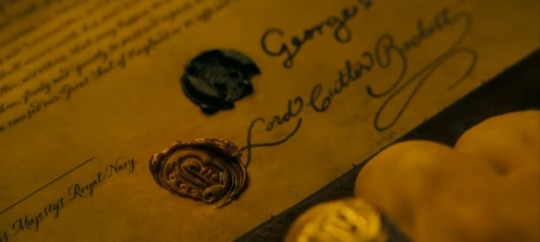


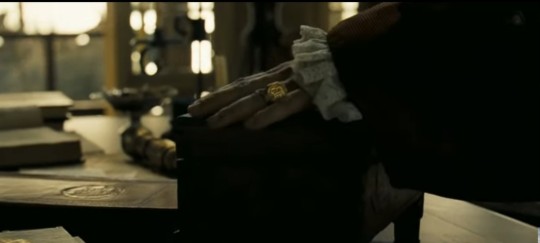

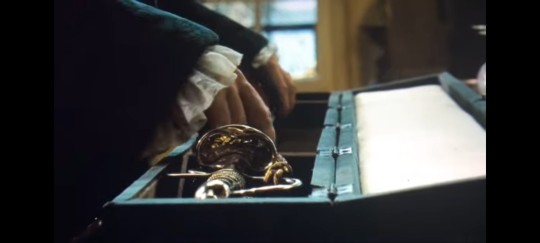
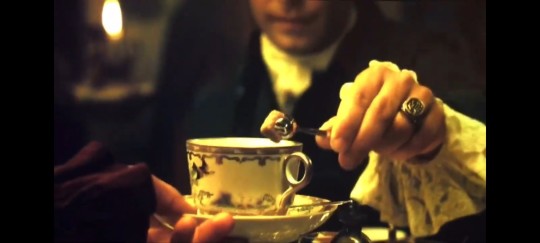


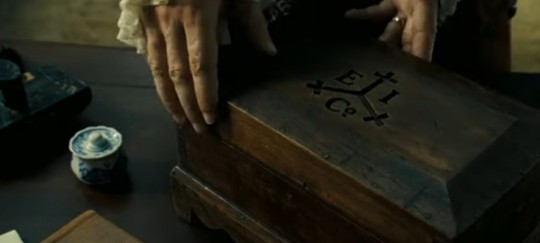
Re-watching potc and dead man's chest and at worlds end really have some pretty hand shots
#fandom#potc#pirates#dead mans chest#pirates of the caribbean#pirates of the caribbean dead mans chest#pirates of the carribean at worlds end#lord cutler beckett#cutler beckett#jack sparrow#will turner#elizabeth swann#james norrington#davy jones#hector barbossa#captain barbossa#captain sparrow#lord beckett#commodore norrington#pirate shirt#black pearl#flying dutchman#east india company#hands#aestethic
224 notes
·
View notes
Text

A little Labyrinth touch with oil painted earrings I did and a goblin king necklace off Etsy 🔮Shirt from a medieval market, skirt is Retroscope Fashions (from high school), boots I think off Amazon.
#ootd#goblin king#goblin queen#pirate shirt#retroscope fashions#labyrinth#labyrinth fashion#oil painted earrings#jareth necklace
137 notes
·
View notes
Note
you asked me about stitching and i completely forgot. that’s the fault of the brain scorpions, not a lack of interest. tell me about shirts, the flouncy-pirate type
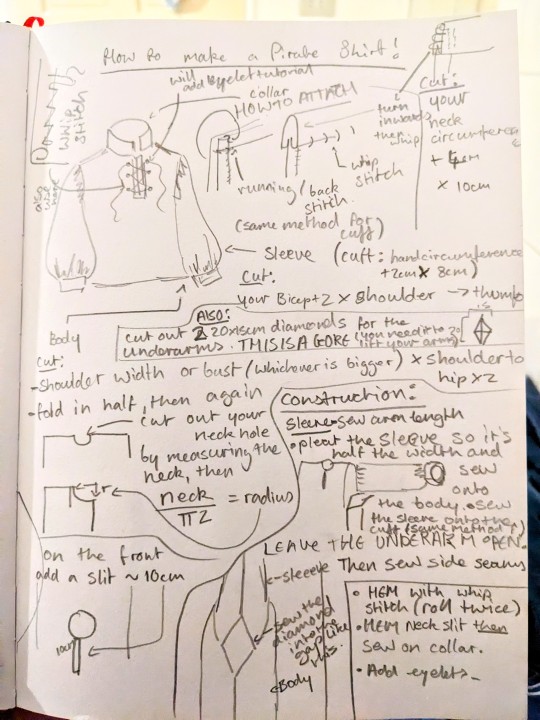
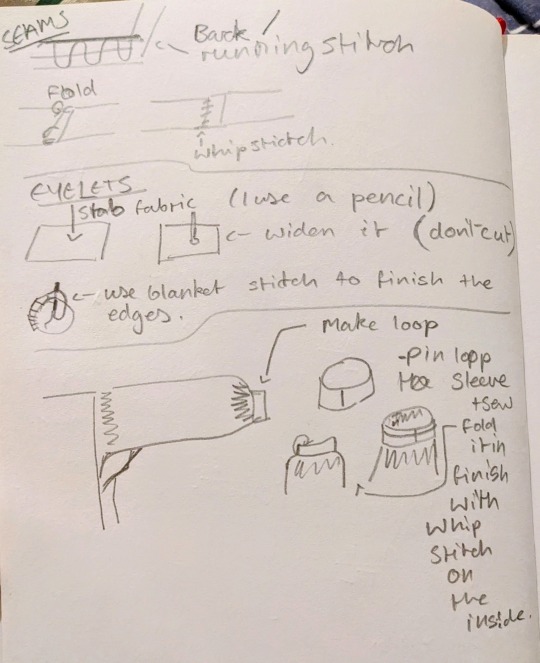
I hope you love a diagram because I do. I have a diagramed eyelet tutorial on my blog as well that includes photos if this isn't enough.
this is meant to be an undershirt, I recommend cotton or linen for materials, or anything else similarly gauzy.
6 notes
·
View notes
Photo

👁
#i prefer this cropped but this is the original version#i feel like it still needs something lol but whatever#art#digital art#original art#painting#blood#blood tw#arin moss#arin moss art#Aesthetic#drawing#artwork#digital painting#pirate shirt#victorian#Victorian aesthetic#horror#pearls#trans#nonbinary
71 notes
·
View notes
Text
ITS DONE!
121 notes
·
View notes
Text

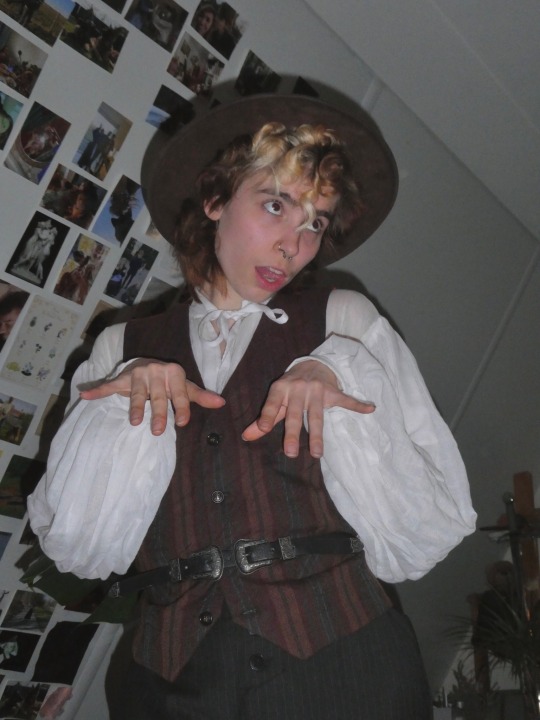
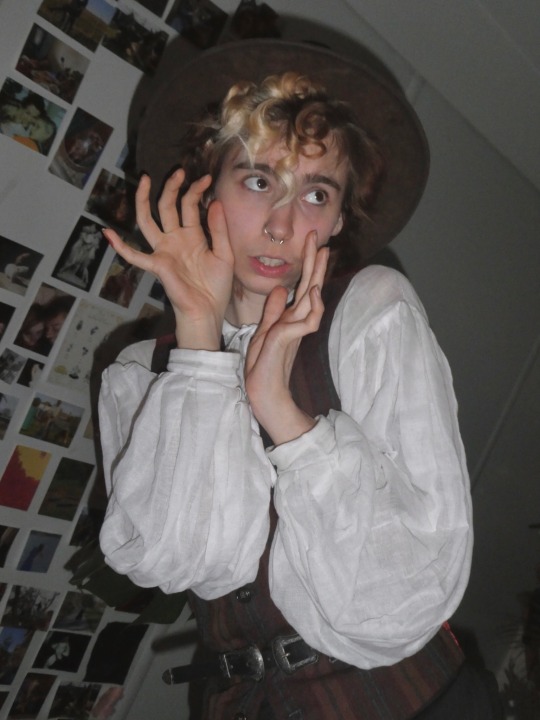
Slaying in my gay little outfit
#nonbinary outfit#ootd#outfit#slay#vampire#pirate#cowboy#gay#nonbinair#trans#historybound#historical costuming#historybounding#pirate shirt#regency shirt#transgender
27 notes
·
View notes
Text

Pirate shirt update: both neck gussets are in. Yesterday I really struggled with the first one, but the second one was much easier. I also watched a video about how to do buttonhole stitch.
Next steps are adding the shoulder strips, reinforcing the bottom of the neck slit, and gathering the neck.
#pirate shirt#sewing#hand sewing#im going to do daily updates i think. at least for days where i work on it#so i can see my progress#magpiemending
7 notes
·
View notes
Text
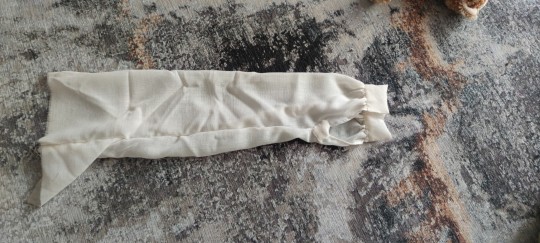
My Pirate Shirt fabric arrived! Six days shipping from India, which is INSANE. I can't get stuff from Amazon on Prime in six days and their warehouse is like a hour away.
Anyway, also I'm very happy with the fabric. Good color, very soft, thin but nicely opaque...
I've cut (okay mostly torn) all of my pieces and have started hemming. By hand, which means my hems are going to look like a Real Pirate sewed them.
My handsewing SUCKS. Not at all attractive. Look, I'm a machine sewer. But I can't GET to my machine with a broken foot and can't use it even if I could, cause it's foot fucking operated.
So historically accurate assembly it is. Complete with very wonky stitches. I'm sure there were pirates shitty at sewing, right? Most of the stitching won't show, just the hem, really, which most likely will be tucked in to something anyway.
(Also because I had to buy six yards to get free shipping (it would have cost as much in shipping as the fabric cost otherwise) I have enough for two shirts. I thought I might need 4-5 yards but I think I'm only using 3 unless something goes terribly wrong.
I wish I had order 3 of black and 3 of red but I would have been afraid I wouldn't have enough.
Stede's shirt appears to have a black ruffle trim in the trailer, which I may add later or may make removable because this shirt would be more wearable for me without ruffles getting in the way.
Also I'm basically using Bernadette's tutorial here for this, fyi. Slight changes to cuff and I'm adding a shoulder placket that I can see on some of Stede's other shirts, because it will allow more gathering across the entire front.
19 notes
·
View notes
Text
Frank Iero & Gerard Way performing 'The Foundations of Decay' in Inglewood, CA on 10/17/2022 (x)
#gerard way#my chemical romance#frank iero#mcr#decay era#or maybe it' swarm era whatever#tw: flashing lights#pirate shirt#rubbish78gifs#my gifs
361 notes
·
View notes
Text
I have a lot of free time right now, and feel like DOING ALL THE THINGS
one if those things, is the Stacy core shirt from Bernadette Banner and clockworkfaerie
I already ordered some linen. But i don't want to spoil, expensive and good fabric with my absolute hand sewing beginner vibes.
So i practice it with some very loosely woven fabric i got ages ago (like with the fiber for my wedding dress)
I already have the fist sleeve finished!
Right now I'm working on the second one. And I think about adding some drawn thread lace near the cuff. What I'm trying out on the second sleeve. It is so tedious and small 🥲
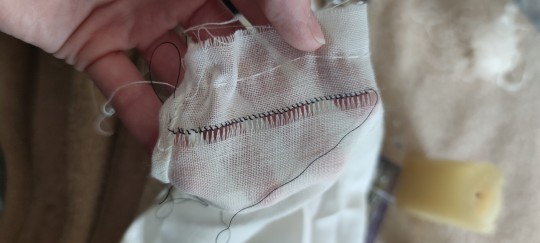
I hope it looks decent at least..
Also the thread I have is way to sturdy for the fabric. (2 ply linen thread vs on ply cotton weave fabric. At least I think it's cotton)
209 notes
·
View notes
Text
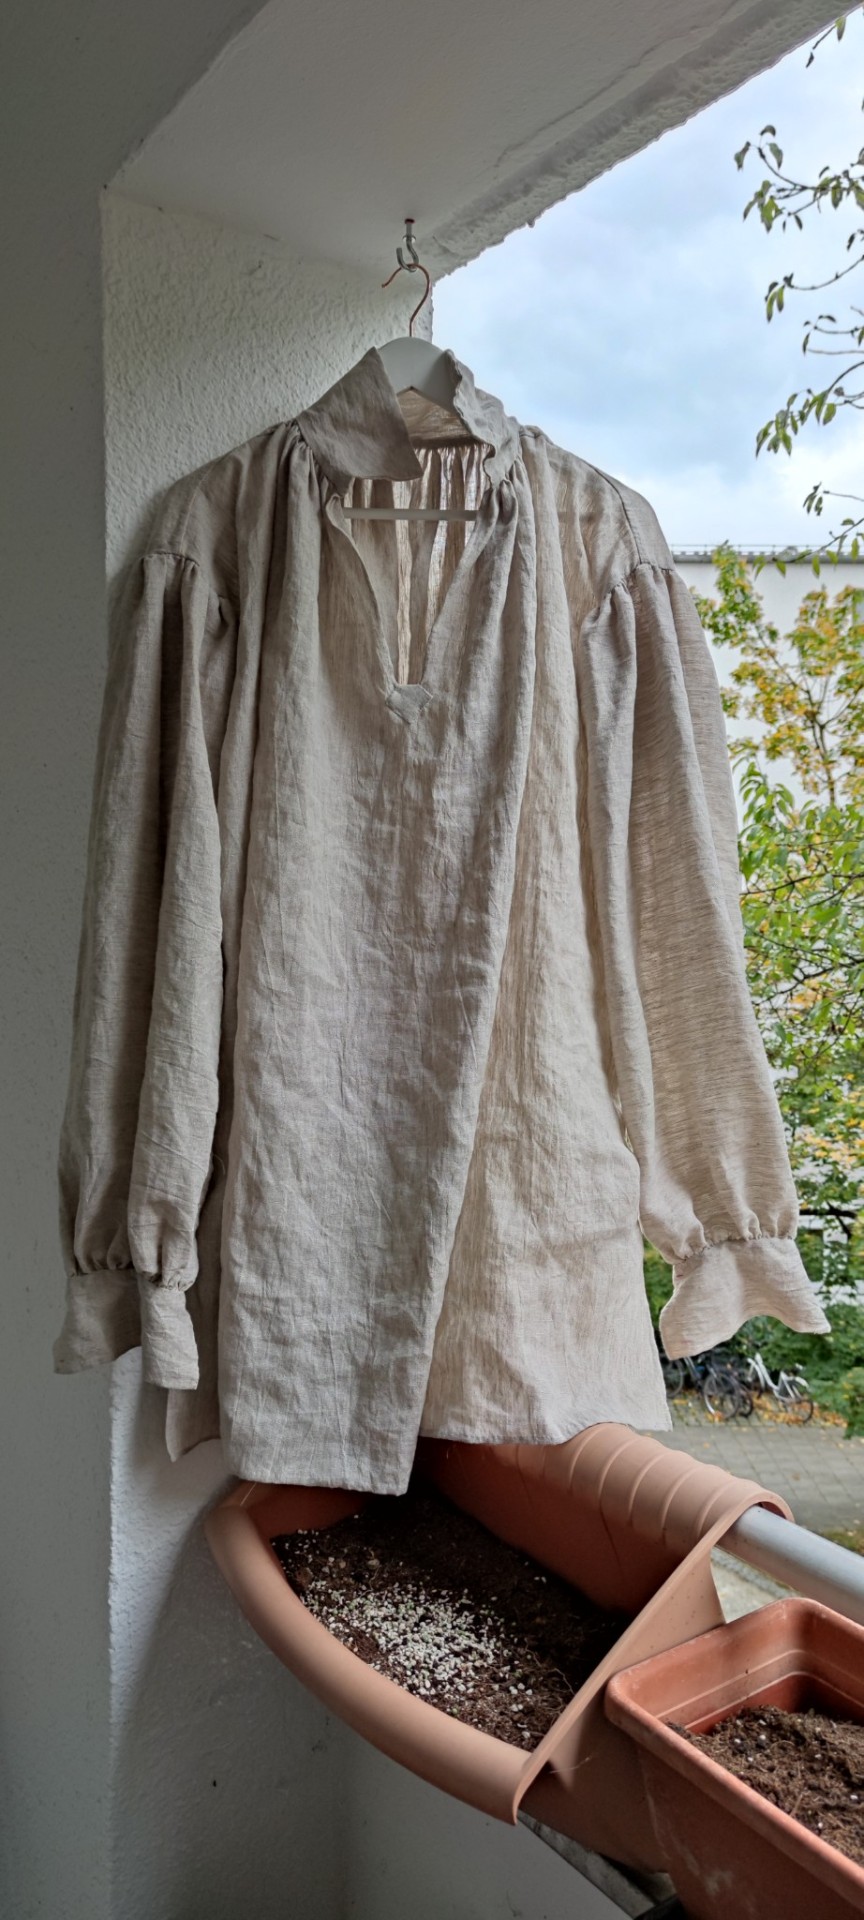
Pirate shirt!
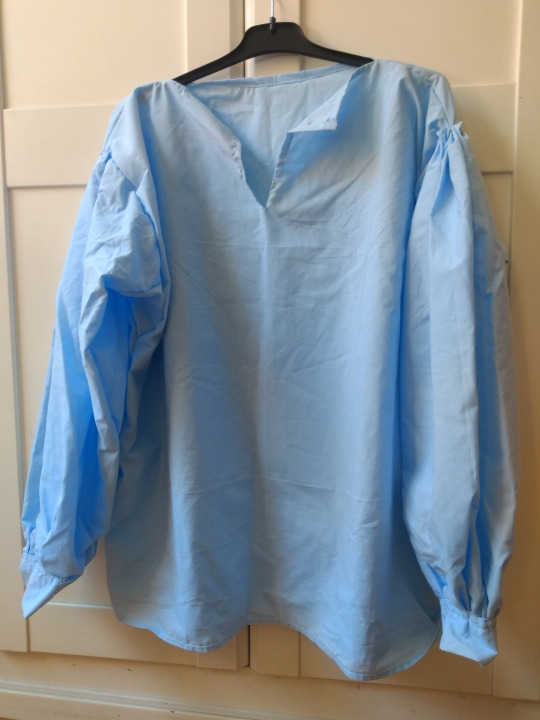
First garment I've ever made from start to finish!
It's absolutely not perfect, but I love how it turned out.
10 hours of handsewing were totally worth it! But I don't want to make anything with gathering in a long time.
I followed this tutorial with some minor changes:
It was pretty easy to follow, there wasn't anything too complicated to undertand.
2 notes
·
View notes
Text

Gilded lady ✨ Dress by I Do Declare, pendant by The Moonlight Myth, boots by Fluevog, pirate shirt off Etsy but can’t remember shop name.
78 notes
·
View notes
Last Seen Blogs

saturatedsunvibe
YOU WILL BE FOUND

x1lema
Maniam

elegantmarketing
Untitled

slogokonnor99
Slogokonnor99