#picture editing
Text
WWDITS 2023 Emmy nominations
Outstanding Production Design For A Narrative Program (Half-Hour)
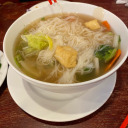
What We Do In The Shadows • The Night Market • FX • FX Productions
Shayne Fox, Production Designer Aaron Noël, Art Director
Outstanding Picture Editing For A Single-Camera Comedy Series
What We Do In The Shadows • Go Flip Yourself • FX • FX Productions
Yana Gorskaya, ACE, Editor Dane McMaster, ACE, Editor
Outstanding Fantasy/Sci-Fi Costumes
What We Do In The Shadows • The Wedding • FX • FX Productions
Laura Montgomery, Costume Designer Barbara Cardoso, Assistant Costume Designer Judy Laukkanen, Costume Supervisor
Outstanding Sound Editing For A Comedy Or Drama Series (Half-Hour) And Animation
What We Do In The Shadows • The Night Market • FX • FX Productions
Steffan Falesitch, Supervising Sound Editor Chris Kahwaty, MPSE, Dialogue Editor David Barbee, MPSE, Sound Effects Editor Steve Griffen, Music Editors John Guentner, Foley Editor Sam Lewis, Foley Editor Ellen Heuer, Foley Artist
#wwdits#what we do in the shadows#shayne fox#yana gorskaya#laura montgomery#production design#picture editing#costumes#sound editing#emmys#emmys 2023#july 2023
42 notes
·
View notes
Text
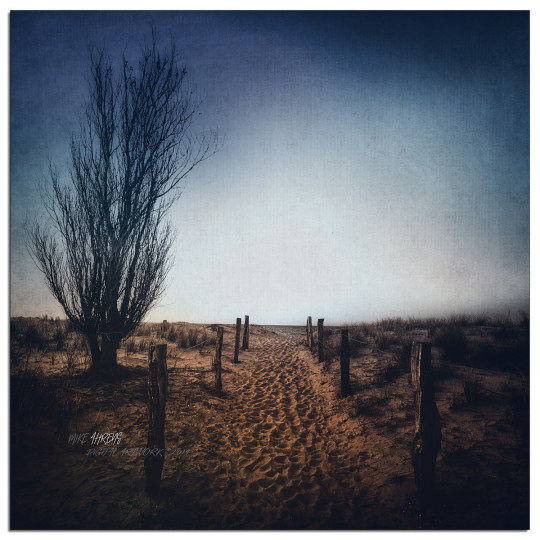
Tutorial : Old looking pic effect

Sure thing @stupidusernamepolicy ! Here is a tutorial for turning your drawings or pics into old looking pics!
[Don't hesitate to open the images, I made them big so you can zoom in if needed.]
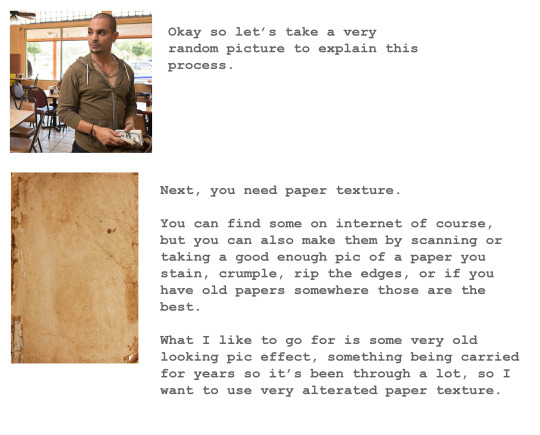


Note: every images are different and you may need to adjust more or less things than I showed here. This is how I basically go about it, but there are probably many other ways.
16 notes
·
View notes
Text
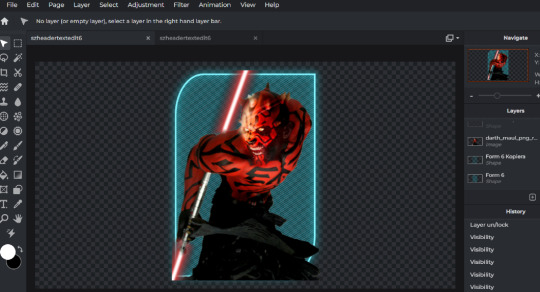
How to make a Star Wars hologram in Pixlr
You can make this as mild and as extreme as you want i just make it somewhere in the middle. First of all start up this website, it’s called pixlr and is a photo editor. Then chose the Pixlr E editor, it’s the more advanced one but it’ll be the easiest one since we will be working with layers. Start a new project, chose a size you are happy with all that stuff once done? NOW!
Chose the shape tool and make a shape you are happy with, make a copy of it and make it invisible (settings, invisible) we’ll use it later.
Chose Fill and go to the category pattern
Chose the color of your choise i ues #2BEDFF
Chose the thinnest stripes. The scale i use is -9.7 and directions 57.4
Go into Styles next to fill and select both shadow and outline
For outline i use 2
For shadow i use blurr 30, distance 0, direction 180.0 and opacity 100
You should end up with something like this:
Now copy this layer once, go into layer settings adjust opacity to your liking it’ll add a bit more of a glow to the image.
Lock the two layers. (trust me you will be sad if they move i was)
Now add you character image of choise
It should look something like this:
Now take that shape layer we saved earlier
make it visible again
Go into settings, go into blend mode and chose mask
Click on your character layer.
Go into adjustment and chose color look up
I use three colors the darkest #021C40 middle #2BEDFF and lightest #ADF8FF
It should look something like this:

Go into settings on your character layer and change opacity i chose 82 but if you want it more see through make it maybe 72.
Now copy your character layer twice
On the second character layer, go into filter, glitches and chose scanlines i use seed 2 and amount 82
On the third character layer go into filter, glitches and chose Interferance. I use seed 39 and amount 15.
Once happy with the character layers, merge the three of them together by clicking on the top one, go into layer settings and chose merge down.
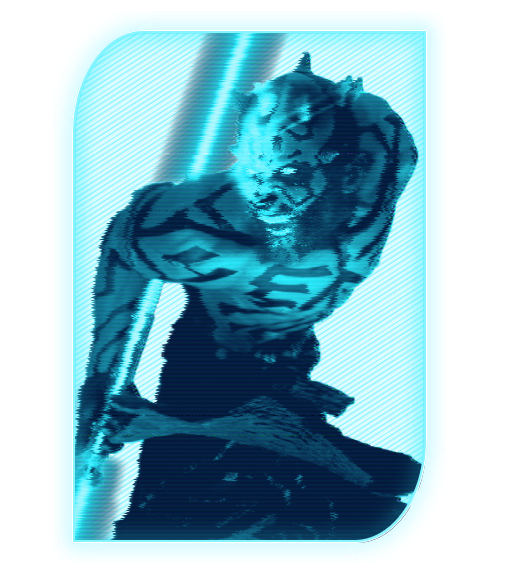
It should look something like this

Click on the mask layer, go into layer settings and merge it into the character layer.
Now you simply copy the bottom layer, bring it to the top of all layers.
Once that’s done go into the shape layer’s fill setting and chose no color (the white layer with a red stripe through)
go into styles and make sure the shadow and outline settings are the same as before.
Copy it once again it will add a bit of glow.
Then go into layer settings and chose merge visible.
Now it should look like this and you have your own Star wars style hologram! Remember to save in the recomended PNG format. Good job!

#stabby speaks#stabby edits#free rp resources#rp resources#roleplay resources#rp promos#rp promo#promo template#photo editing#picture editing#star wars hologram#star wars#star wars rp#star wars rpg
41 notes
·
View notes
Text

Editing.
53 notes
·
View notes
Text
Asgard Barbie
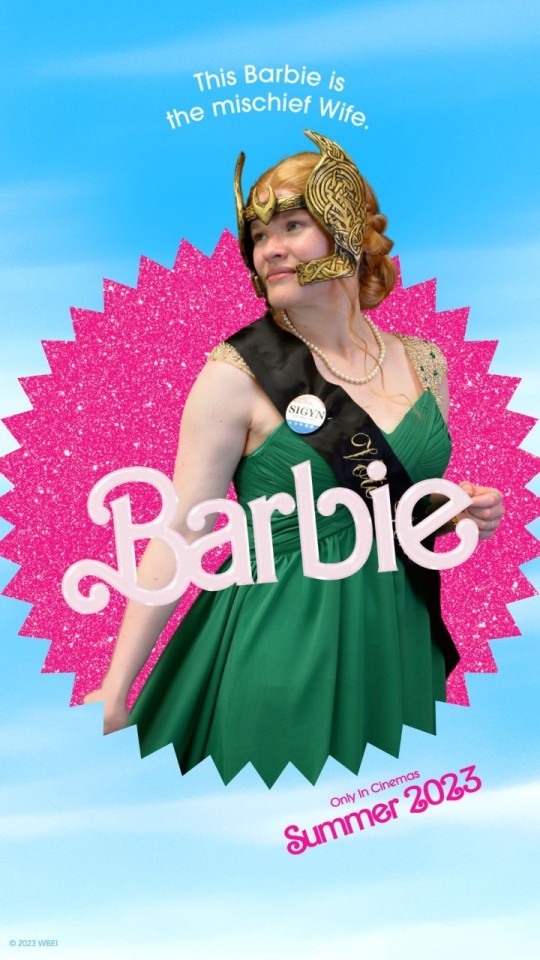
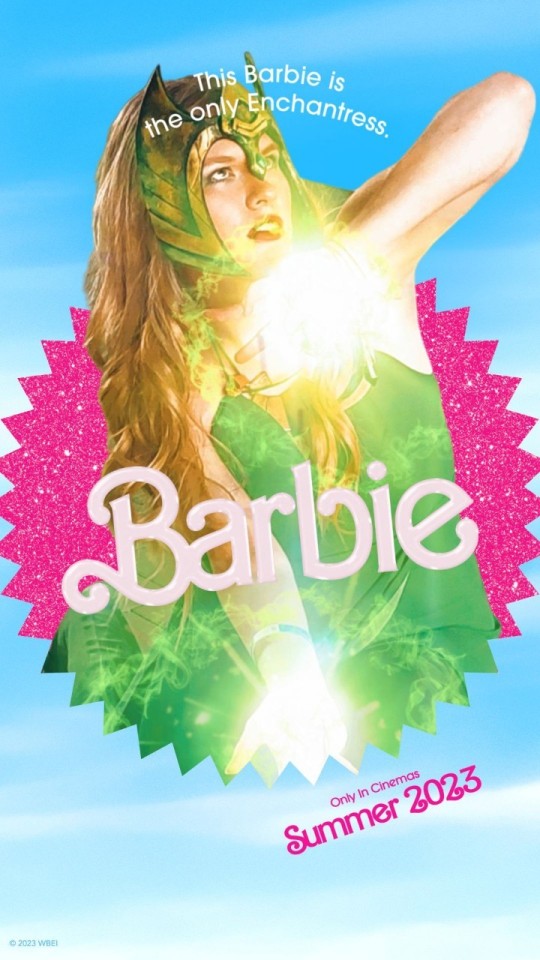

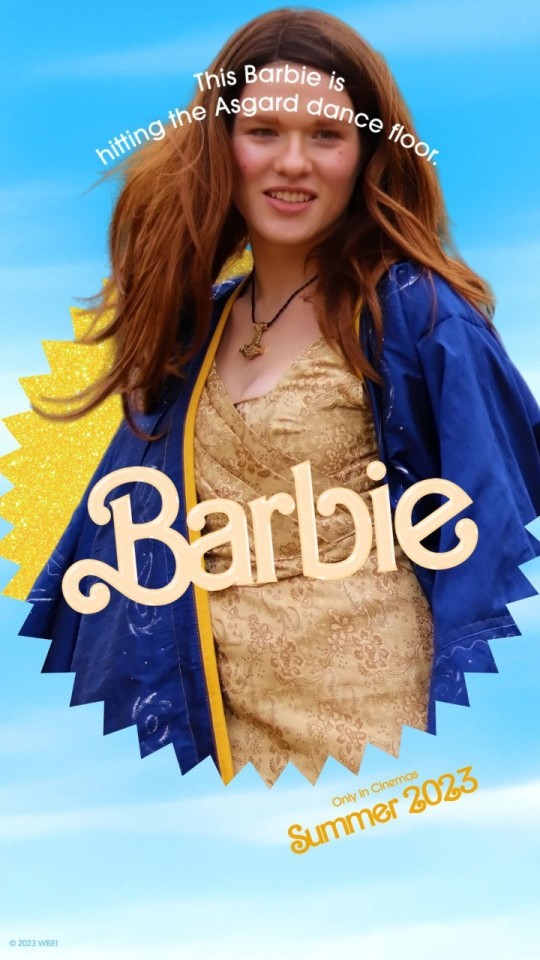
#sigyn#loki#amora the enchantress#Cosplay#barbie#picture editing#barbie movie#marvel#mcu#sigyn cosplay#loki cosplay#amora the enchantress cosplay#jane foster#Jane Foster cosplay
14 notes
·
View notes
Text

This is for the snakes and the people they bite
For the friends i’ve made, for the sleepless nights
For the warning signs i’ve completely ignored
There’s an amount to take, reasons to take more.
#photoblog#photos#pics#aesthetic#edit#pics art#lyrics#songs#australia#art#picture editing#vent#sad#twin sized mattress#the front bottoms#editing#october
6 notes
·
View notes
Text
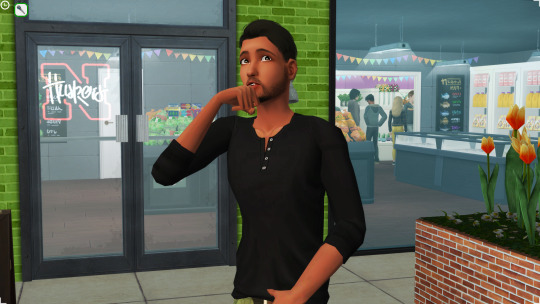
I got a question about my photo editing process and thought I'd make a quick post about it, although it's nothing too fancy! I use a very ancient program for all my editing (got used to it long ago and never bothered to update as long as the program still works) but the steps are generic and should apply to Photoshop/Gimp/whatever you use.

This is the unedited in-game pic for reference. I have a preset script I made that I run for all my pics, and then I tweak it slightly as needed for all the pictures.
Basically I just play with the curves to brighten it, increase the saturation a bit (especially because brightening washes it out) and then I apply a very subtle bloom effect. Honestly so subtle I've debated increasing it or forgoing it, but I think I do like the really subtle boost it gives.

This picture is with curves and saturation edited, but no bloom applied.
This is with the bloom applied. Again, very subtle I think. I didn't want them to look super hazy but I liked the little extra je ne sais quoi it gives them I guess.
I crop and stuff too but that's basically it!
28 notes
·
View notes
Text
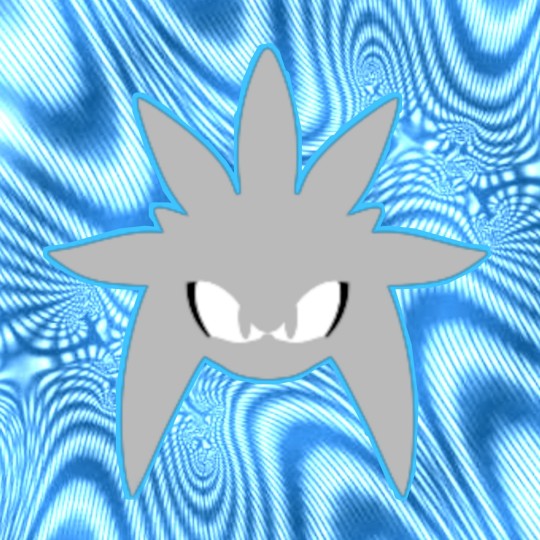
PART 2/? SONIC ICONS
Requests are open!! Next are gonna be some fnaf icons!!


#picsart#photo edit#picture editing#pfp#reqs open#sonic the hedgehog#silver the hedgehog#blaze the cat#knuckles the echidna#metal sonic#cute pfp
48 notes
·
View notes
Text
THEM! pt. 2

#They just fit so perfectly into each other's arms#Edvin Ryding#Omar Rudberg#breathe#Young Royals#fan art#picture editing#be creative#always be creative
13 notes
·
View notes
Photo
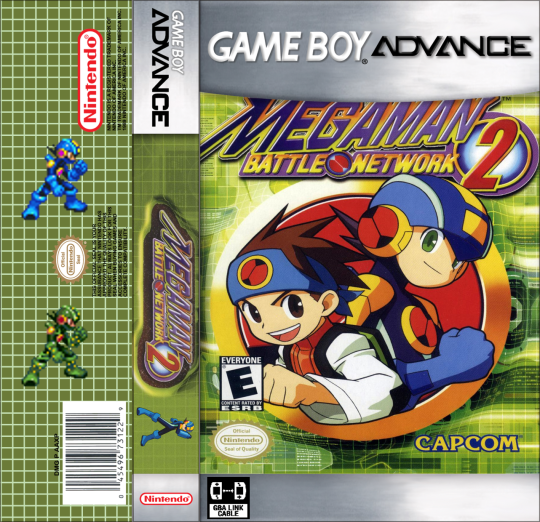
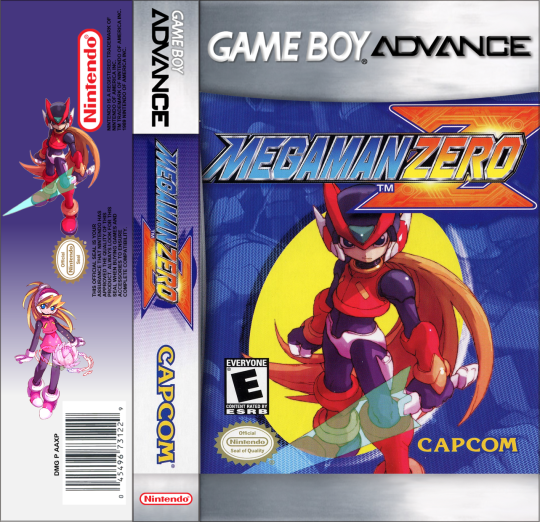
Graphics design side of Tumblr, I’ve been recycling old cassette boxes for my GBA games and have been making custom covers for them. Are these any good? Any tips and tricks?
2 notes
·
View notes
Text
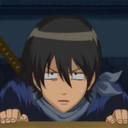
#'who was this about' dont worry <3#EDIT hi i didnt realize this would get notes LOL. um everyone reblog with what character ur thinking of because im NOSEY i WANNA SEE#edit 2 to everyone trying to guess what the character i made this for was. youre all wrong. this was about kamen rider#youd think lupin because of my profile picture but alas i have other interests as well...#anis gaymer moments
47K notes
·
View notes
Text
Every Nico Di Angelo fan focusing more on the background of the episode than the actual plot
#I wanted something!#I understand why they couldn’t show them#but a girl’s voice calling ‘Nico!’ or even a ‘Ghost King’ high score#(shhh I know that wouldn’t work with the timeline but nor does the entire episode)#edit: thank you to the people who pointed out that we hear him (so glad he’s Italian too!)#pjo#pjo series#pjo tv show#Percy Jackson#Percy Jackson spoilers#pjo spoilers#Nico Di Angelo#solangelo#also for the record I didn’t make the picture I saw it on Twitter and knew the perfect use for it
23K notes
·
View notes
Text
Putting powdered sugar on the post below
#dual post#enchanted dumbassery#edited to add an image id***#also yes i did steal these pictures from another post
253K notes
·
View notes
Text
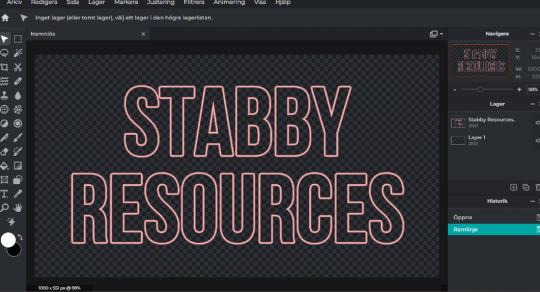
How to make glowing text in Pixlr the easy way
There is a lot of different ways of doing this and this is by far the least tiresome and frustrating way for a beginner who’s not used to working with layers.
First of all start up this website, it’s called pixlr and is a photo editor. Then chose the Pixlr E editor, it’s the more advanced one but it’ll be the easiest one. Start a new project, chose a size you are happy with all that stuff once done? NOW!
Make a text layer
Write whatever you want in a font you want
Select your text layer and go to layer and chose rasterize text/element’
Now it should look like something like this:

Now go into filter and chose contour
Select only contour
Adjust color and thickness it to your liking starting thinner is better.
Now it should look like this:
Now repeat the last three steps one or two more times with a darker tone to add depth. It should look something like this:

Now go into filters again
Select outer glow
Chose the darkest color you used earlier in my case hot red
Adjust to your liking
The settings i use is: 14 xp 100% fluff and opacity 43%
Now it should look something like this

Go to archive, save and chose PNG format and transparent and you should end up with this: NOTE that this is made for a dark background, always test before saving on the color you intend to use since the effect drastically change and may need alterations.

#rp edit#rp resources#picture editing#rp meme#roleplay resources#promo template#free rp resources#stabby speaks#stabby edits
50 notes
·
View notes
Text


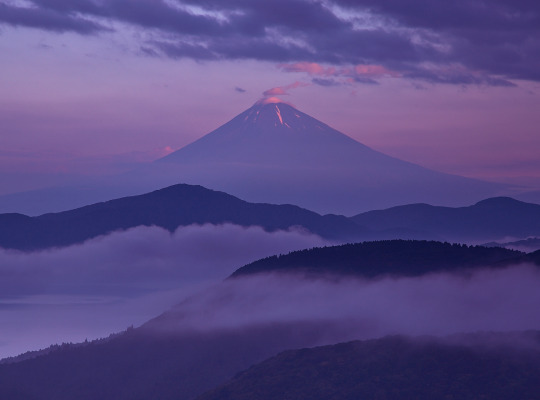
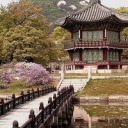
富士山 Mt. Fuji by Masayuki Nozaki
#curators on tumblr#purple#sky#aesthetic#landscape#nature#insp#japan#moon#mount fuji#I made a little edit on these pictures to make them more purple ^_^#u#my edit
9K notes
·
View notes
Text
Loki Sigyn Pictures
But there is also a picture with Sigyn with Odin in the throne room and Sigyn with her mother Frayer.
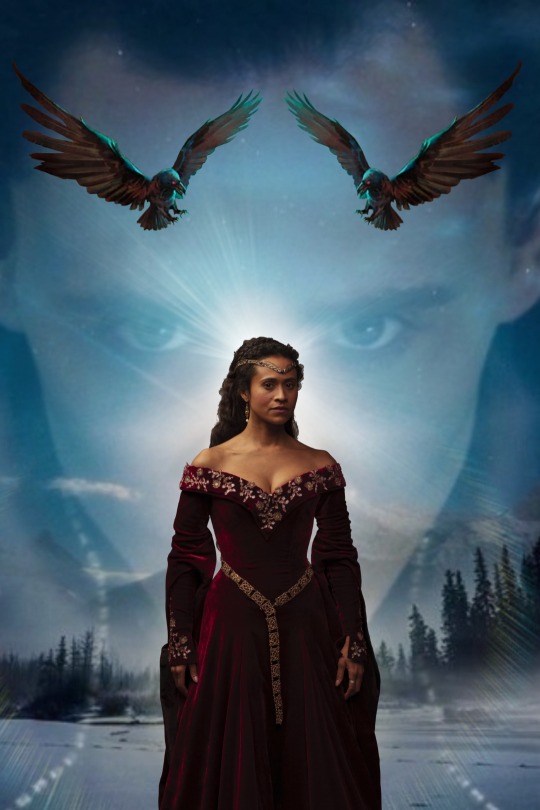
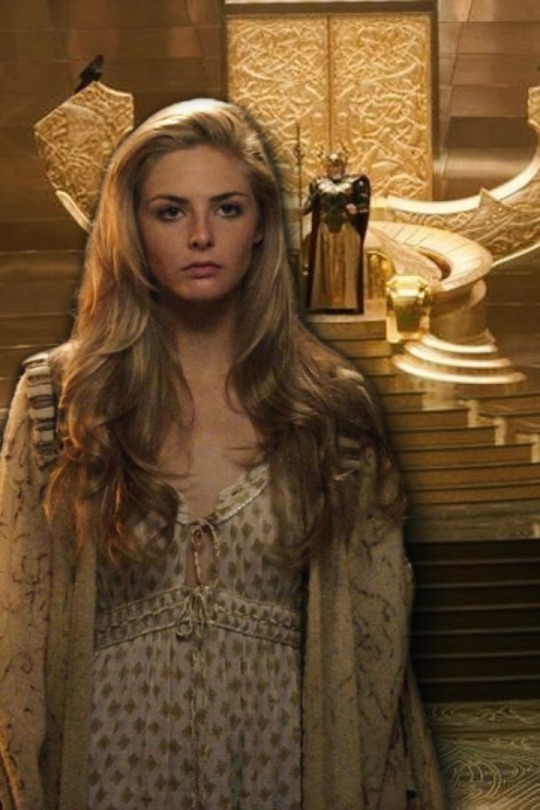


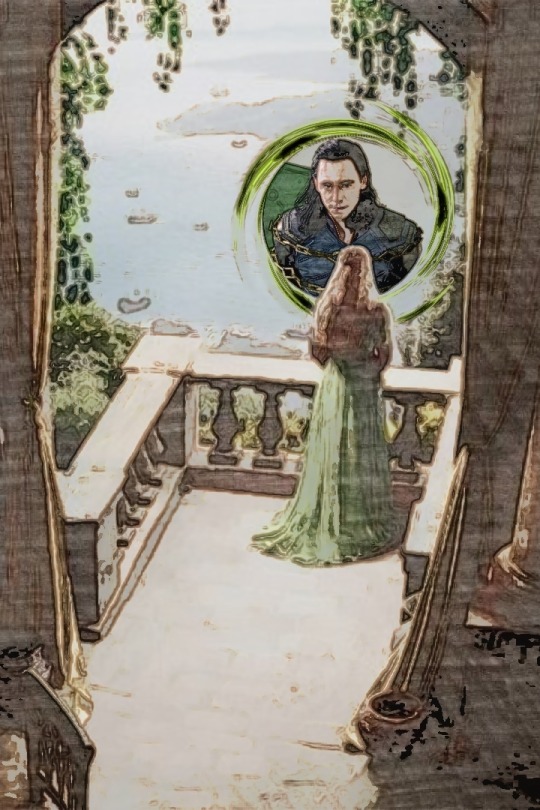

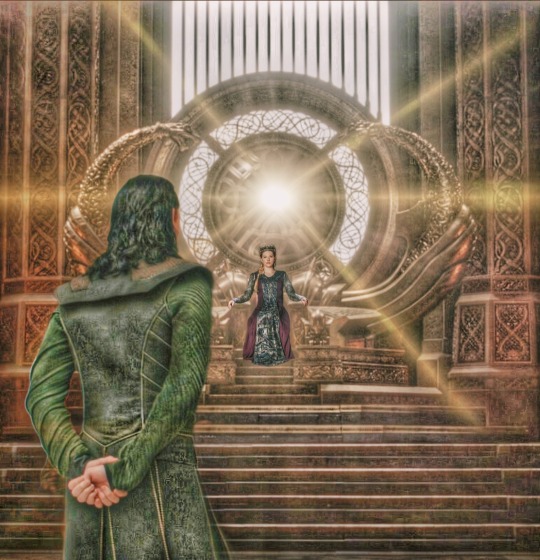


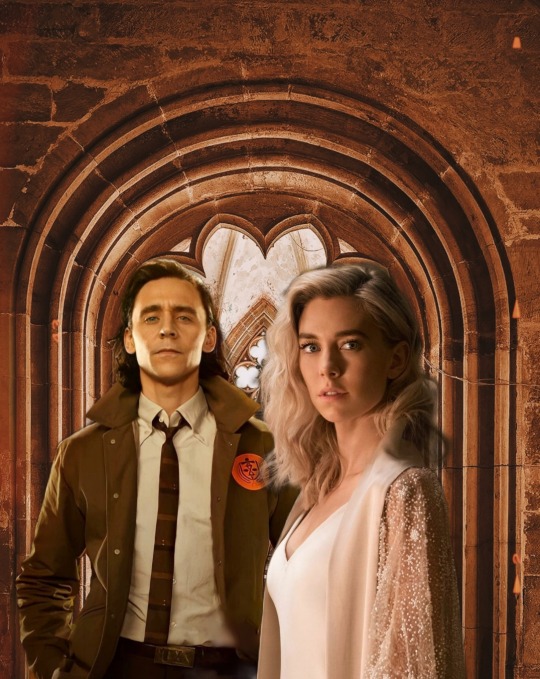
Picture editing by my more is in work.
#sigyn#loki#marvel#logyn#justiceforsigyn#loki x sigyn#lokiswife#marvel comics#goddessoffidelity#goddesses of victory#mcu#logyn fanart#sigyn fanart#marvel fanart#fanart#mcu sigyn#picture editing#fan edit#frayer#odin#sygin#justceforlogyn
19 notes
·
View notes
Last Seen Blogs
avitales
WHAT'S YOUR POISON?

kadandrawsrwby
Kadan Draws RWBY
shipsi
Shipsi
zura-janai-loser-da
Toast is good for the soul