#fandom crafts
Text
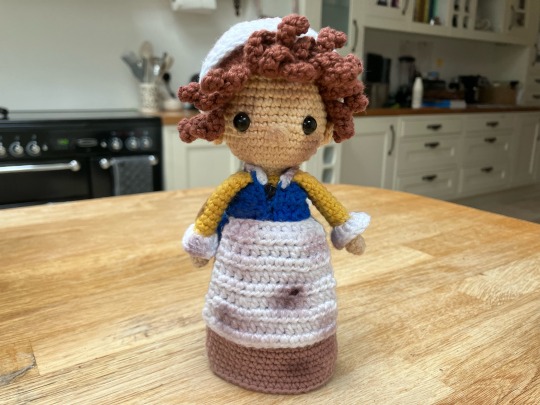
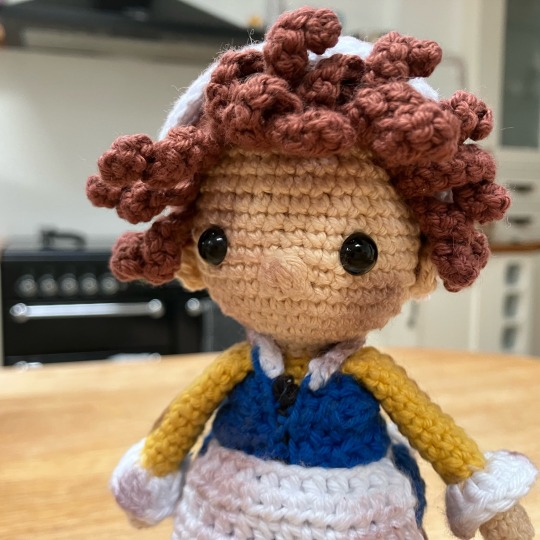
she’s finally finished!! i’m obsessed with how she turned out, i think using eyeshadow to create the soot stains really bought the whole thing together. i’m also very pleased with her hair, i think i managed to capture the wildness of it from the show. i will probably recreate the cap at some point because i was running out of white yarn as i made it but for now i’m going to celebrate my victories. hope you all love her as much as i do
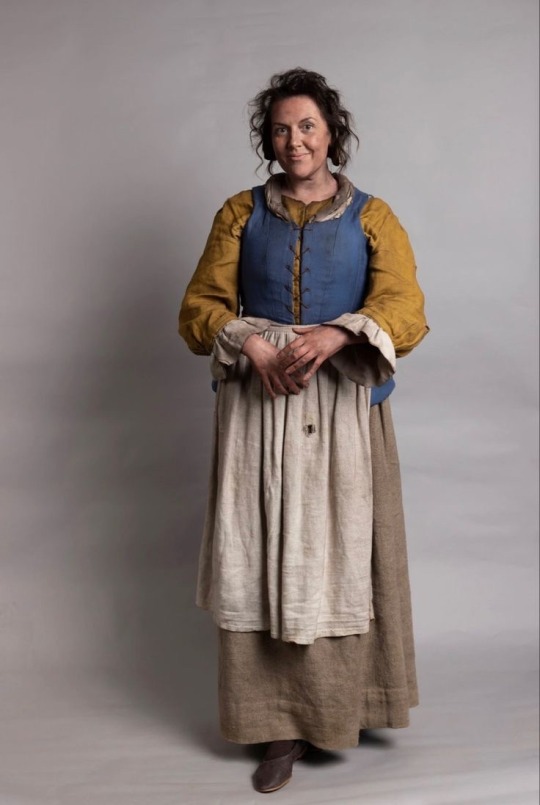

side by side with my main reference photo for those who haven’t seen ghosts
#bbc ghosts#ghosts bbc#mary guppy#mary bbc ghosts#bbc ghosts mary#crochet#crochet doll#amigurimi#fandom crafts
328 notes
·
View notes
Text
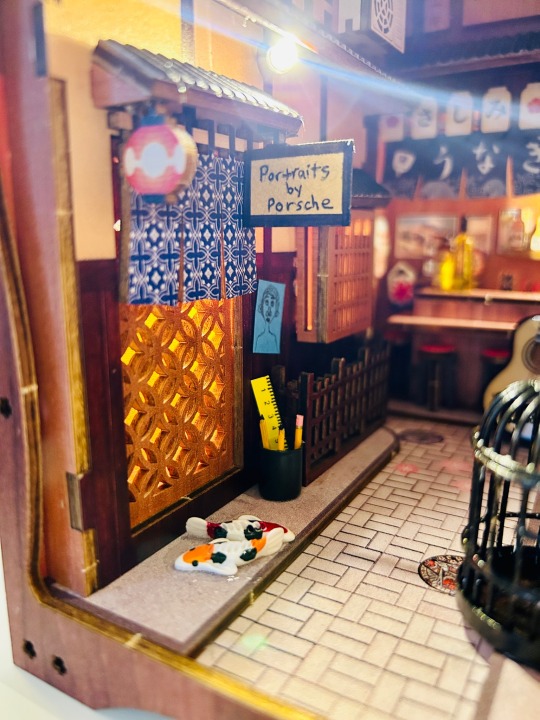
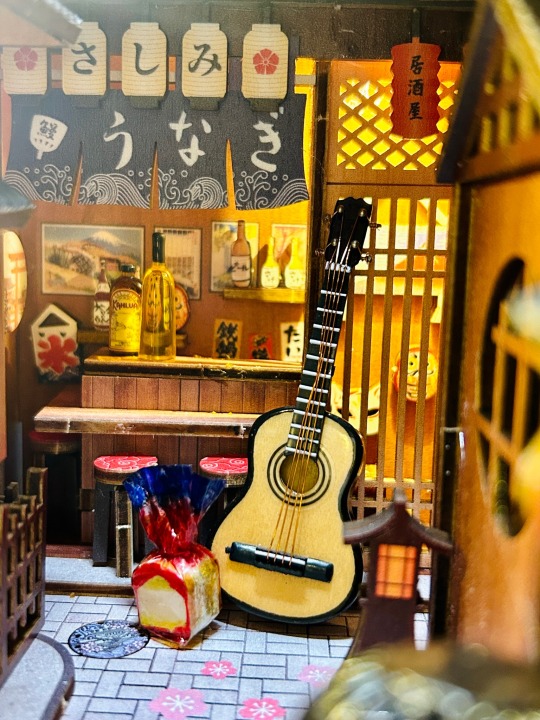
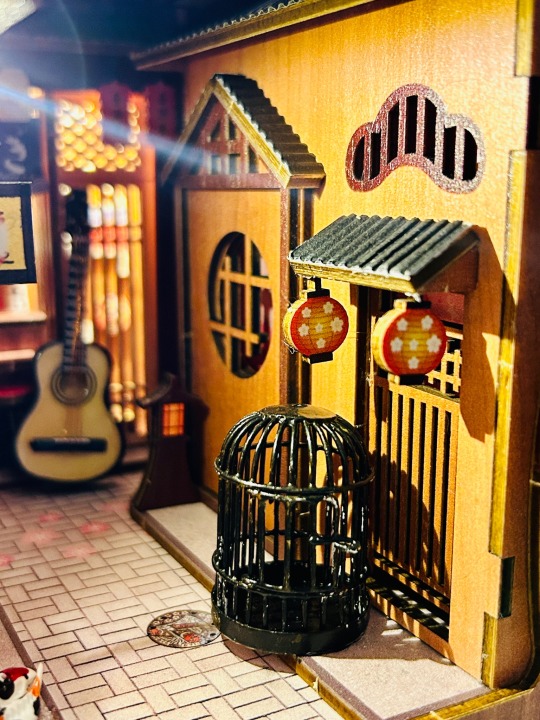
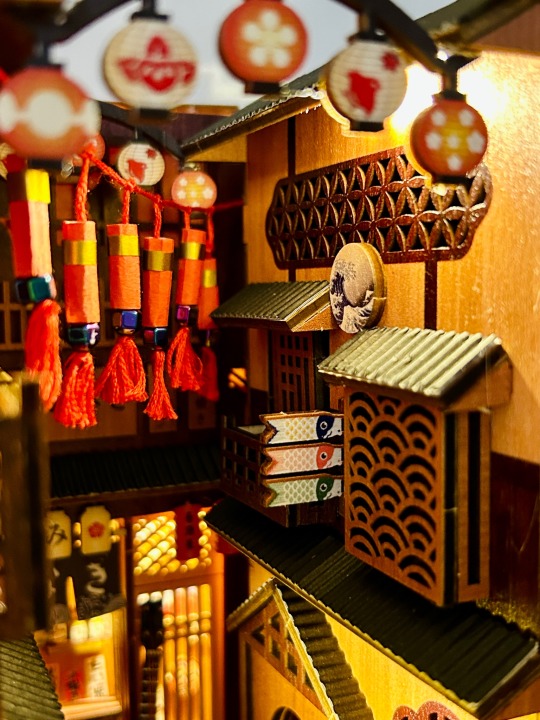
I give you the (mostly) completed “alley behind Yok’s bar” book nook!
I wanted to add so many other details but was limited by the space. besides the tiny guitar, the yellow bottle on the bar is my favorite 😂
please imagine a cute lil hedgehog in the cage: I bought one & immediately lost it in my apartment 🙃
#kinnporsche#kinnporsche the series#kinnporsche book nook#kinnporsche fanart#bl art#fandom crafts#book nook#miniatures#tonanons#uservik#userjap#userspicy#userjaehwany#usernuria#tosnimeat#(high key resisting the urge to rip this thing apart & start all over so it looks more show accurate 🙃🙃)#mor makes miniatures
419 notes
·
View notes
Text
Custom Gwen Funko Pop

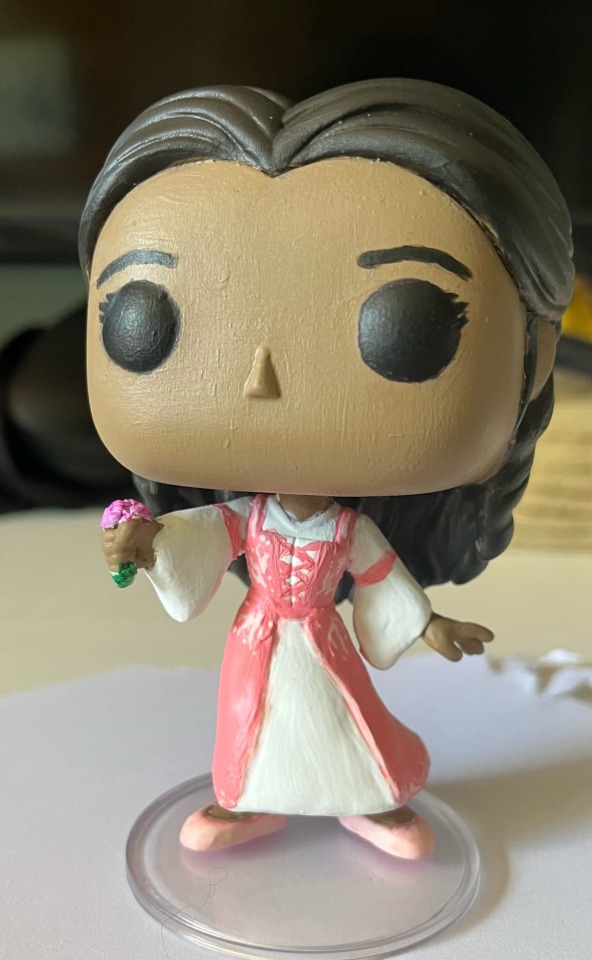
I finished her! If you’re interested in more pictures, progress, the post continues below the cut off :)
I am probably the furthest thing from artistically talented as you can get, but I do have a frankly ridiculous amount of audacity so if you’re interested, this is how I did it!
I started by picking out a head and body from 2 different pops (they ended up being 2 different variations of Belle from beauty and the beast) and sketched out a design(s) to give me an idea to work from. (Ft my amazing ms Word graphic design skills on my tablet)
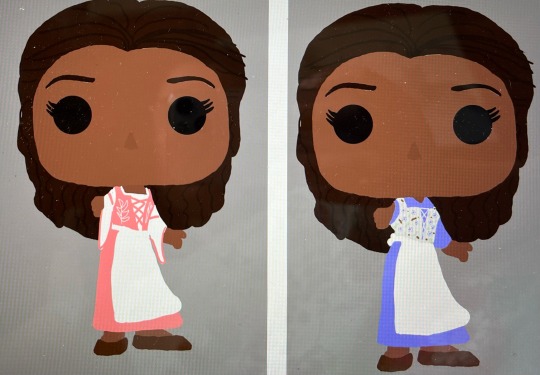

Looking back, the purple dress was the obvious choice because the apron design of the existing funko pop wouldn’t have needed any changing.
So I popped off their heads, sculpted the changes I wanted to make by cutting with a Stanley knife, sanding, and then used FIMO ovenbake Kids clay. Also, pops soften when heated so I dunked her in scalding water and kind of forced the arm that had been holding the mirror (which I also cut off) down so it wasn’t in front of her face.

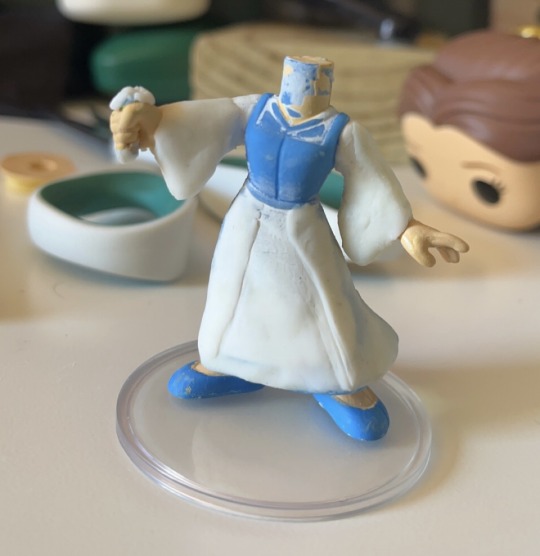
Overall I used clay to hide where the apron had been, add flowers where the mirror had been, and also to fill a hole in the back where I pulled out the apron’s bow. And of course the bell sleeves, which I did about 7 times before I gave up and said it was good enough.
Then, I primed using an all-purpose primer, did about 4 coats and let it set for a week while I was away, and then I started painting!
*sighs* ah, painting. Bane of my existence.
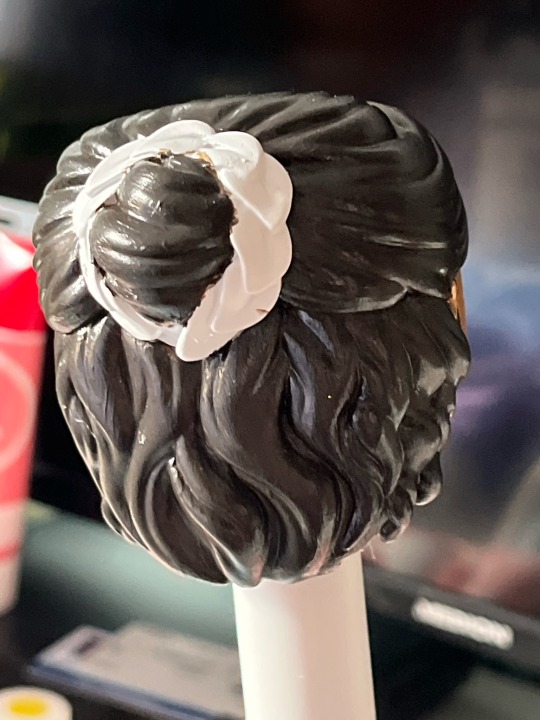
I started with the hair and it worked so well. I thought ah this is gonna be a breeze
Well anyway I had a lot of trouble doing the face bc my paint would just NOT go on evenly but again I just did as many coats until it looked even and just said fuck it about the visible brush strokes bc idk how to fix that.
I had to try her eyebrows a couple of times to get them even, but I’m pretty happy with them! Also, I drew in her eyelashes with a pen.
Next, the dress. Nothing worked. I think I didn’t thin my paint enough so it was just a struggle, there are heaps of visible paint strokes but again, I figured there wasn’t much I could do about it
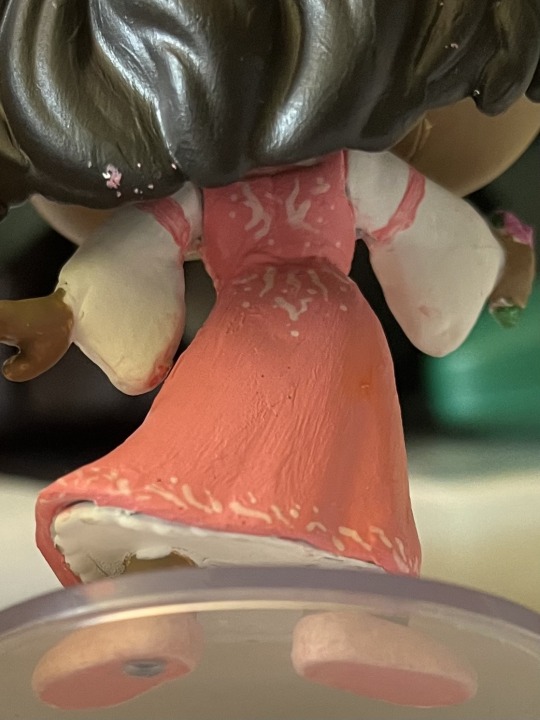

I used a toothpick to scrape on some details which are VERY messy, especially in the front, but I honestly don’t know how I would have fixed it but that point, and since she’s going to be on a bookshelf, you won’t see it anyway. Also I used a sharpie to do the flowers haha.
I really do like the back.
There was a bit of ad lib with the details because I wanted them to be noticeable so I added them in a few places they’re not in canon
Anyway, then I sprayed her with some matte acrylic sealing spray, glued her back together, and she’s done! Her head does tilt back a bit because the 2 pops had different joint systems but you can barely tell.
She’s definitely not perfect, but this was a first for me in so many aspects so I’m pretty proud of her!
#bbc merlin#gwen pendragon#queen guinevere#guinevere pendragon#bbc gwen#the adventures of merlin#custom funko pop#Asia’s Funko#fandom crafts#arthur pendragon#merlin x arthur#morgana pendragon#knights of the round table#merlin emrys#merthur
136 notes
·
View notes
Text
1am thought: but what if I made the jingler and jangler masks from the masked chimes au what if I did that
#masked chimes au#convex#cubfan135#gtwscar#maybe I will do this#fandom crafts#bc I need more masks in my life lol#but it would be fun tho
137 notes
·
View notes
Text
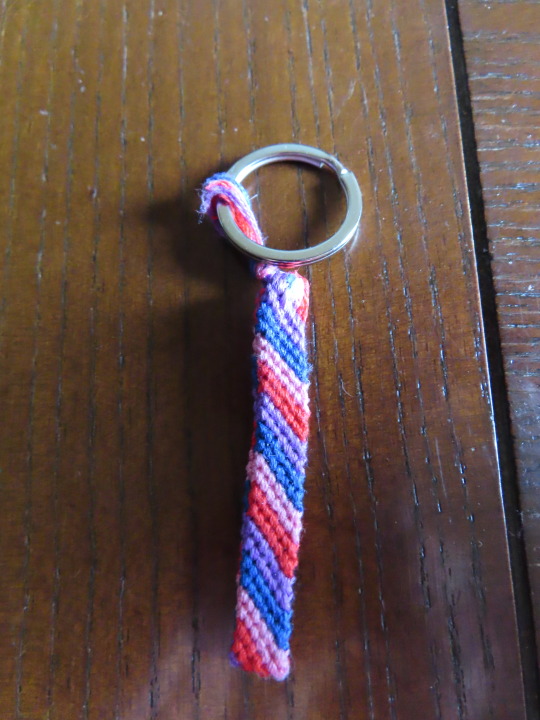

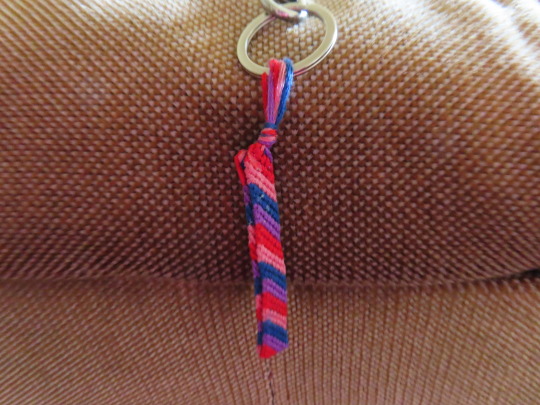

JATP inspired keychain! handmade by me, and can be found on my etsy shop if you would like one of your own!
#jatp#julie and the phantoms#julie molina#luke patterson#reggie peters#alex mercer#jatp crafts#fandom crafts#etsy shop
30 notes
·
View notes
Text
Etsy Shop Sale!!!
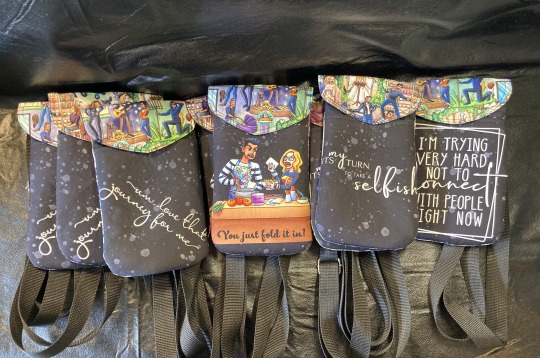
Time to clean house! Just marked EVERYTHING in the shop 40% through Sunday, 11/26. Lots of very cute Schitt's Creek cross-body bags (great for gifts!), Christmas themed fandom and generic potholders and bowl cozies, and many more fun things! I'd love to clear out some of those 86(!!!!!) current listings and find out what types of things people may be interested in me posting going forward. Spread the word!
https://www.etsy.com/shop/AddictedToFunFabric
16 notes
·
View notes
Text
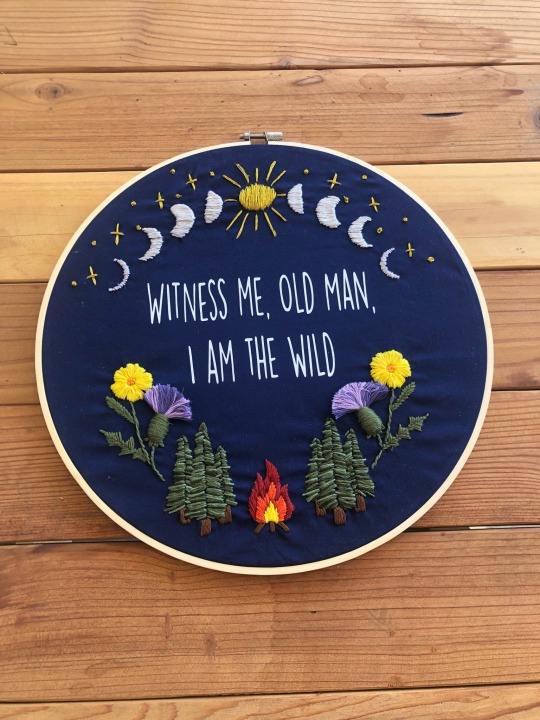
Thank you @kell-be-belle for the gorgeous embroidery of one of my favorite The Amazing Devil songs and lyrics. I am so happy to own it and I will cherish it. My house is being remodeled but when I hang it I’ll let you know. ❤️❤️ I’m so happy right now.
177 notes
·
View notes
Text

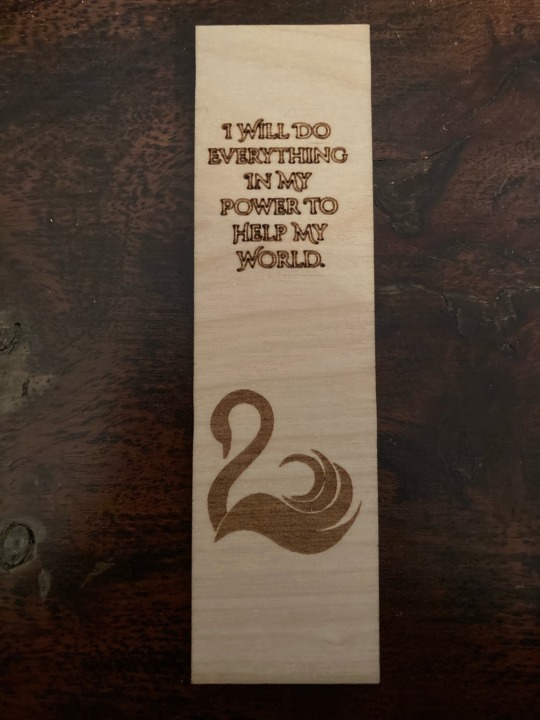
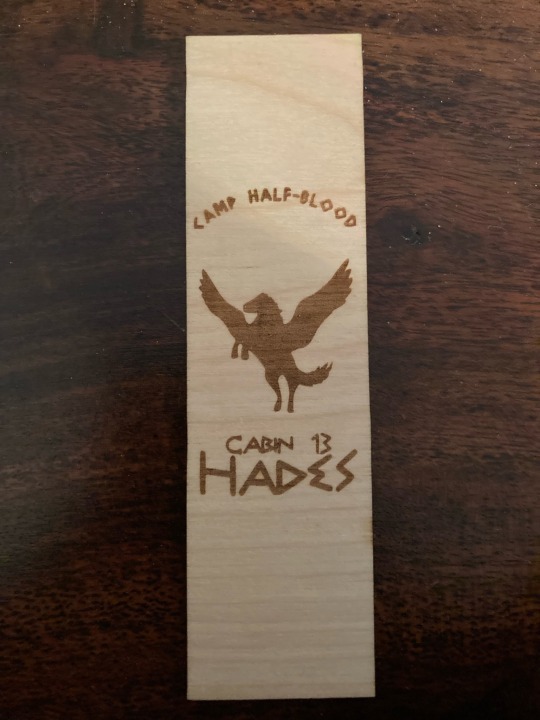
Keeper of the Lost Cities and Percy Jackson wooden bookmarks I made out of pure boredom :D
#fandom crafts#i never know how to tag these#percy jackson#keeper of the lost cites fanart#kotlc#the urge to colour them is strong#pjo stuff#nico di angelo#hades cabin#that’s pretty much it
27 notes
·
View notes
Text
The whole family together!
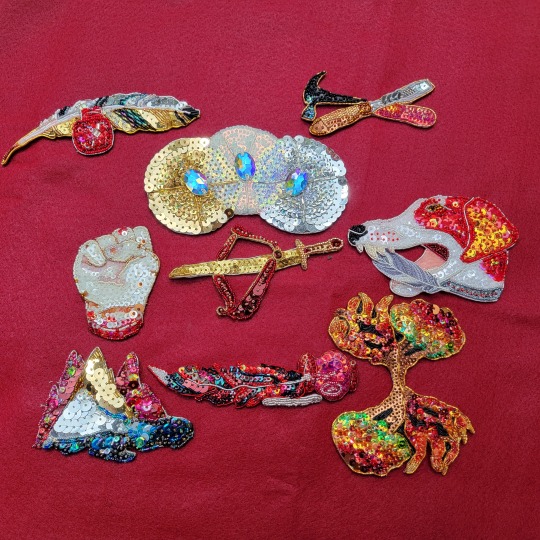
And bonus Paw Patrol!Celegorm and some idle doodle match patches.
#San sews#Feanorian patch project#Tolkien#Fandom sewing#embroidered patch#sequined#Sequins#fandom crafts#Silmarillion#...now that I have more experience I may go back and re-do the silmarils patch
20 notes
·
View notes
Text
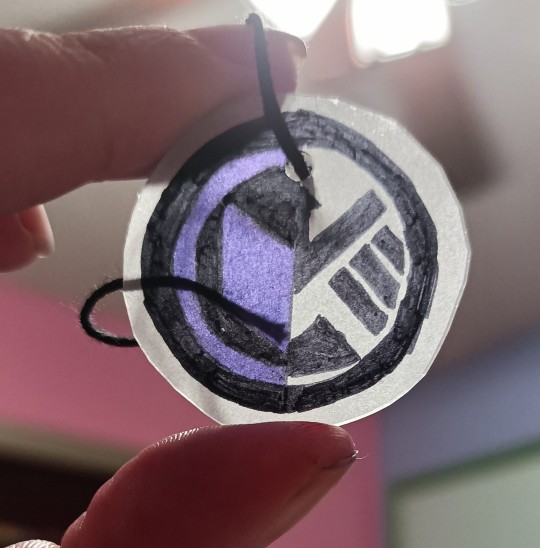
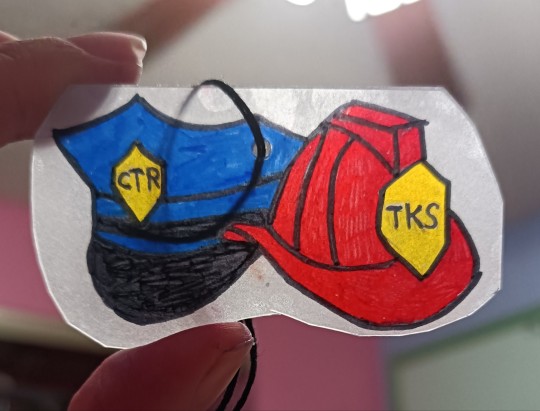

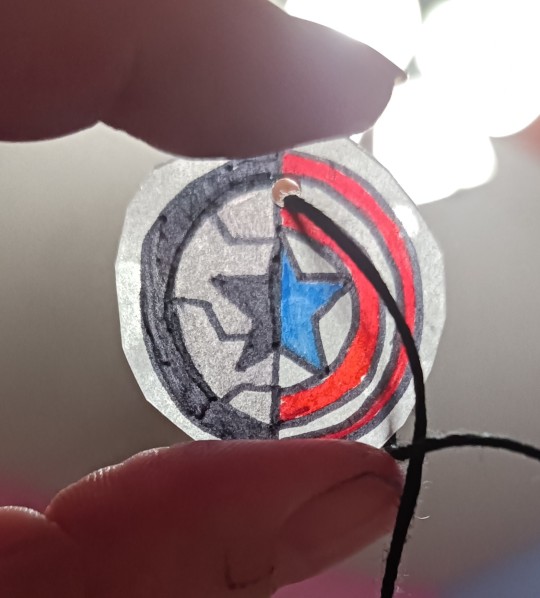
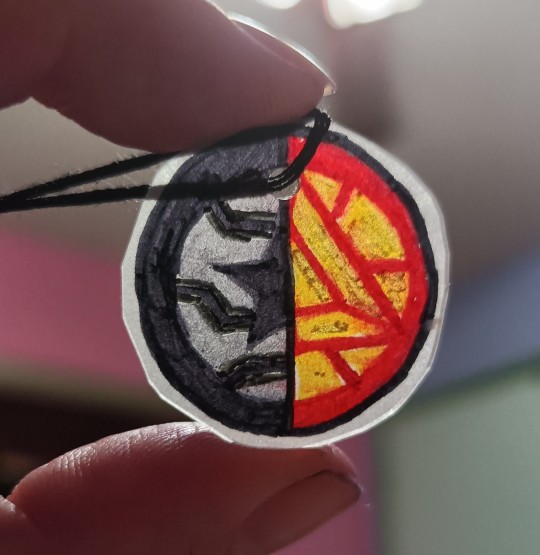
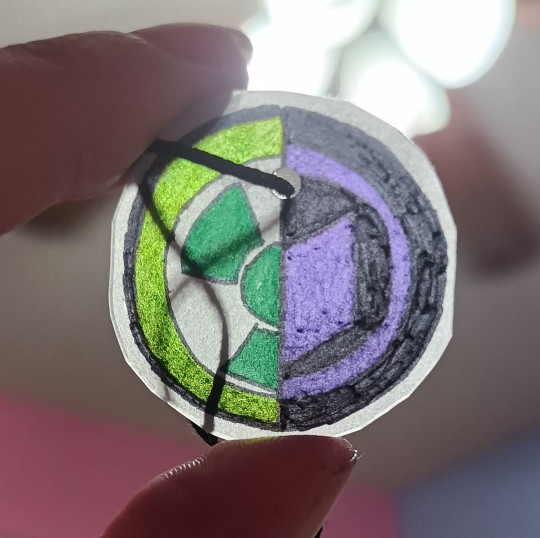
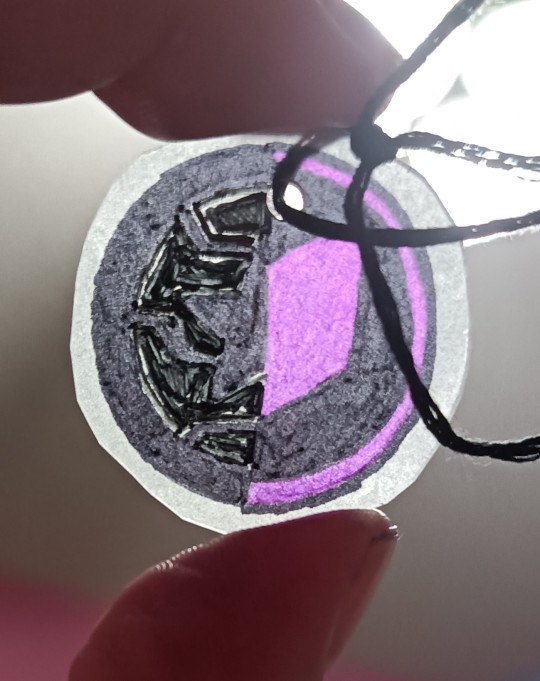

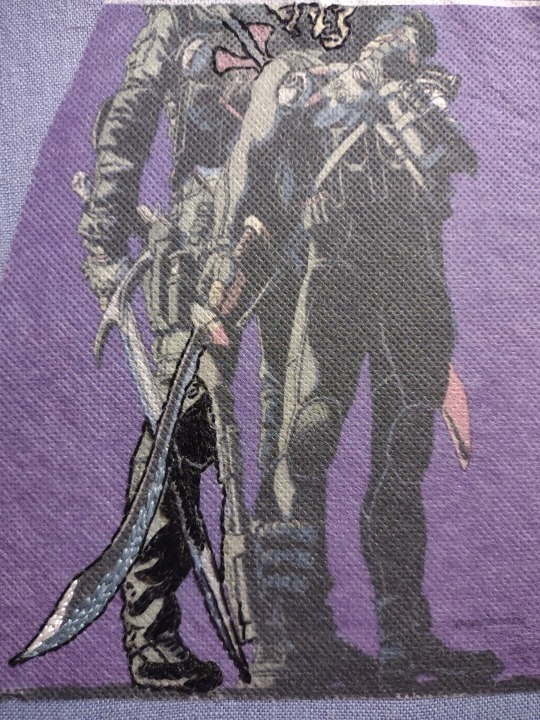
Played around with some shippy designs and sizing. I did remember to flip the text this time. For smaller simple Winter Soldier is better because when I tried to do detail it is a mess.
13 notes
·
View notes
Text
Wild Magic- A Tav-Inspired Perfume Blend
This is a recipe for an essential oil blend which can be used for aromatherapy in an oil warmer, as an oil-based perfume, or in the making of bath or skin products. Specifically, this one was designed for bath bombs, so it may not make for a well-balanced perfume. The recipe is a RATIO, which means that it can be easily doubled or tripled depending on what you’re using it for.
Inspired by @tadpole-apocalypse's Morgan, wild magic sorcerer and fortune teller, this scent is a bright and brilliant burst of fresh and uplifting citrus borne on an untamed wind of effervescent Weave. As it lingers, it mellows out with hints of incense, remnants of rituals gone by. So captivating and invigorating that you might not notice you just turned all your friends to cats.
Notes: Layered and complex citrus, the lemon tempers the sweetness of the gently floral blood orange. Juniper and cypress give it a lightness and herbal complexity that when combined with the lime adds a refreshing breeziness. Myrrh leaves behind a lingering, resinous warmth.
This blend was designed specifically for bath bombs, and may not translate well to an oil-based perfume. As I have allergies stemming from many synthetic scents, I only use essential oils. Citrus oils are photoreactive! Please do not apply before going into direct sunlight, as it can cause the skin to burn.
4 drops Blood Orange (Citrus sinensis) essential oil
3 drops Lime (Citrus x aurantifolia) essential oil
2 drops Juniper Berry (Juniperus communis) essential oil
2 drops Cypress (Cupressus sempervirens) essential oil
3 drops Lemon (Citrus x limon) essential oil
2 drops Myrrh (Commiphora myrrha) essential oil
Warnings:
Please be aware if you’ve never used essential oils- they should be diluted with a carrier oil before being applied to skin. Good quality grapeseed oil isn’t a bad choice, and it’s cheap! I use sweet almond usually.
Not a food safe blend.
This uses several citrus oils, and thus can make skin more sensitive to sunlight, or may burn your skin where applied if exposed to sun.
Citrus oil is very volatile! Please store in a cool place in a dark bottle/container, or it will lose its scent.
Last note: these blends are not ever tested or made with artificial ‘essential oils’ or fragrance oils, because I am allergic to a lot of them and would die. So substitute as you like, but be aware it won’t come out the same.
#fandom scents#essential oil blend#fandom crafts#Tav: Morgan#I owe you some bombs#I shall have to make some up when I get my new batch of citric acid
6 notes
·
View notes
Text
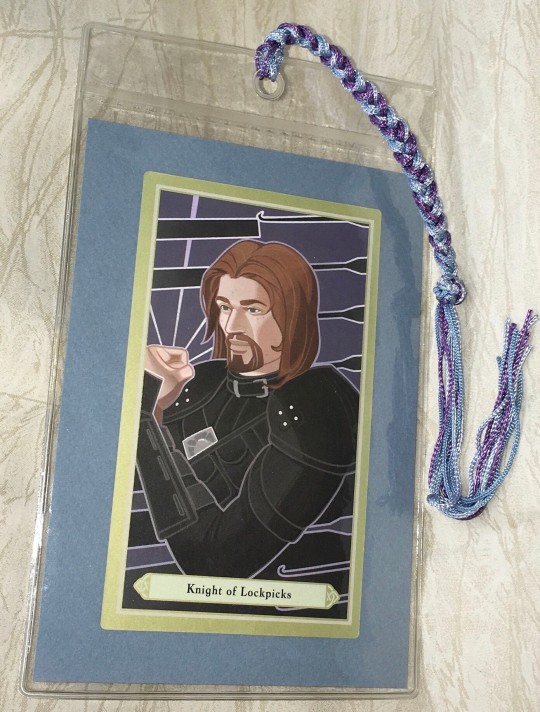

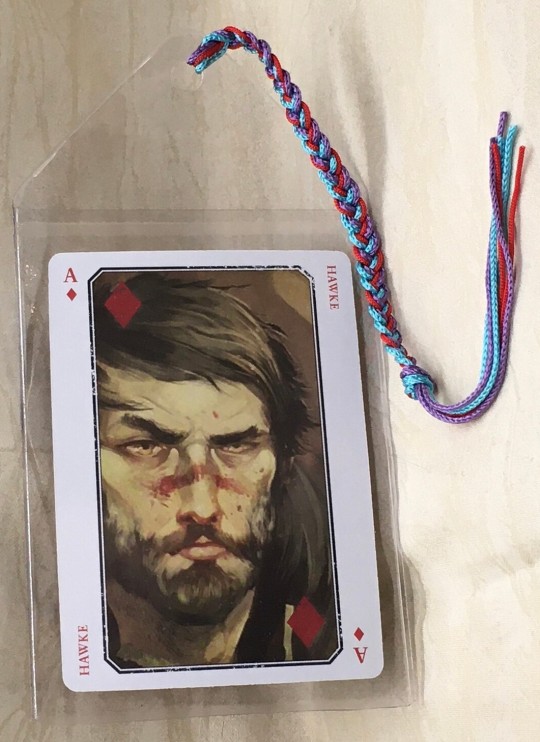
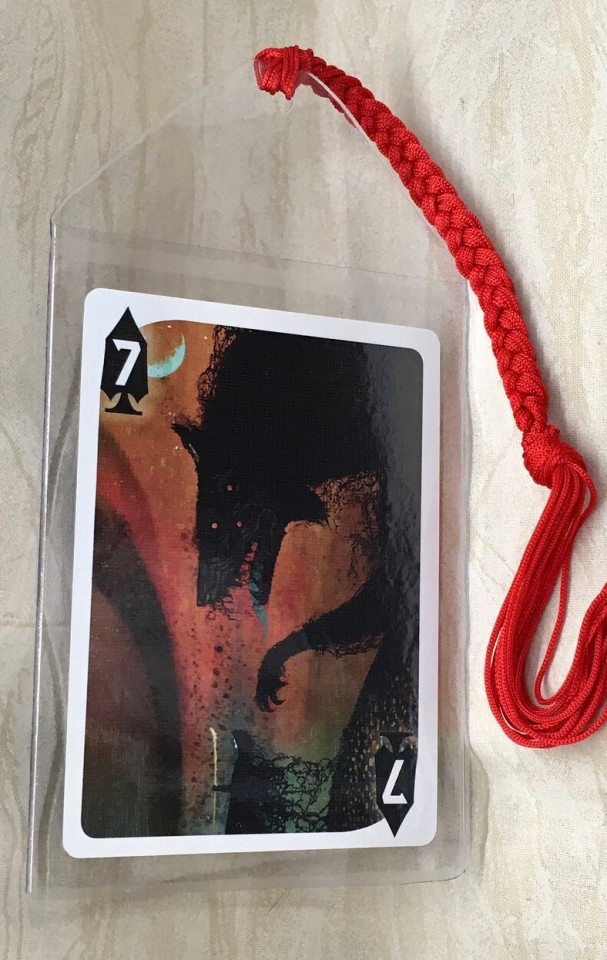
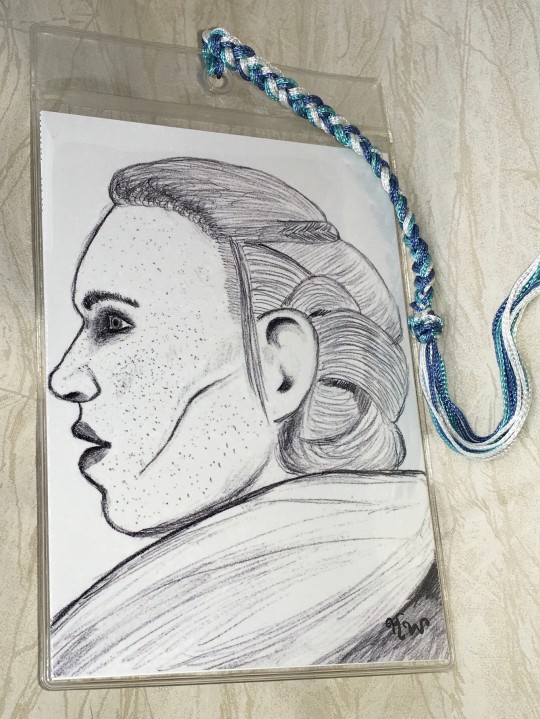

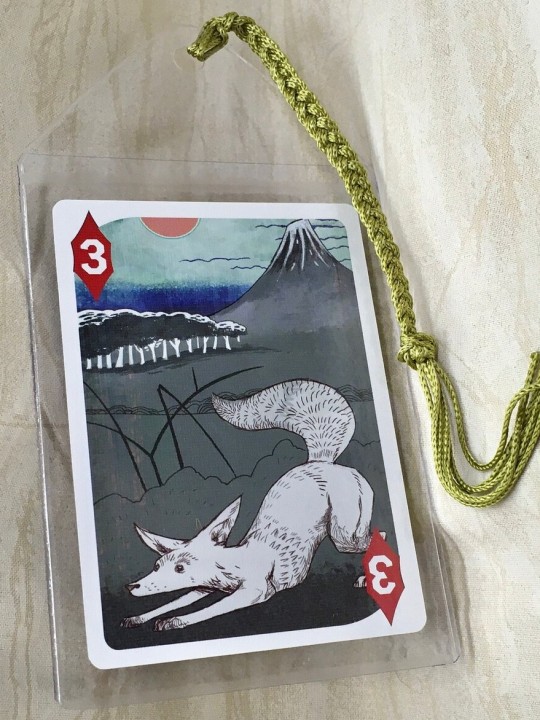
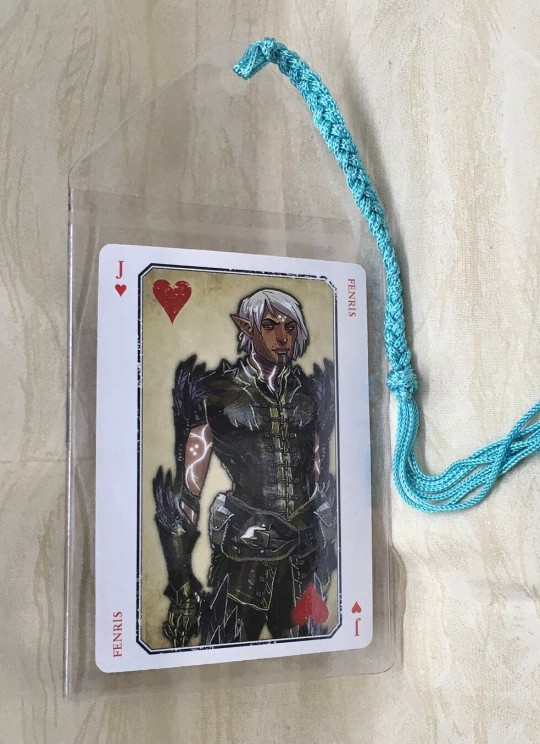

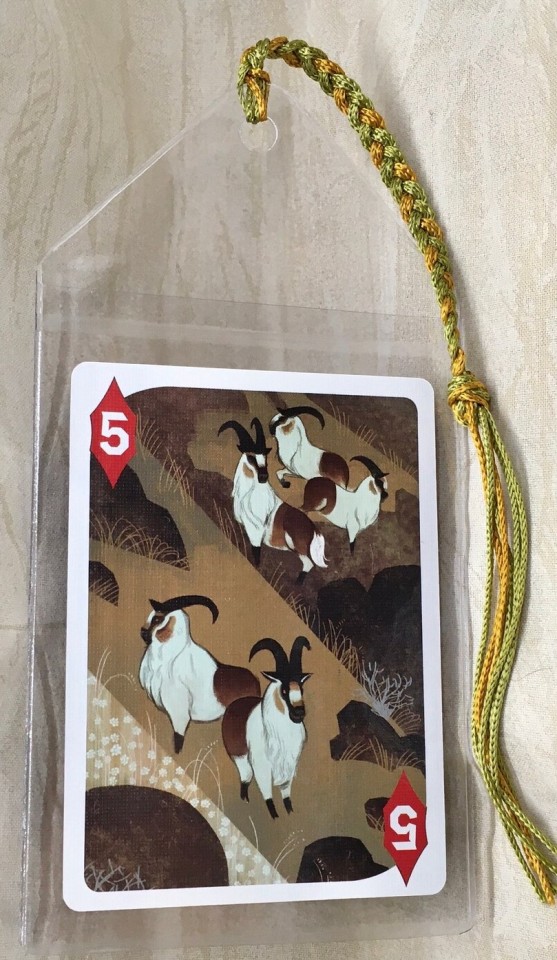
Some of the new arrivals to the shop.
Near future bookmark plans include:
30-40 more Dragon Age designs
Mass Effect
Fallout Vault Boy perks
more Skyrim tarot designs if the Brynjolf card sells
(Sorry, only shipping to the U.S. and territories)
3 notes
·
View notes
Note
I just found out about book nooks because of you and I am fascinated. If you dont mind, can you share tips for beginners? Also, are you using wood? Thats amazing! How do you cut and paint the wood? Thank you!!!
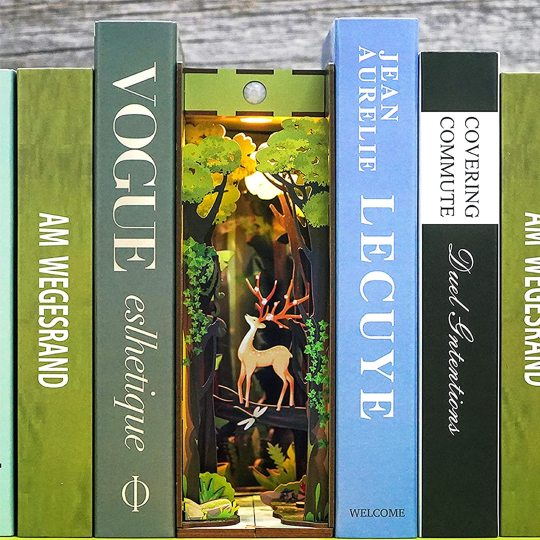
happy to share! I've been making miniature art for years but just recently got into book nooks. so far, I've used kits you can get on Amazon as the base with my own additions & modifications. the great part about these kits is that everything is included (except any custom additions you want to make, obviously). if I ever get my 3D printer set up (& learn how to use it 🙃), I'll try making my own from scratch.
both kits use 100% pre-printed wood (i.e. no painting required) that's partially laser-cut ahead of time. you have to carefully remove the parts from the boards, do some sanding, a lot of assembly and basic wiring for the lights (also included). I'm pretty much always watching a show when I'm working on them, so the process is super meditative/therapeutic, even for my ADHD-riddled brain.
this is the kit I'm using for the KinnPorsche alley book nook (with a lot of modifications):
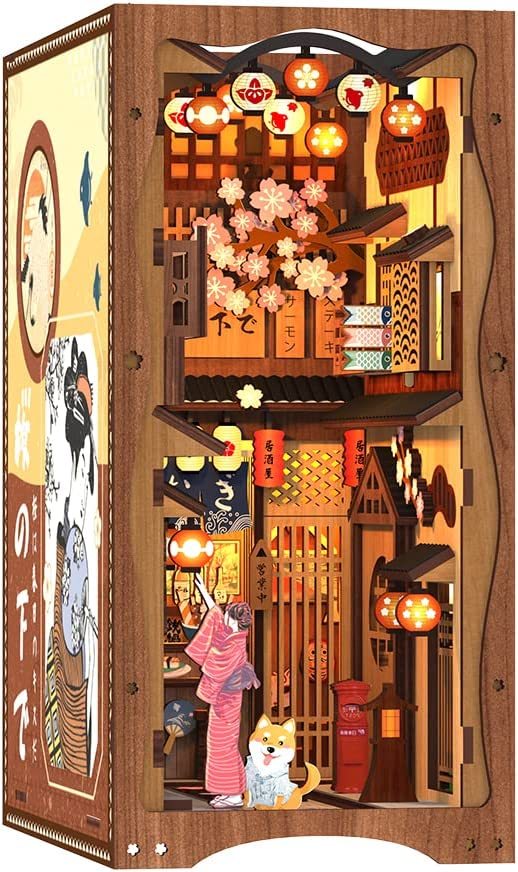
I scored a bunch of awesome miniatures at a specialty shop while I was traveling in December- a guitar for Kim, a yellow bottle for the bar, a tiny cage, a hedgehog, koi fish- but I'm bummed because they turned out to be too big scale wise (they still fit; they just look a little ridiculous).
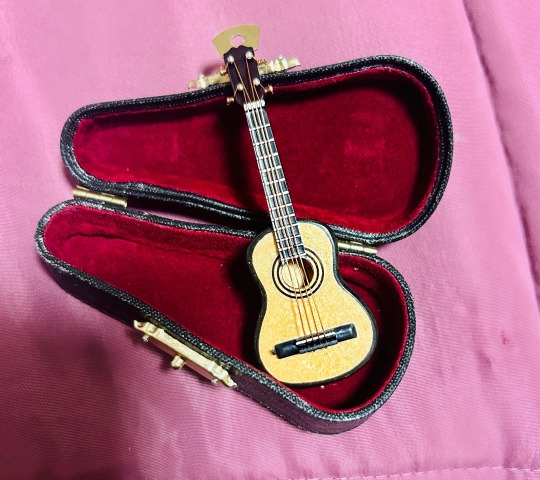
look at that tiny lil guitar! how could I say no?
I spent way too much on them, though, so everyone better pretend they look perfect when I post the final product, capiche? great.
I used two kits for the Princess Mononoke book nook:
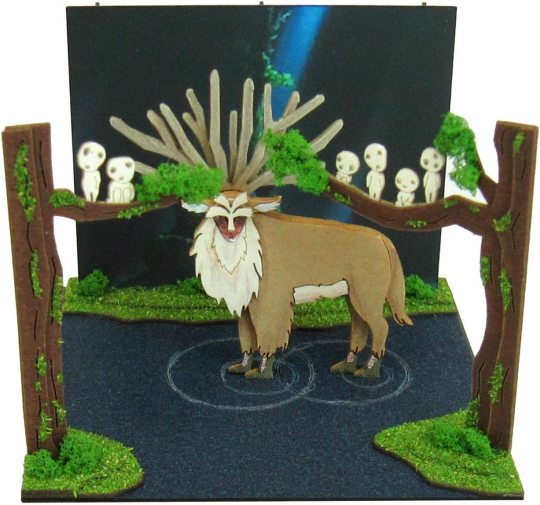

I had to use tweezers to assemble the Spirit of the Forest because, I mean- *waves*. I plan on filling in the seam in the river, painting it & adding water gel for realism.
if you have other questions or just want to geek out over minis, come yell at me!
#mor answers#anonymous#kinnporsche#kinnporsche the series#kinnporsche book nook#studio ghibli#princess mononoke#spirit of the forest#hayao miyazaki#book nooks#fandom crafts#miniatures
35 notes
·
View notes
Text
The second of the Crew Scarves patterns, for the Swede this time, just went up! I pushed a little extra hard to get it ready to post as a milestone celebration when the renewal petition passed 75,000. Which... happened a bit faster than I expected, honestly. Had some real deadline pressure!
Anyway, you can find it here (free like the other one):
3 notes
·
View notes
Text

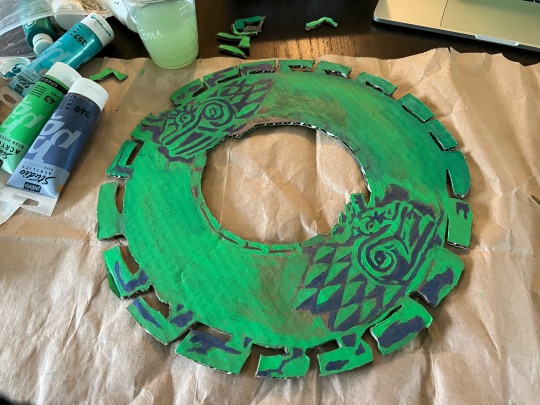
Totk ‘wreath’ to signal to other nerds in the neighborhood
8 notes
·
View notes
Text
Pulled out his cross because I had twisted the fabric (I didn't realize how stretchy this fabric is) and outlined the faces
#the old guard#the old guard fanart#fan crafts#fandom crafts#Embroidery#joe x nicky#joe al kaysani#nicolo di genova#nicky x joe#the old guard comics
43 notes
·
View notes
Last Seen Blogs