
stevethefishdotnet
stevethefishdotnet
I am a nerd who lives in Japan. I enjoy plastic models, science fiction, retro video games, and classic anime. My YouTube channel is youtube.com/stevethefishdotnet, my Odysee channel is odysee.com/@stevethefishdotnet and my personal homepage stevethefish.net. I do not follow accounts that put their pronouns in their descriptions. I reject this simultaneous war on women and the English language, as well as anyone who facilitates it with this absurdity.
410 posts
Don't wanna be here? Send us removal request.
Last Seen Blogs

maakuohtsubo
the relation-ship

angel-of-electro
music enriches the soul

khairulanam950-blog
We don't look for heaven and we put our love first

hyantipathyjoker
Clockwork Clown

latinaturk
latinaturk
Text
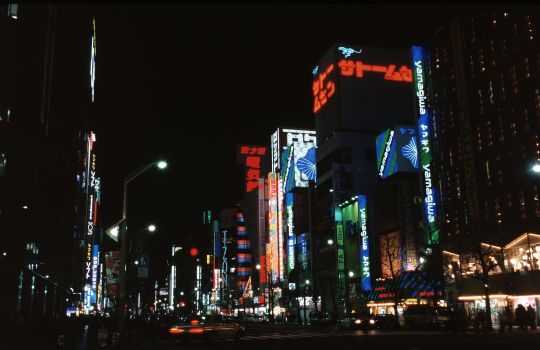
Akihabara at night, January 2000
Slide film photography taken with a Canon AE-1 Program
165 notes
·
View notes
Text
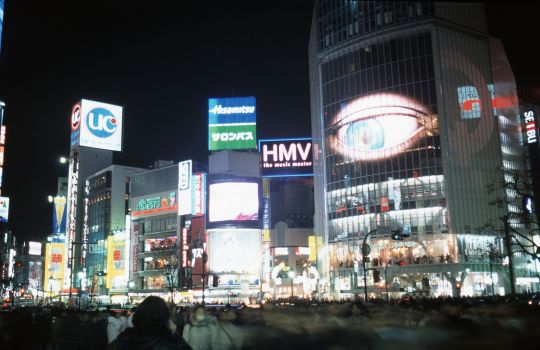
Shibuya at night, January 2000
Slide film photography taken with a Canon AE-1 Program
5 notes
·
View notes
Text

Arii 1:100 Macross Regult Tactical Scout Type pod plastic model box art
I am nearly done with this build. It's coming out rather well. I only lost one decal.
5 notes
·
View notes
Text
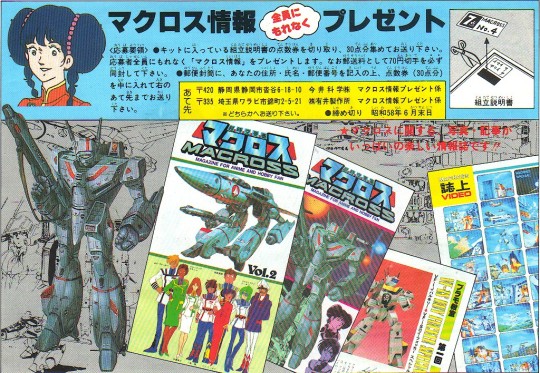
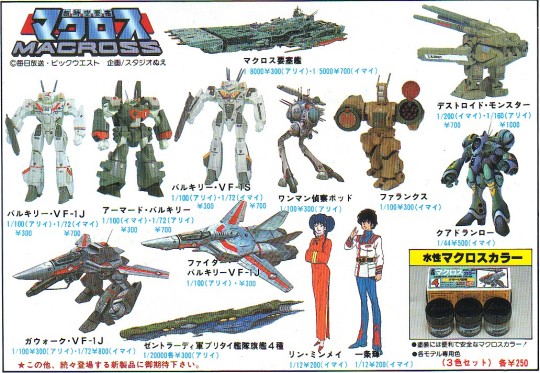
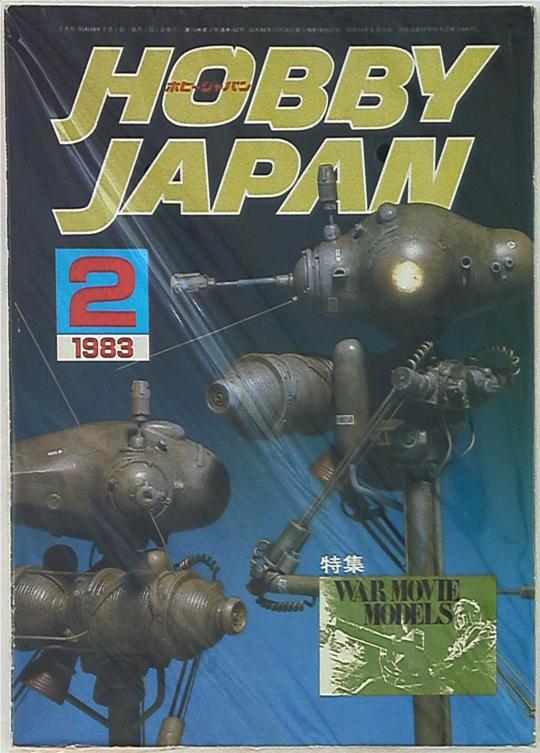
Vintage Arii/Imai Macross modeling flyer
8 notes
·
View notes
Text


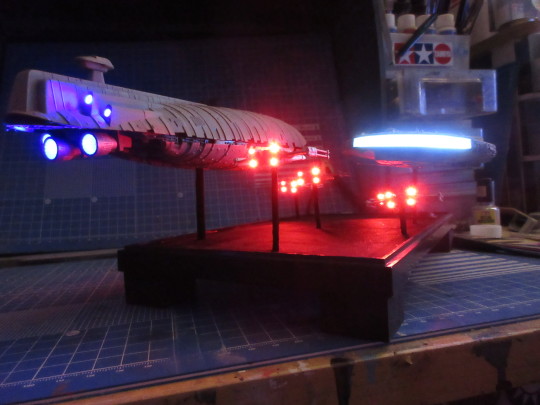


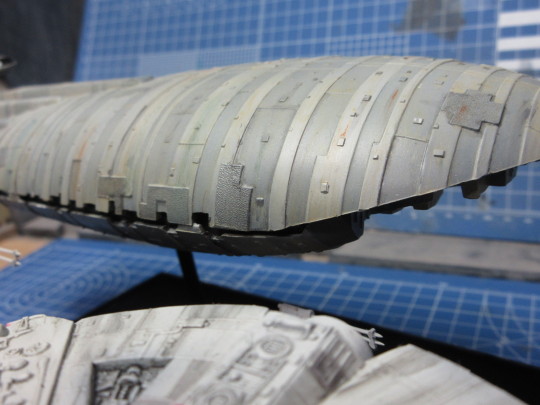
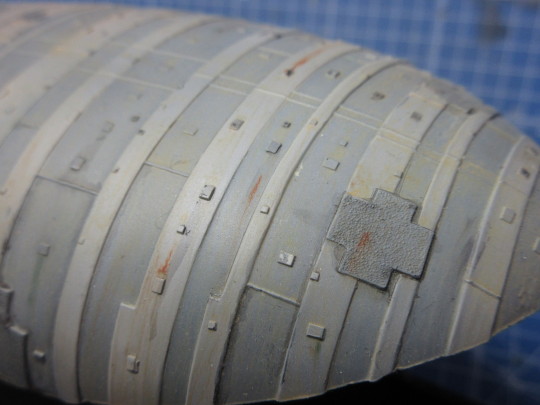
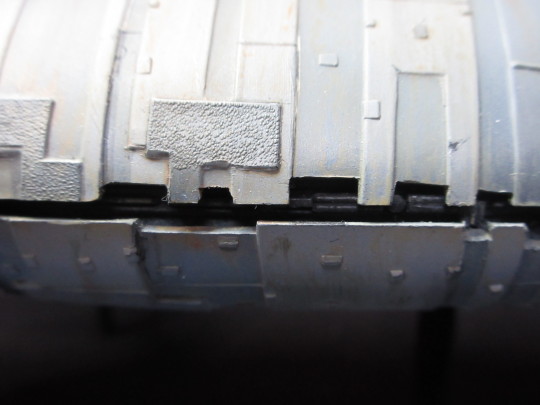
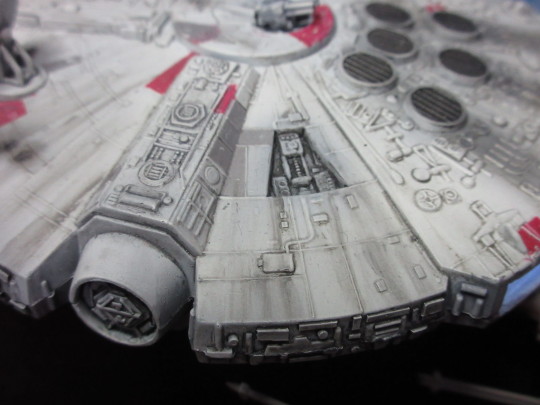
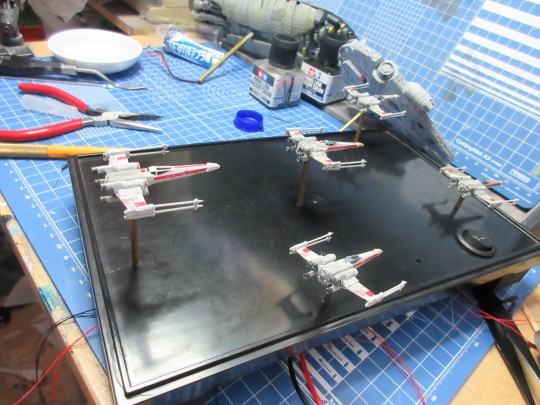
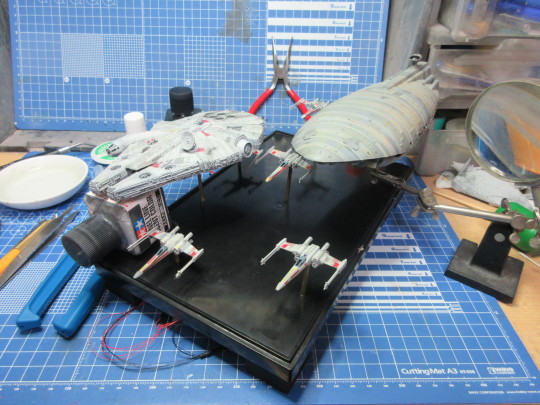
MPC Empire Strikes Back Hoth Rebel Base build FINAL photoset
November 4th, 2023
After seven years, this project is finally complete. I would get motivated, get bored, put it away, and take it back out again later.
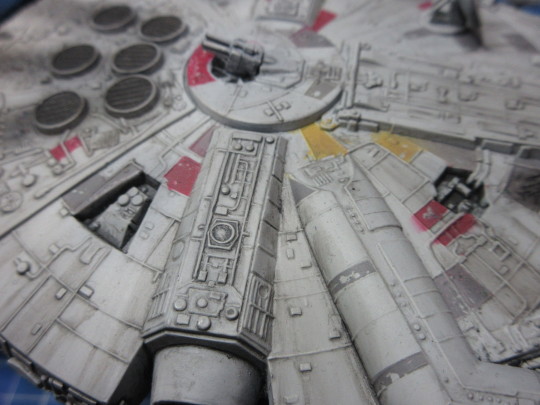
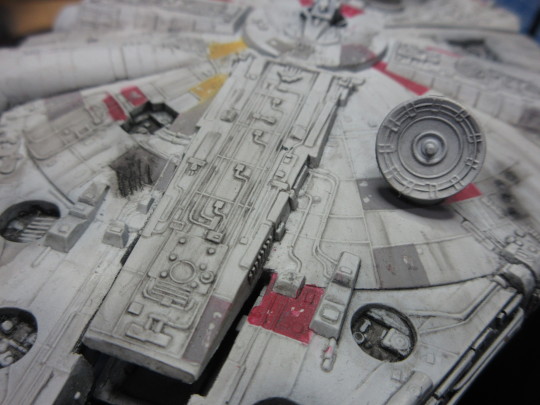
So after I put down the decals on the X-Wings (again, I had scanned the decal sheet from the 1:72 Fine Molds X-Wing kit), I gave it a clear coat, brought out some of the detail with Tamiya's Dark Gray Panel Line Accent Color before dirtying them up with artist chalk and a little bit of a Gundam Real Touch marker. I used some artist oil to add some extra streaks on the Falcon and then I was all done. Here are detail shots.

Luke's Red 5

Wedge's Red 2


For the "new recruits," I chose not to stress the red stripe decals. Now here are some shots of the Transport.


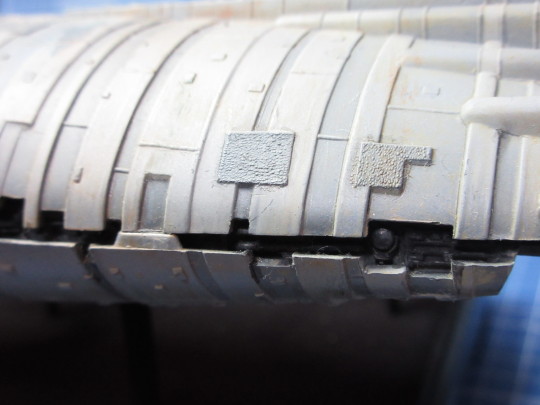
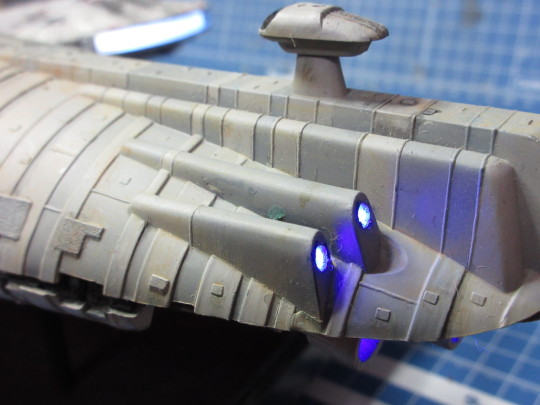
And the Falcon.


The base is just an upside-down sushi tray, and I installed a rocker switch that is powered by a 9V battery underneath. I painted the surface of the base Ankoku Black by Turner Acryl Goache, which is a light-absorbing black paint. It doesn't completely remove all reflected light, but it greatly diminishes it.
Thanks for looking!
#plastic model#plamo#プラモデル#プラモ#star wars#スターウォーズ#rebel base#mpc#hoth#X-Wing#Millennium Falcon#Rebel Transport
70 notes
·
View notes
Text


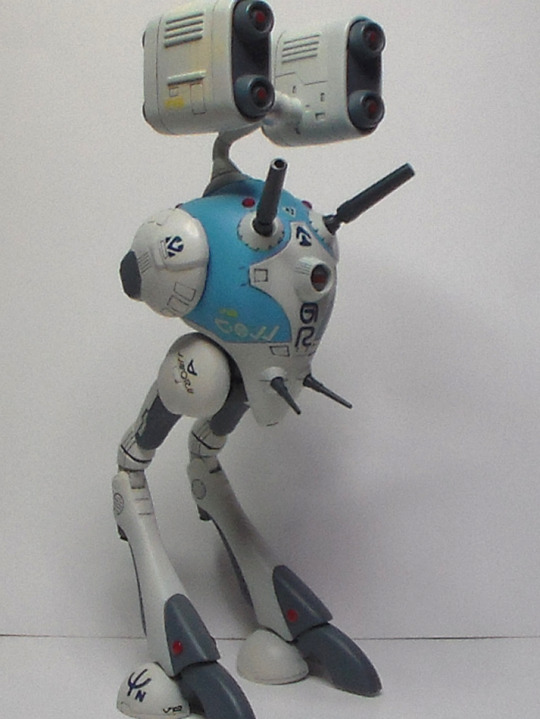
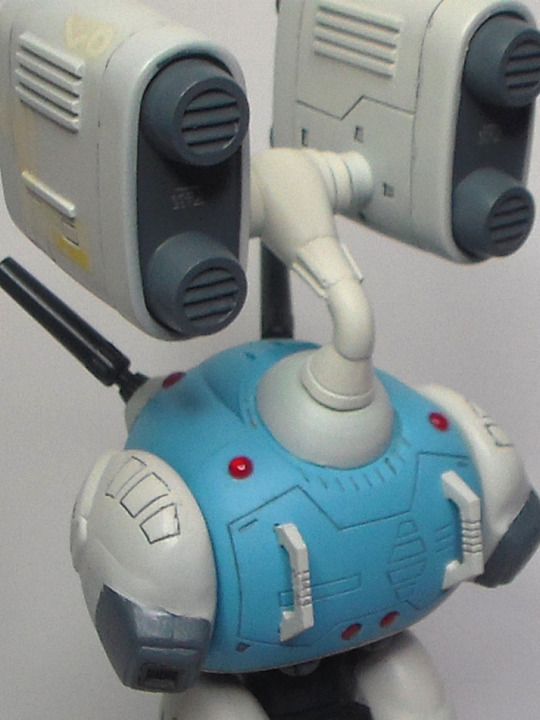
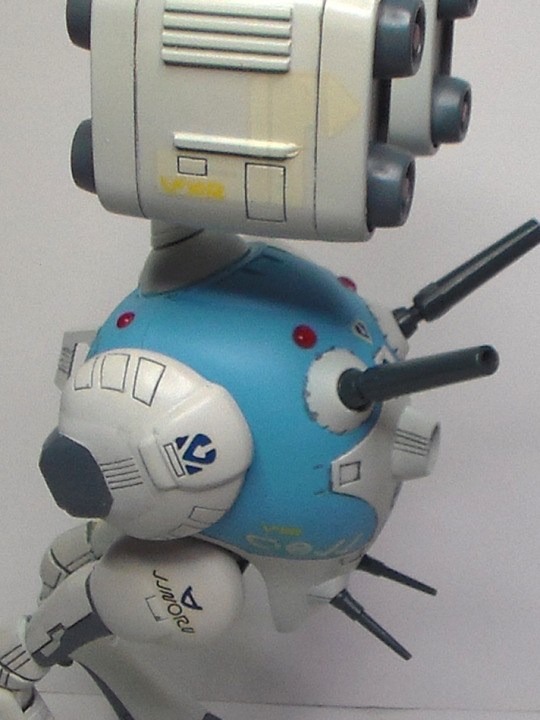


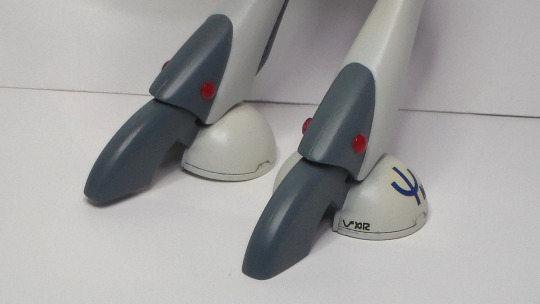


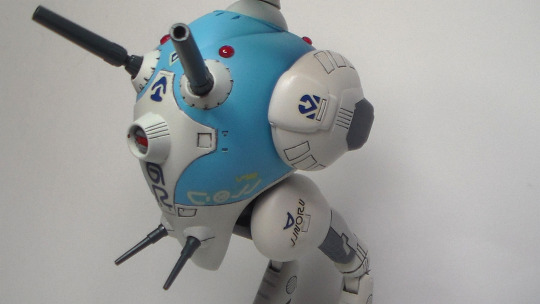
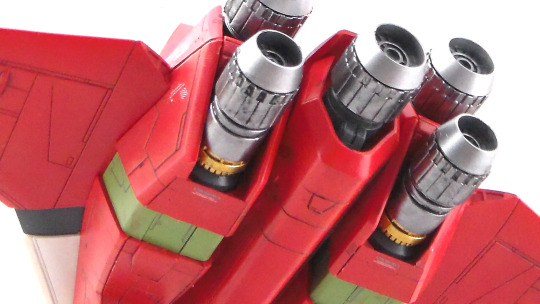
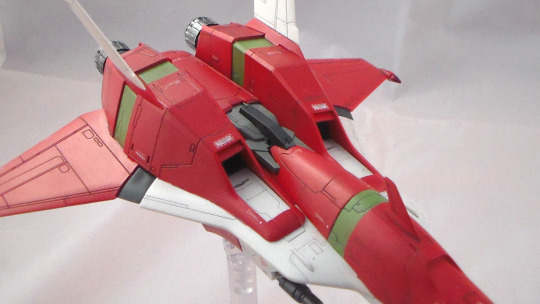
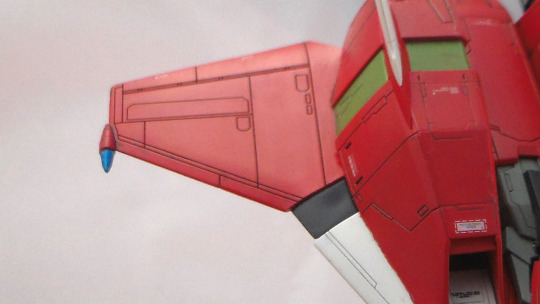
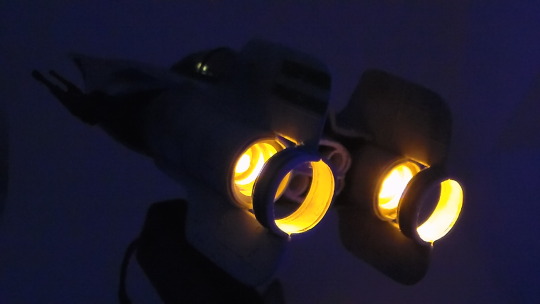
Arii 1:100 Macross Regult Heavy Missile type Battlepod photoset
September 16th, 2023
I posted a scan of this model's box and shared it on Tumblr earlier. Hasegawa just this month released a 1:72 scale model kit of this subject. I began building this kit last fall and recently I wanted to focus on finishing it before the Hasegawa kit came. I finished this kit in late August.
Proportions on the missile pods is a bit top-heavy. I used Wave's H-Eyes parts for lenses and Kotobukiya's MSG for the thrusters in the knees and on the engine pods. I used Mr. Color 323 Light blue and 311 Gray for the white parts. The gray was a mixture of 32 Dark Gray and 72 Intermediate Blue. the decals were still usable after all these years. They were a bit yellowed, but I taped them to my window for several days to bleach them.
The proportions on the Regult itself seem fine, but Arii made the missile pods a bit too tall. It makes the model look a bit awkward. A bit top heavy. Also, there is no ball socket articulation with the cannons. They must be glued into place.
#plastic model#plamo#プラモデル#プラモ#macross#Arii#アリイ#超時空要塞マクロス#リガード#regult#大型ミサイルポッド#Heavy missile#battle pod
32 notes
·
View notes
Text
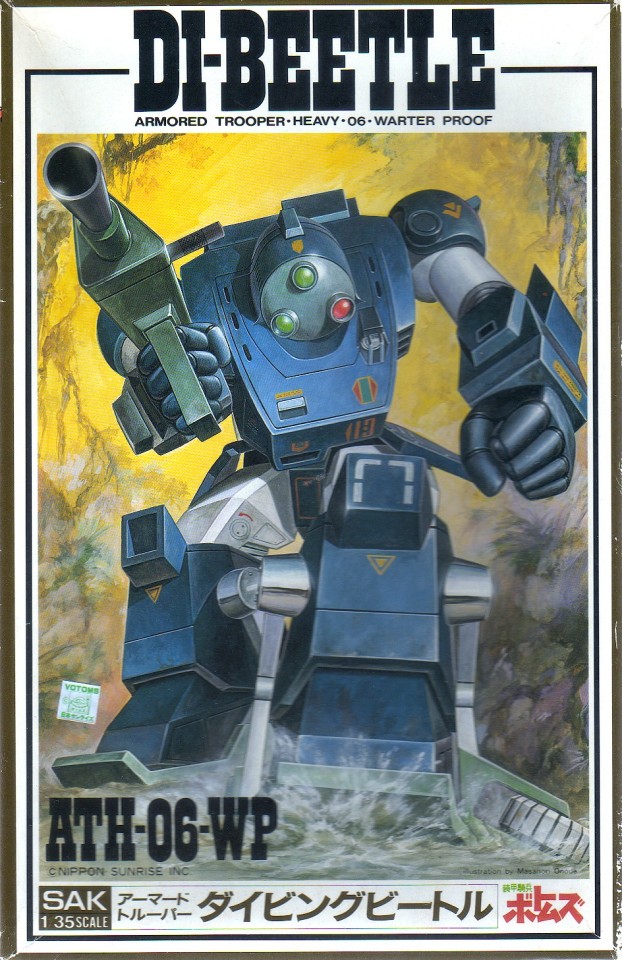
Takara/Sak 1:35 scale Armored Trooper Votoms Diving Beetle plastic model box
141 notes
·
View notes
Text

Arii 1:100 scale Macross Super Valkyrie VF-1S plastic model box
Vintage model kit of Roy Fokker's VF-1S
8 notes
·
View notes
Text

MPC Empire Strikes Back Hoth Rebel Base build update
August 4th, 2023
Here I'll post updates on what I have done to incorporate the X-Wings included with this kit into the diorama I'm working on. Unfortunately, the Y-Wings are just too goofy looking, and they were sculpted without proper reference material. After a discouraging setback with trying to use fiber optics to light the X-Wings' engines, I decided to go all out and use red 0402 SMDs for the engines.
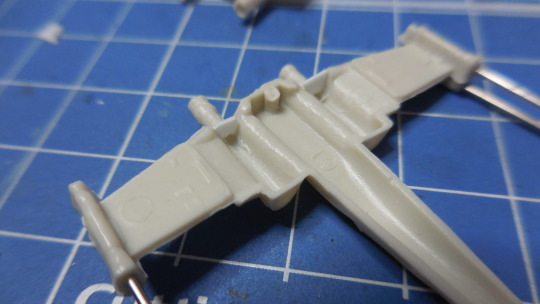
Channeling out the engine cans was not too difficult of a task. the X-Wings come sculpted with only one laser cannon per side so in order to give them four laser cannons, I used sewing pins, capped with Wave 2mm semi-circular plastic sticks cut into segments to represent the flash suppressors at the tip of each. I just needed to drill a hole into the center of each of these segments.
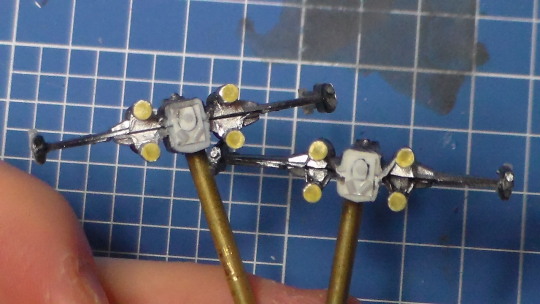
Once the SMDs were fastened into position using 2 part Wave epoxy glue (which smells really badly). Once the X-wings' top and bottom halves were glued together, I added back plates that I had invented on my own to sort of represent the detail that's supposed to go there. I used masking circles by HiQ Parts to protect the SMDs.

The next step was to add detail to the tips of the engine nacelles. The way the kit comes, they look rather featureless. I used Wave plastic pipe cut into segments for the nacelle tips and plastic plate to create the T-sections. They look nice! Check out this comparison before/after picture:

I airbrushed these X-Wings with Model Master Camouflage Gray acrylic paint.

I had scanned the excellent Fine Molds decals for this kit, mathematically sized it down to the proper scale, and printed them out on Fine Molds clear decal paper.
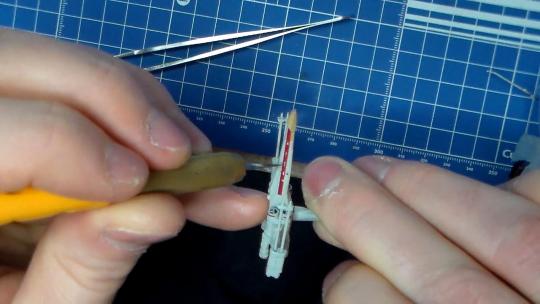
I distressed the decals with my hobby knife as I saw fit, in order to create paint chips. That's it for this update. I'm nearly done!
46 notes
·
View notes


Photo
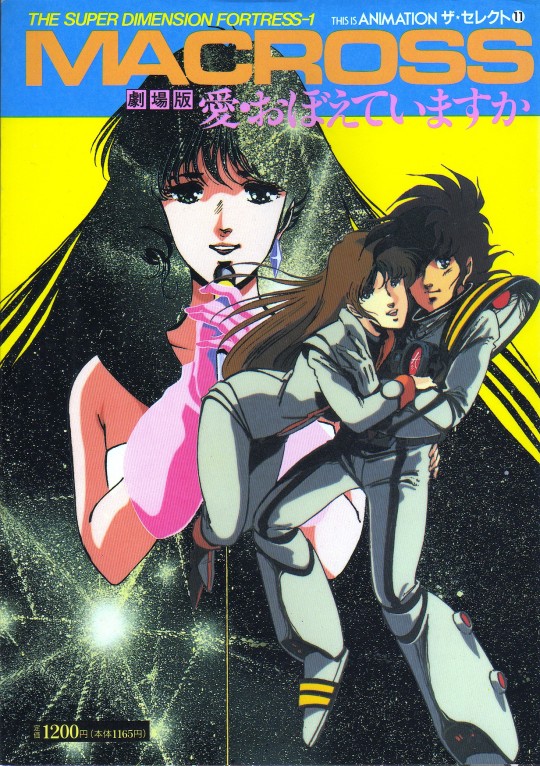
Macross: Do You Remember Love? This Is Animation mook (magazine book) cover scan
343 notes
·
View notes
Photo
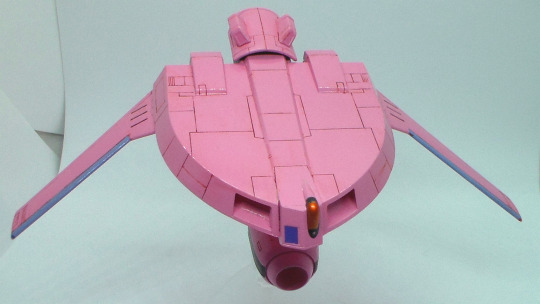
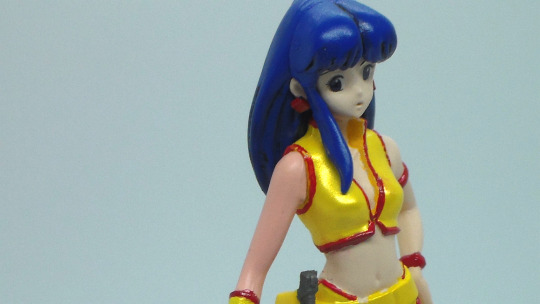
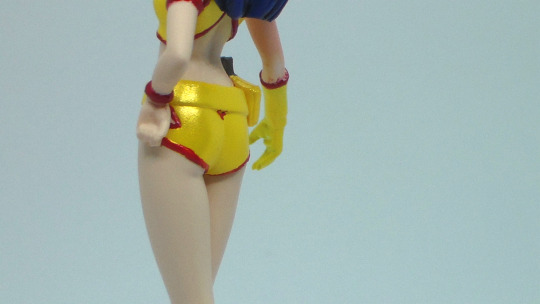

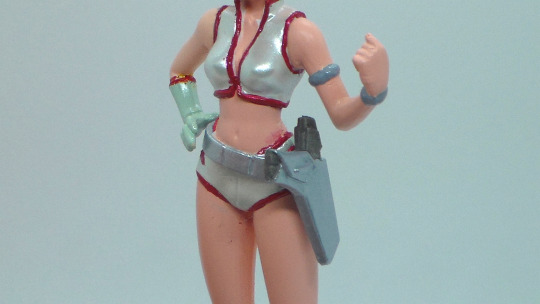
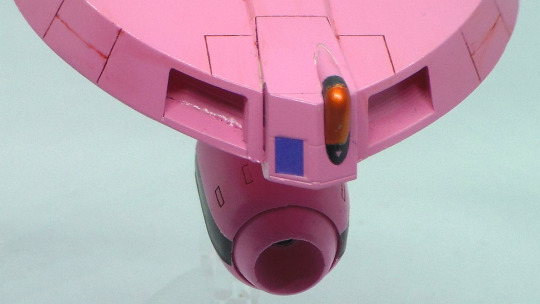
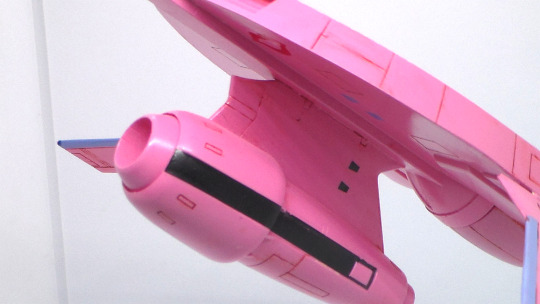


Hasegawa Dirty Pair Kei & Yuri + 1:300 Lovely Angel plastic model build photoset
May 1st, 2023
This was a straightforward build. Decals for the eyes of Kei and Yuri come included with the kit. I used pearlescent white and yellow respectively for their outfits and they look nice.
24 notes
·
View notes
Photo
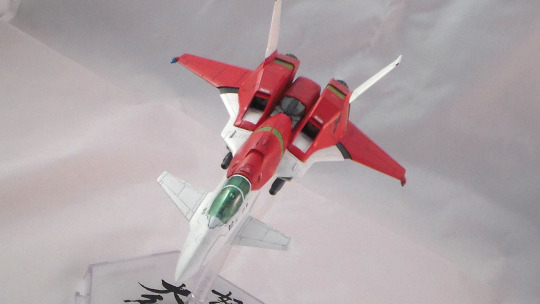

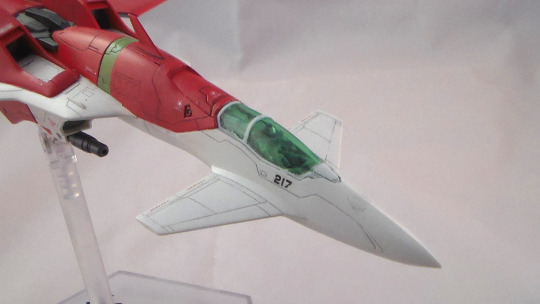


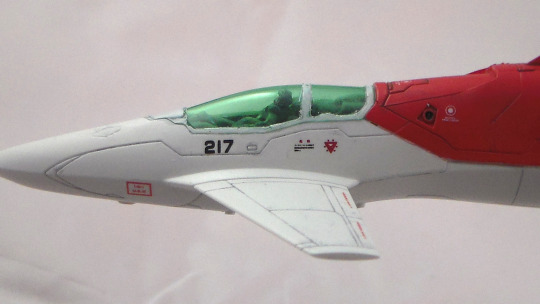

Kotobukiya 1:144 Dodonpachi Dai Ou Jou Type-A fighter plastic model build photoset
April 25th, 2023
Shmup love from Kotobukiya! They never did make a Type-B kit, unfortunately. I used Mr. Color lacquers to paint the kit. I didn’t really follow the instructions’ recommendations. The red is 68 Red Matter with a bit of 58 Orange Yellow. The green stripes are 64 Yellow Green with a bit of 1 White. The engine cans were painted with different Mr. Color, Gaia Notes, and Tamiya metallic lacquers. It looks nice, but it doesn’t have a pilot figure! I used Wave’s “Mobile Staff” figure set and cut up one figure to put into a reclined sitting position. Looks nice.
#Kotobukiya#Dodonpachi#Dai Ou Jou#Type-A#plastic model#plamo#コトブキヤ#怒首領蜂#大往生#STG#シューティングゲーム#プラモデル#プラモ
12 notes
·
View notes
Photo

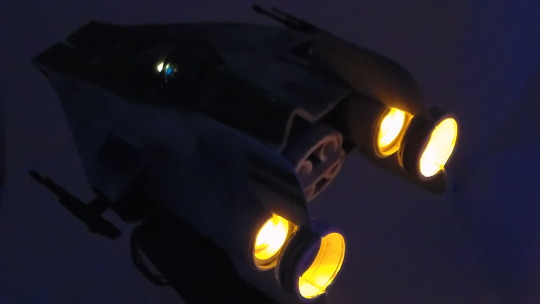


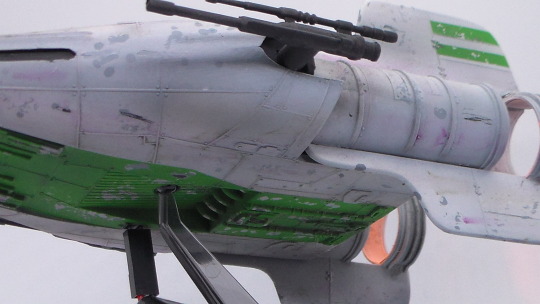
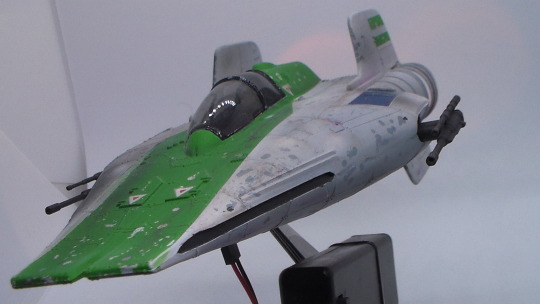

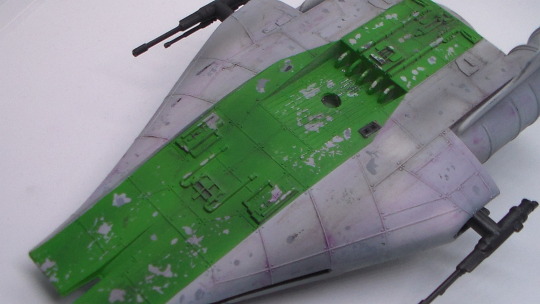
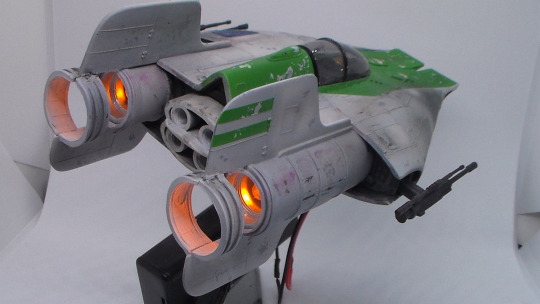
MPC 1:48 scale Star Wars A-Wing plastic model build photoset
February 25th, 2023
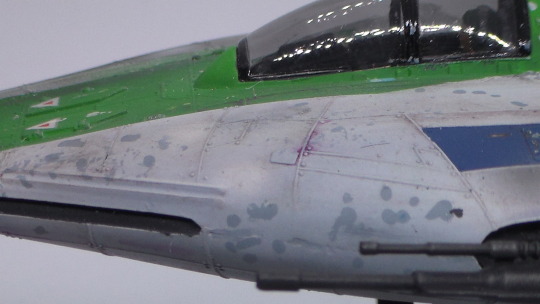
Here is my finished MPC A-Wing. This is the old kit from the ‘80s with the tinted canopy. Fortunately, the triangle decals still work fine. The tiny pilot figure that comes with this kit is complete crap and I tossed him into my Sarlaac Pit (trash can). The pilot I used instead came from MPC’s TIE Interceptor, which is completely inaccurate for the Imperial pilot figure but looks rather appropriate as an A-Wing pilot!
The kit is nice, but I needed to use putty to fill in the huge holes where those landing gears plugged into. I used some copper rod and other parts to cover up the area where the central landing gear hole is.
I used Oyumaru and UV resin to drill out holes for the cockpit console to light up the instrumentation.
Since this is an older kit with raised panel lines, I first primed the A-Wing black, then used a pre-shading technique for the panels using Mr. Color 307 is the main base color. I then went over it with Tamiya LP-35, Insignia White. I used Mr. Color 66 Bright Green for the trim, which I think turned out nicely. I used masking solution to achieve the paint chipping. Gaia Notes 43 Clear Black was used for the smoke effect.
Lighting this kit was fairly easy, except for the cockpit interior. Holes were drilled for the engines. For the central cluster of engines, I used fiber optics, but in retrospect using SMDs would have provided a far better effect.
Please leave a like if you enjoyed this content.
63 notes
·
View notes
Photo

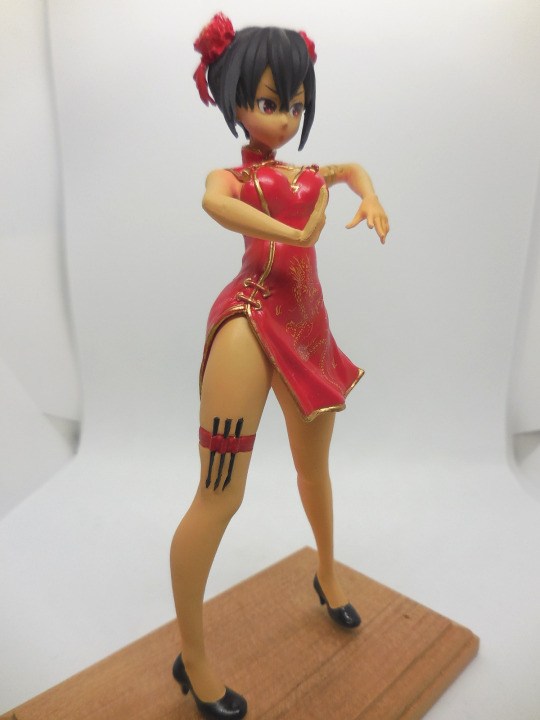
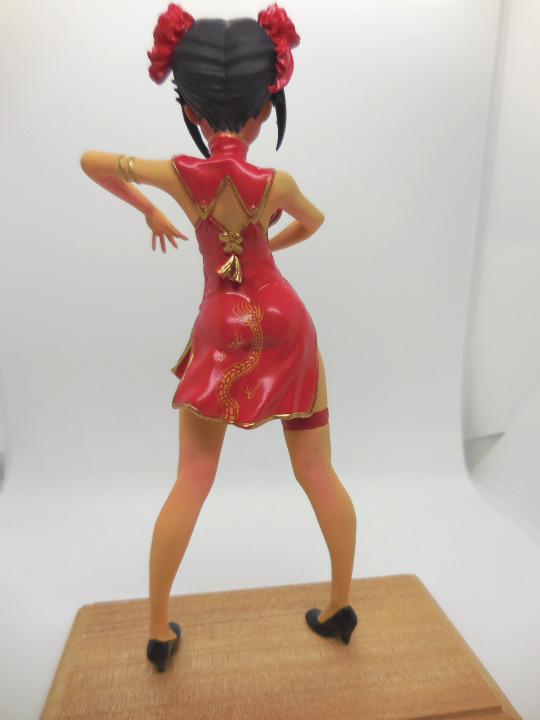

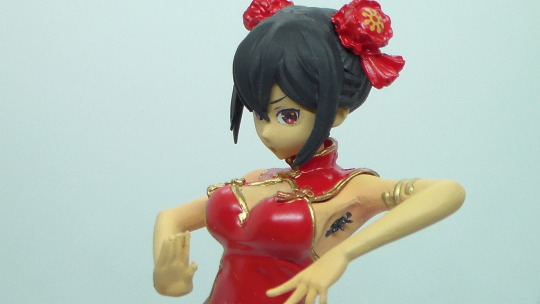
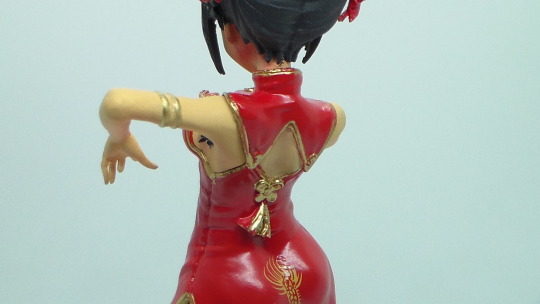
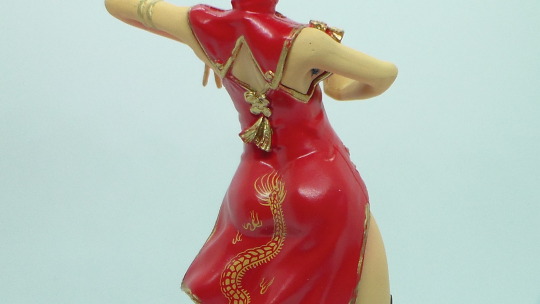


Hasegawa Egg Girls Collection No.07 Haku Rinpha (China Dress) resin garage kit build
January 10th, 2023
Another easy-to-build Eggplane Girl resin figure kit. The decals are nice, parts separation makes it easy to paint, and it comes together rather easily. I decided to add some underarm decoration, considering that she’s a Chinese girl. Hey, I think it’s cute. Natural girls are better than nasty tattoo girls, in my opinion. Not every natural girl is a moonbat.
If I ever find this kit again, I’d like to make molds of my Morrigan gachapon’s wings and attach them to this kit to make a custom Corona-chan figure.
#Hasegawa#Eggplane#Egg Girls#Eggplane Girls#Haku Rinpha#resin#garage kit#gareki#figure#ハセガワ#たまごガールズ#たまごひこーき#12たまごガールズ#ハクリンファ#ガレキ#チャイナドレス#フィギュア
8 notes
·
View notes
Photo

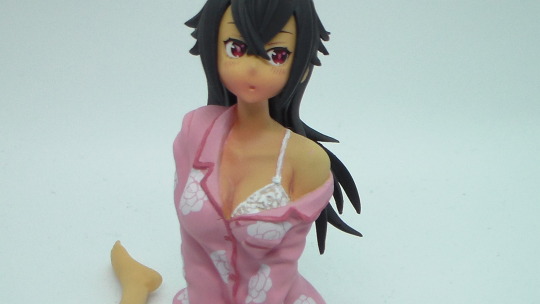
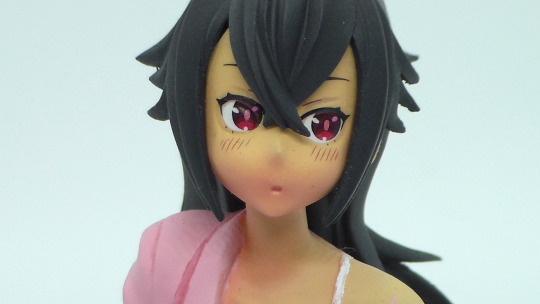


Hasegawa Egg Girls Collection No.22 Haku Rinpha (Pajamas) resin garage kit build
January 9th, 2023
This is an easy kit that came in just a very few parts. Nice flower decals for her pajama top. For the see-through look to her bra and panties, I masked those areas off, airbrushed Gaia Notes 050 Clear White over the flesh/hair parts, then hand-brushed the white for the lace effect. I think it turned out nicely.
#Hasegawa#Eggplane#Egg Girls#Eggplane Girls#Haku Rinpha#pajamas#resin#garage kit#gareki#figure#ハセガワ#たまごひこーき#12たまごガールズ#ハクリンファ#パジャマ#ガレキ#レジン#フィギュア
3 notes
·
View notes
Photo

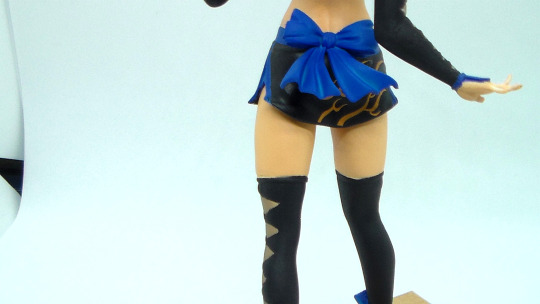
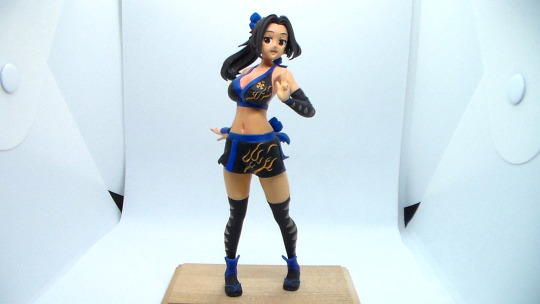
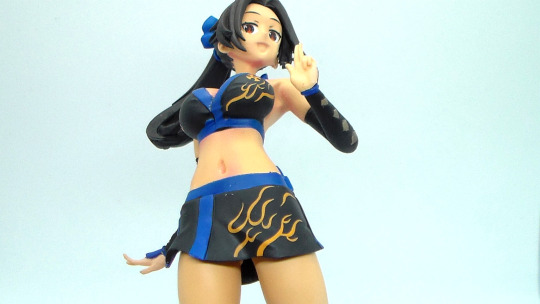
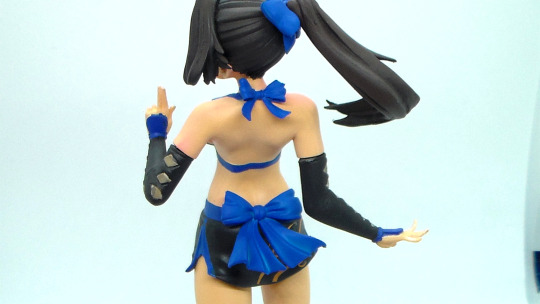
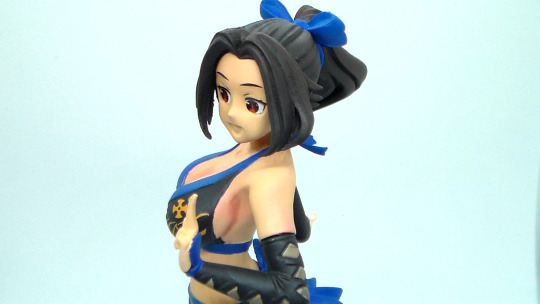


Hasegawa Egg Girls Collection No 11 Mikumo Shiranagi Kunoichi resin garage kit build photoset 白凪みくも(くの一)
#白凪みくも#ガレキ#レジン#ハセガワ#たまごガールズ#たまごひこーき#Hasegawa#Egg Girls#Eggplane Girls#Mikumo Shiranagi#resin#gareki#garage kit#figure
4 notes
·
View notes